FILMATION - 1983

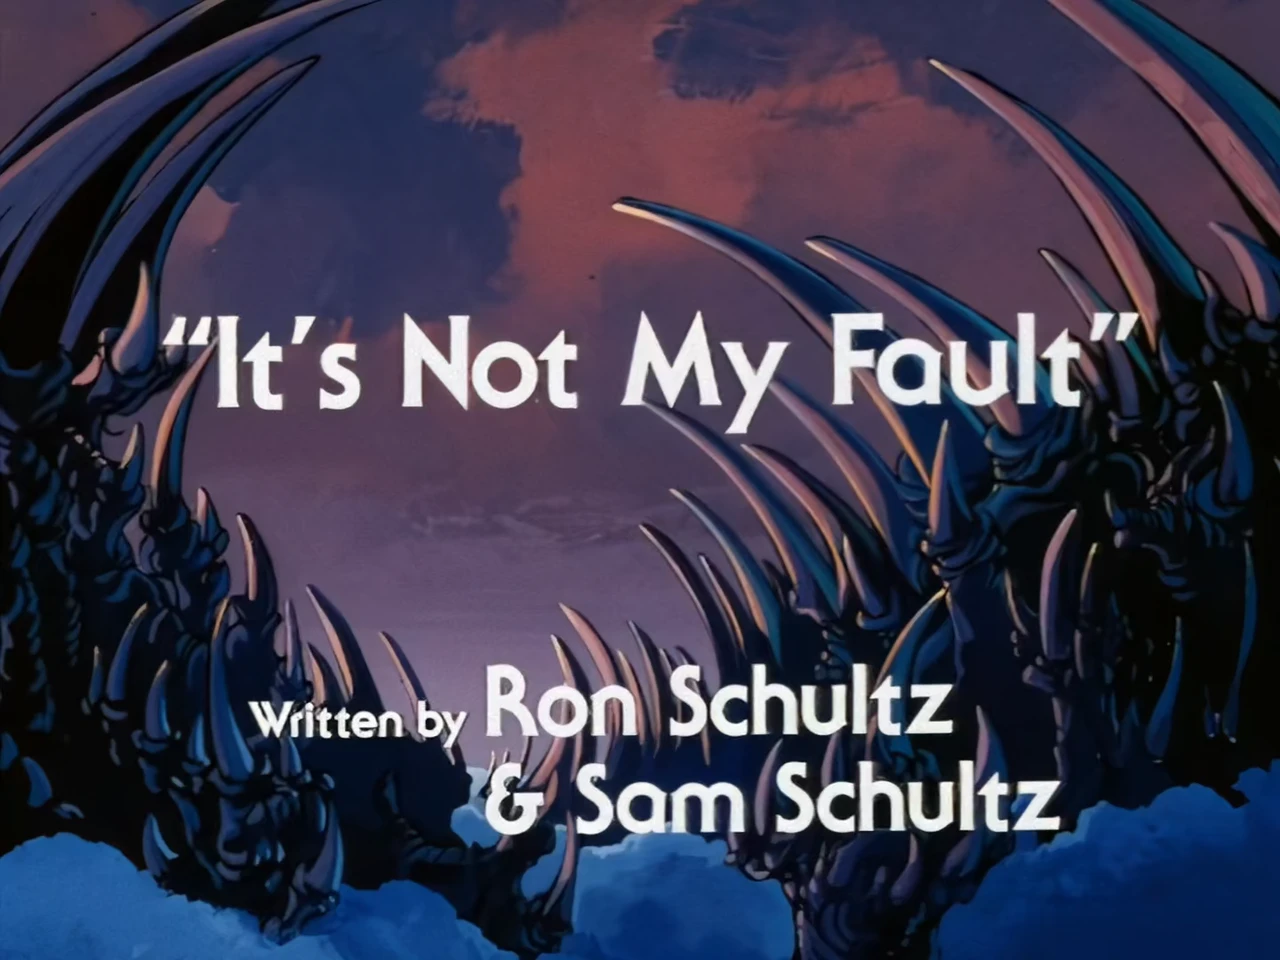
It's Not My Fault

Official Synopsis

It's Not My Fault synopsis still

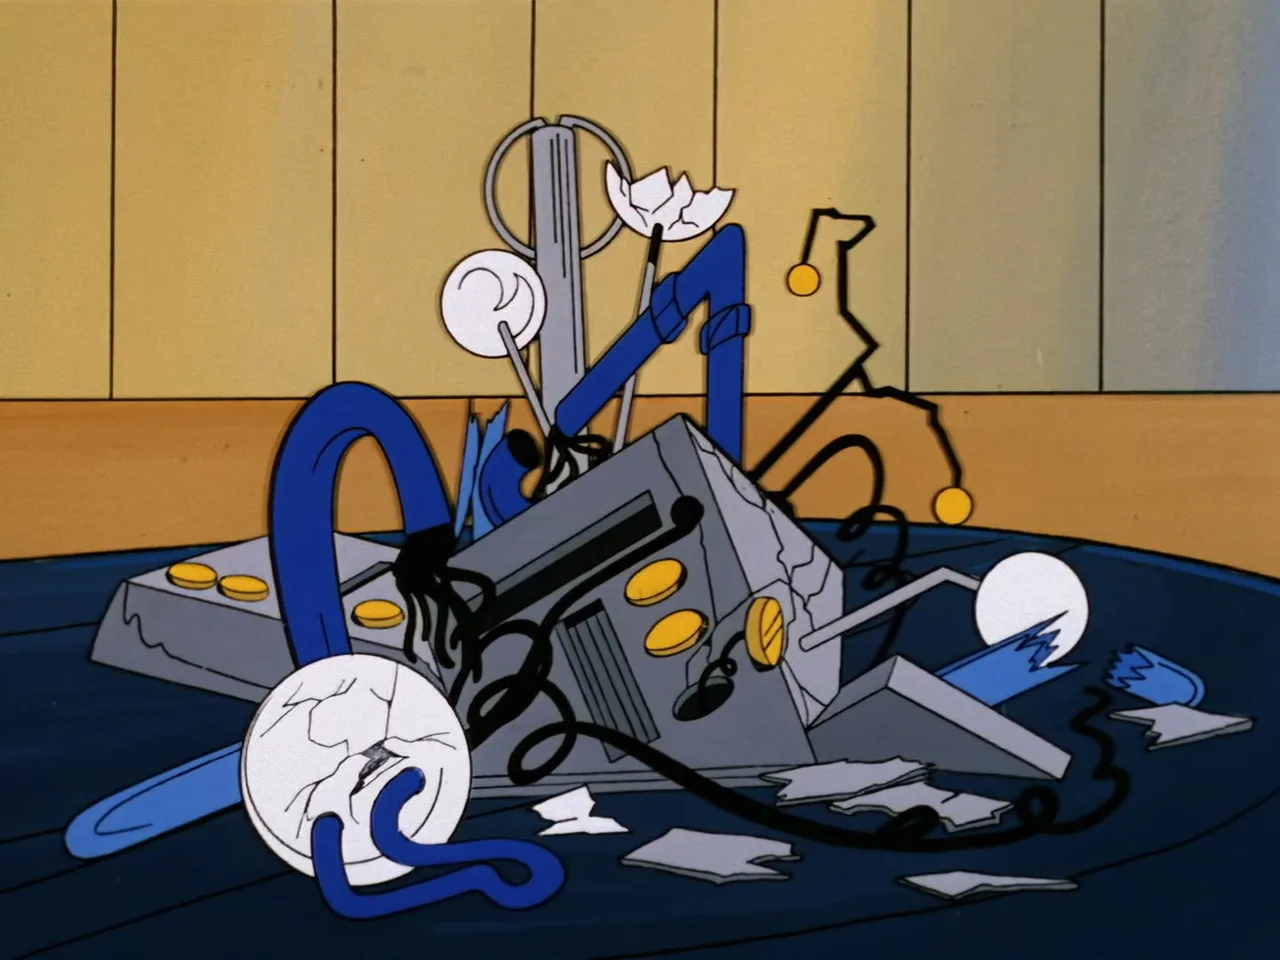
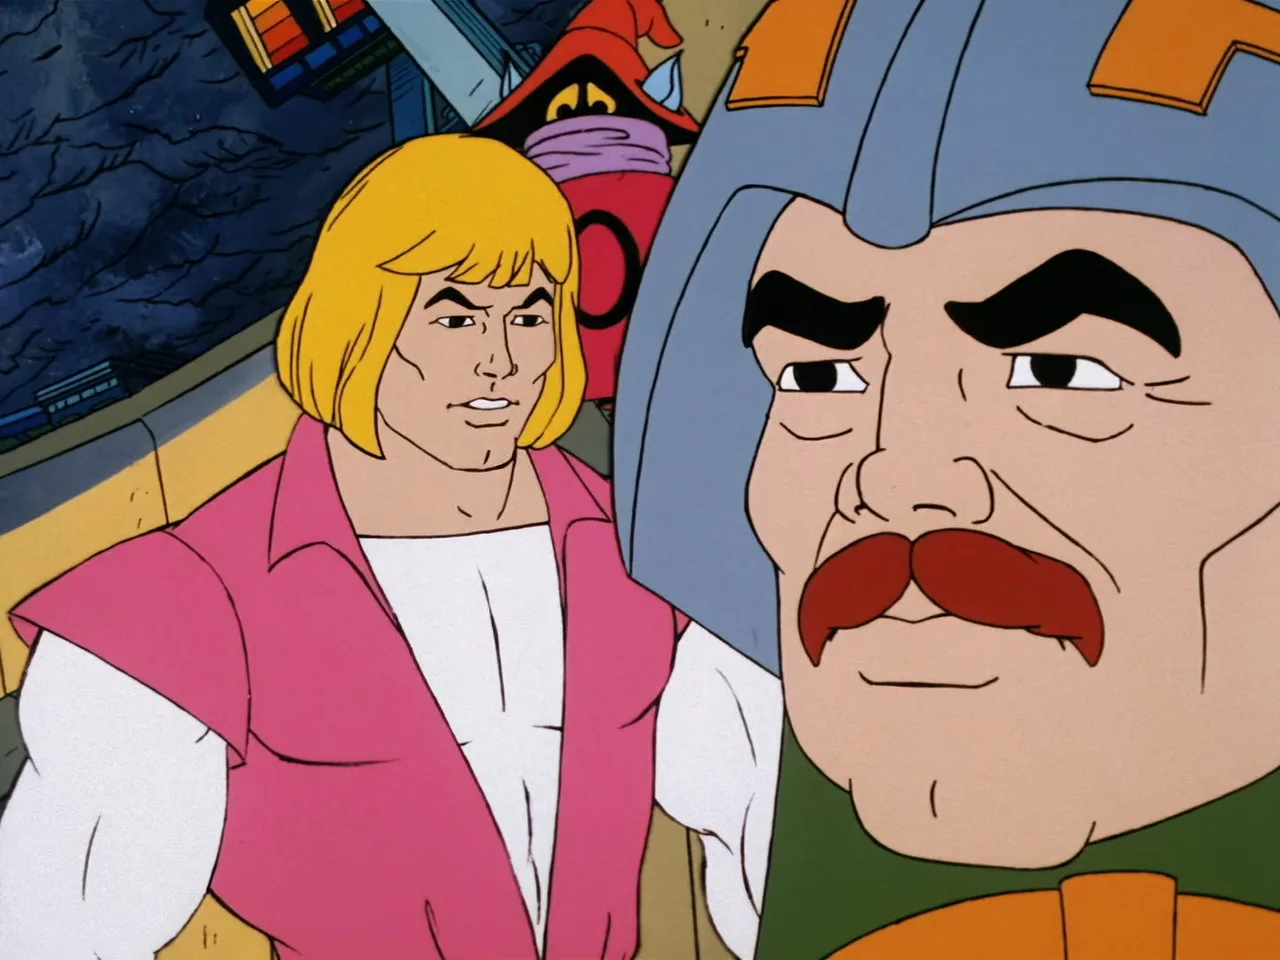
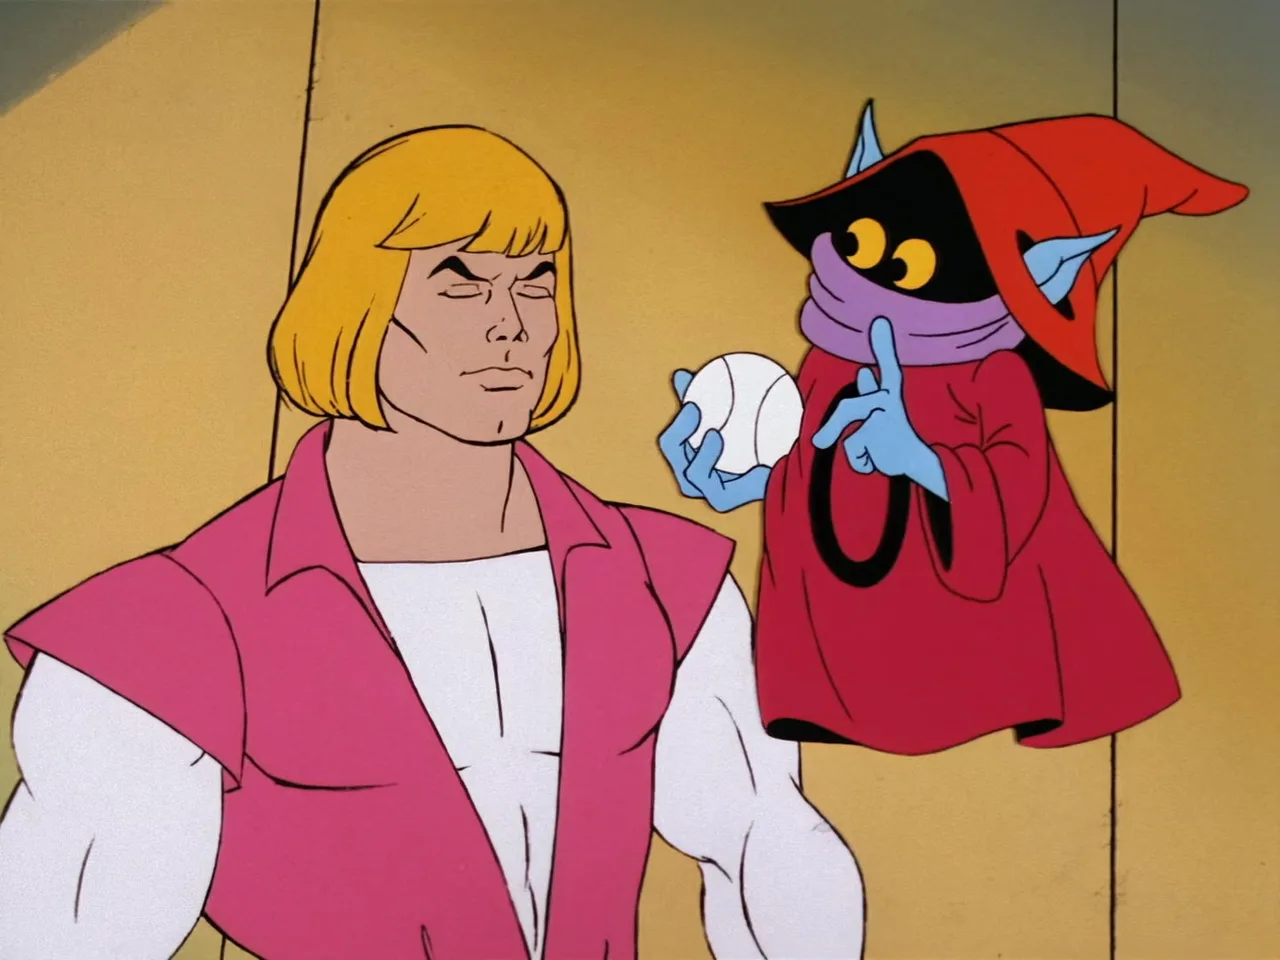
While visiting the Royal Palace, Chief Merlo's daughter Podi accidentally breaks a window in Man-At-Arms' workshop while playing ball with Orko, then panics and runs off into the Vine Jungle rather than face the blame. Orko tries to take the fault entirely on himself, but Adam and Man-At-Arms both point out that Podi needs to own up to her own part in it, and send Orko to find her.

Podi heads for her and Orko's favorite hiding spot, where she is kidnapped by Rago, a former member of her own tribe who was exiled as a fugitive. He tells her she will help him seize power from her father, and loads her and the now-captured Orko aboard Zegone, a massive rhinoceros-shaped vehicle his followers treat as a sacred totem, then sets off for a temple holding the tribe's Moorfire Stones.

Warned by Chief Merlo that Rago is loose in the jungle, Prince Adam transforms into He-Man and sets out with Man-At-Arms and Teela to find the missing children. They track Zegone's path of destruction to the Fantos village, team up with Chief Merlo, and follow the vehicle's trail to the temple. Rago forces Podi to steal the Moorfire Stones, but she manages to throw them to Orko instead, only for Rago's partner Zantar to recover them and fit them into Zegone as working eyes. Rago leaves Podi and Orko trapped inside the collapsing temple and heads off toward the village, forcing He-Man to dig the children out himself.

He-Man chases down the now-active Zegone, blinds it by deflecting its own eye-beams back at it, and shakes Rago and his followers loose before wrapping Rago up in vines. With the Moorfire Stones restored to the temple and Rago's group sent to work the prison mines, Podi shows how much she has learned by owning up to breaking a pot in the temple instead of letting Orko take the blame again, even as the two of them bicker over whose fault it really was.

Watch the Full Episode

It's Not My Fault Official upload, Masters of the Universe channel

Morals by Orko's closing message, verified against the Netflix WEB-DL subtitle track

Orko: "In today's story my pal Podi got herself into big trouble. She made a mistake and ran away, which only made things worse. Now, everyone makes mistakes, but running away is never the way to handle a problem. So when you make a mistake, admit it. That's the best way I know of to start making things right again. Until later, bye now!"

Voice Cast

John Erwin as He-Man/Prince Adam and Rago

Alan Oppenheimer as Man-At-Arms and Chief Merlo

Linda Gary as Teela

Lou Scheimer (credited as Erik Gunden) as Orko, Zantar and Messenger

Erika Scheimer (uncredited) as Podi

Memorable Quotes

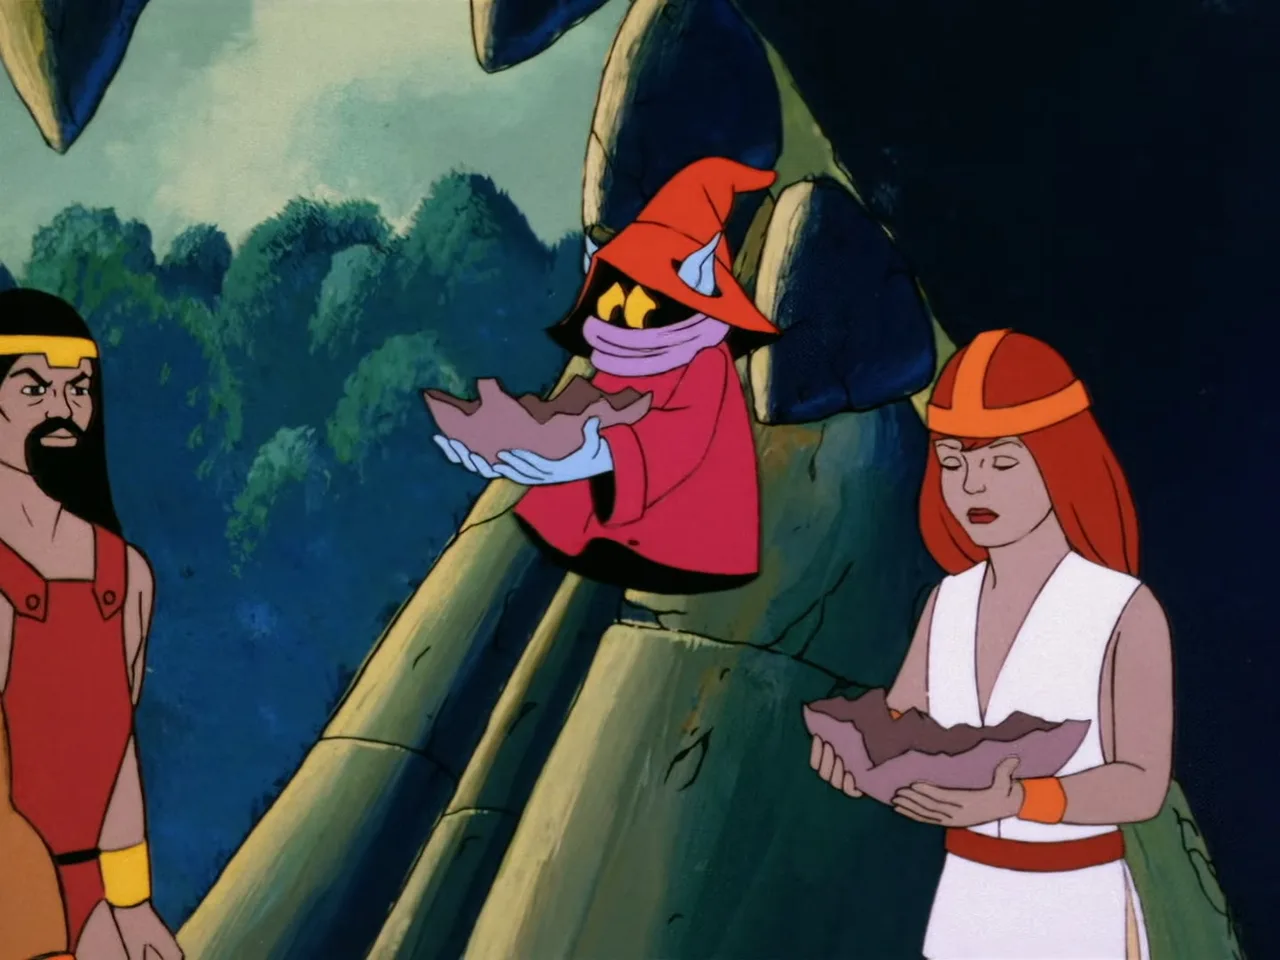
Podi: "It was my fault." Orko: "No, it was my fault the pottery broke." Podi: "All right, it was your fault." Orko: "What do you mean it was my fault?" Podi: "It was your fault." Orko: "It was our fault."

heman.org Episode Review

It's Not My Fault spends its cold open on a broken invention and a thrown ball. Podi knocks a window through Man-At-Arms' workshop, panics, and runs rather than own up to it. Orko tries to shoulder the blame for her, and Man-At-Arms and Adam gently point out that he cannot take a mistake that was not his. Ron and Sam Schultz build the first act almost entirely around that piece of moral arithmetic. It is a better hook than the Moorfire Stones; it is the only part of the episode actually about a choice a character makes, rather than a plot that happens to them.

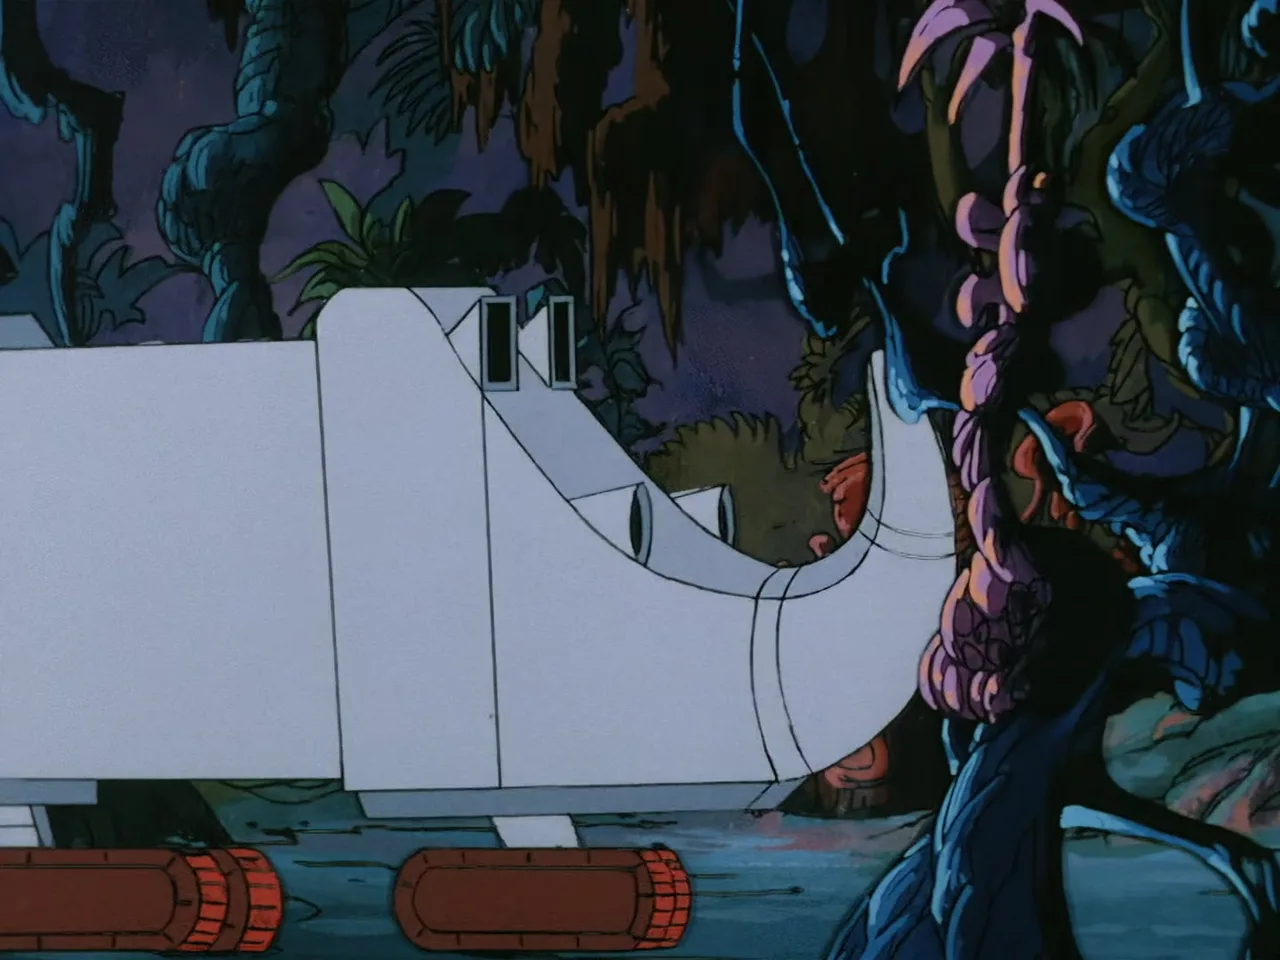
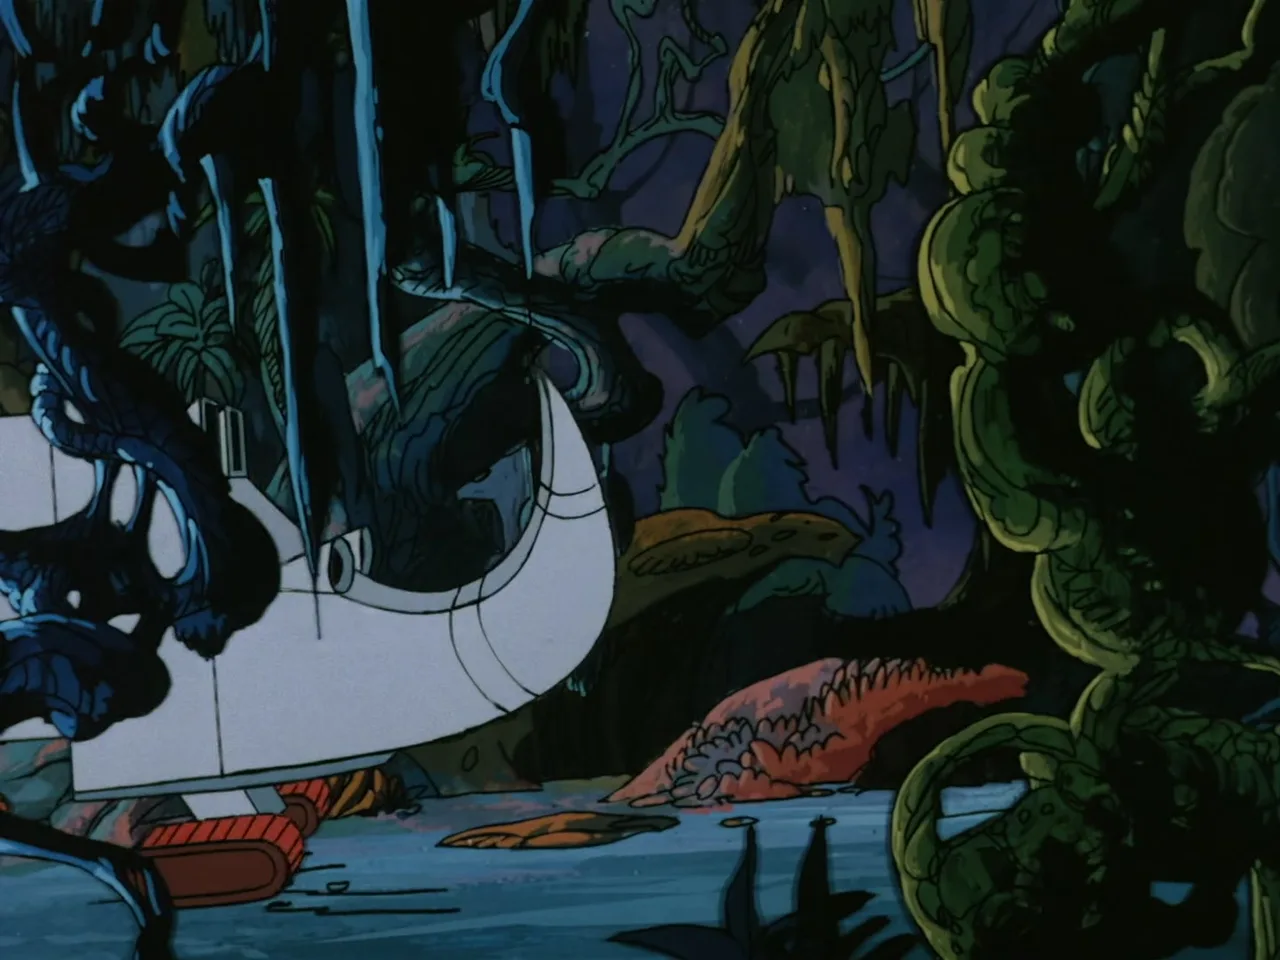
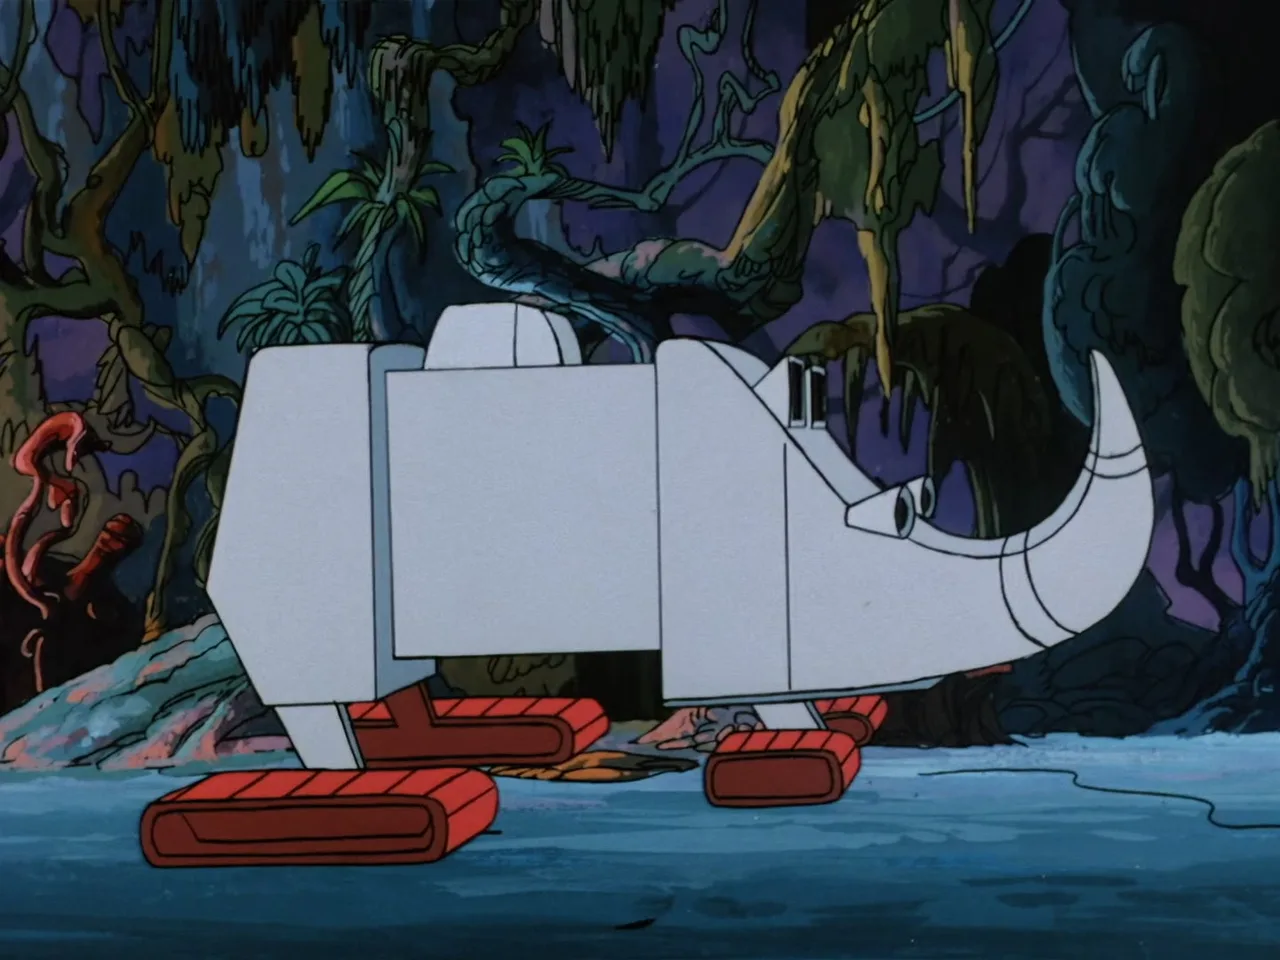
Rago supplies the stakes but not much of the interest. He is a fugitive from the Fantus tribe, plotting to use Chief Merlo's own daughter against him, a serviceable villain hook that the show never develops beyond a voice giving orders from inside Zegone's cockpit. Zegone itself is the episode's better piece of design: a rhinoceros-shaped vehicle the tribe venerates as a totem, blind until the Moorfire Stones are forced into its sockets as eyes. That detail at least ties the machine's mechanics to the object everyone is chasing, instead of leaving the stones a maguffin he wants for no stated reason.

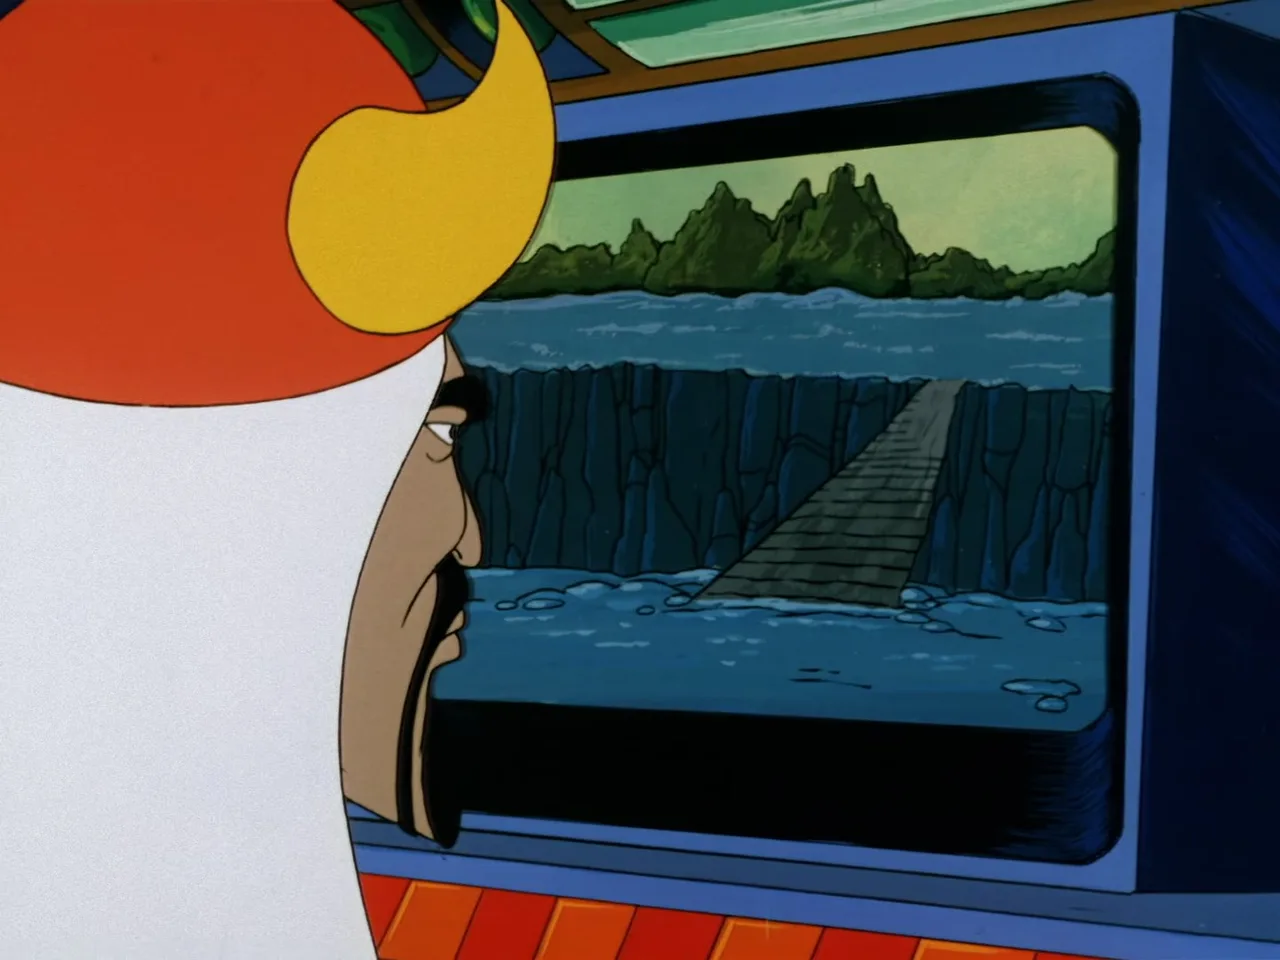
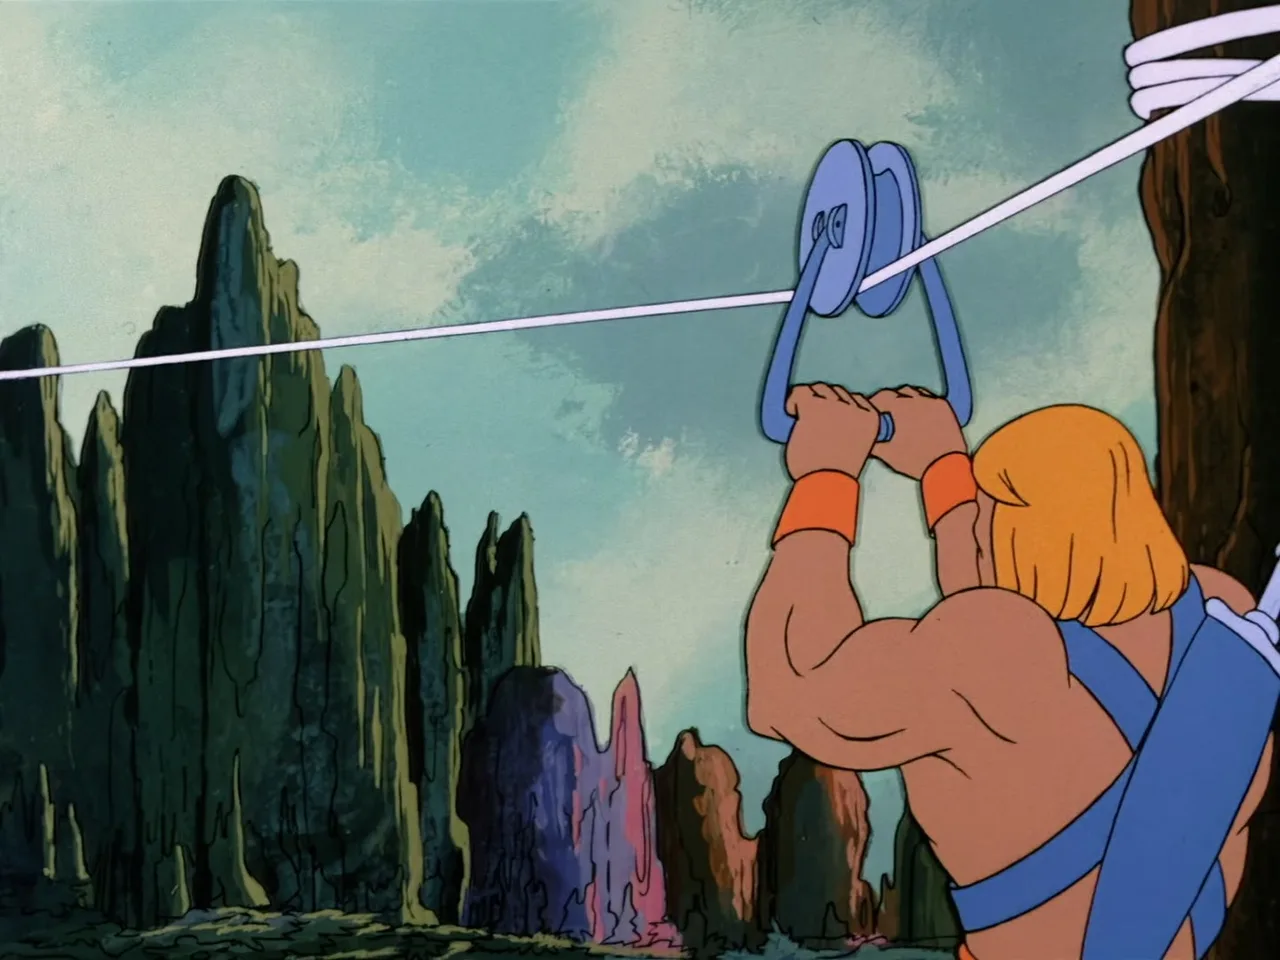
The back half is mostly He-Man clearing obstacles: a canyon crossed on a cut tether, a stone bridge Zegone smashes on its way through the jungle, a captive rescue. None of it asks anything of He-Man he has not already solved a dozen times before. Punch the machine, tangle the villain in vines, carry everyone home. The animation reuses a Man-At-Arms fight beat from The Defection cleanly enough that it does not call attention to itself, but this stretch is also where the episode is doing the least.

The closing scene is where the title earns itself back, and the writing is sharper here than anywhere else in the episode. Podi and Orko argue over a broken pot in the temple, each insisting the break was the other's fault, until they land, almost by accident, on the real answer: it was both of them. Five short lines carry the whole argument, "it was my fault," "no, it was your fault," landing on "it was our fault," and that exchange works the episode's theme through dialogue rather than through a moral tacked on afterward. Orko's closing message to the audience, about admitting a mistake instead of running from it, would feel redundant if the pottery scene had not already made the same point without saying it out loud.

The real weakness is structural. Cut the Rago-and-Zegone business down to the bare chase it needs to be, and nothing would be lost! Podi's arc survives the padding because it gets a clean beginning, middle and end; Rago never gets that chance, and a villain who exists only to be defeated is a thinner use of twenty-two minutes than a kid finally telling the truth about a broken window. It's Not My Fault is not one of the show's more ambitious hours, but it is one of the more honest ones about what it is actually trying to teach.

Notes of Interest

  1. Behind the scenes: Script was approved April 11, 1983 and final script revision took place June 2, 1983. Storyboards for this adventure were illustrated by Chris Jenkyns.
  2. Continuity: Animation elements from the fight sequence between Man-At-Arms and one of Rago's guards is reused from The Defection when he fought one of Gorgon's guards. The animation of Rago's Guard trying to break free from Man-At-Arms' grip was first used in Diamond Ray of Disappearance, at which time it was He-Man trying to break free from Tri-Klops. It was also used in A Tale of Two Cities, this time with Garn trying to escape from He-Man's grip. Background elements seen as the Vine Jungle are reused for the planet Krytis in the She-Ra: Princess of Power episode The Mines of Mondor. The character model for Podi would be reused as Rayna in _Fisto's Forest_ and again as Ariane in the She-Ra: Princess of Power episode Book Burning.
  3. More continuity: The character of the messenger appears again in Mistaken Identity.
Cast Appearances

Full roster →

Episode screenshots

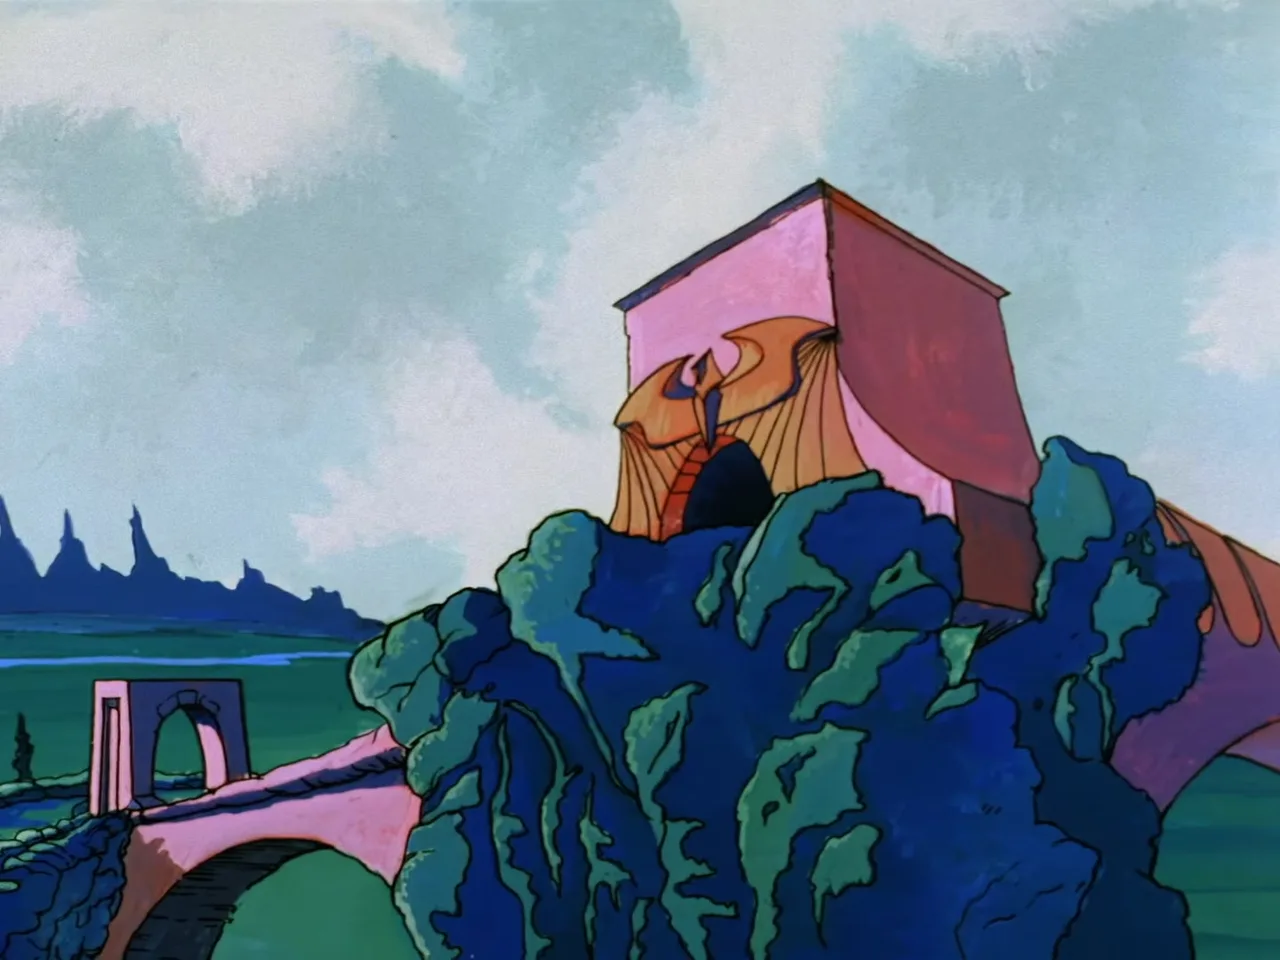
Wide establishing shot of Castle Grayskull-style pink towers on a cliff with a vine-draped wall and an arched stone bridge leading across water in the foreground.
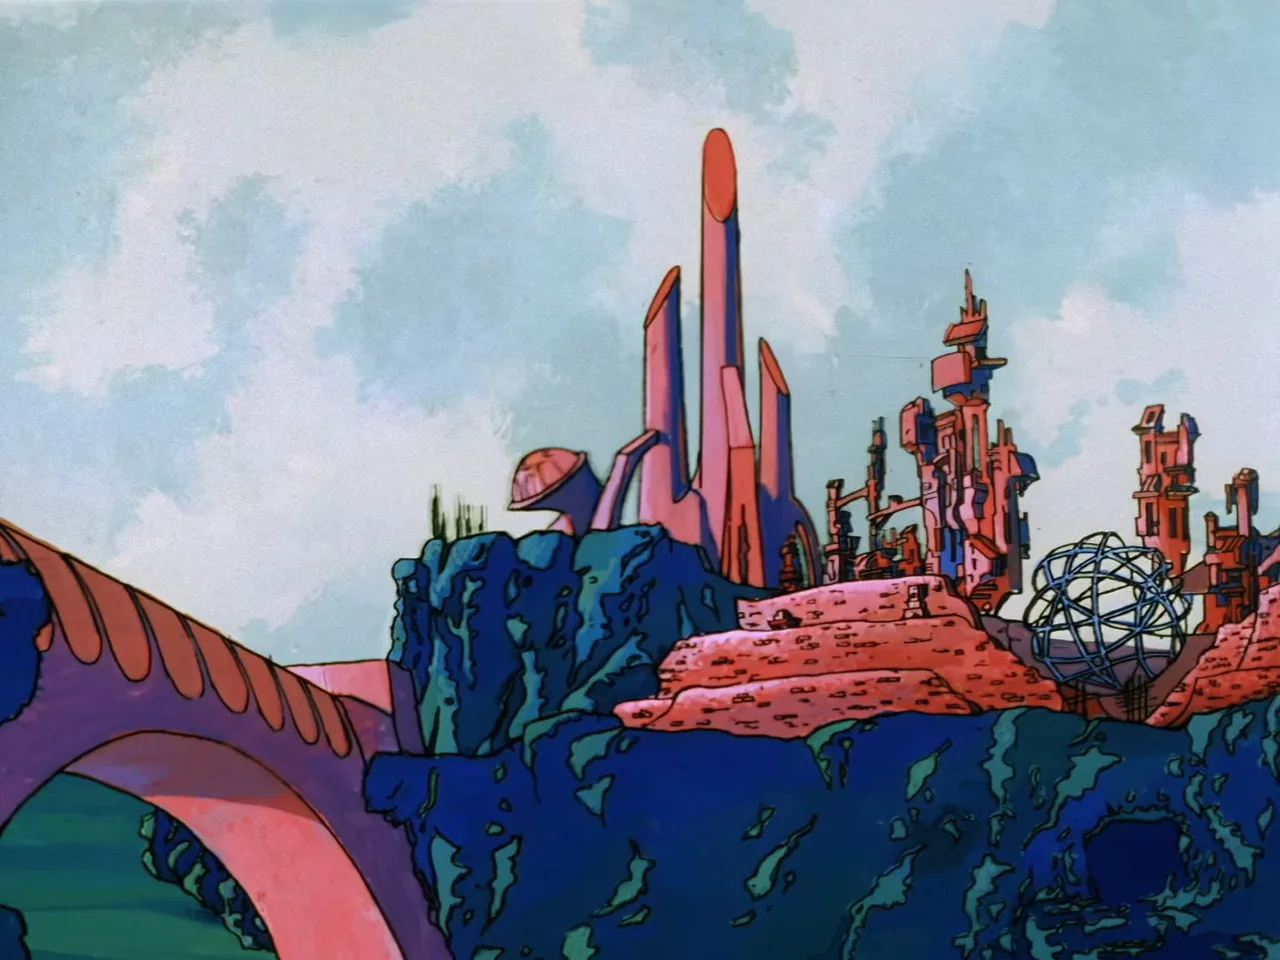
Establishing shot of the Eternos Palace skyline, its tall pink and red towers and a geodesic dome rising behind a rocky cliff and a stone bridge.
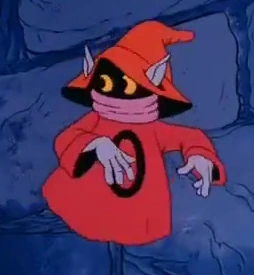
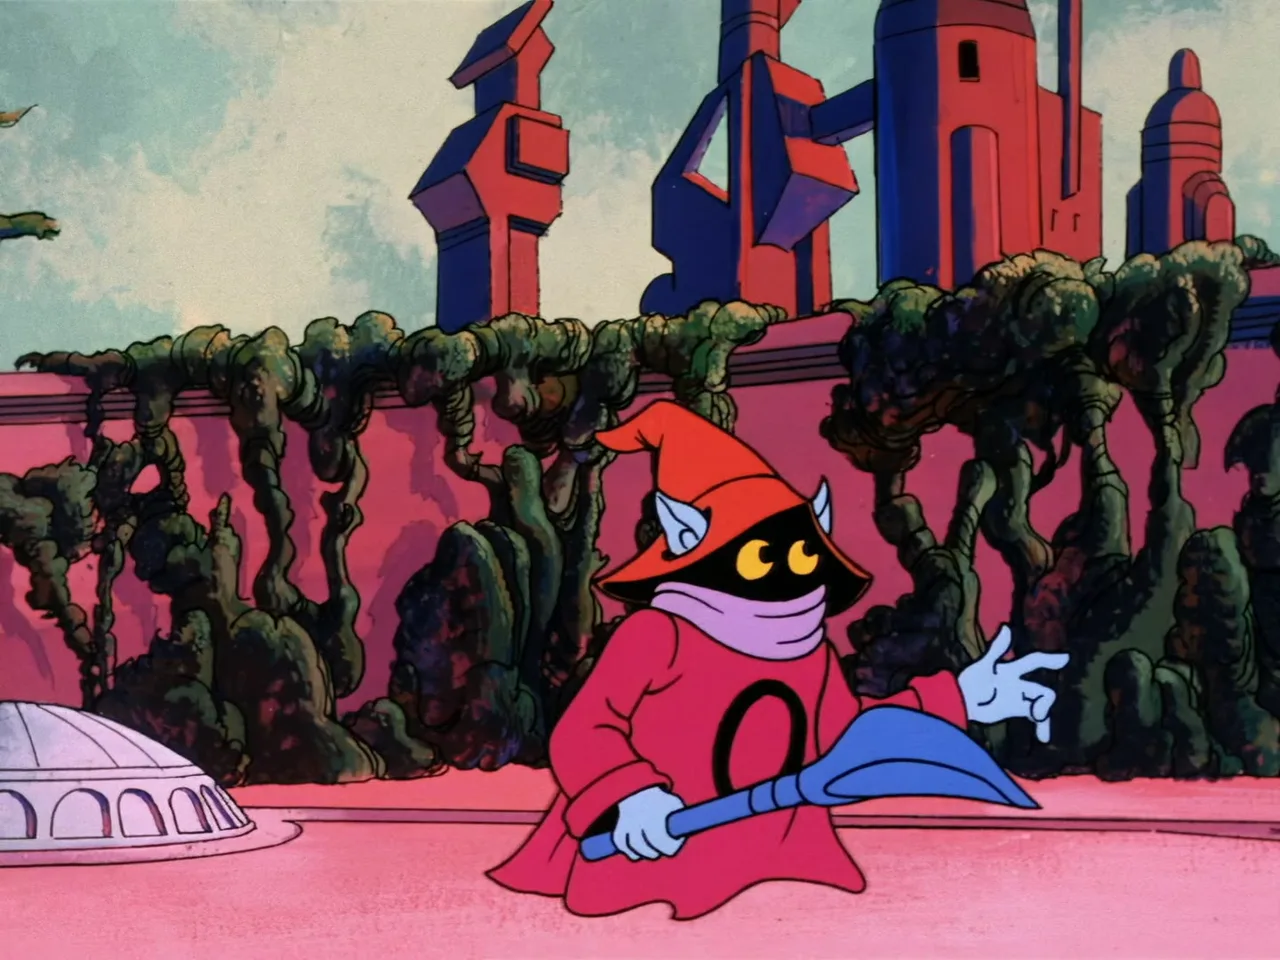
Orko, in his red pointed hat and robe with a black void face and glowing yellow eyes, leans sideways holding a paddle-ball toy in front of a palace hedge wall.
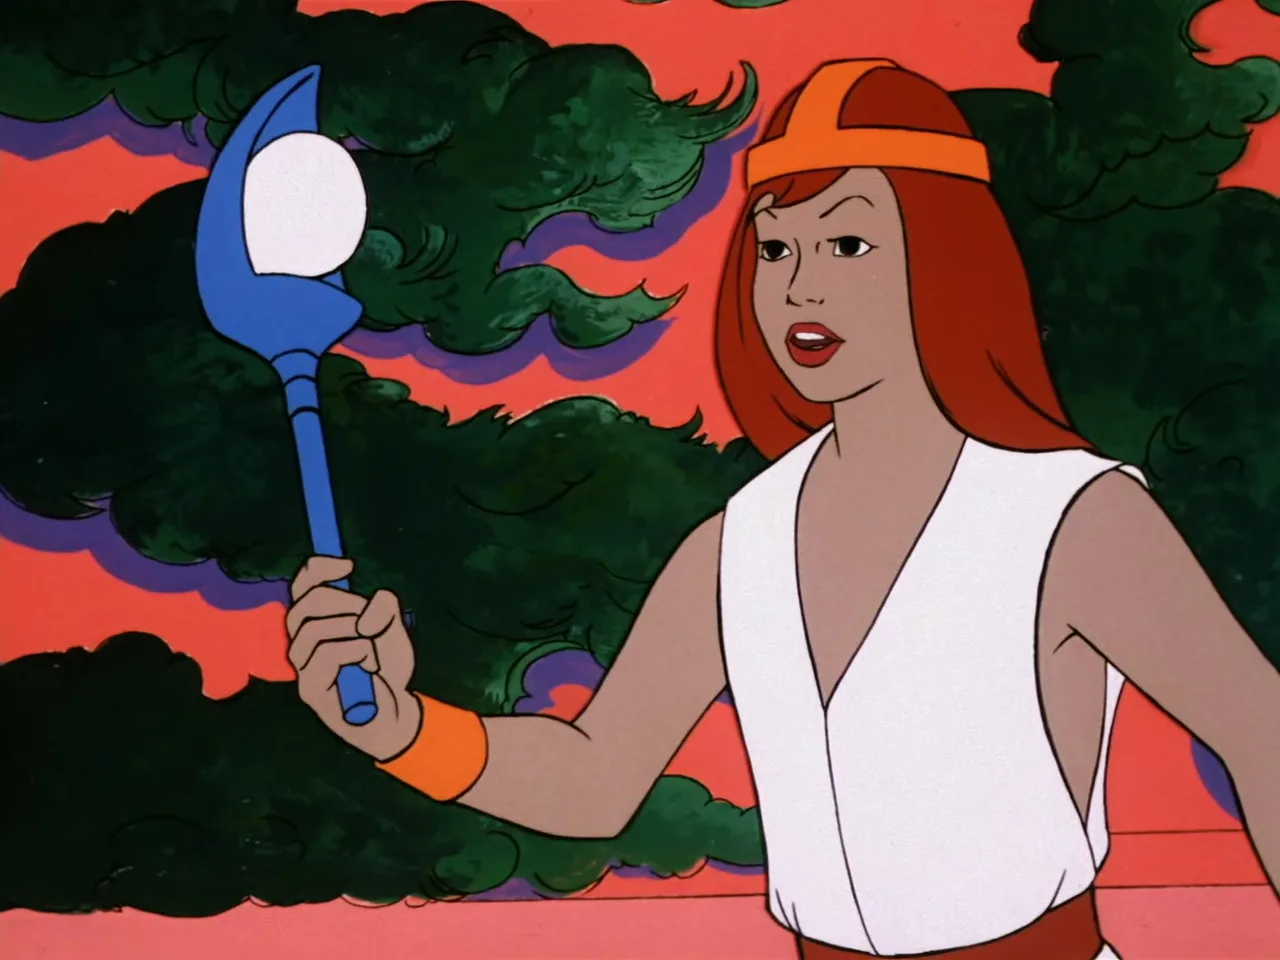
Podi, a girl with long red hair and an orange headband wearing a white sleeveless top, holds up a paddle-ball toy with a white ball, standing in front of palace hedges.
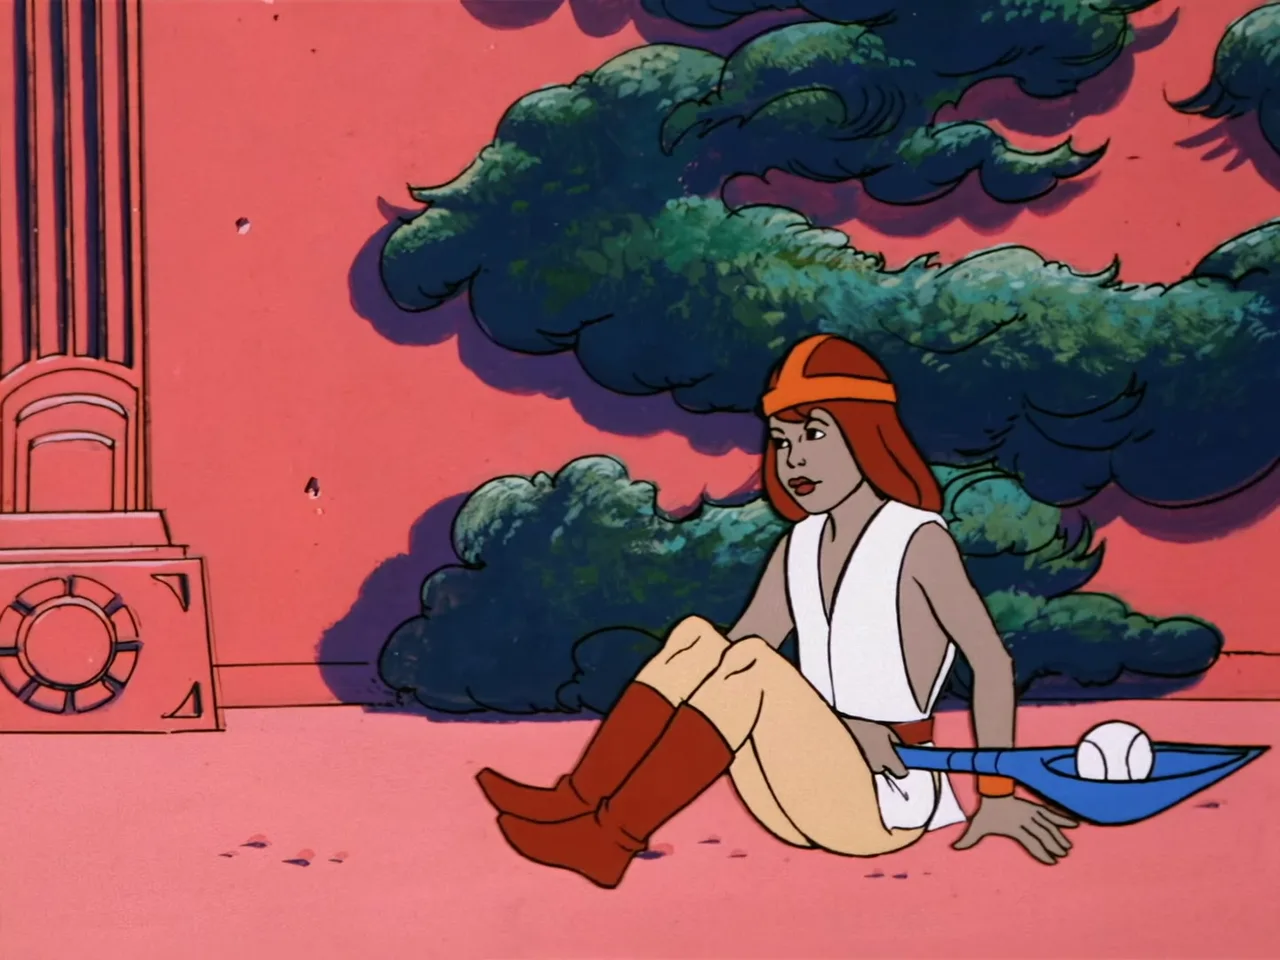
Podi sits on the pink palace courtyard pavement next to the paddle-ball toy, looking up and talking, with a carved stone object beside her.
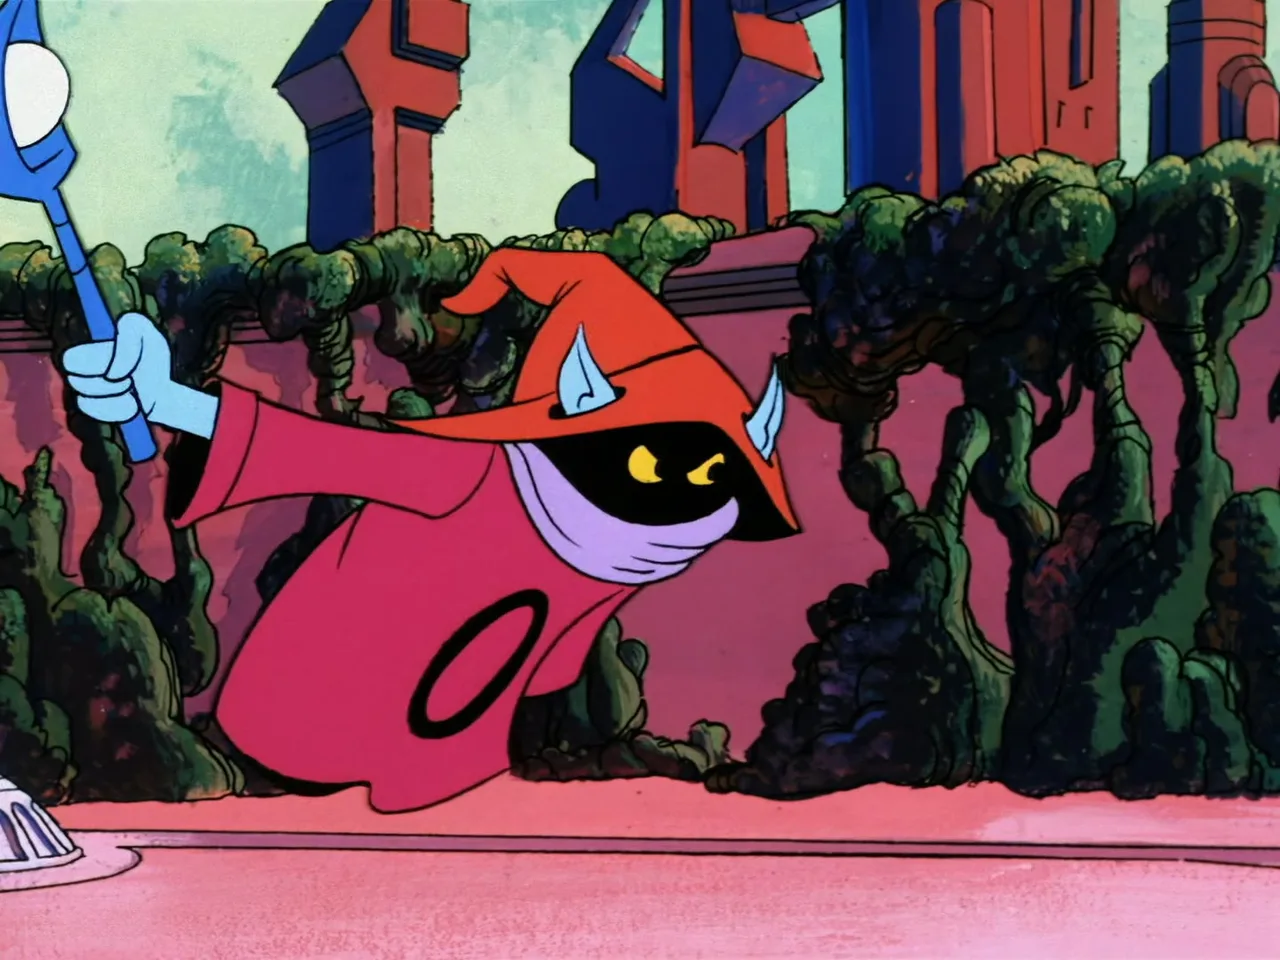
Orko hovers in front of the palace towers and hedge wall, reaching one gloved hand toward the viewer in a beckoning gesture.
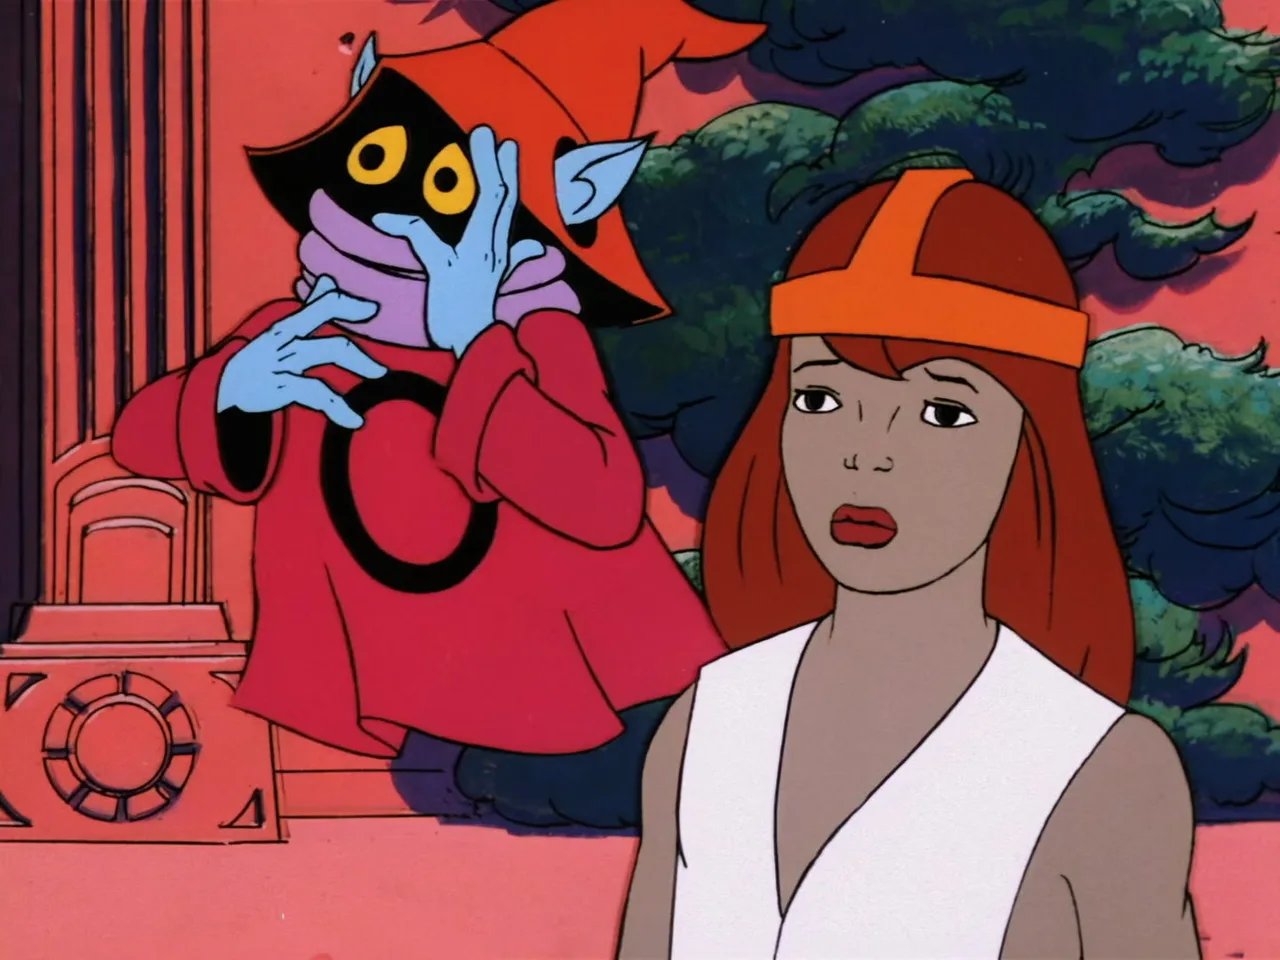
Orko raises one gloved hand to his face beside a worried Podi.
Close-up on Orko's hooded face, his black void with glowing yellow eyes and lavender scarf, framed against a plain sky backdrop.
Close-up repeat of Orko's hooded face with glowing yellow eyes and lavender scarf against a plain backdrop, listening intently.
Debris of a wrecked invention lies scattered on a workshop floor.
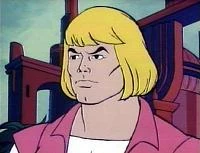
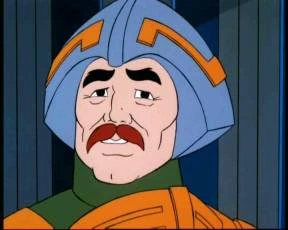
Prince Adam, blond with a pink vest over a white shirt, stands beside Man-At-Arms in his blue helmet and orange armor inside the palace, with Orko visible faintly behind them.
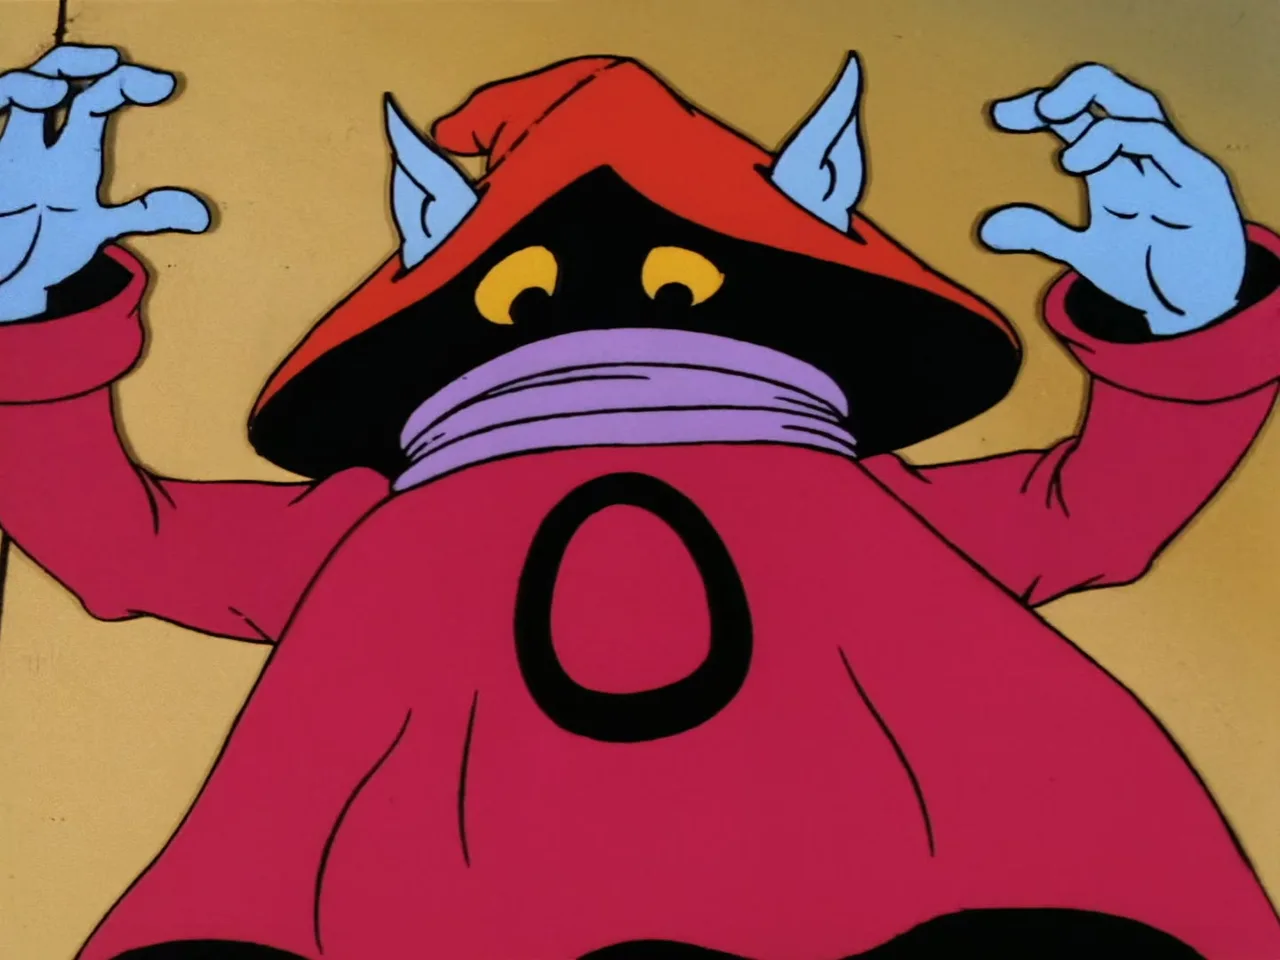
Orko hovers against a golden-yellow background with both blue-gloved hands raised defensively, protesting.
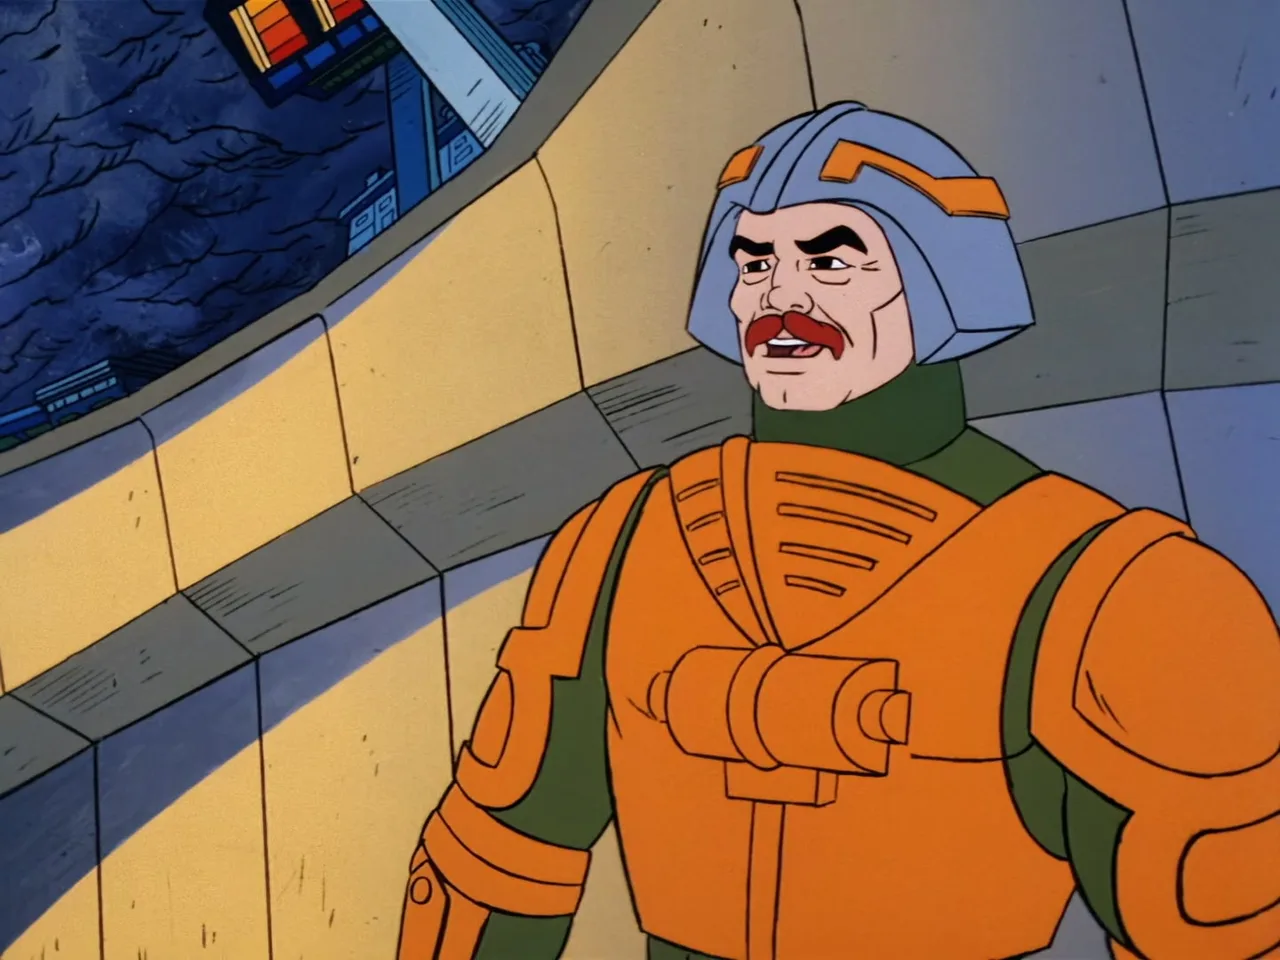
Man-At-Arms stands in his orange armor inside the palace workshop.
Prince Adam looks on as Orko, floating beside him, holds up one finger while balancing the white paddle-ball on his other hand, both against a yellow wall.
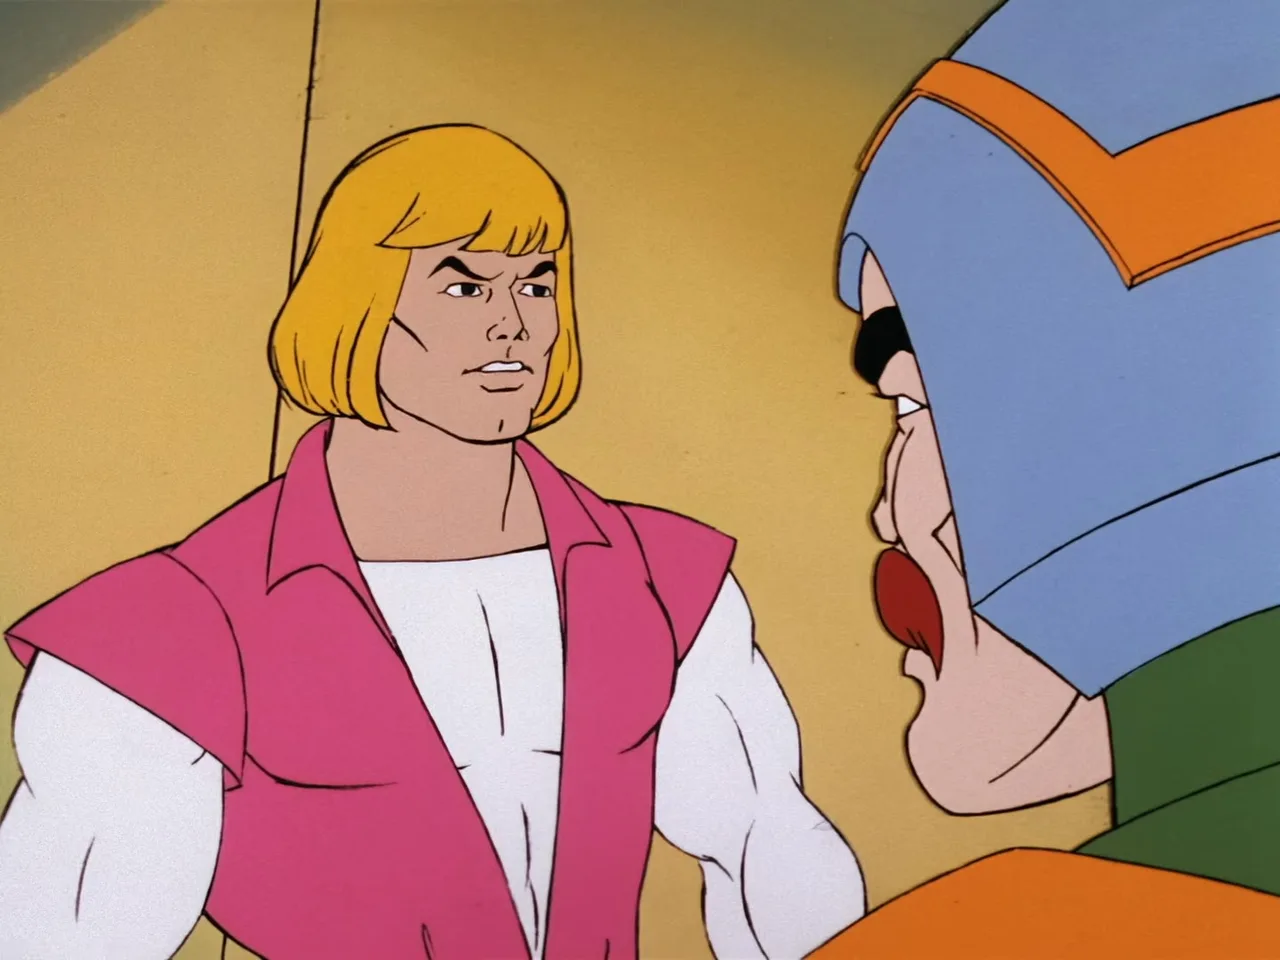
Prince Adam, looking stern, faces off closely with Man-At-Arms in profile, who shouts with an open mouth, inside the palace.
Podi's worried face in close-up, her orange headband and red hair lit by dim blue-green light, standing in the shadowy Vine Jungle.
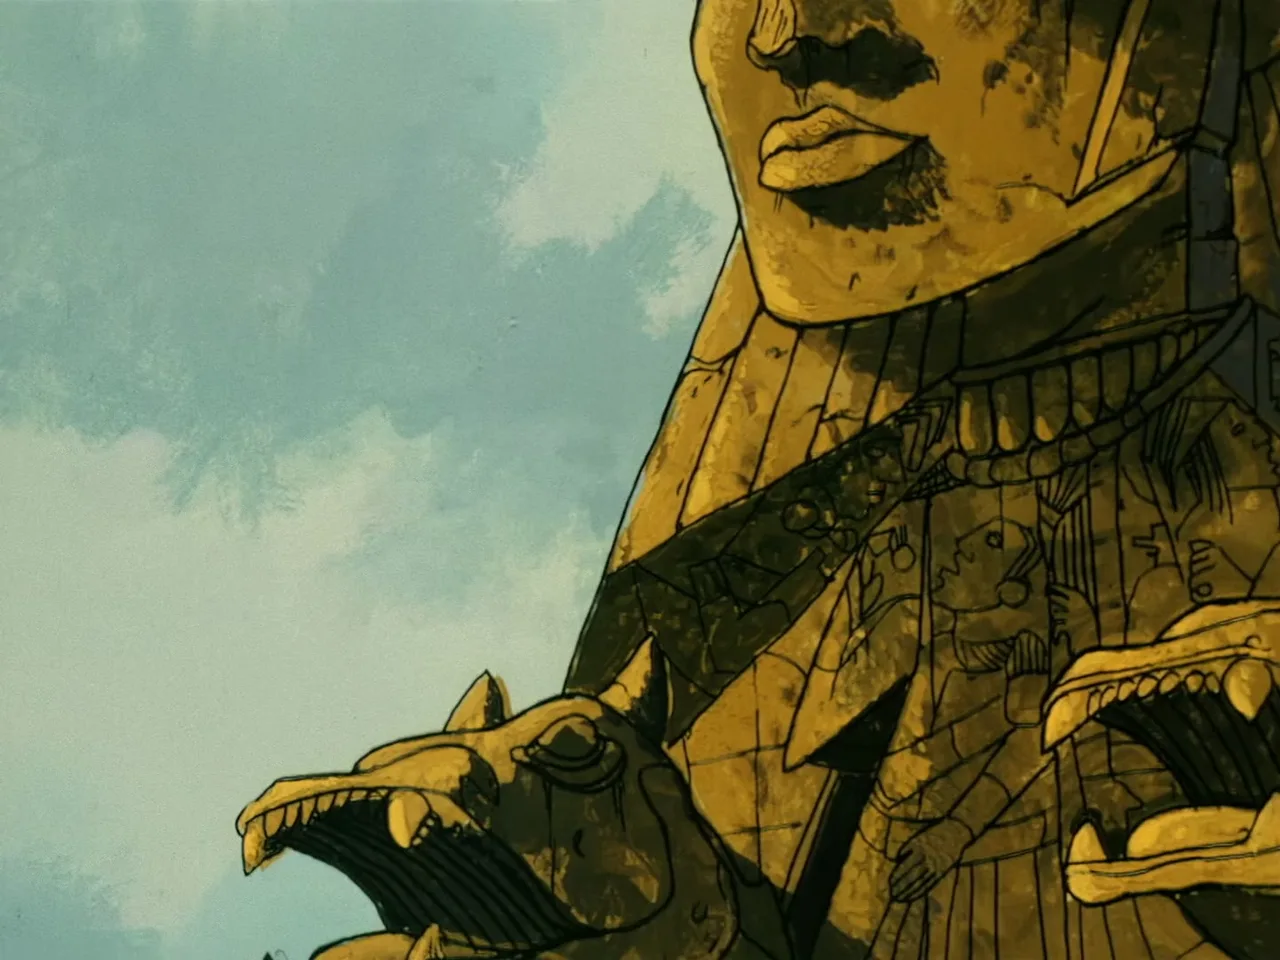
Close-up of a weathered golden temple statue's face and shoulder, carved with a jackal-headed creature ornament, against a pale sky.
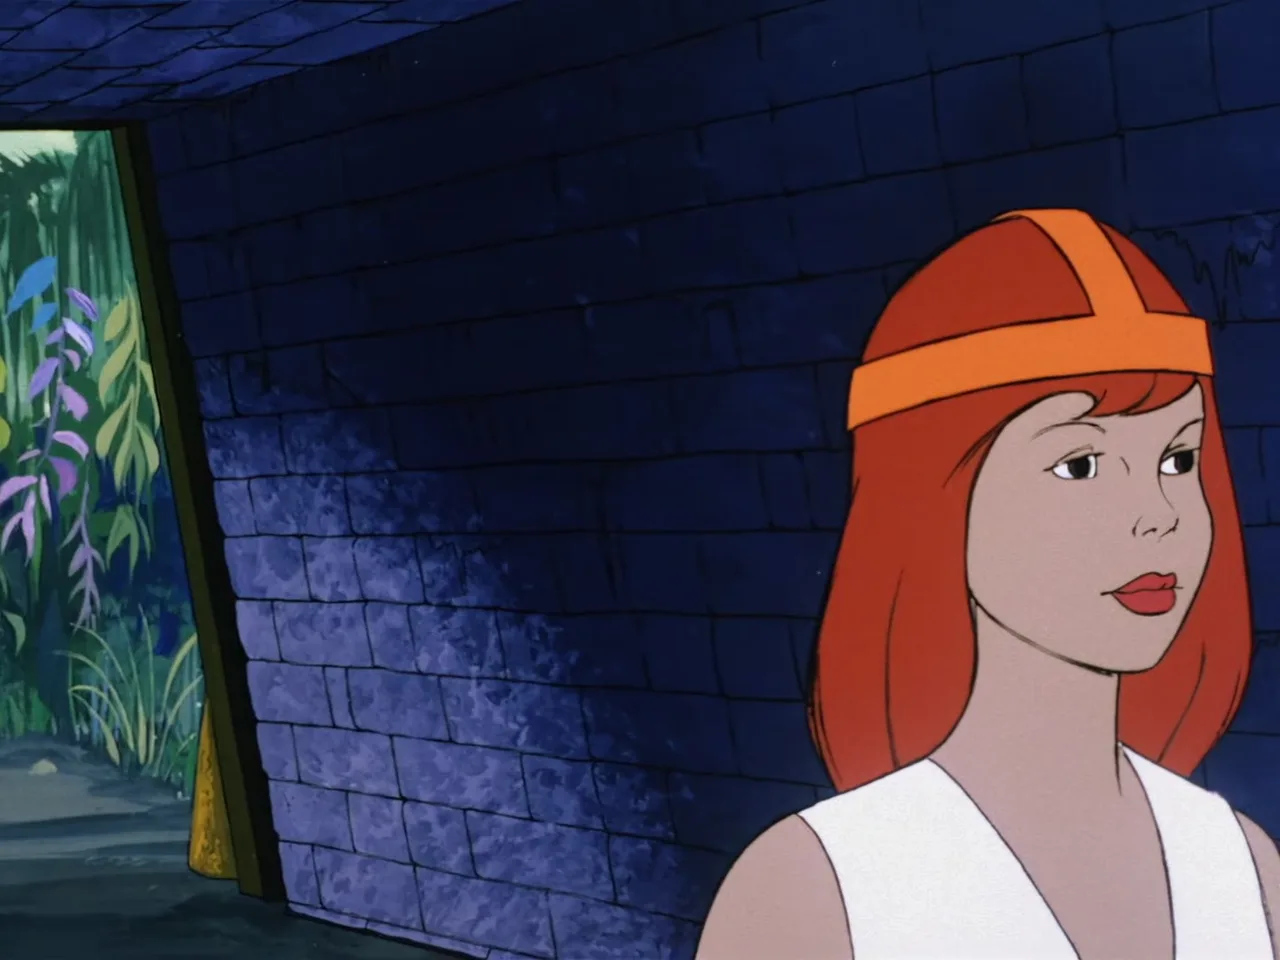
Podi stands alone in a dim stone corridor beside an open doorway leading out to jungle foliage, looking apprehensive.
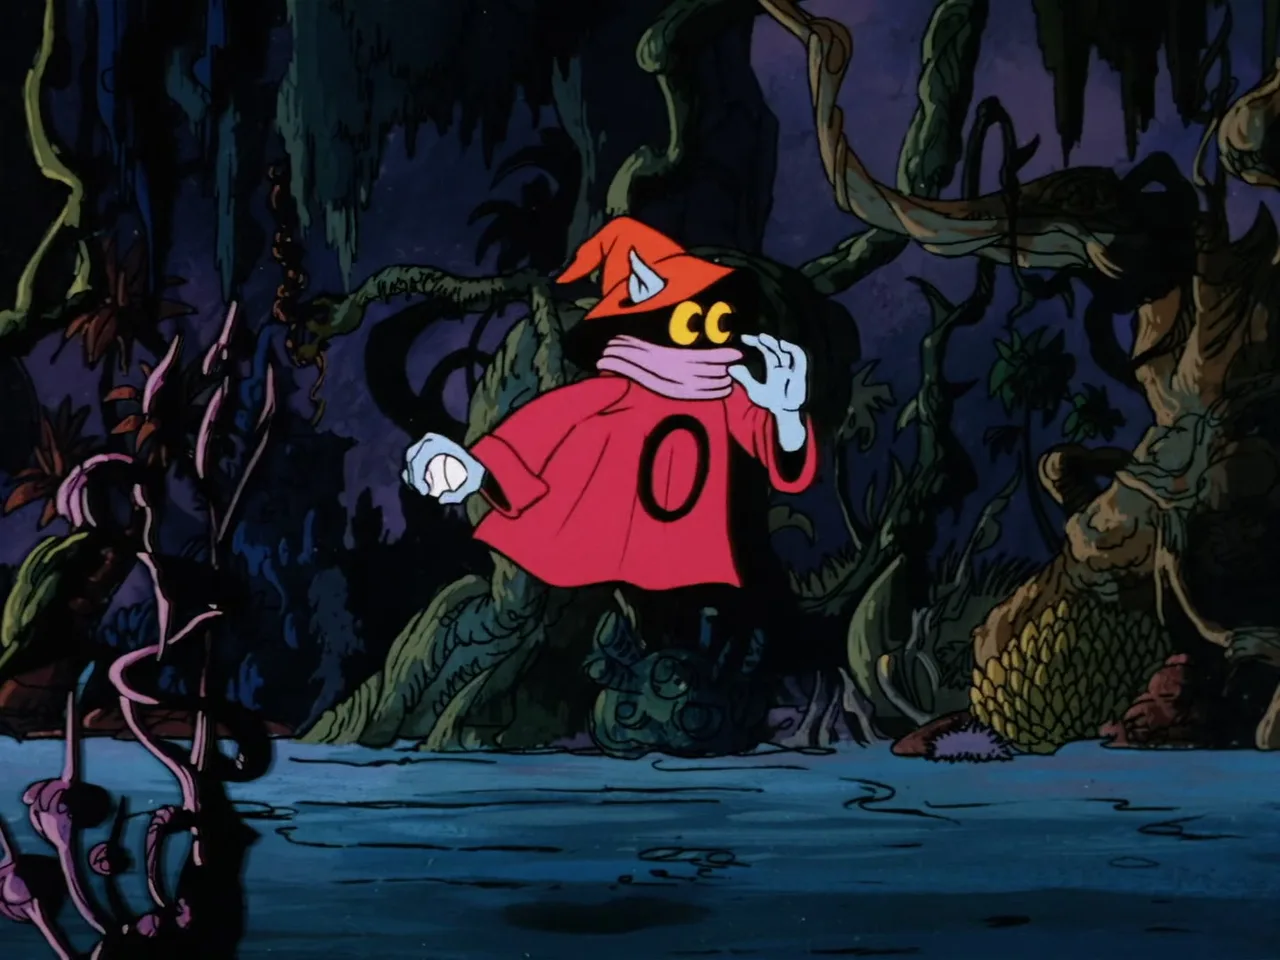
Orko floats in the dark Vine Jungle holding the white paddle-ball, surrounded by twisted vines and a spiky yellow fruit pod.
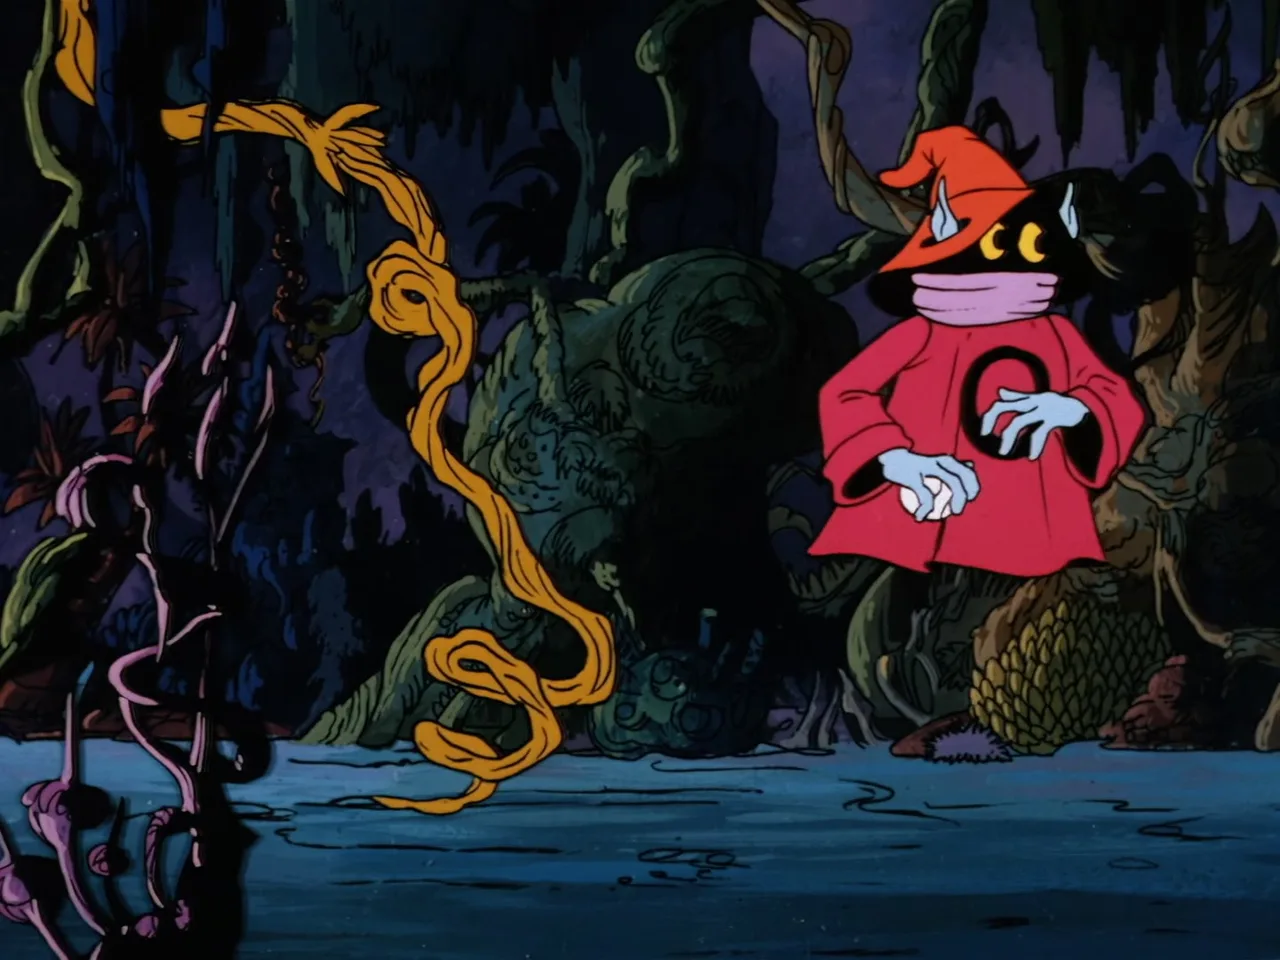
Orko stands in the dark jungle with hands at his chest, as a glowing golden vine or tendril stretches toward him from the left.
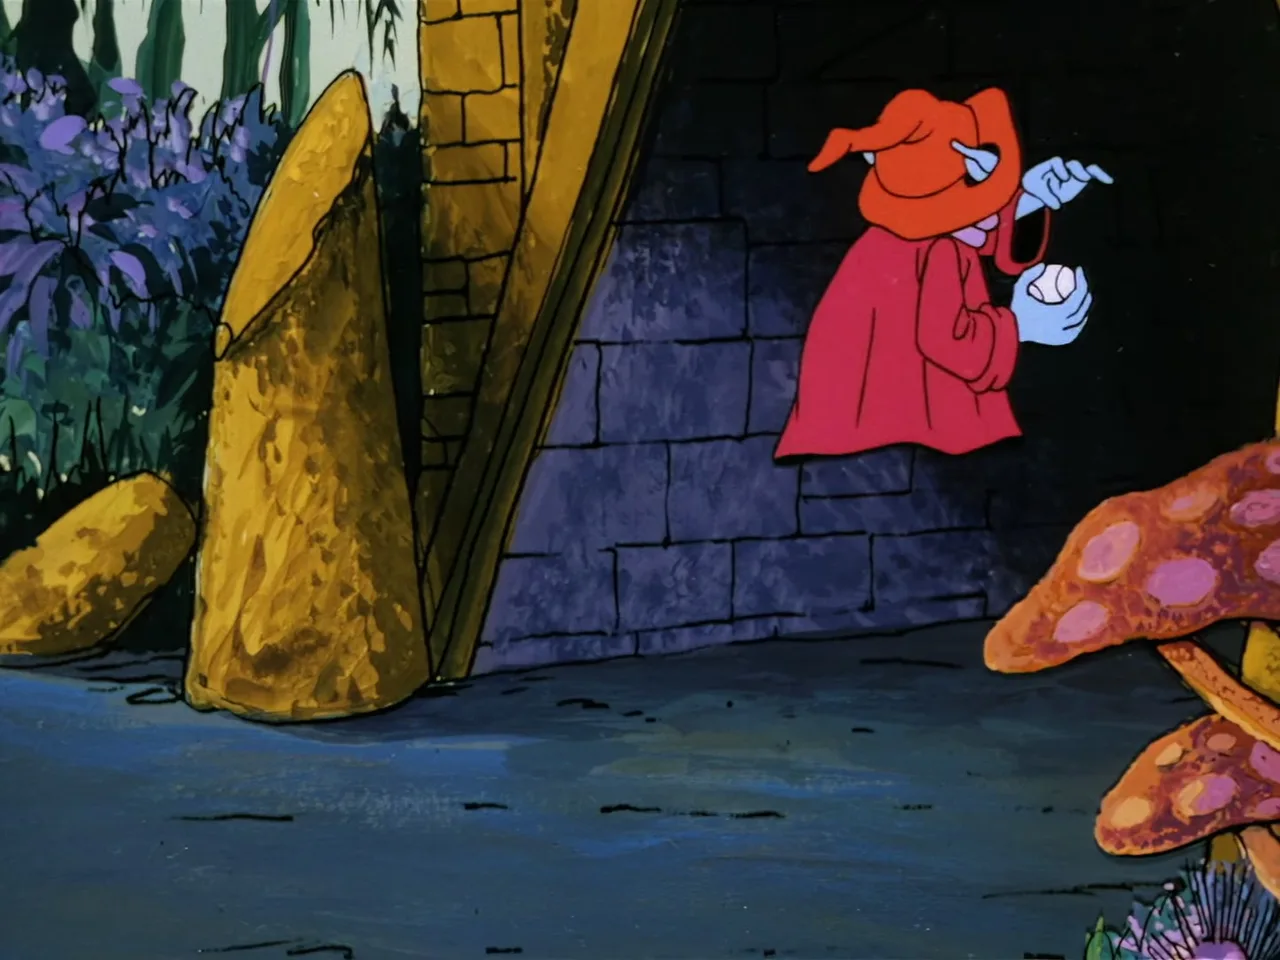
Orko peers nervously around a rock outcropping near a temple wall, clutching the white paddle-ball, with purple flowers and mushrooms nearby.
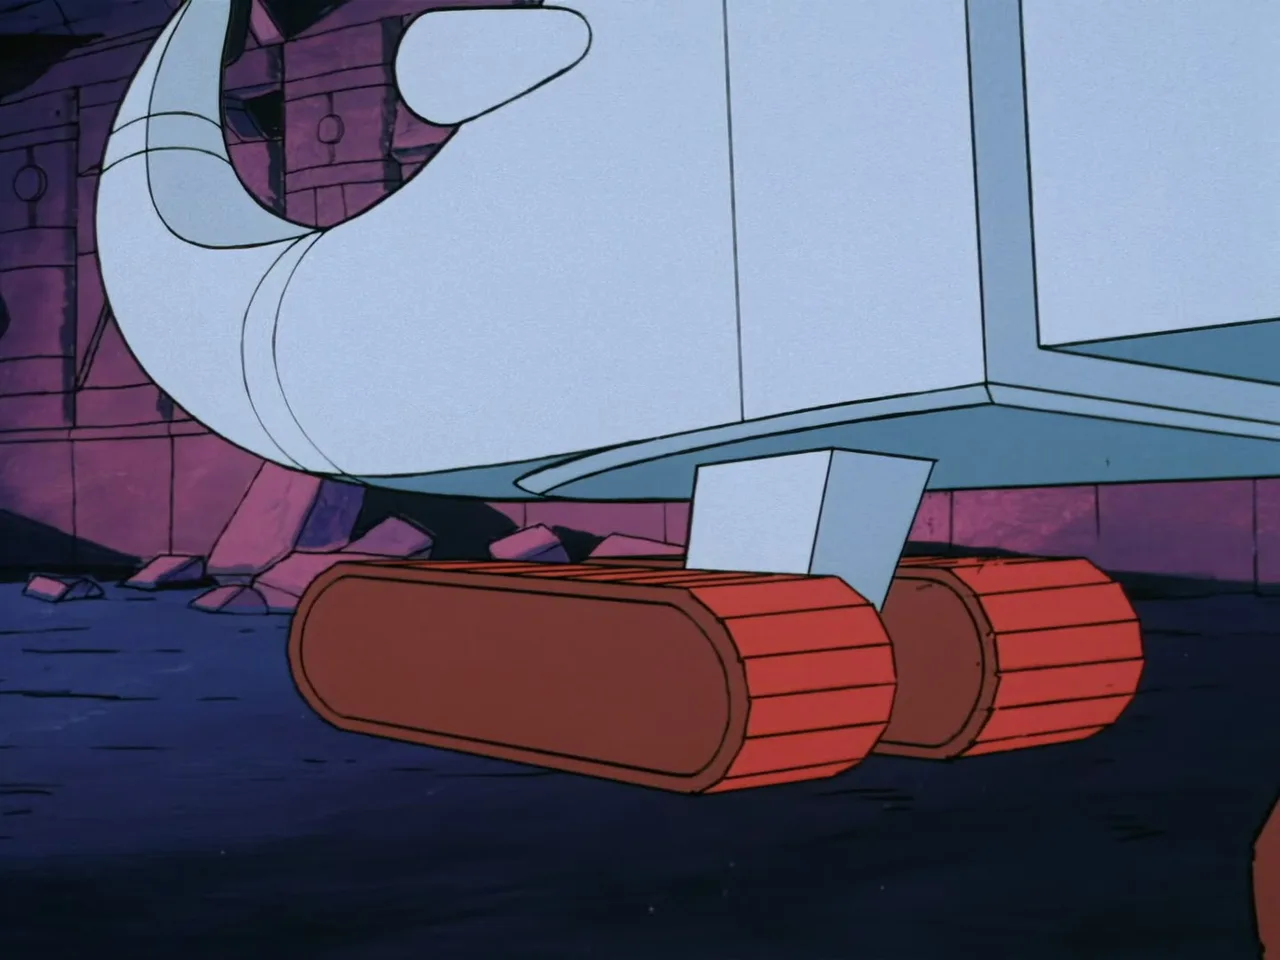
Close-up of Zegone's white tracked foot and leg mechanism against a cracked purple temple wall carved with a jackal relief.
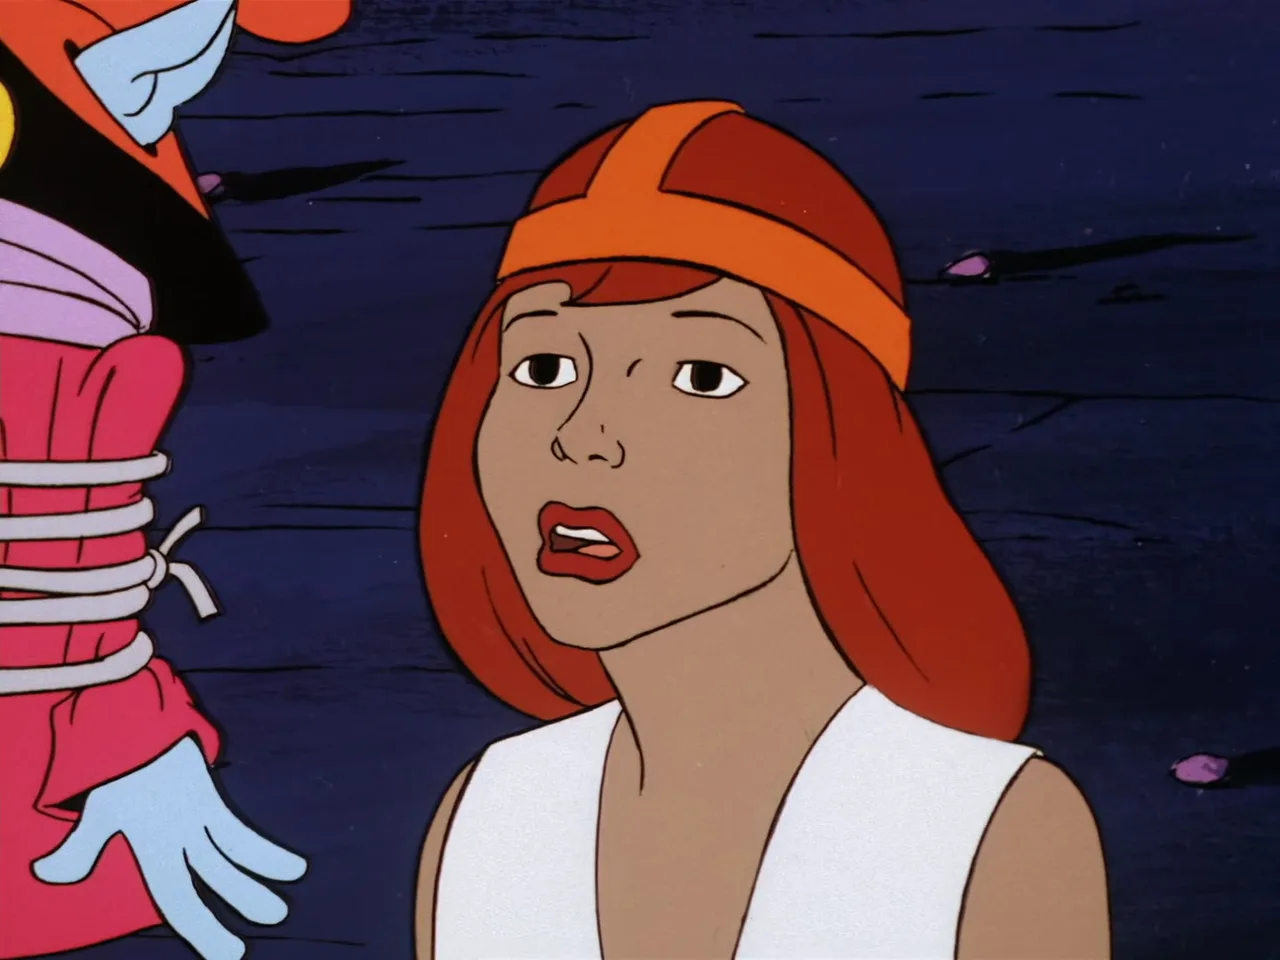
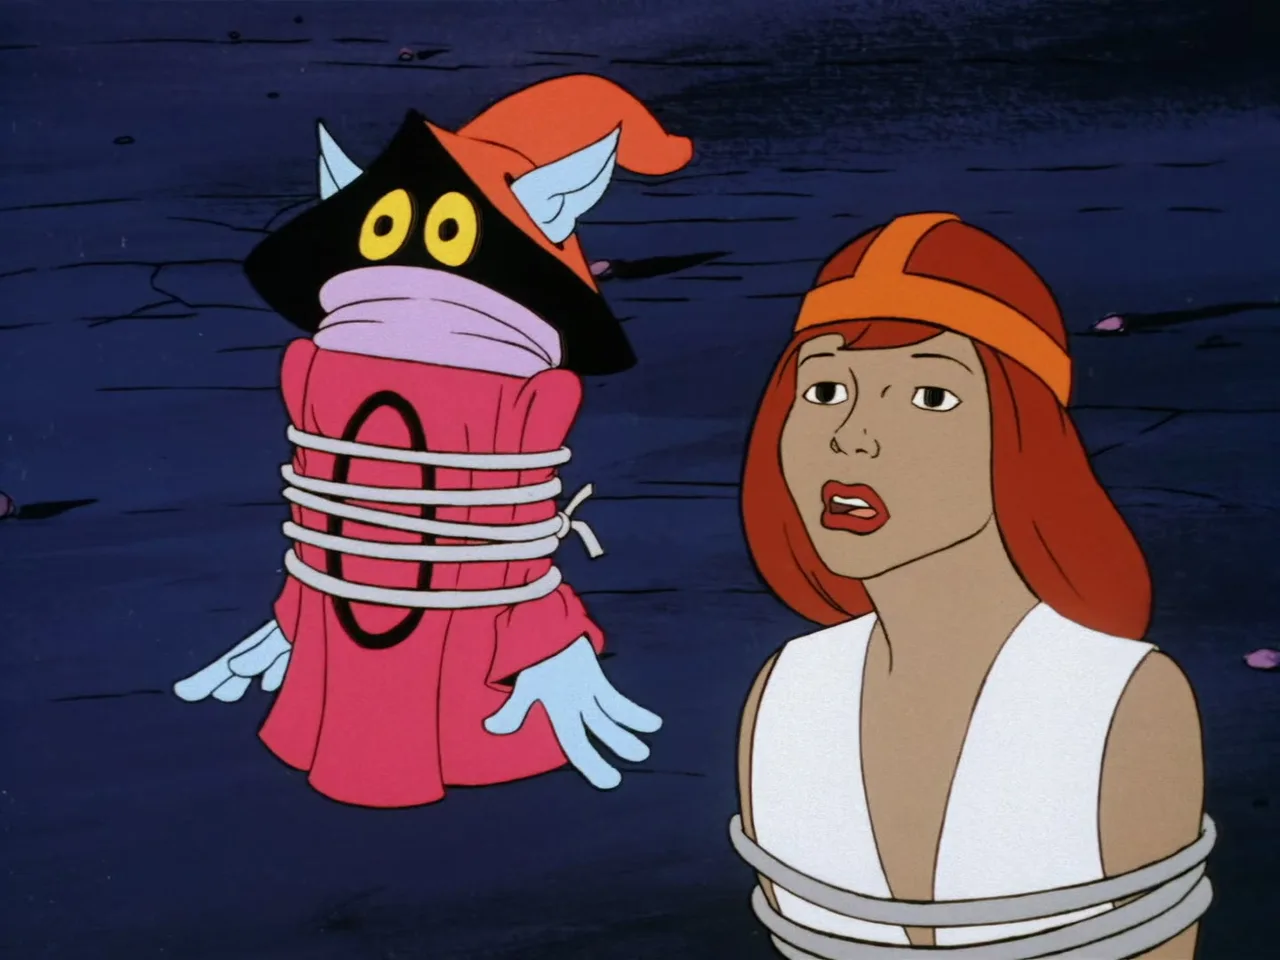
Podi, looking frightened, stands bound in rope beside a similarly rope-bound Orko, both captives in the dark jungle.
Orko, wrapped and bound in coiled rope, floats beside a worried Podi who is also tied up, both prisoners against a dark background.
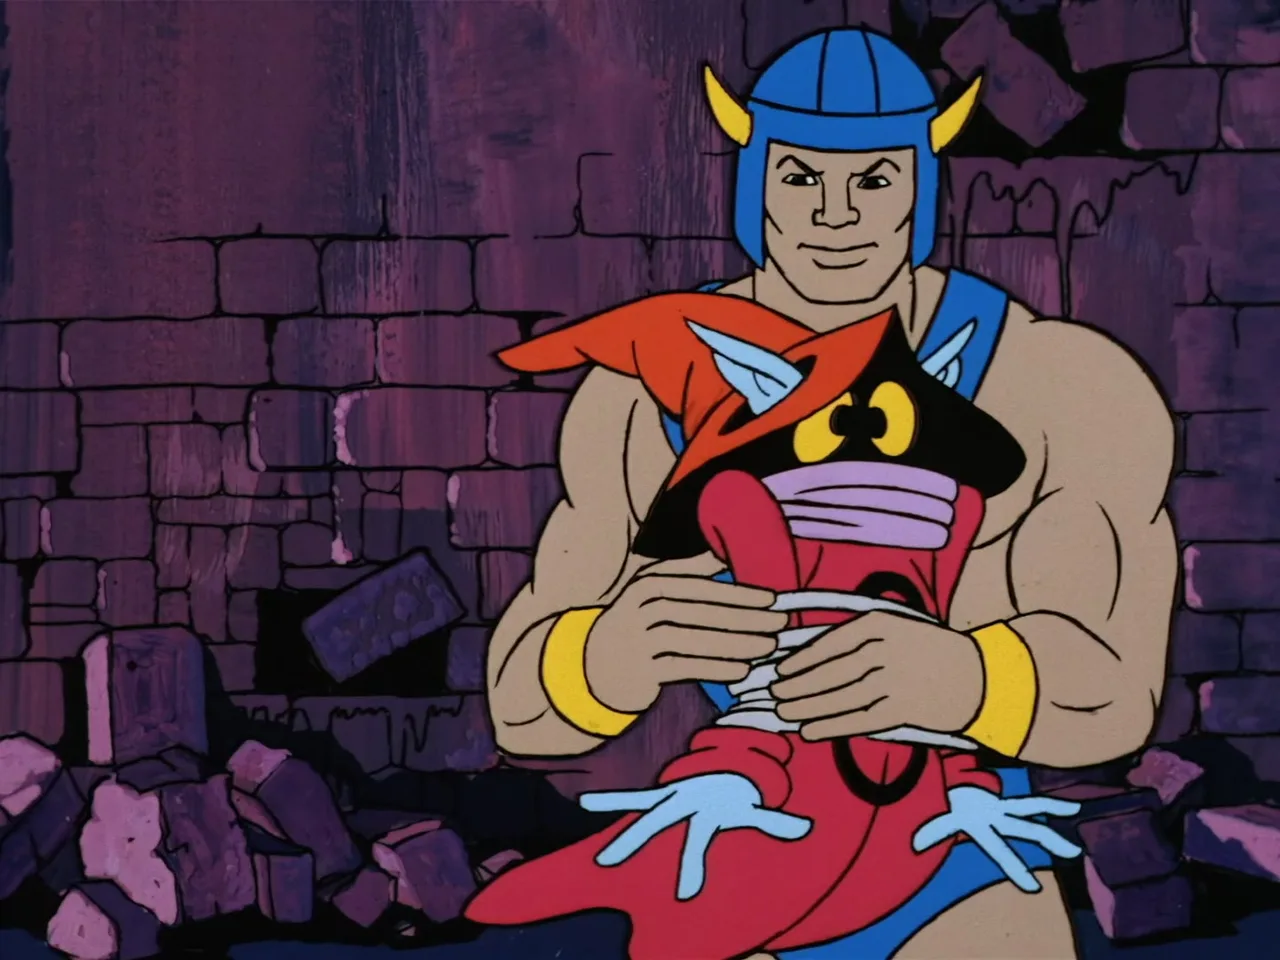
He-Man, in his blue helmet, harness and furs, carefully unties rope-bound Orko, cradling him against a cracked purple brick wall amid rubble.
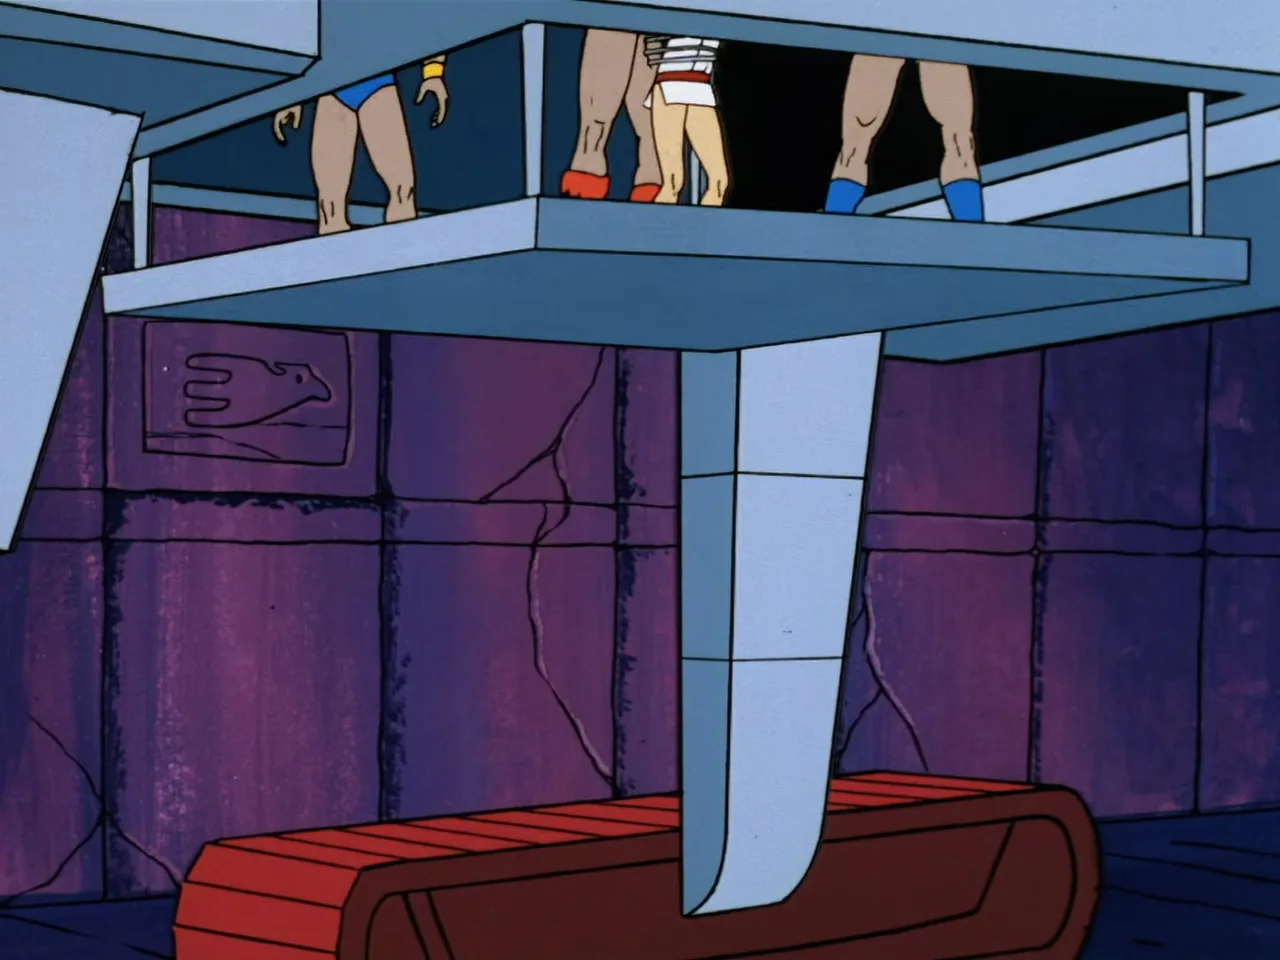
Low-angle shot of several characters' legs and boots walking atop a raised platform above Zegone's tracked undercarriage, a jackal relief carved on the wall below.
A white curved object stands beside a doorway with a lattice fence beyond.
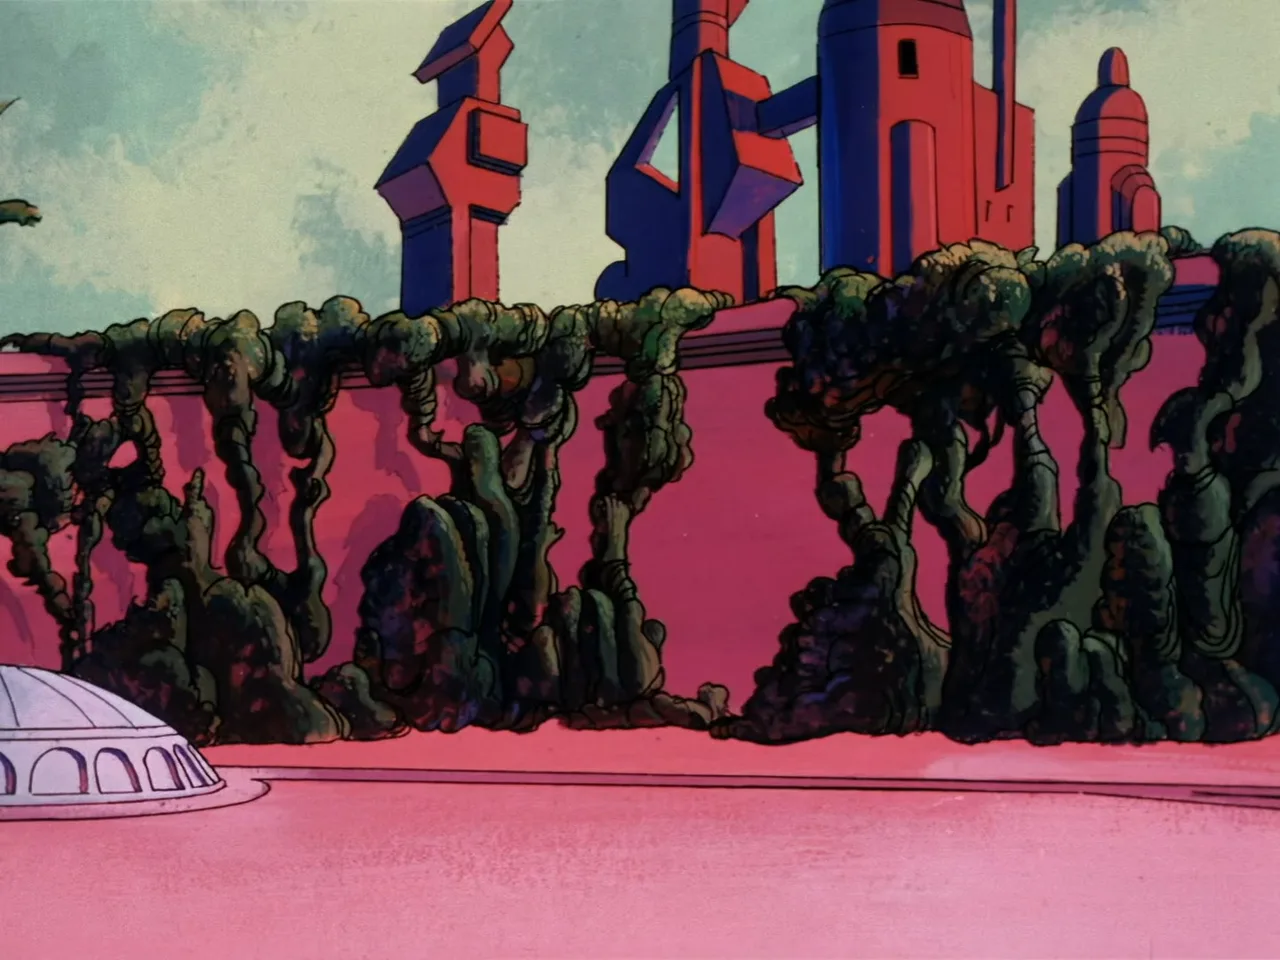
Wide shot of the Eternos Palace's red and blue angular towers rising behind a vine-covered pink wall, with a domed building to the left.
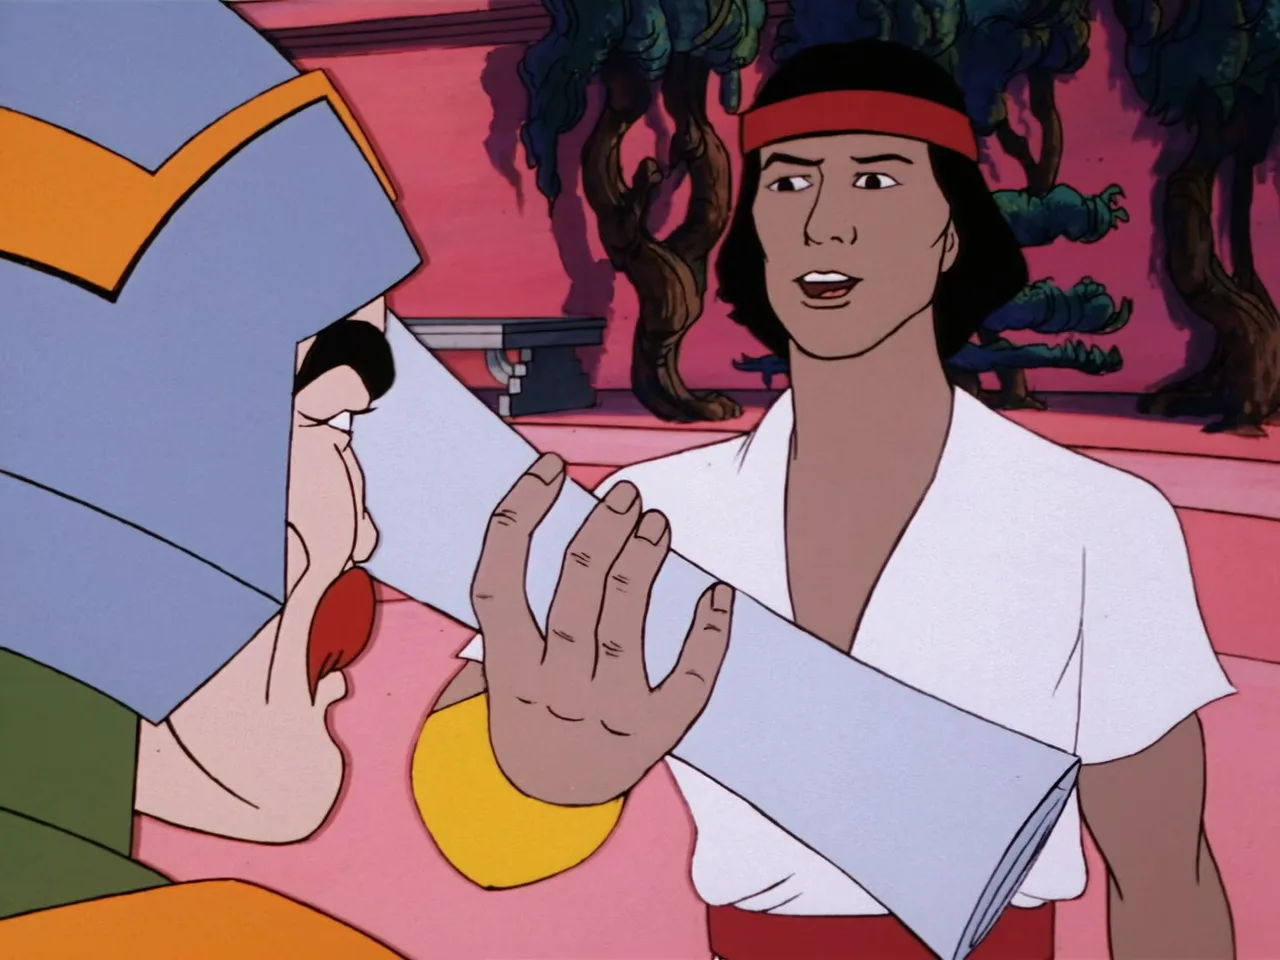
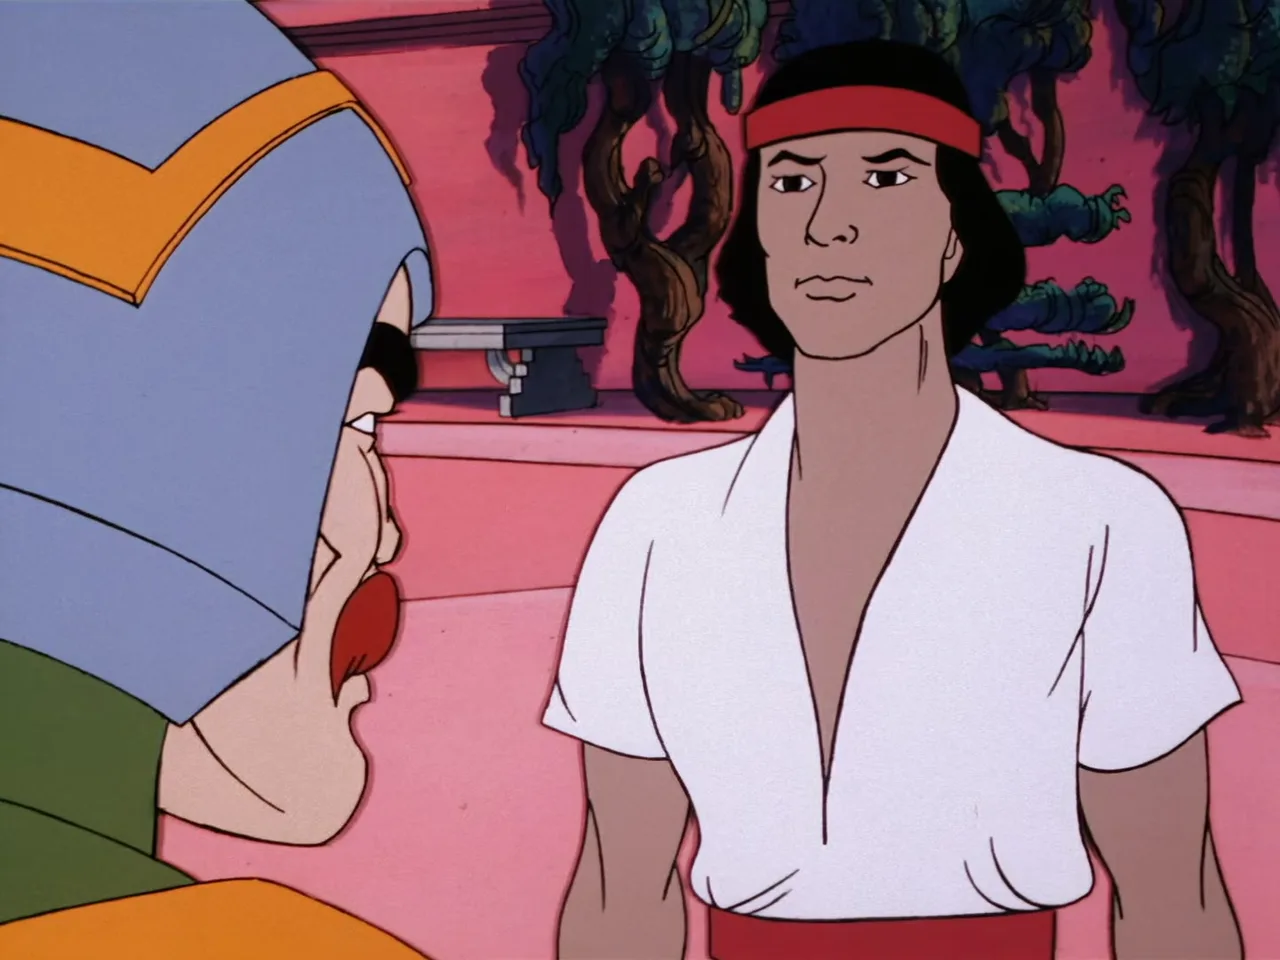
Man-At-Arms, in profile wearing his blue helmet, listens as a young man with a red headband and black hair, wearing a white shirt, speaks urgently in the palace courtyard.
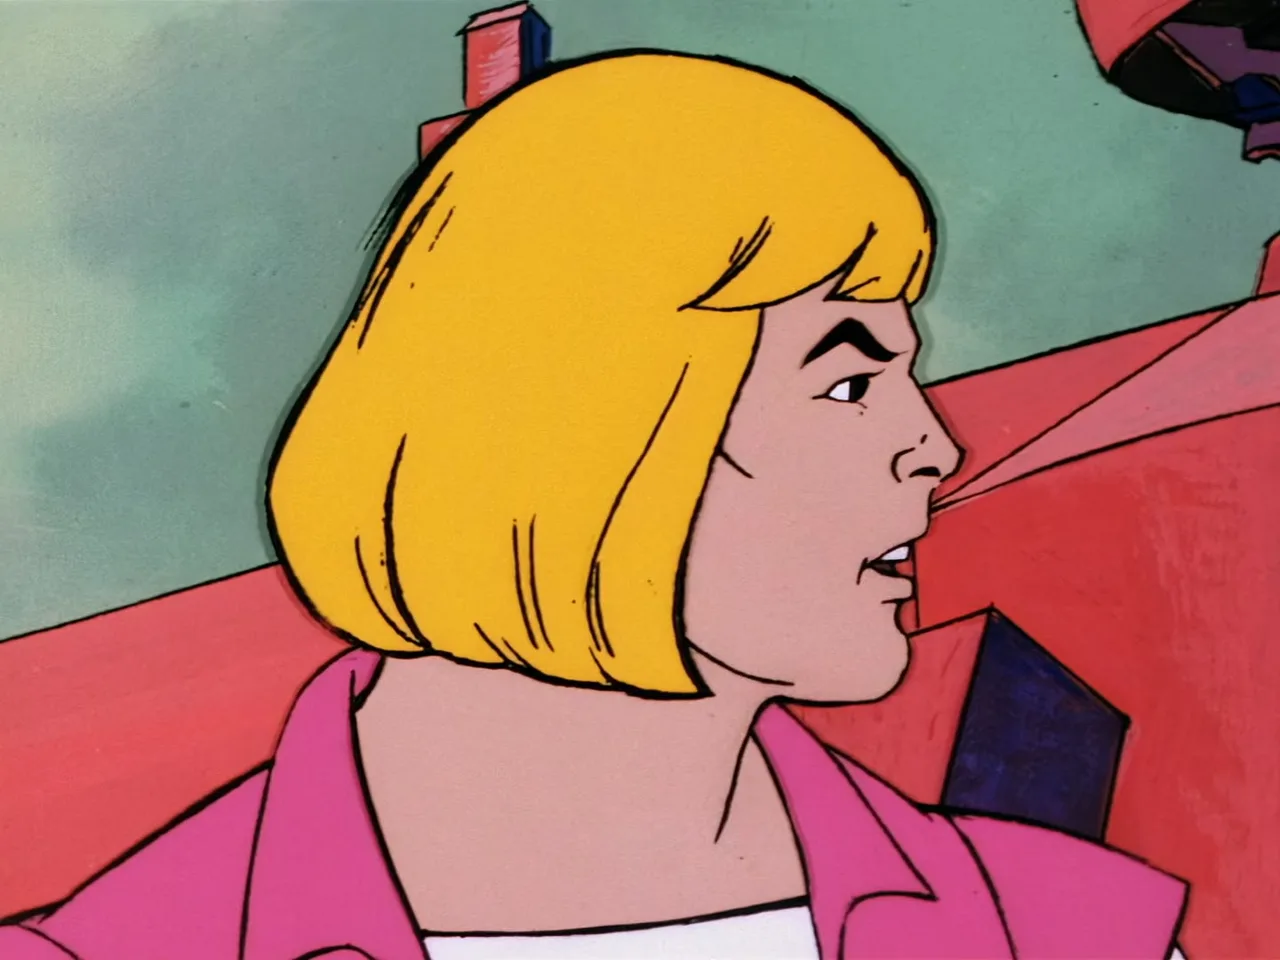
Prince Adam, blond and in profile, speaks out in the palace courtyard with red and blue towers visible behind him.
The messenger, with his red headband and black hair in a white shirt, stands calmly facing Man-At-Arms in the pink-walled palace courtyard.
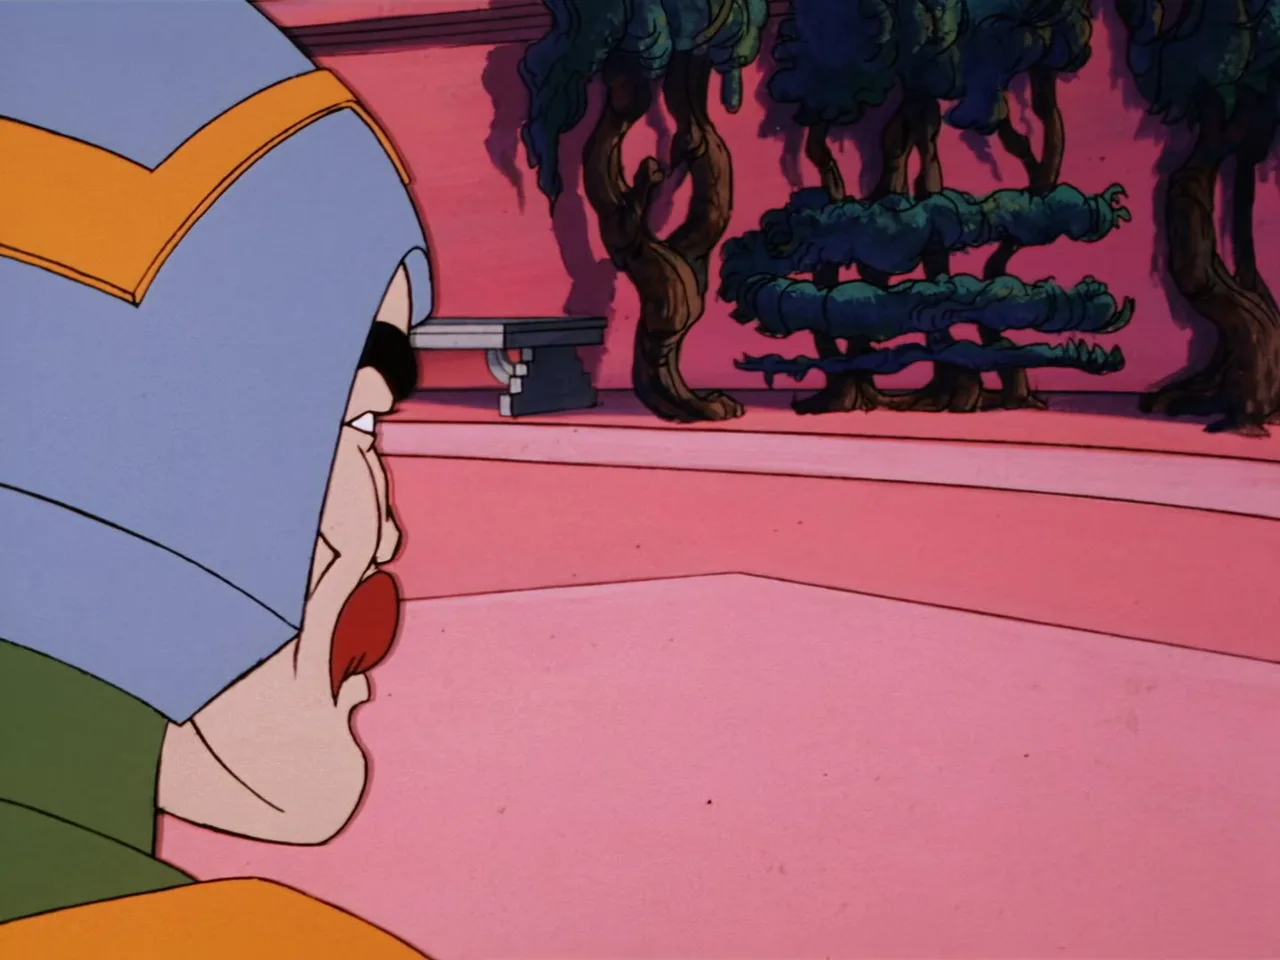
Man-At-Arms, seen from behind in profile, looks toward a small ray-gun-shaped device resting on a ledge in the palace courtyard.
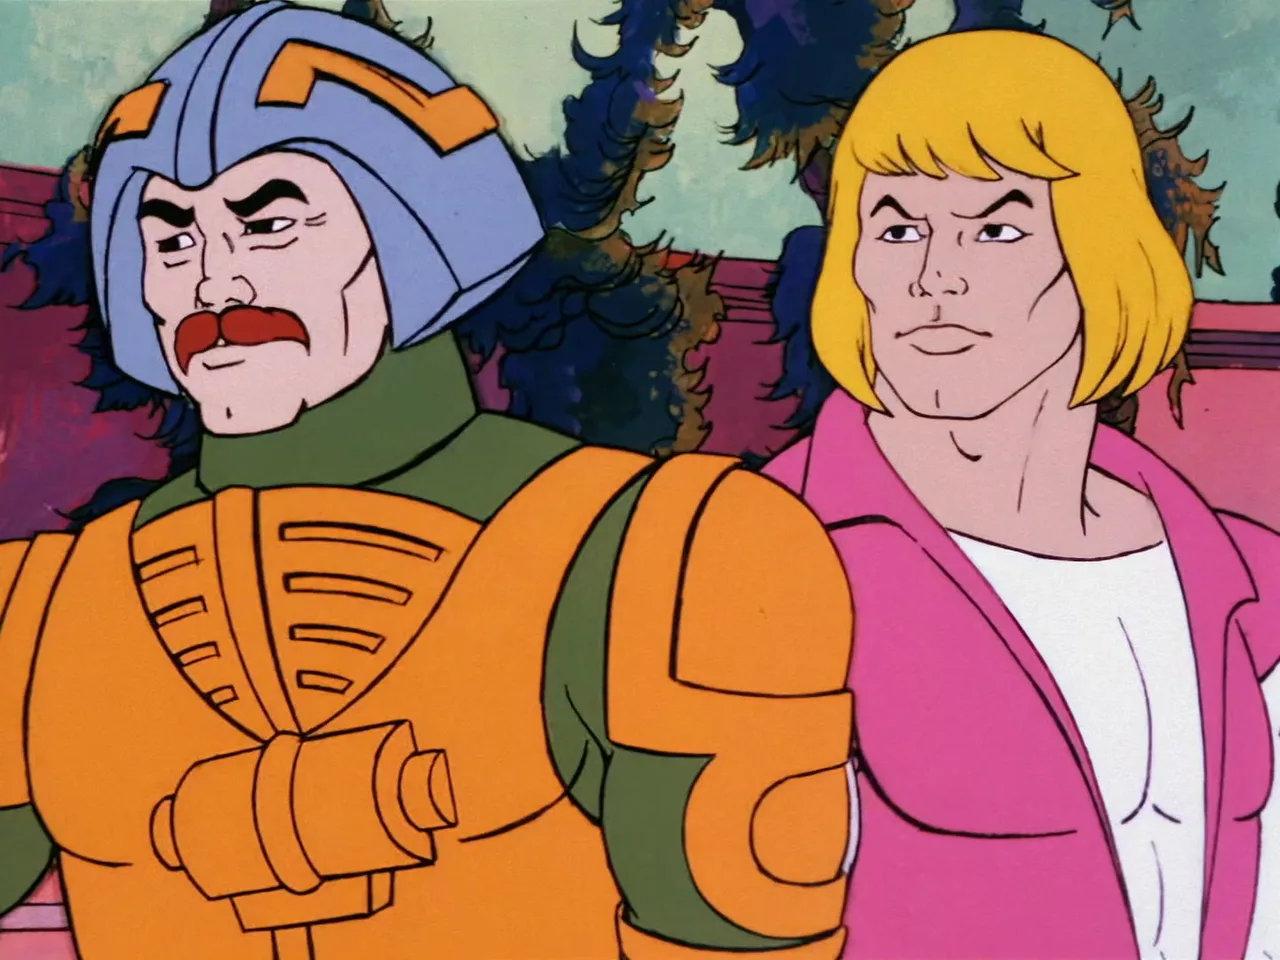
Man-At-Arms, in his blue helmet and orange-and-green armor, stands beside Prince Adam, both looking off to the side with serious expressions.
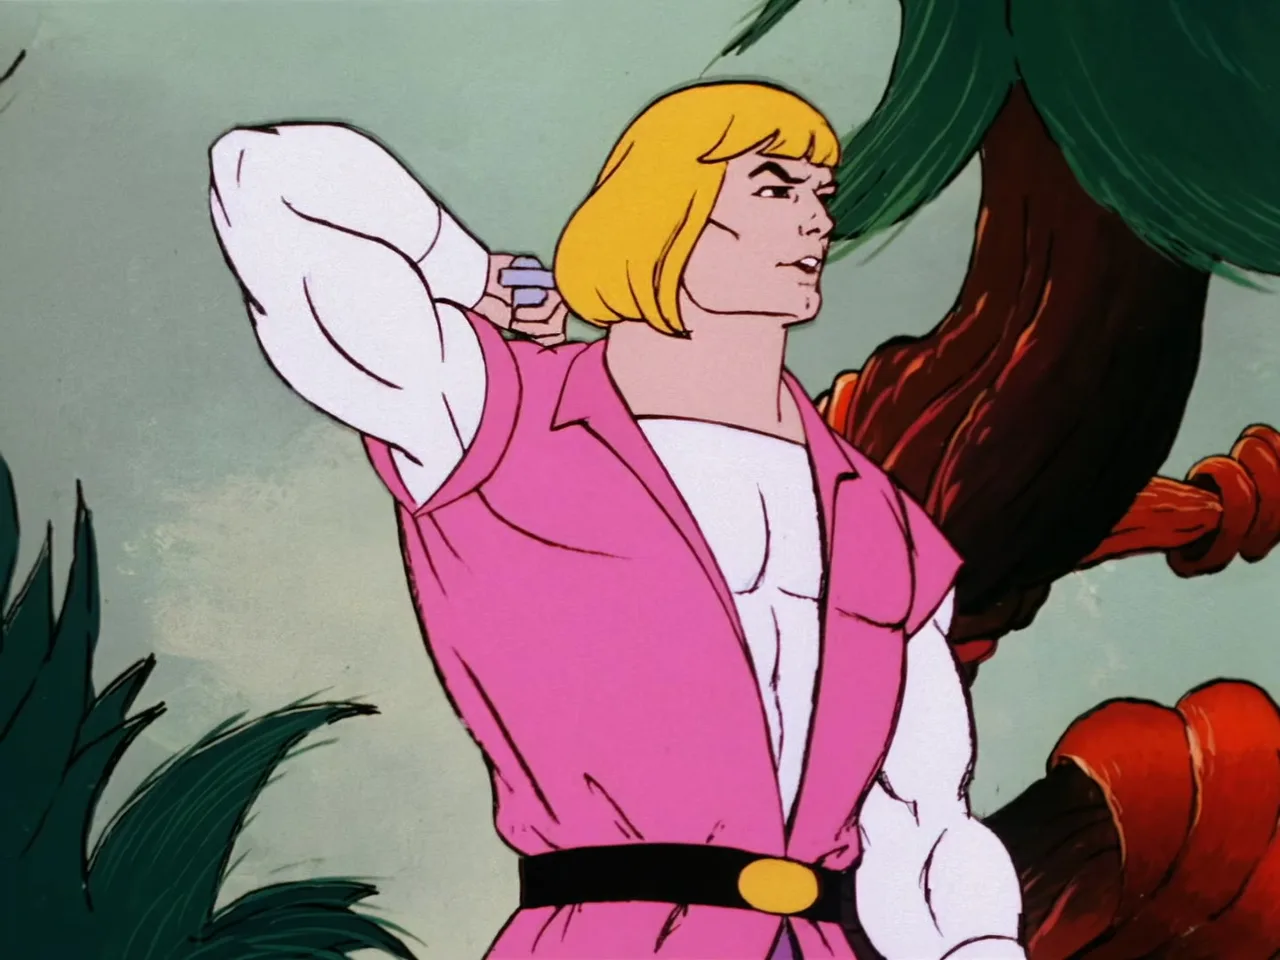
Prince Adam, seen from the side, reaches behind his neck as if drawing his sword, standing in front of jungle foliage.
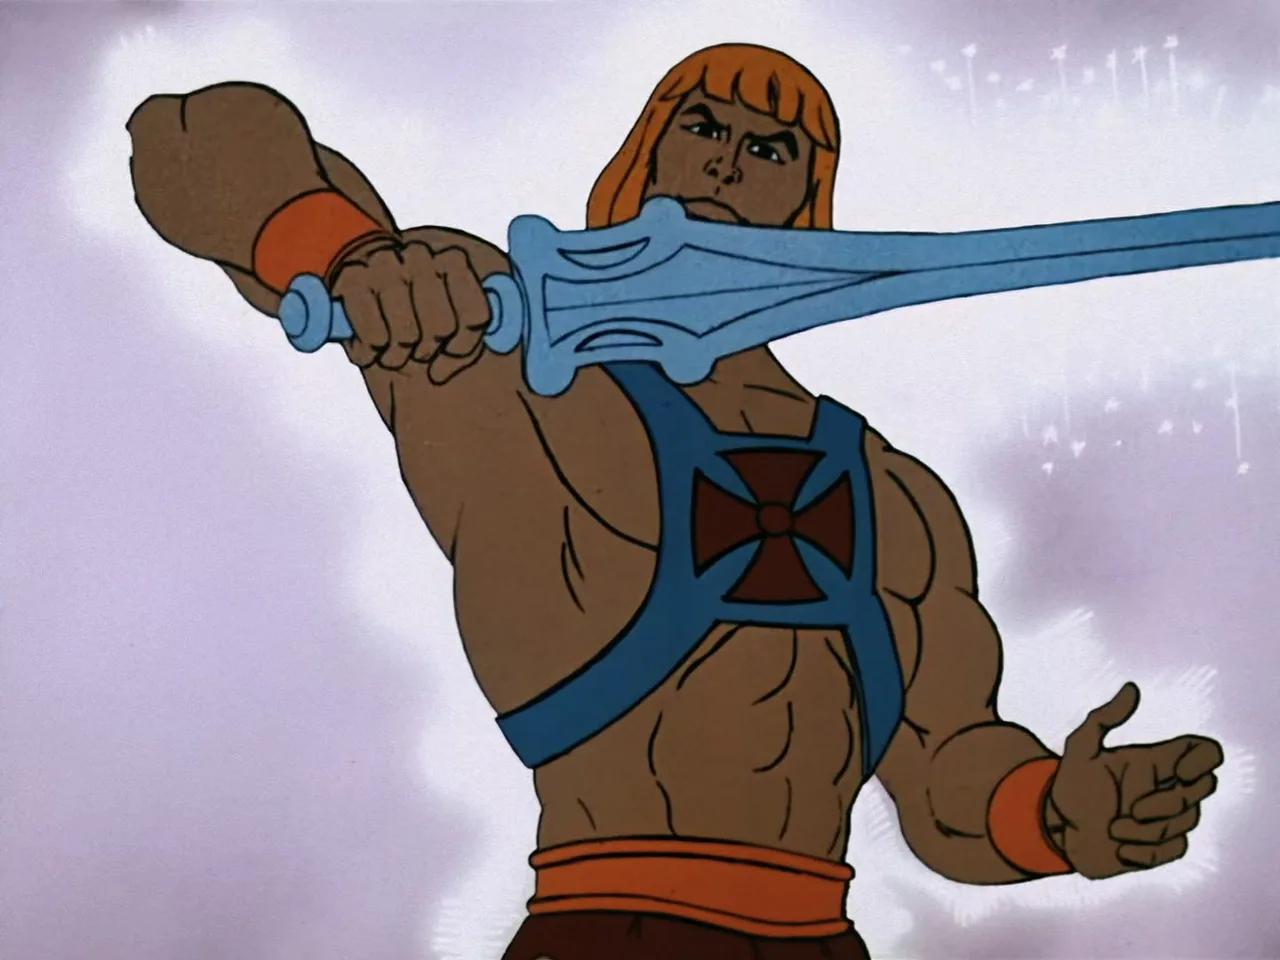
He-Man, newly transformed, holds the Power Sword aloft against a swirling lightning-streaked background, his expression determined.
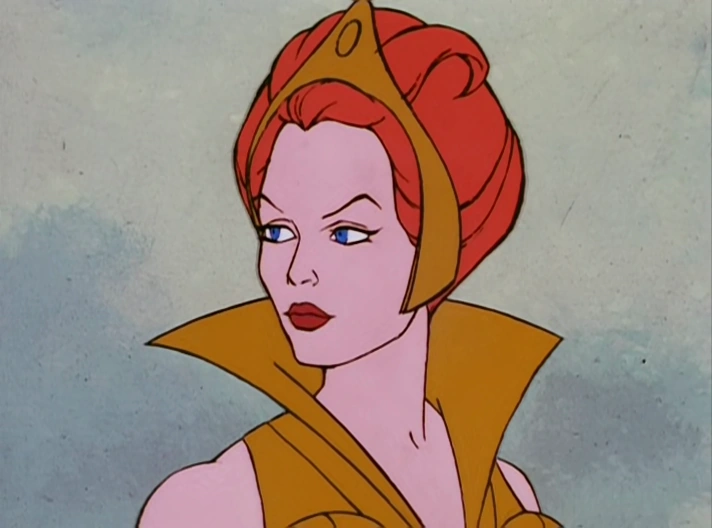
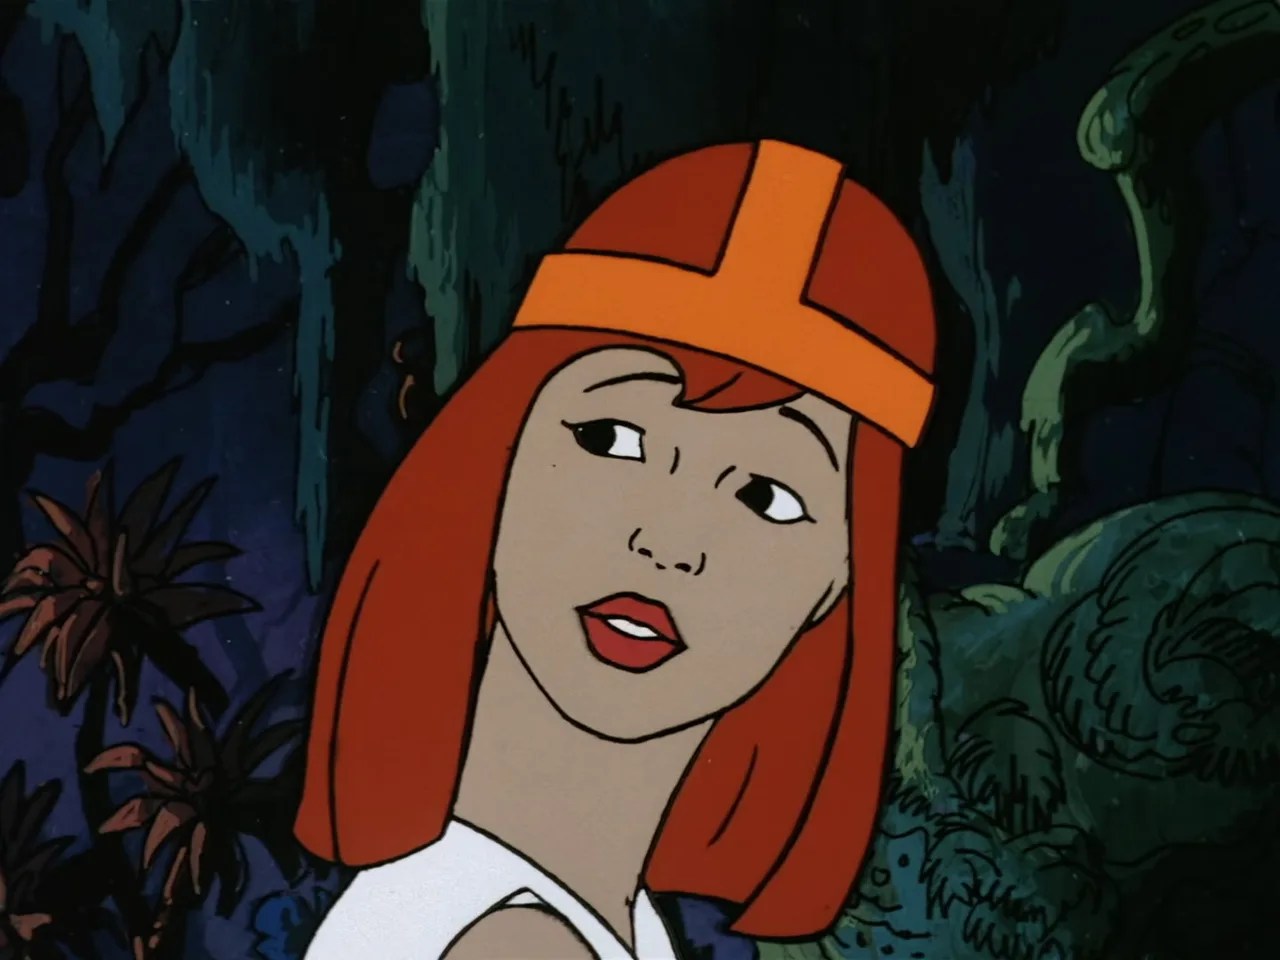
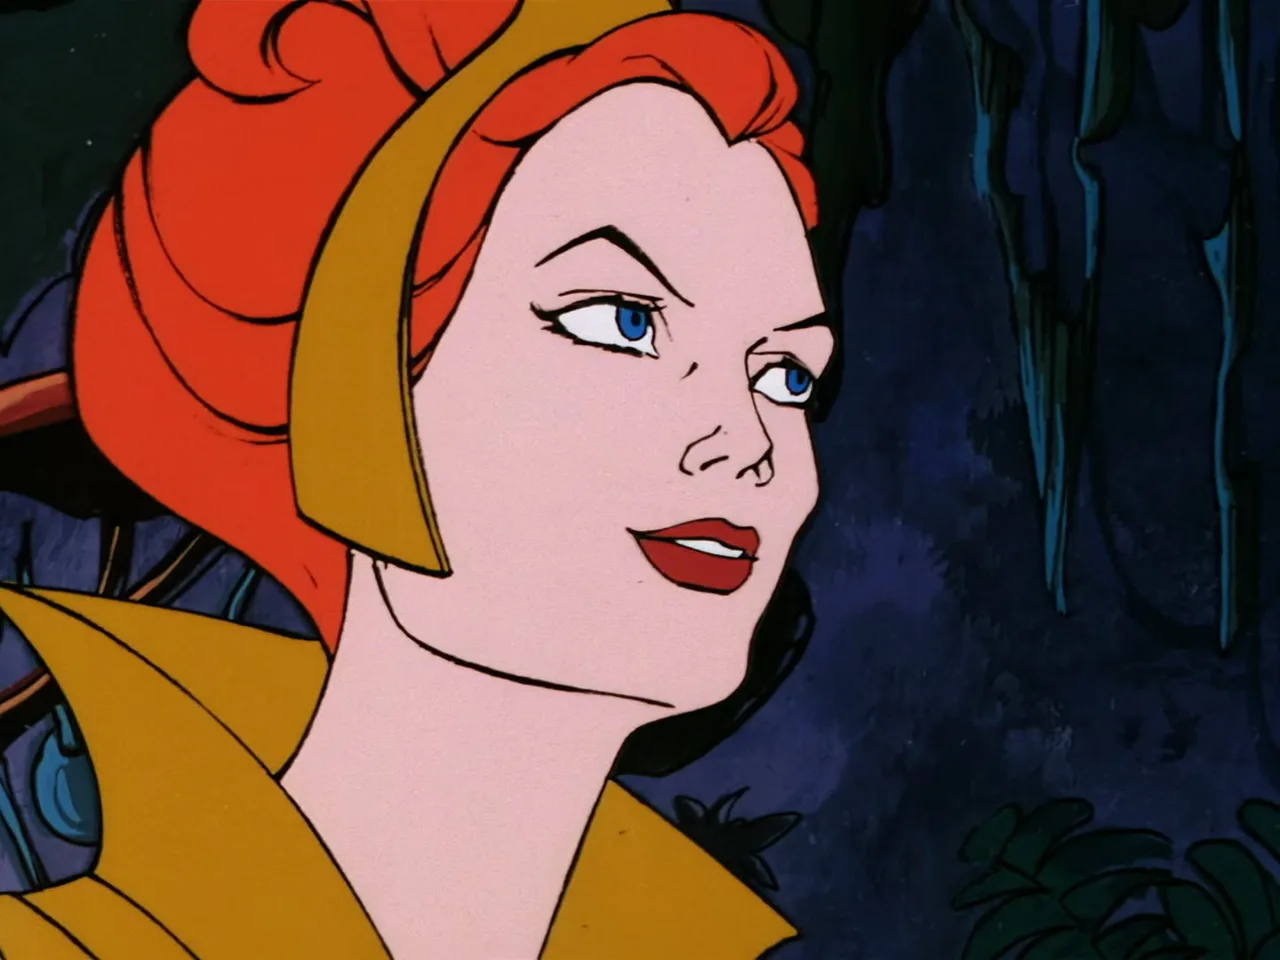
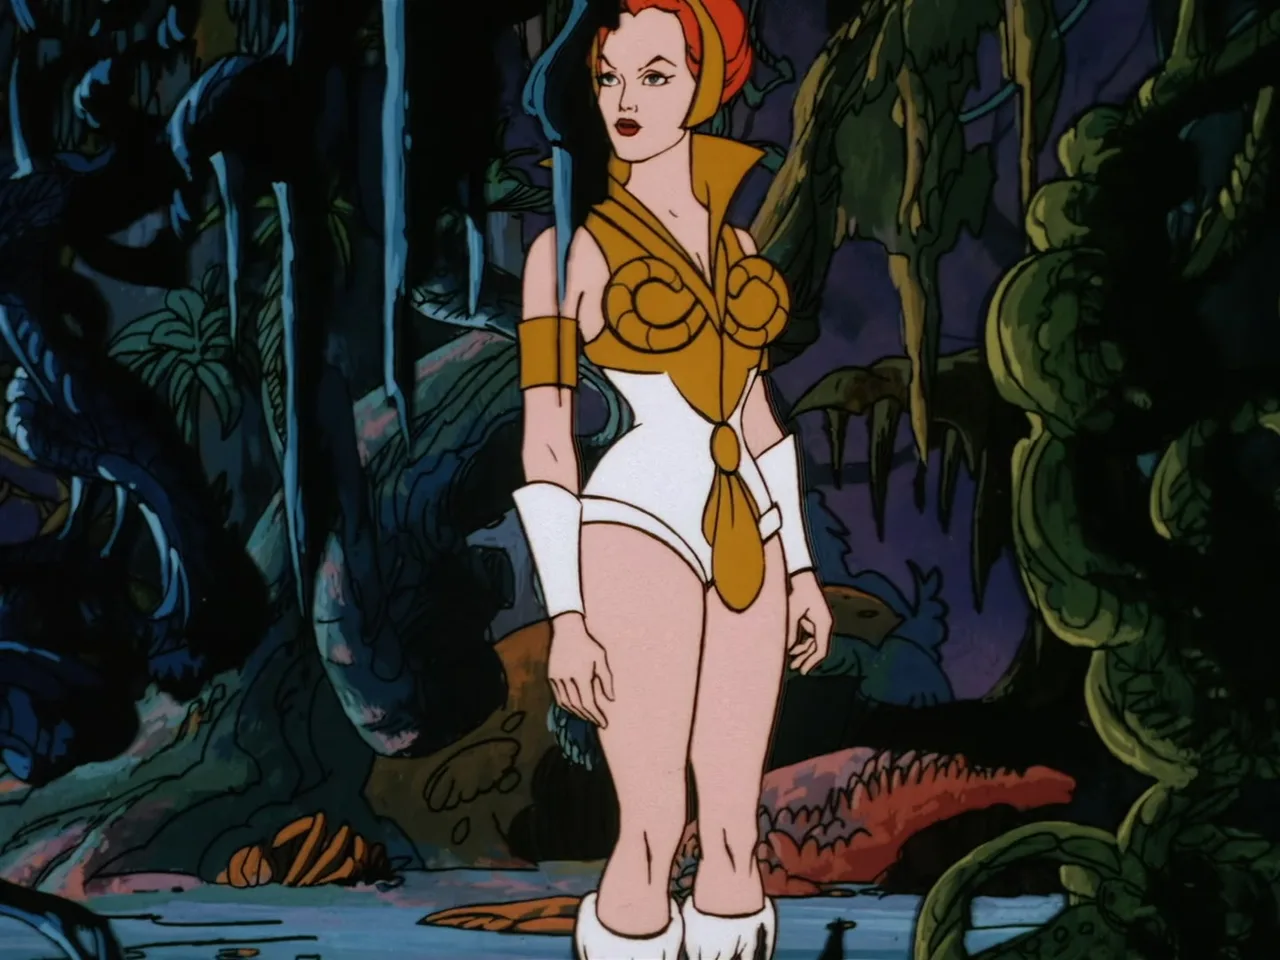
Close-up of Teela's face in profile, her orange-red hair pulled back under a gold headpiece, standing in the dim jungle.
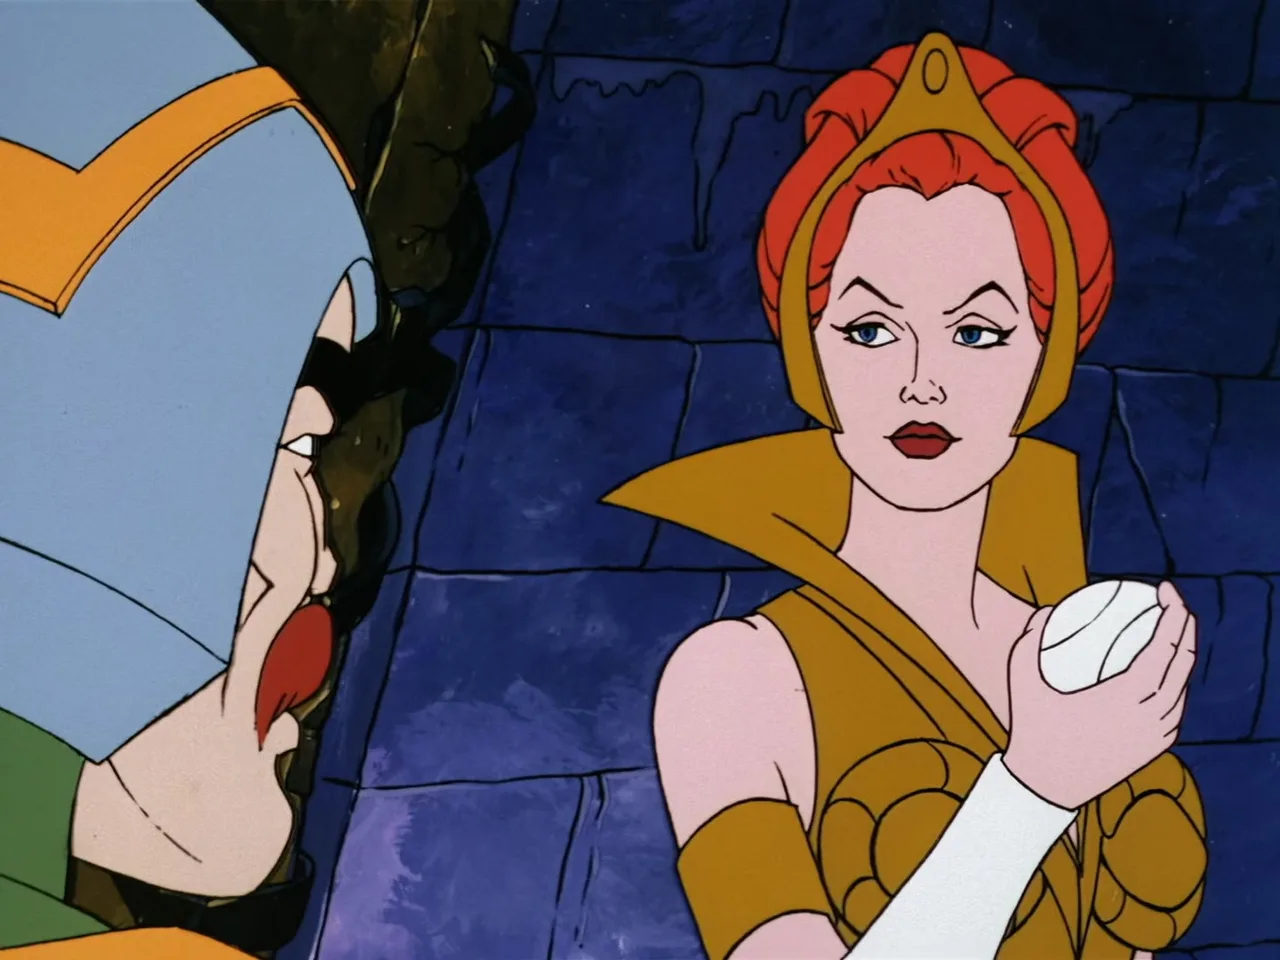
Teela, in her gold armor, holds up the white paddle-ball toy while Man-At-Arms, in profile, speaks to her against a dark stone wall.
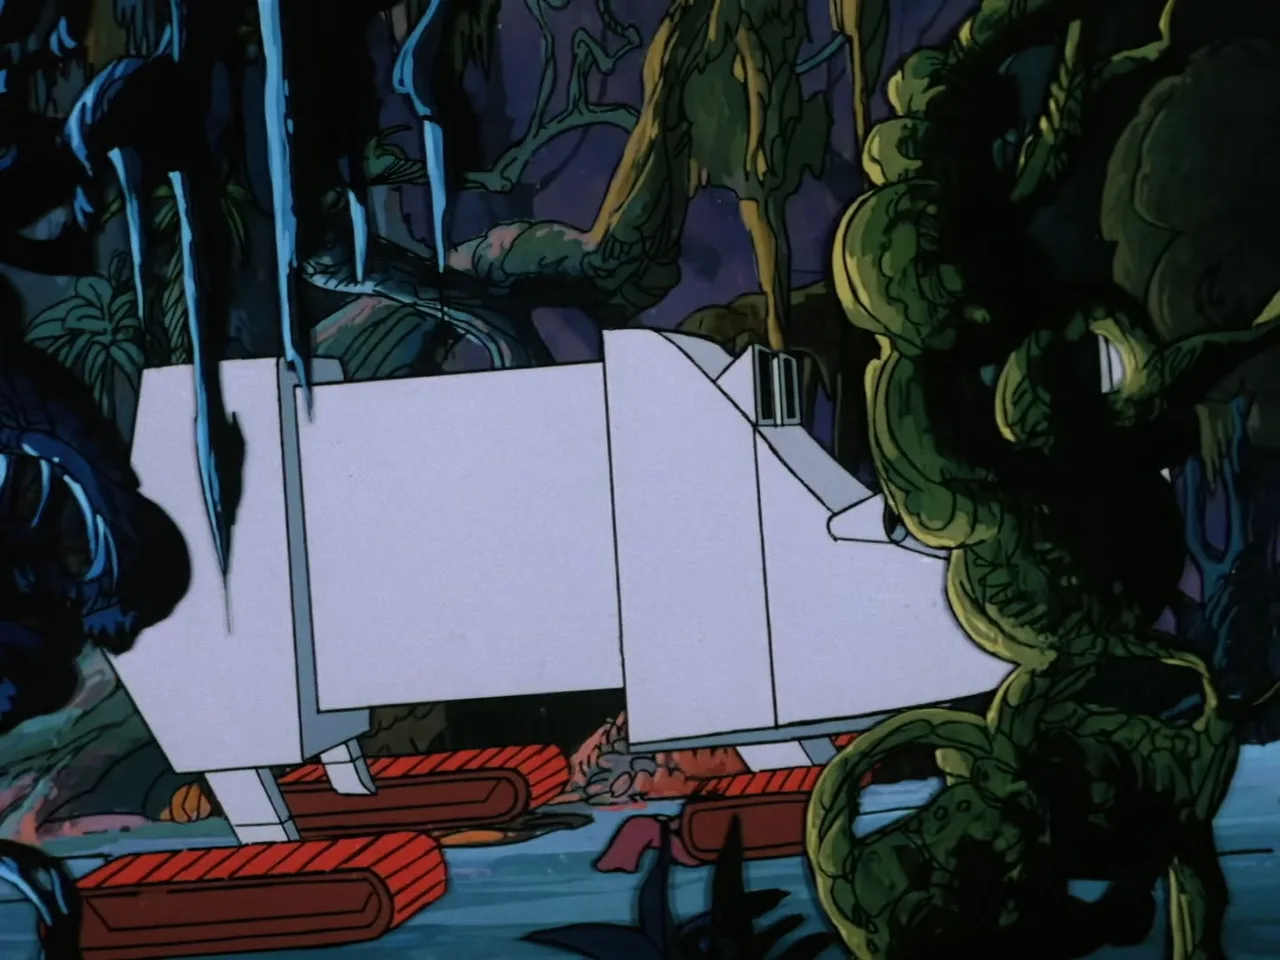
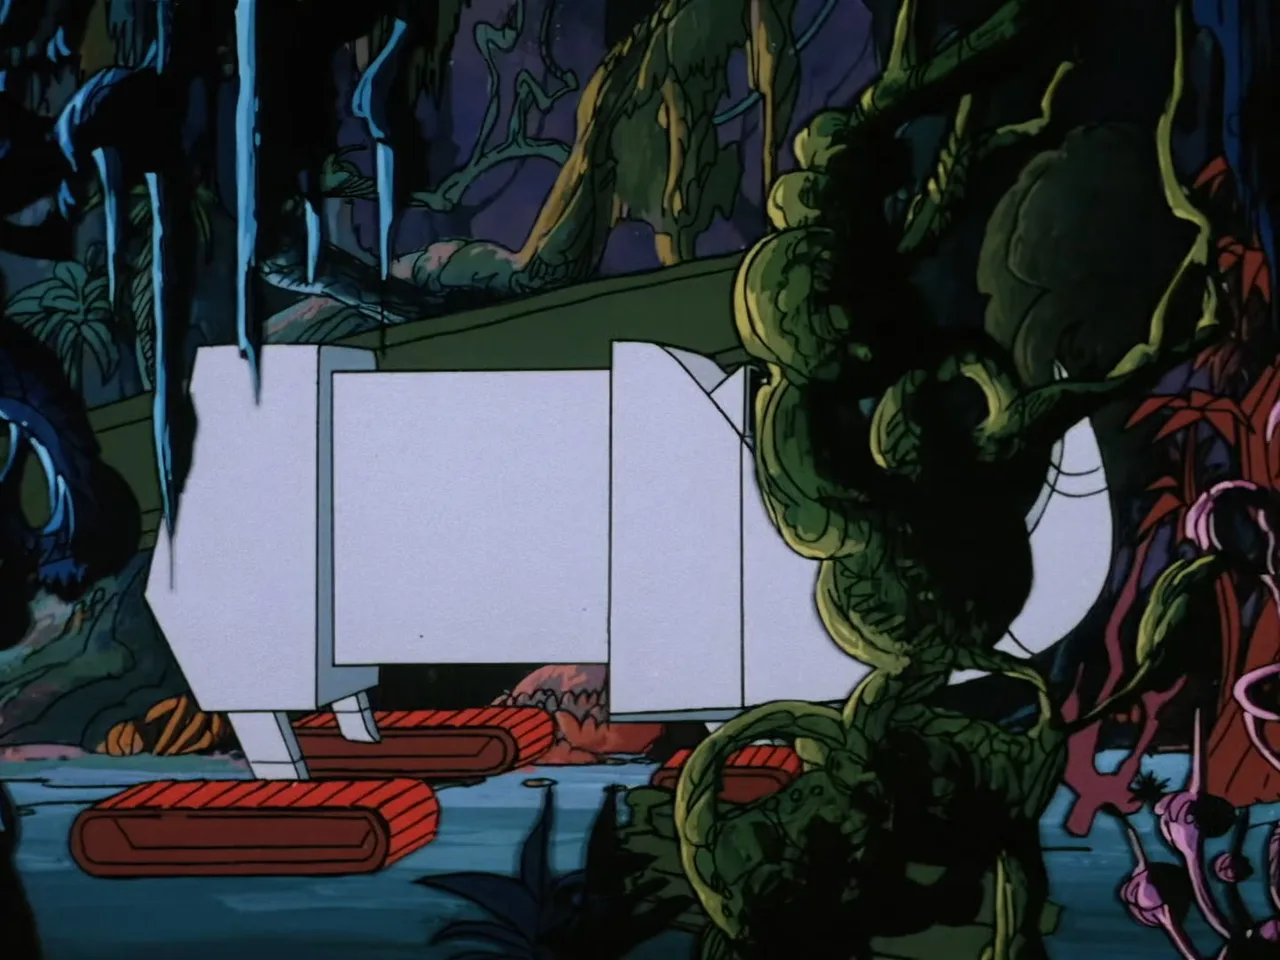
Zegone, the white rhinoceros-shaped tracked vehicle, pushes through icicle-draped vines and jungle foliage.
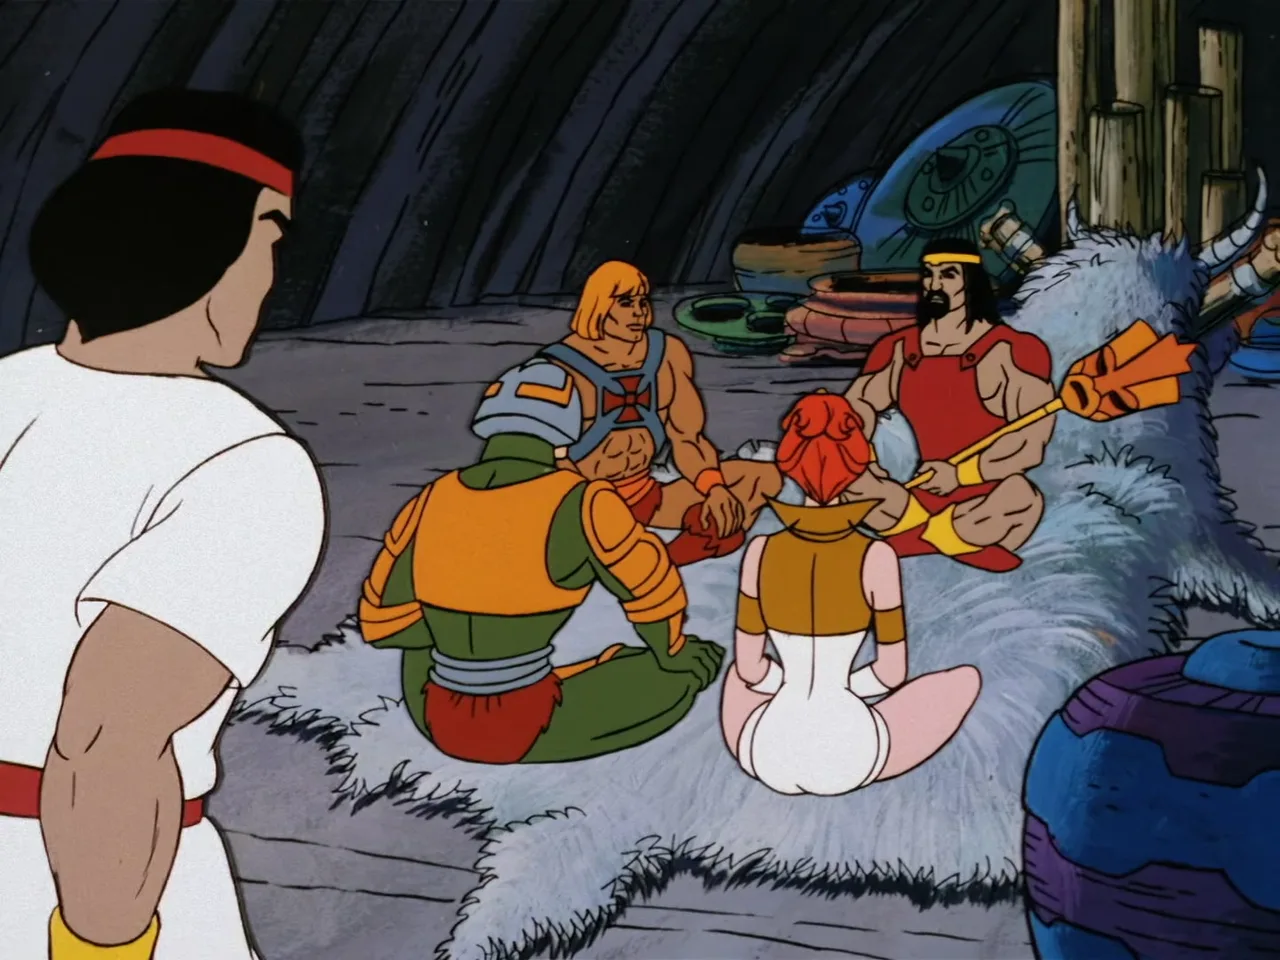
Inside a tribal hut, He-Man, Man-At-Arms, Teela and Chief Merlo sit cross-legged on a fur rug around pottery, as the messenger stands facing them.
Zegone advances through the dark, icicle-hung jungle, its white rhinoceros-shaped body pushing past heavy vines.
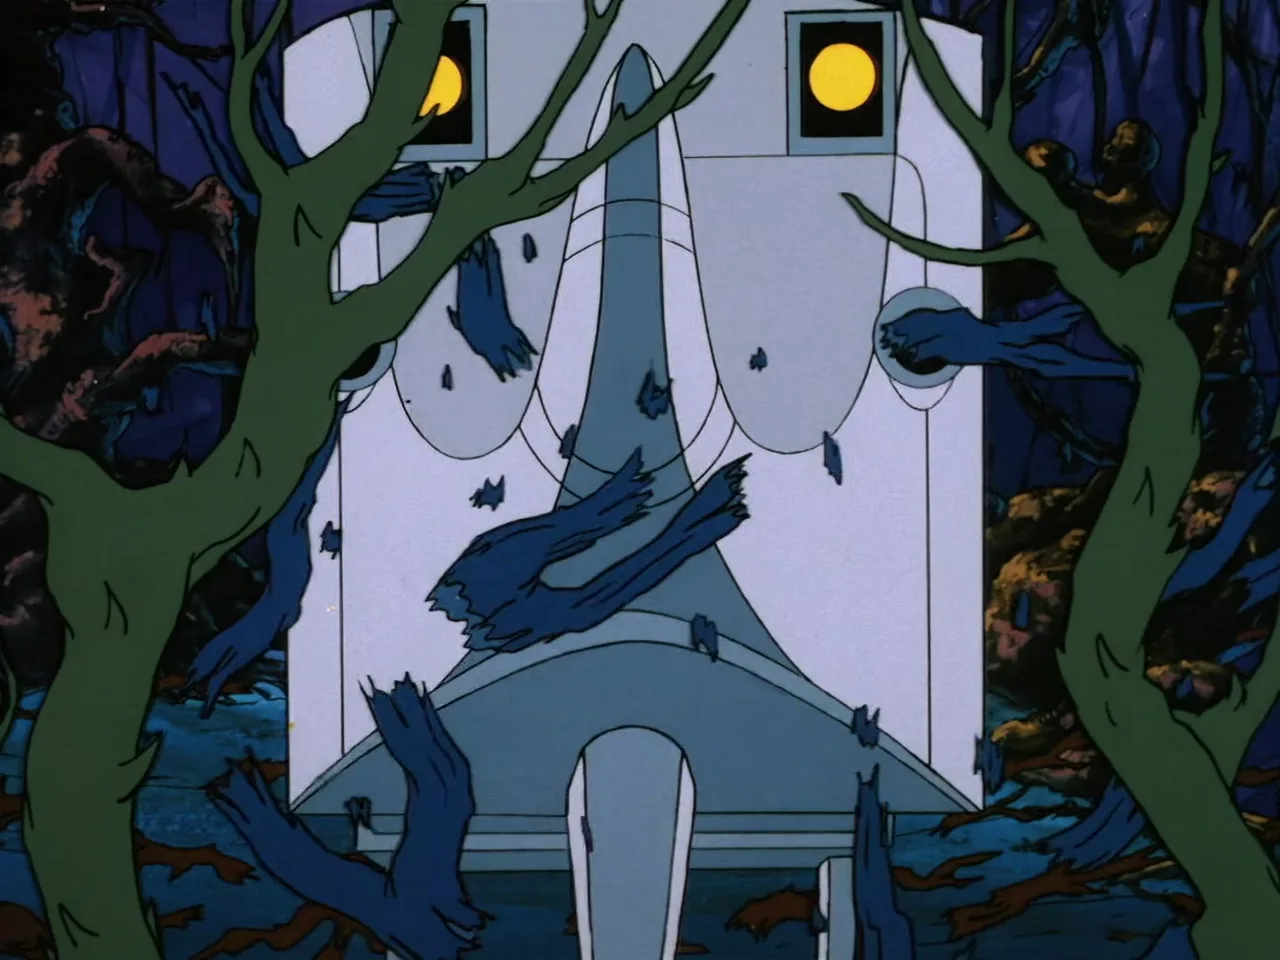
Close-up of Zegone's front end from below, its two square eye-sockets glowing yellow and its curved horn jutting forward, framed by jungle vines.
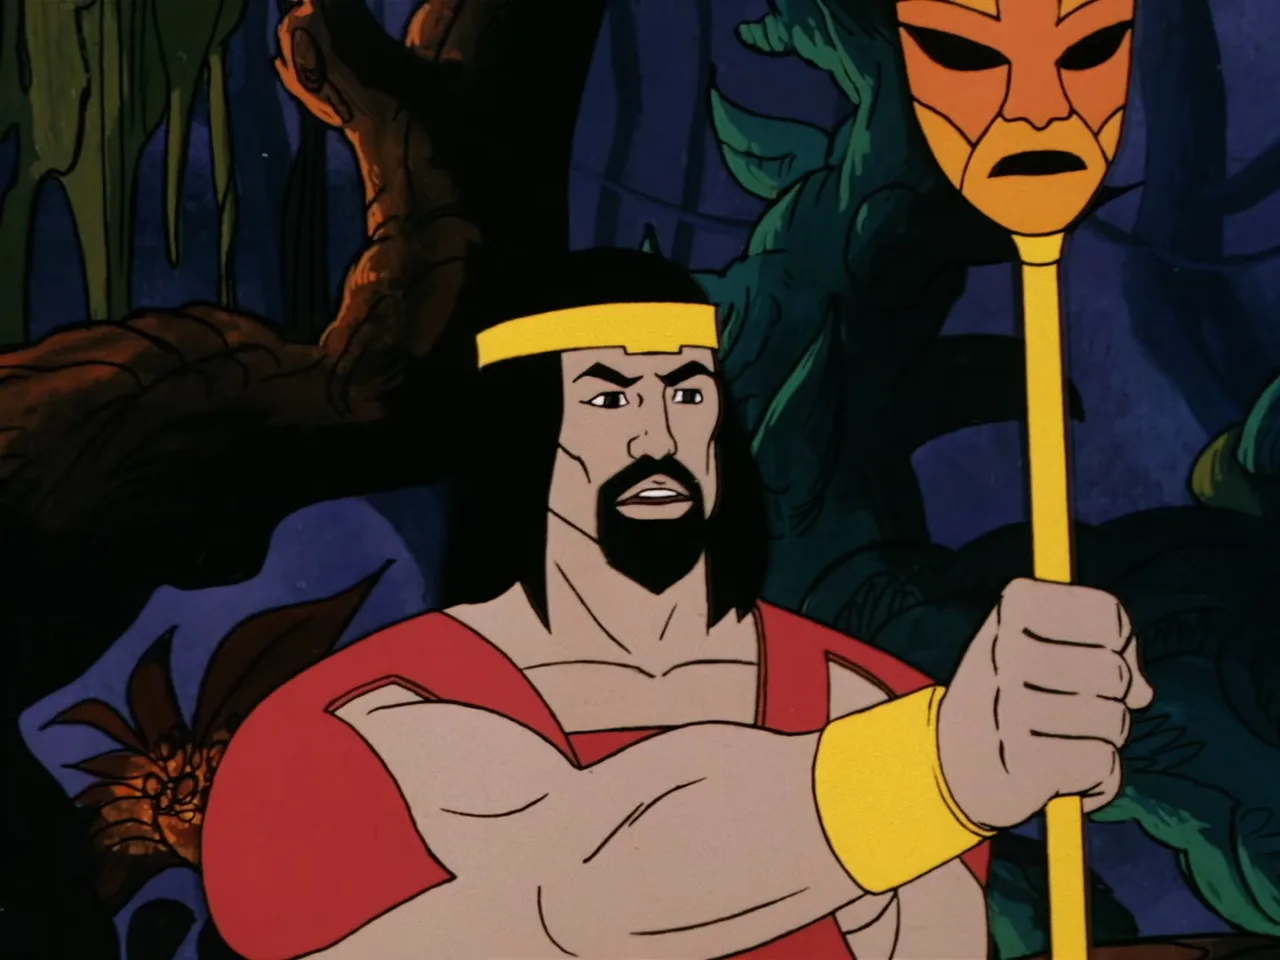
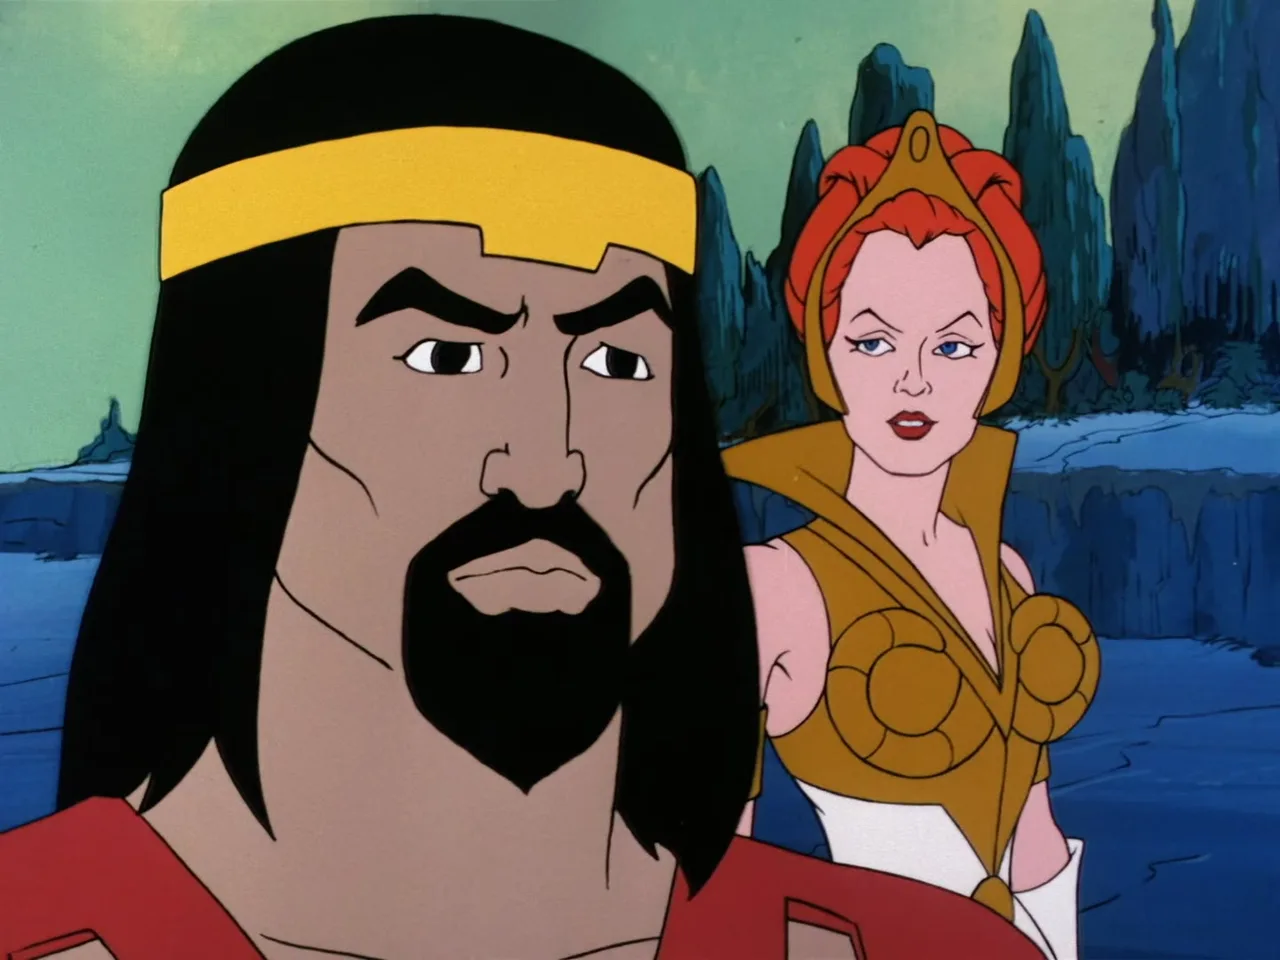
Chief Merlo, with long black hair, a beard and a yellow headband, holds up a tribal ceremonial mask on a yellow staff in the dim jungle.
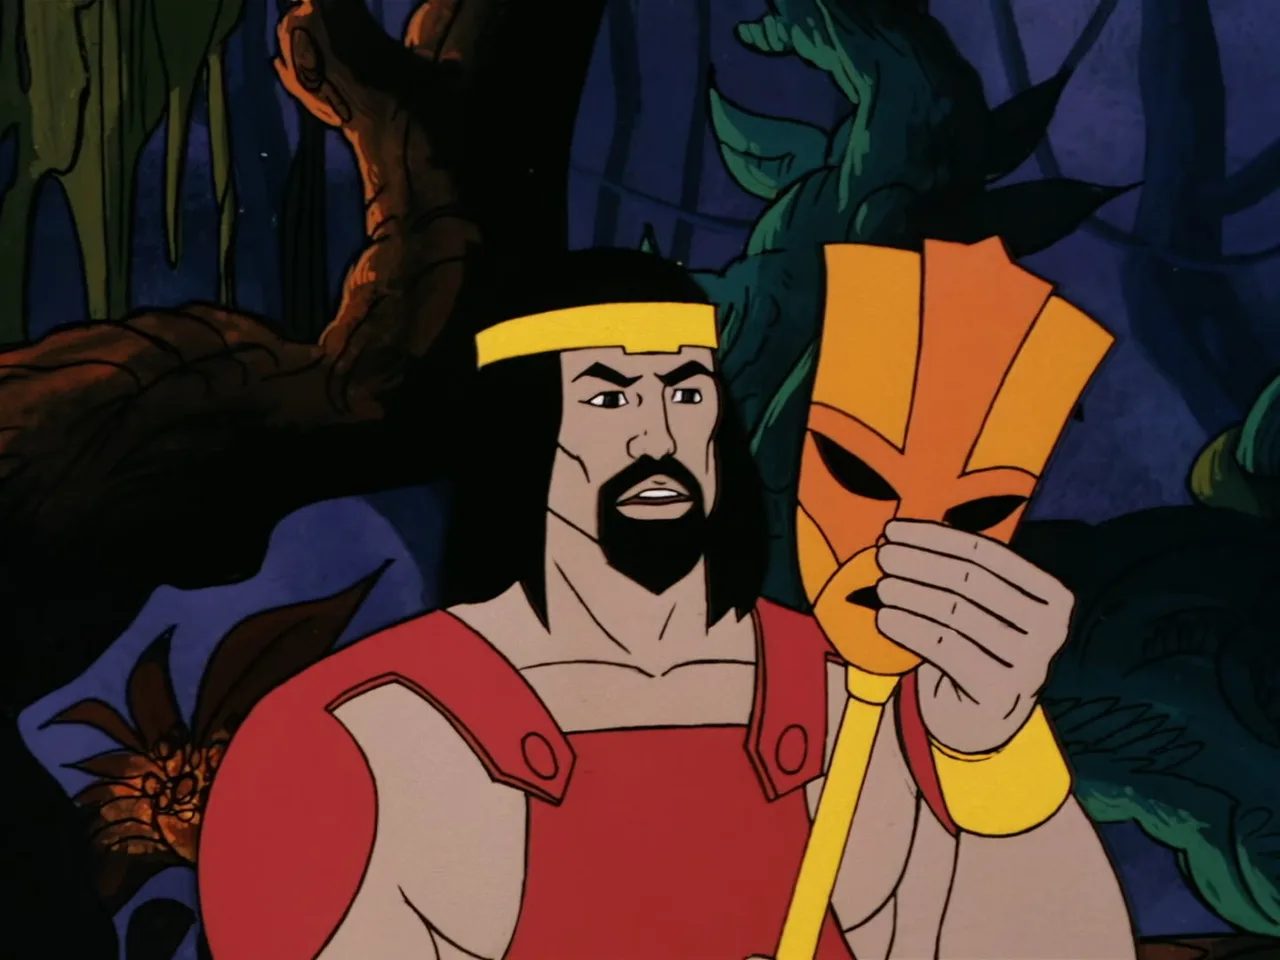
Chief Merlo raises the orange tribal mask on its staff closer to his face, studying it intently in the jungle gloom.
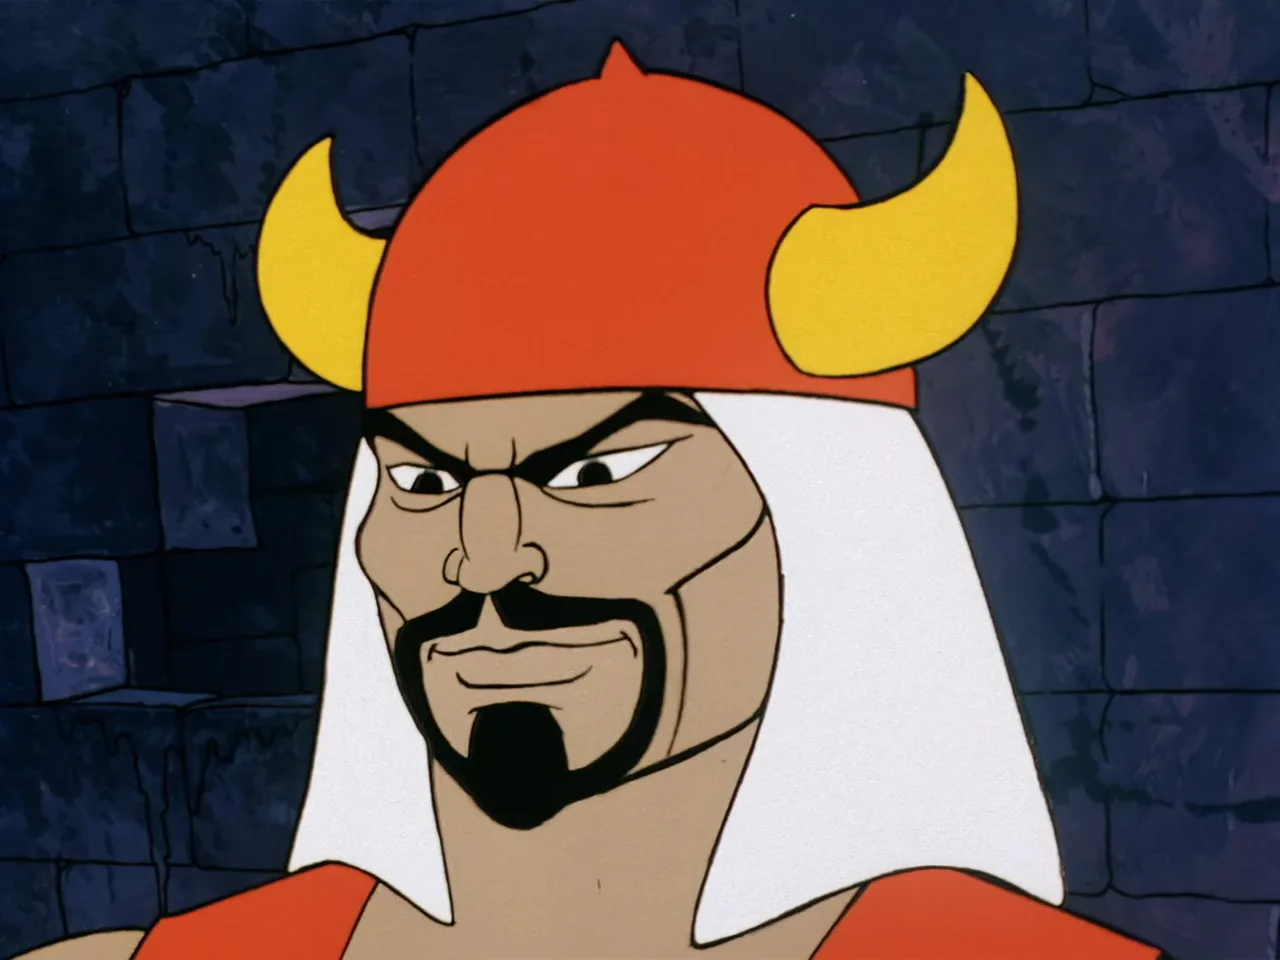
Rago, recognizable by his red and yellow horned helmet, peers through a cockpit viewscreen inside Zegone showing a canyon crossed by a narrow stone bridge.
Zegone's rhinoceros head and horn push through dense jungle foliage and hanging vines, its small eye-ports visible on its brow.
Zegone's curved horn and white snout emerge from thick jungle vines and icicle-like growths, a reptilian creature's tail visible in the shadows beyond.
Zegone, fully visible in profile, strides through the dark jungle on its red tracked feet, horn lowered toward unseen prey.
Chief Merlo, in close-up, stands beside Teela in her gold armor, both looking off with concern against a jungle cliff backdrop.
He-Man grips a pulley handle and zip-lines across a rocky canyon on a taut cable strung between rock spires.
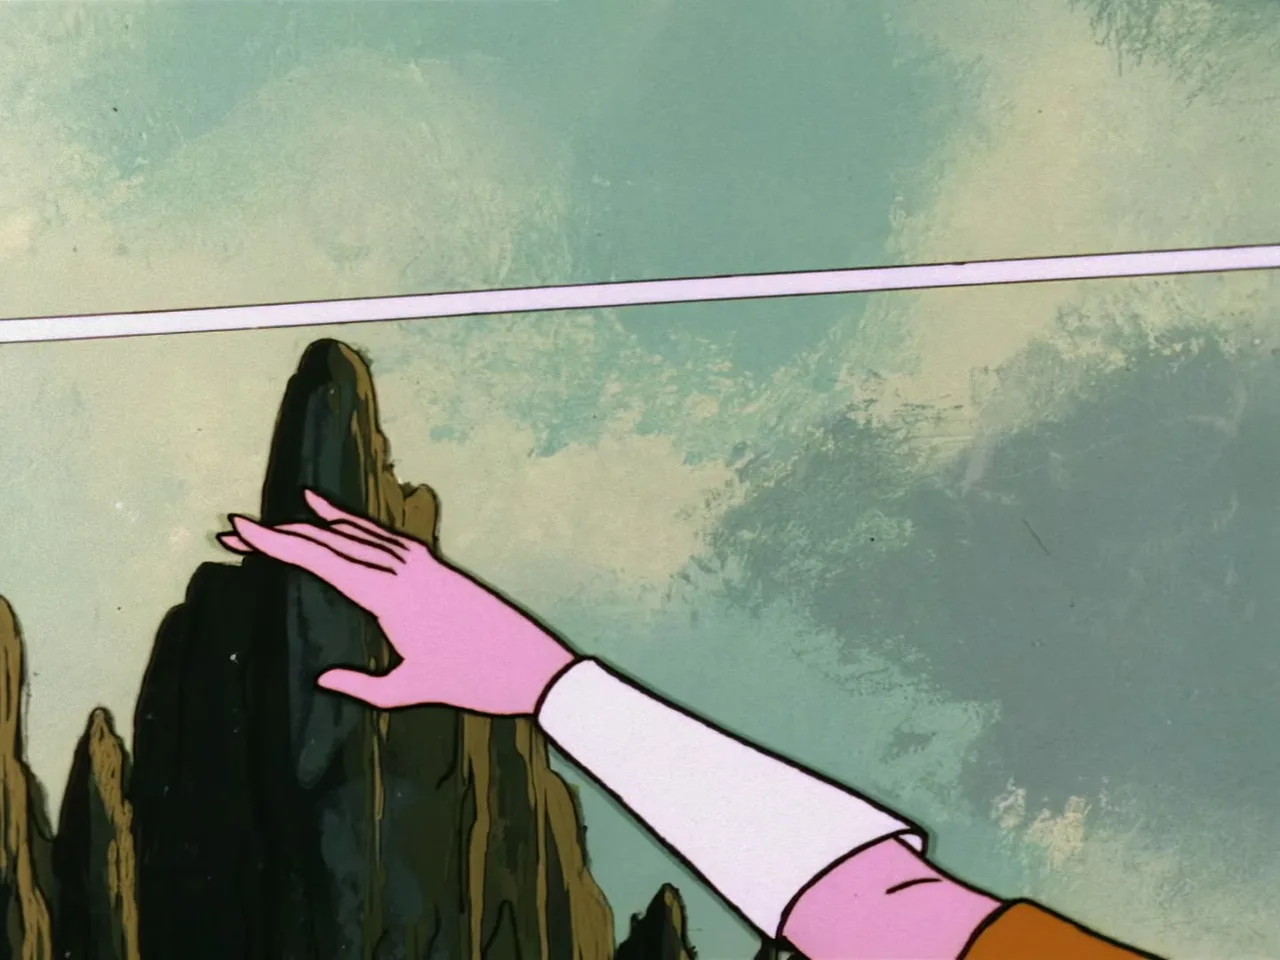
A character's outstretched arm and hand reach for a rocky spire beneath a taut zip-line cable.
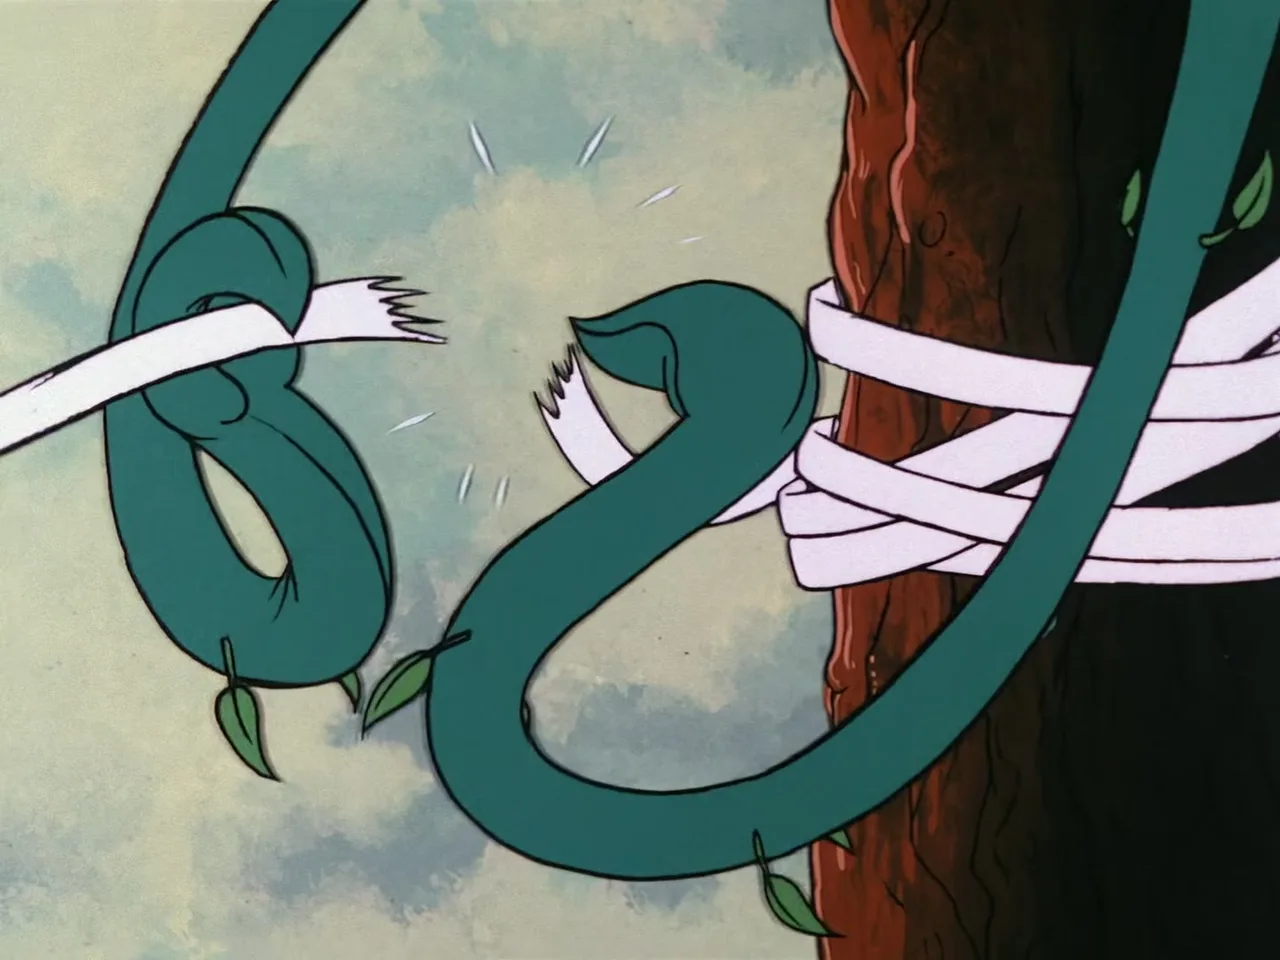
A vine is hacked apart against a tree trunk, with frayed white strapping flying loose.
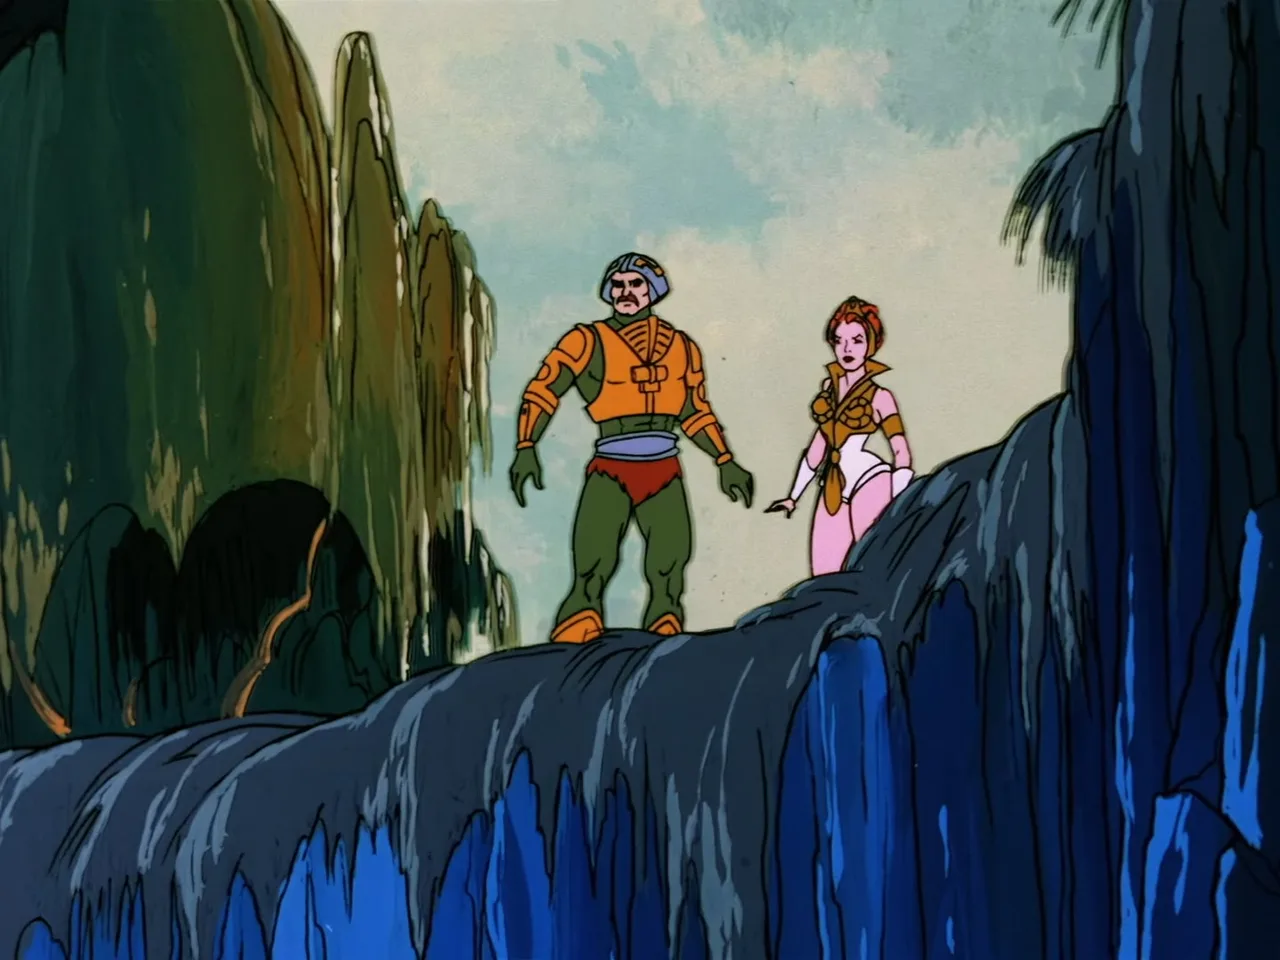
Man-At-Arms and Teela stand together at the top of a jungle waterfall, scanning the cliffside tree line.
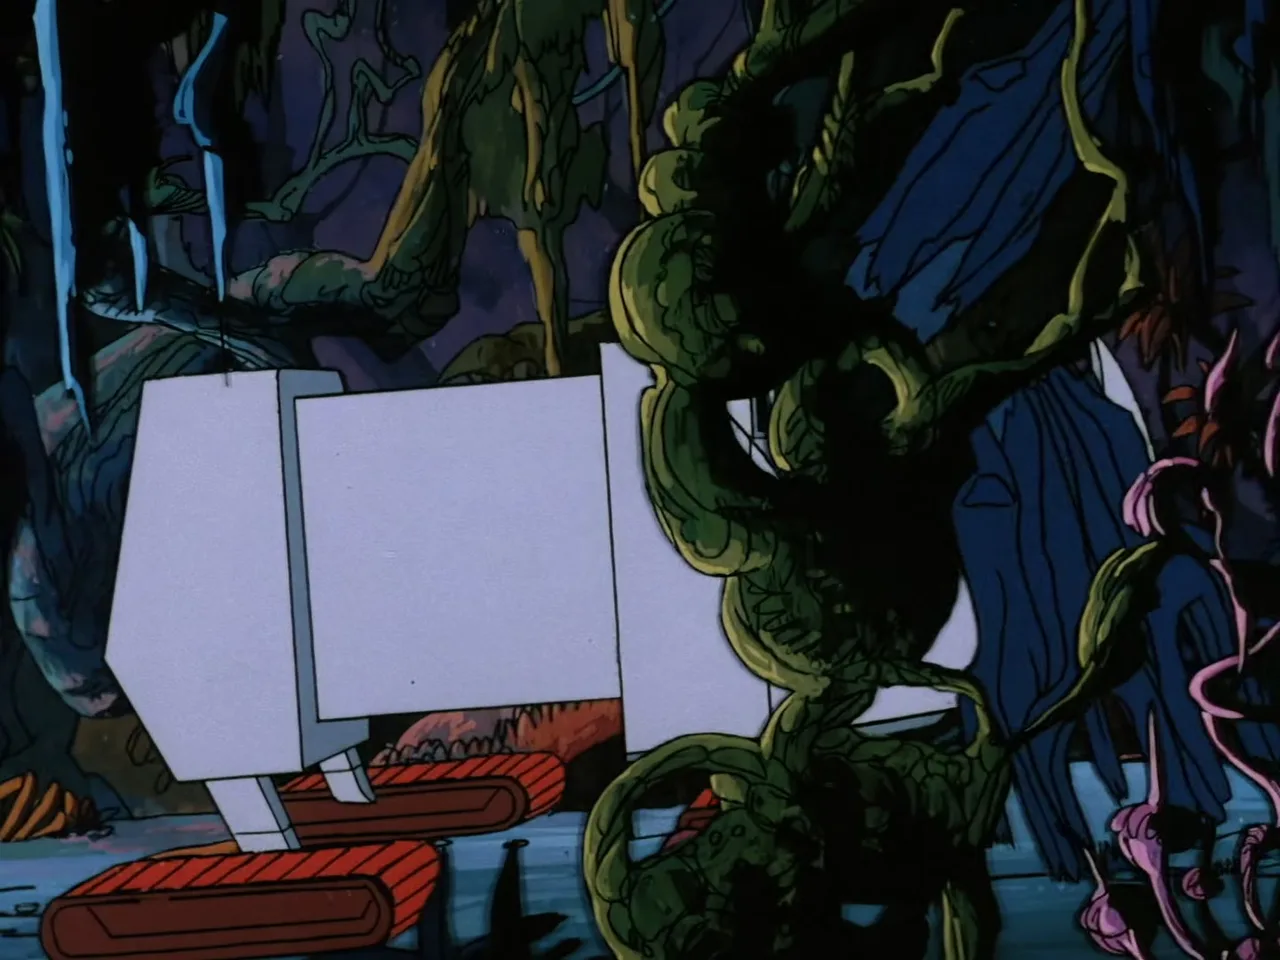
Zegone pushes through dense jungle vegetation, its white tracked body nearly hidden by overhanging vines and foliage.
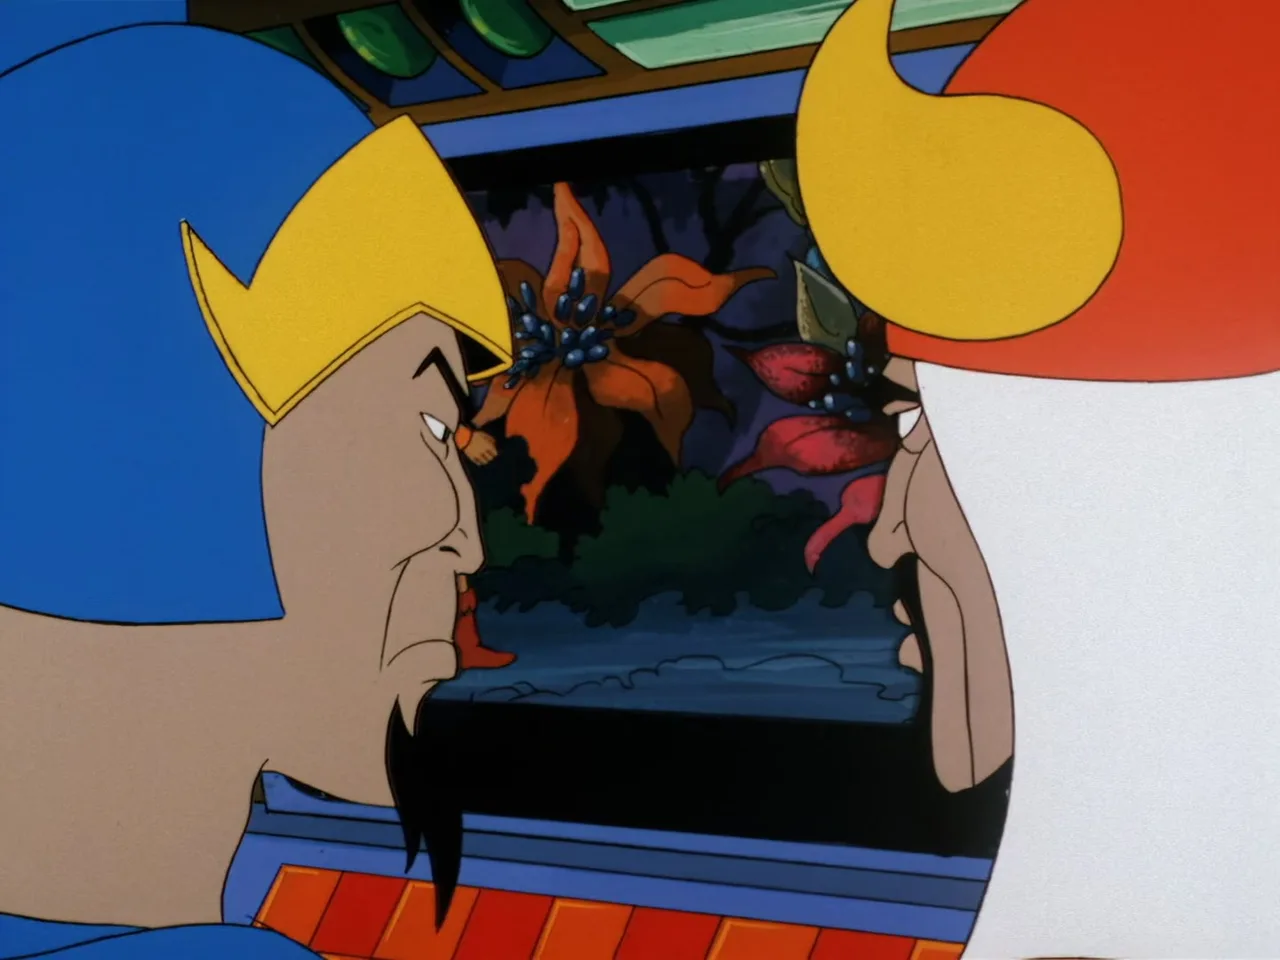
Rago and a blue-helmeted man lean toward each other on either side of a cockpit viewport.
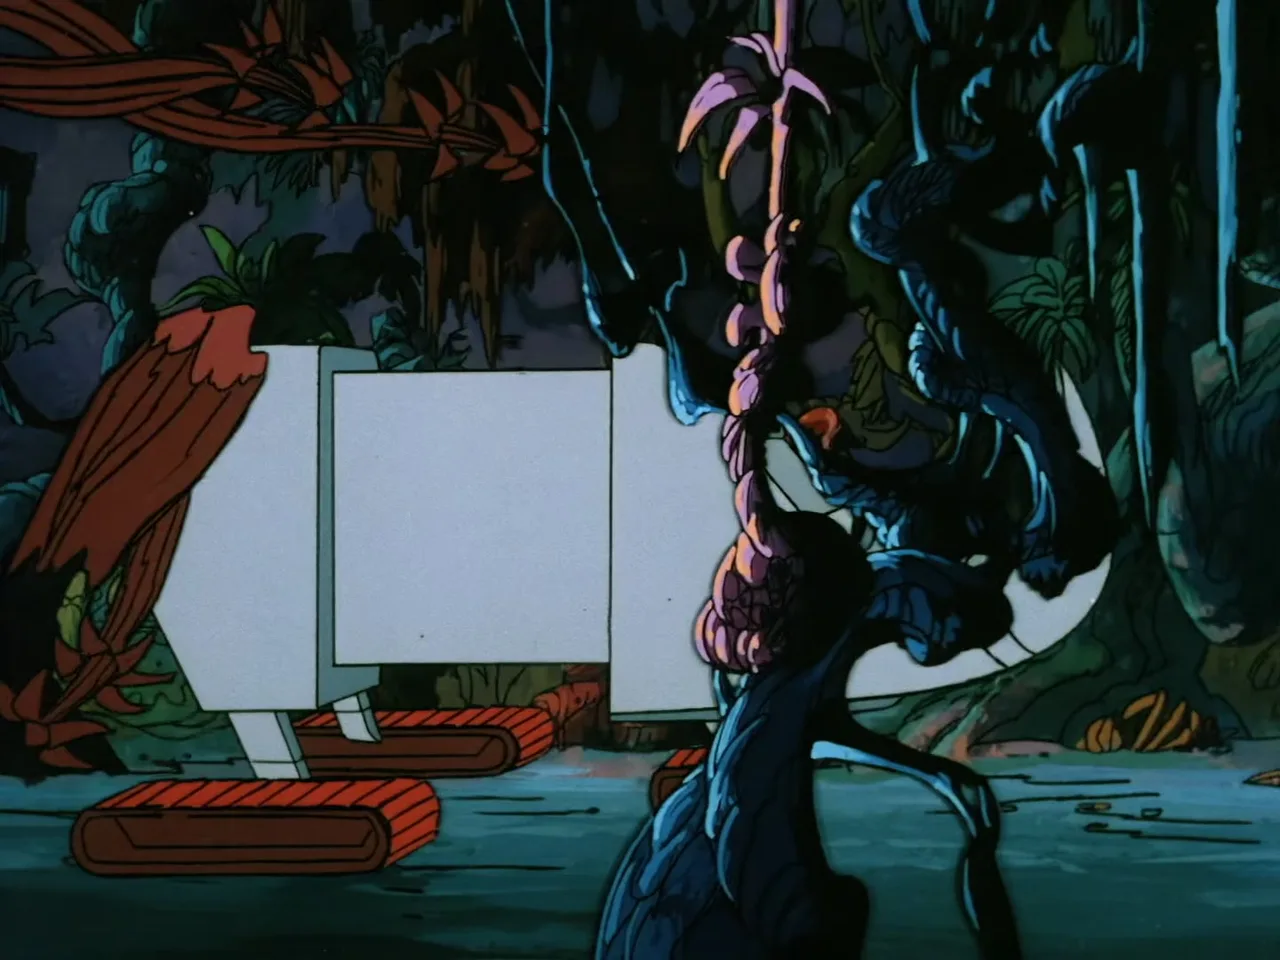
Zegone advances through the jungle, a vine with pink blossoms trailing down over its white tracked body.
Abstract close-up of the underside of Zegone's hood and headlamp-like eye ports, seen from directly below.
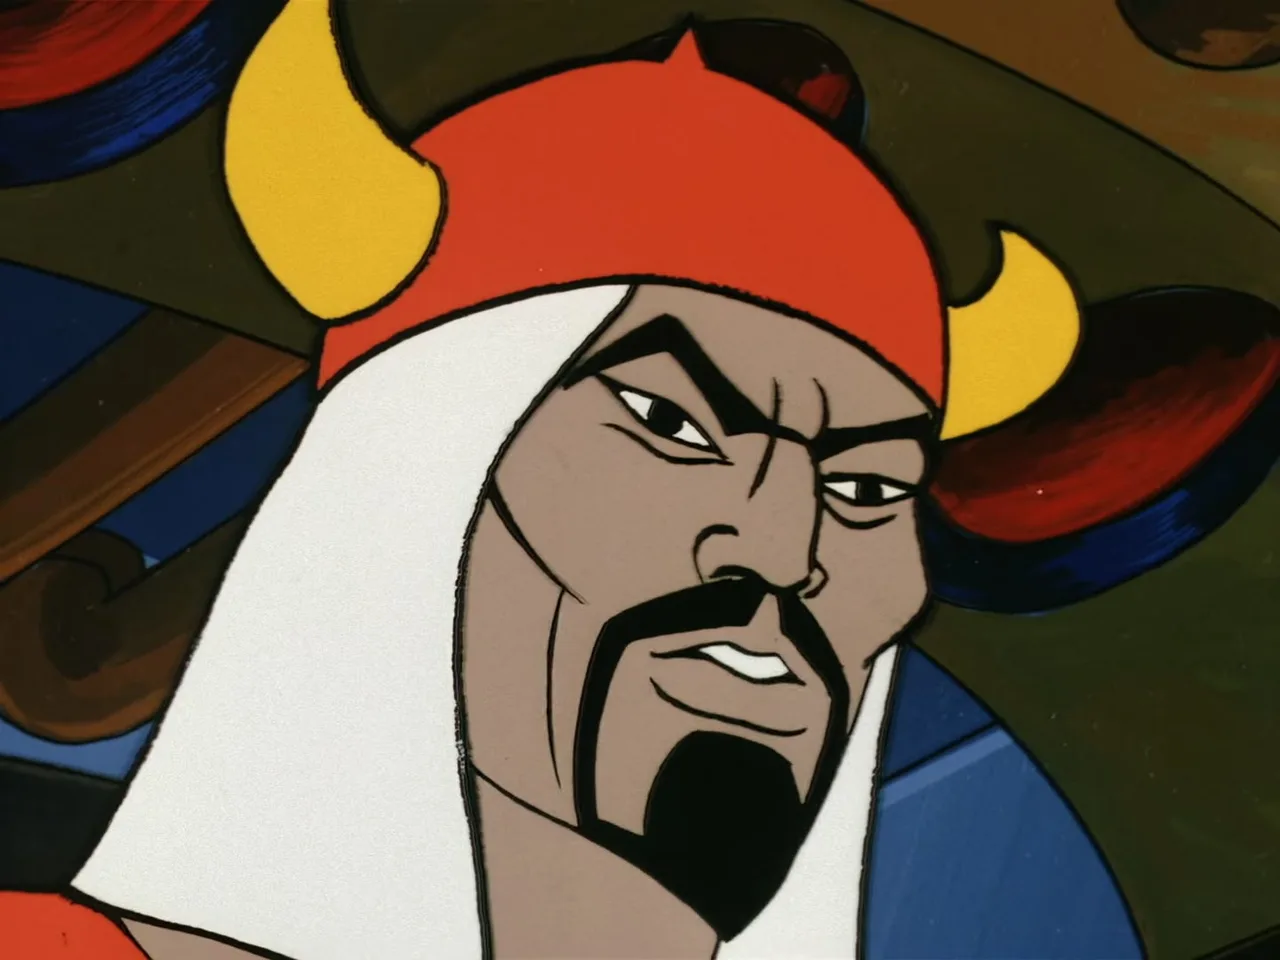
Close-up of Rago's scowling face, his red horned helmet and white headwrap filling the frame against a dark green and gold background.
Close-up of a carved golden temple idol's head in profile, its mouth open in a snarl beside an ornate stone rooftop.
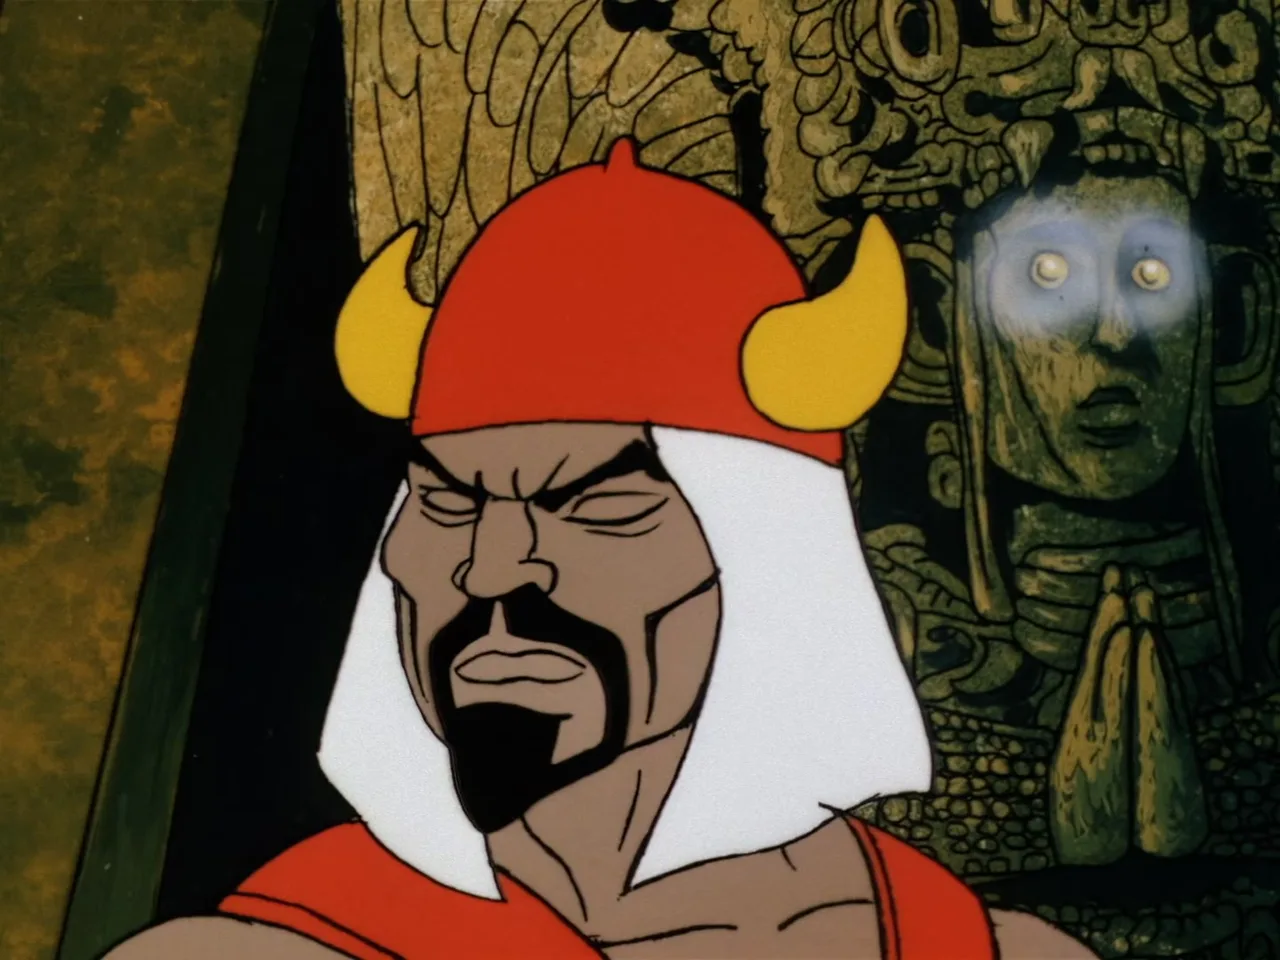
Rago scowls in close-up, his red horned helmet prominent, while a glowing-eyed stone idol looms in the background of the temple.
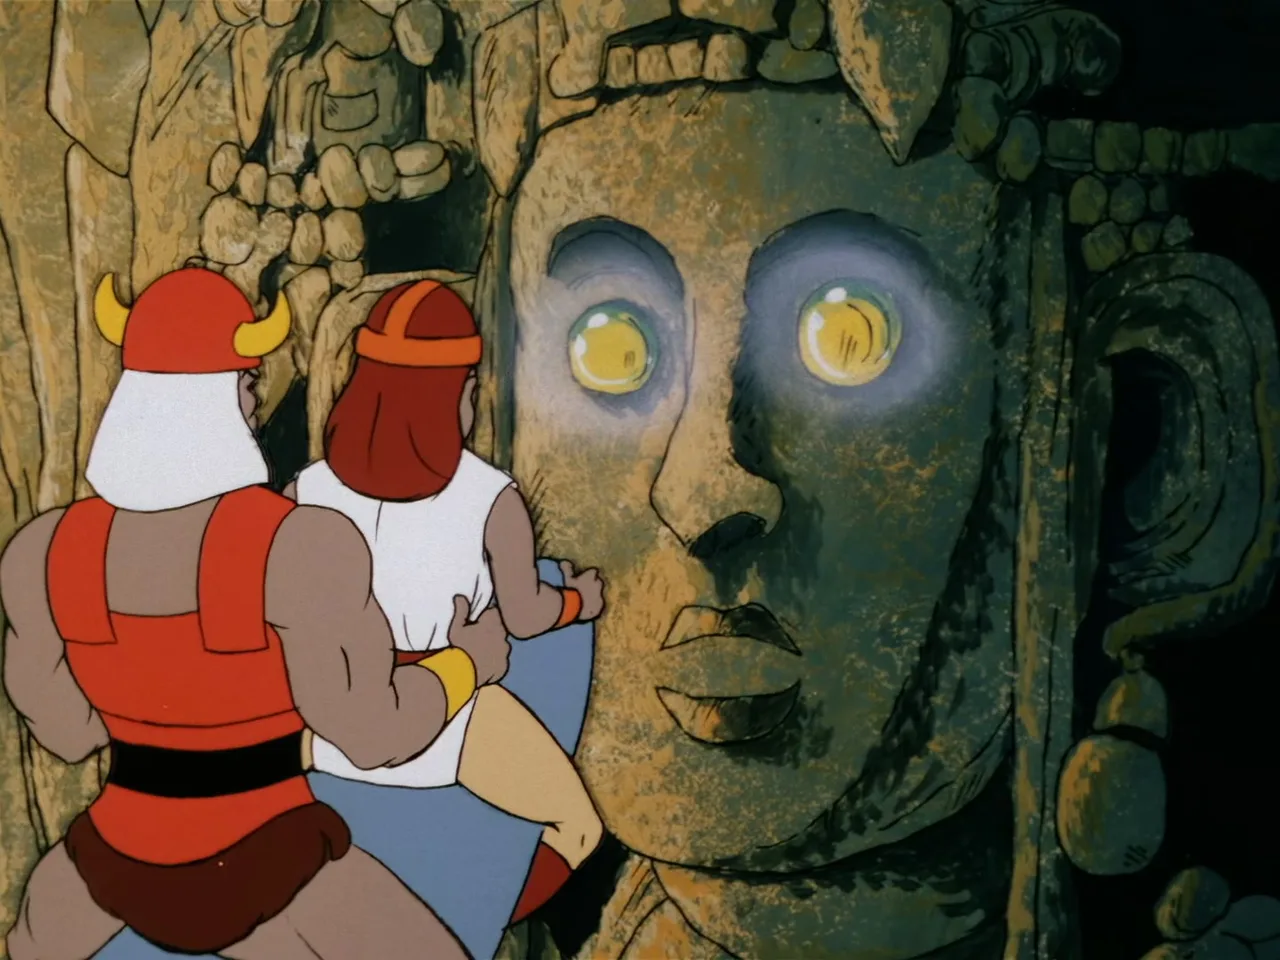
Rago and a tribesman in an orange headband approach a massive stone idol whose eyes glow with the power of the Moorfire Stones.
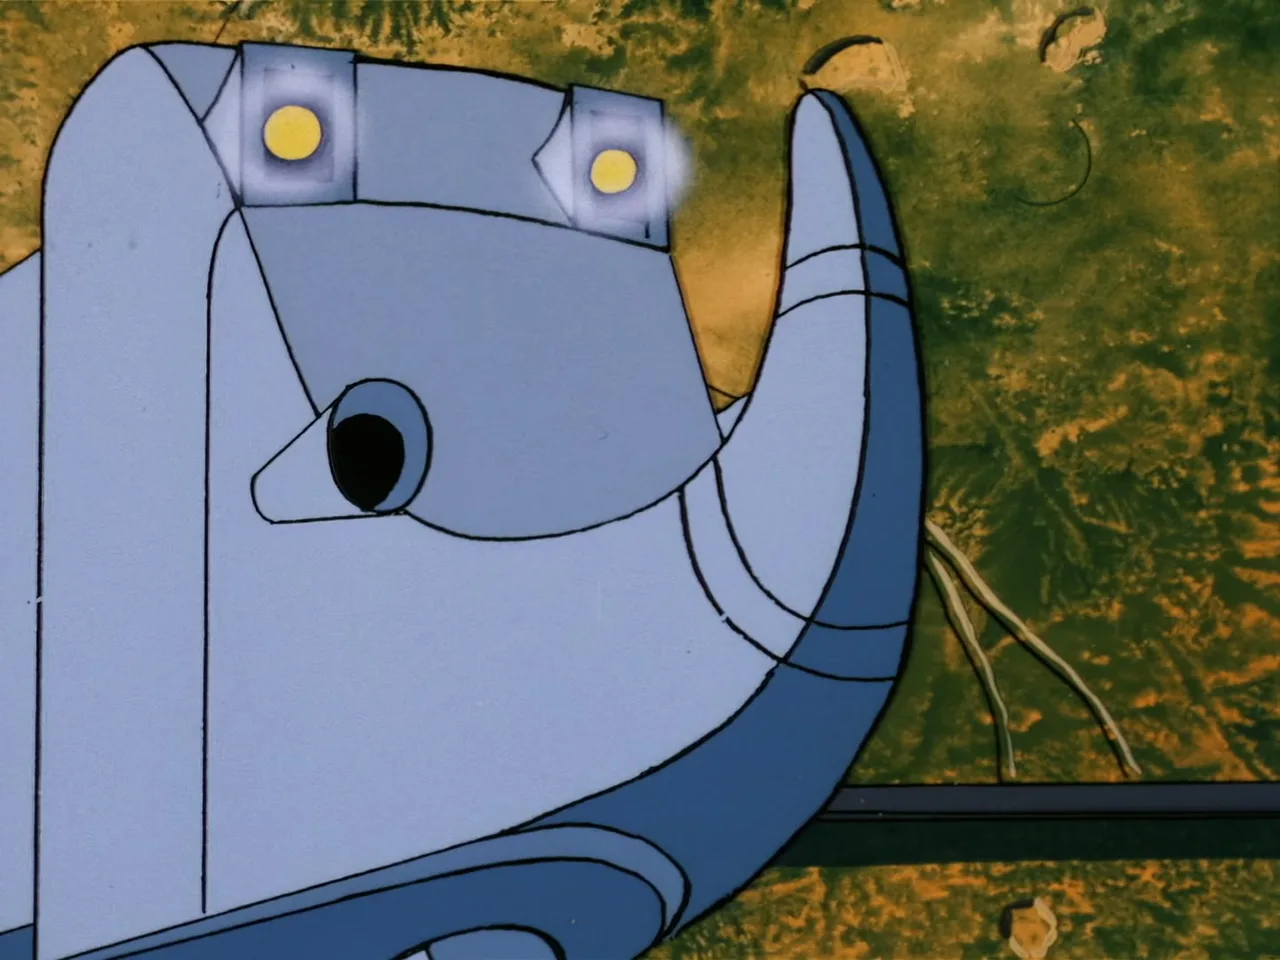
Extreme close-up of Zegone's front panel, its two square eye-ports now glowing bright yellow with the power of the Moorfire Stones.
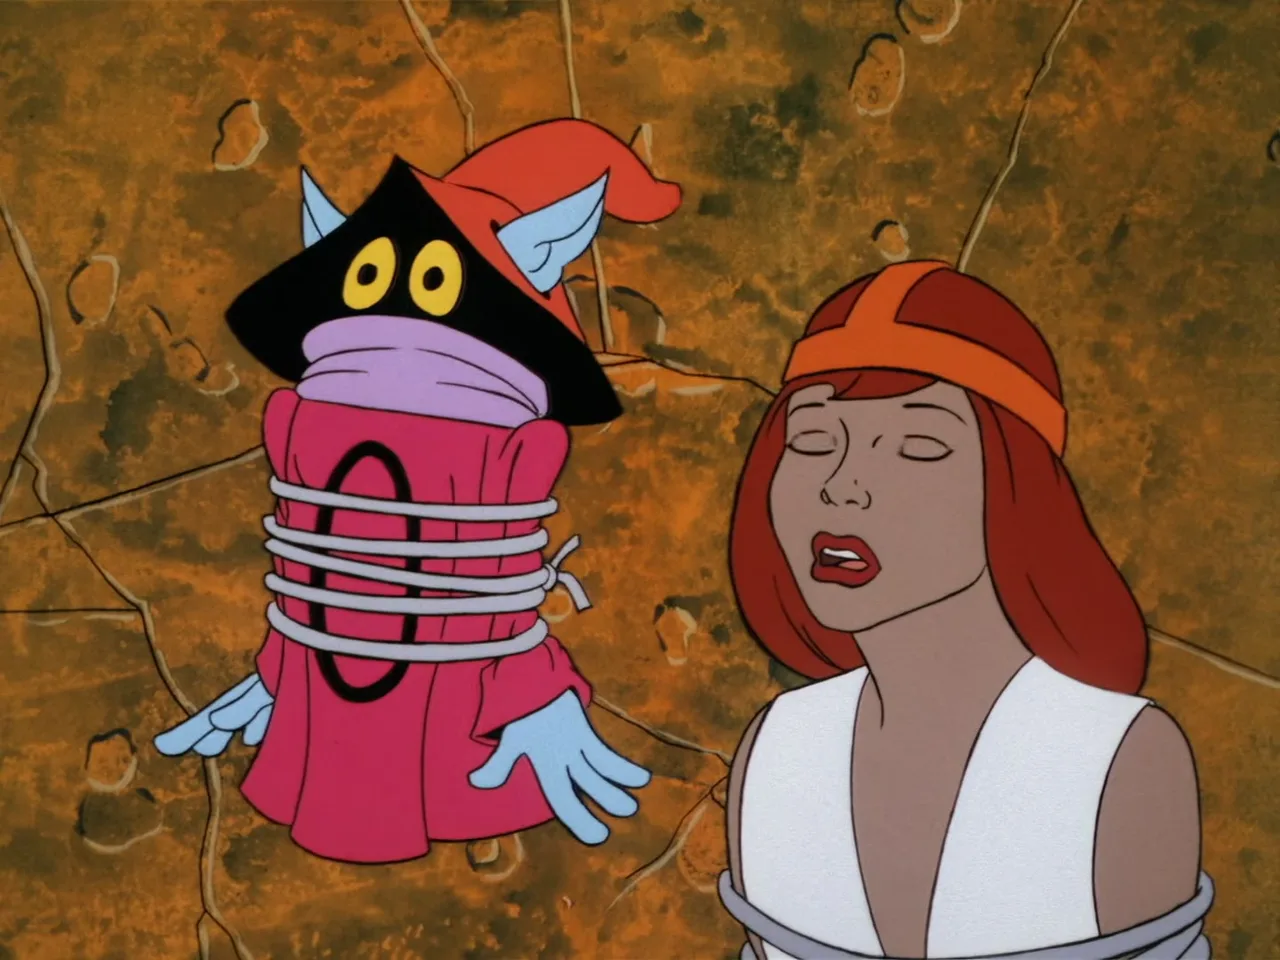
Orko, bound in rope, floats beside an exhausted, eyes-closed Podi, who is also tied up, against a cracked orange temple wall.
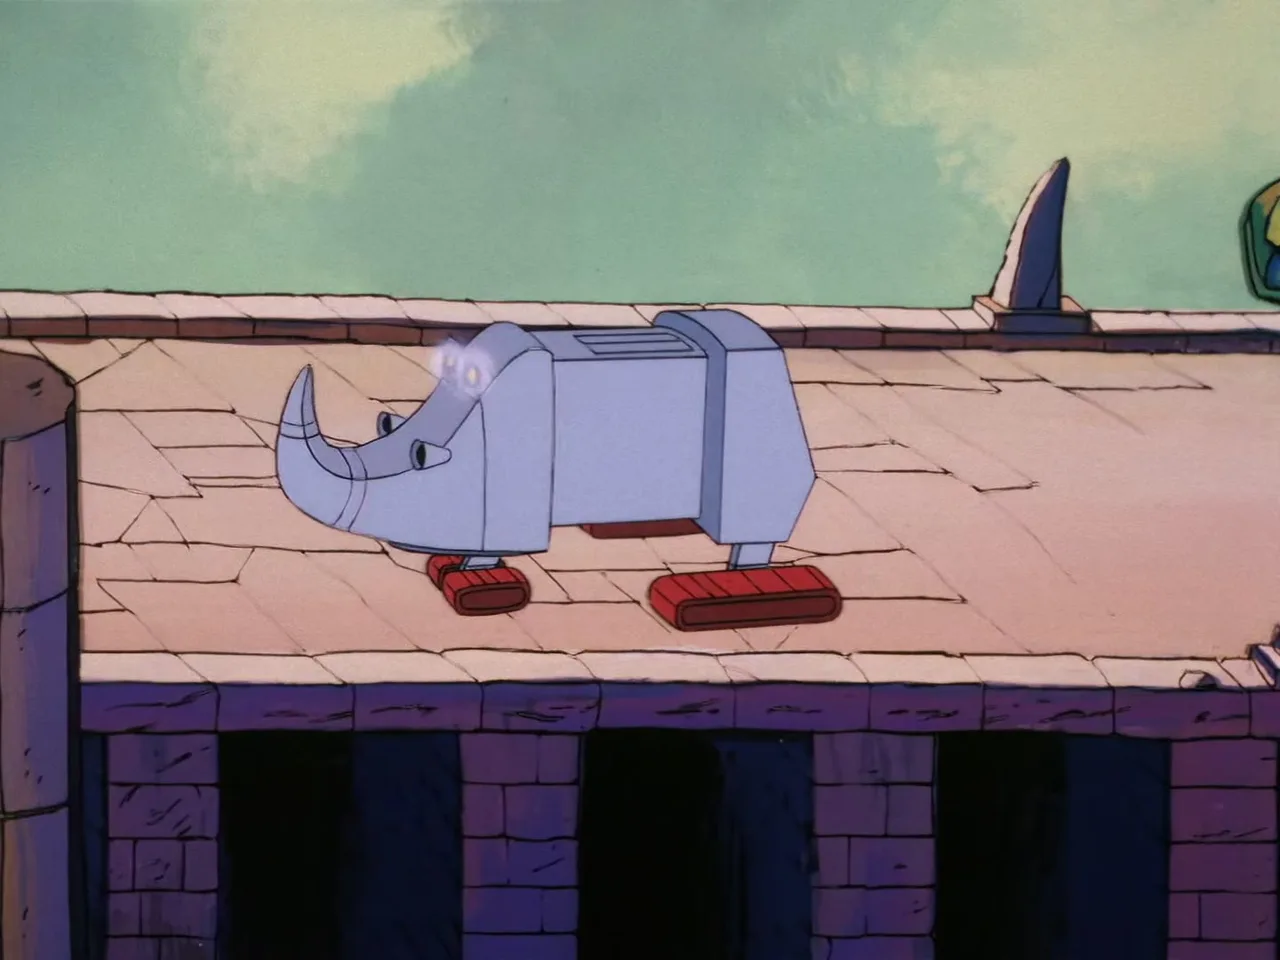
Zegone, its eyes now glowing with power, strides along a temple rooftop beside a carved stone spire.
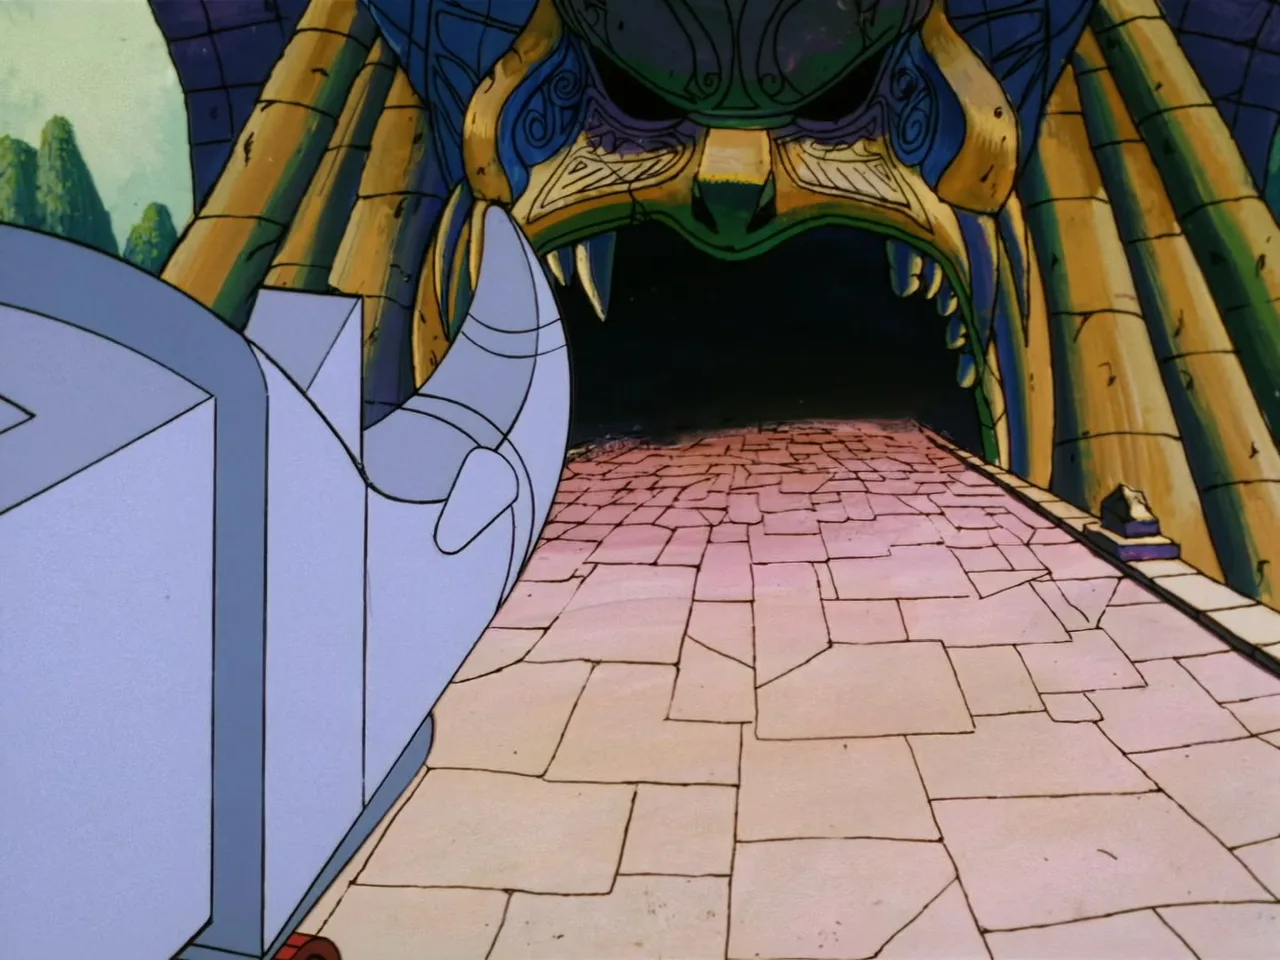
Zegone's horned snout approaches the gaping, fanged mouth of the golden temple idol, a pink-paved corridor leading into the dark interior beyond.
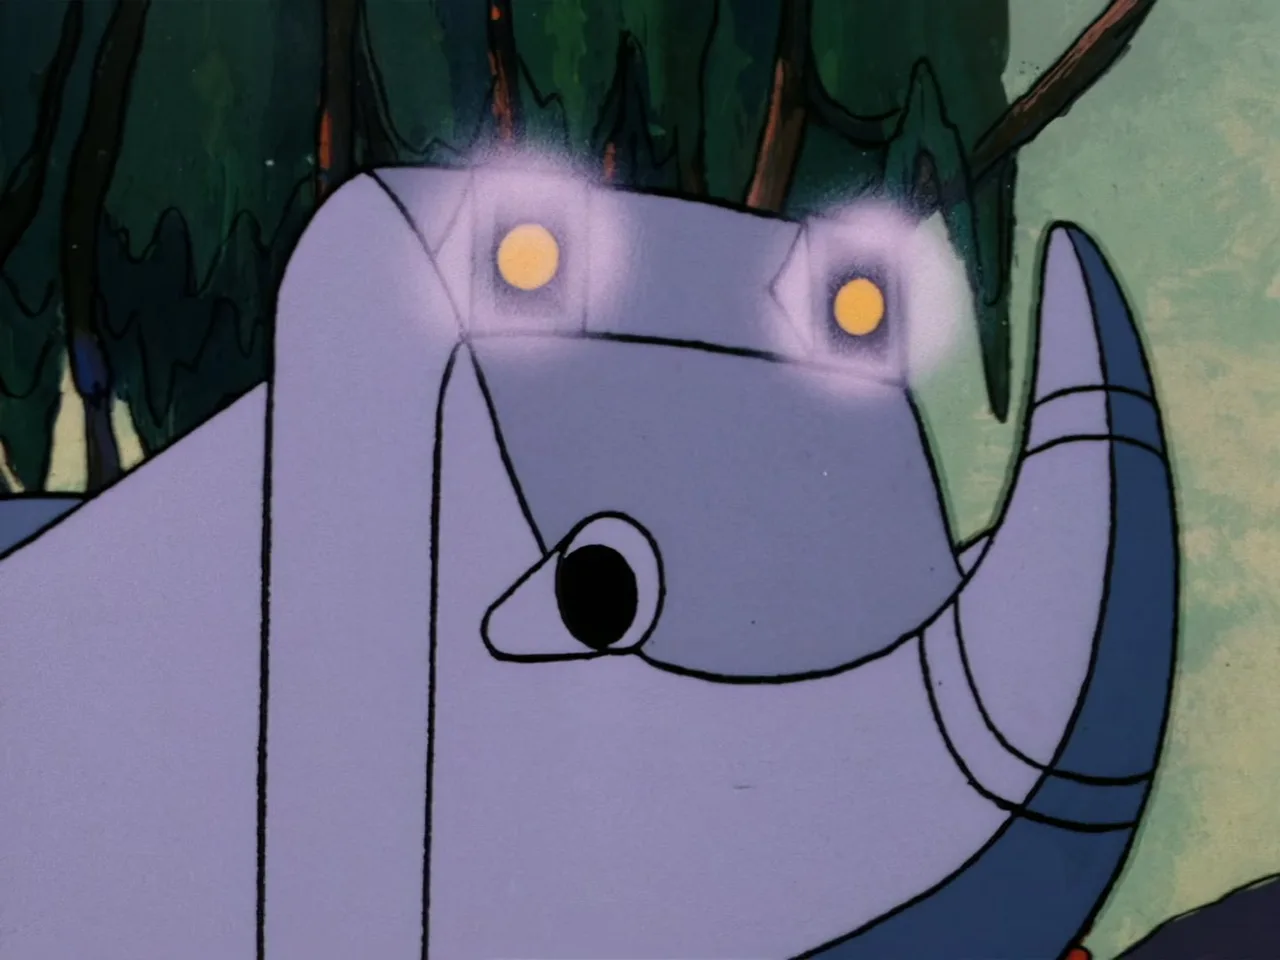
Close-up of Zegone's face with its eye-ports glowing yellow-white, set against a backdrop of dark jungle trees.
A glowing white HE-MAN logo bumper against a starry space background.
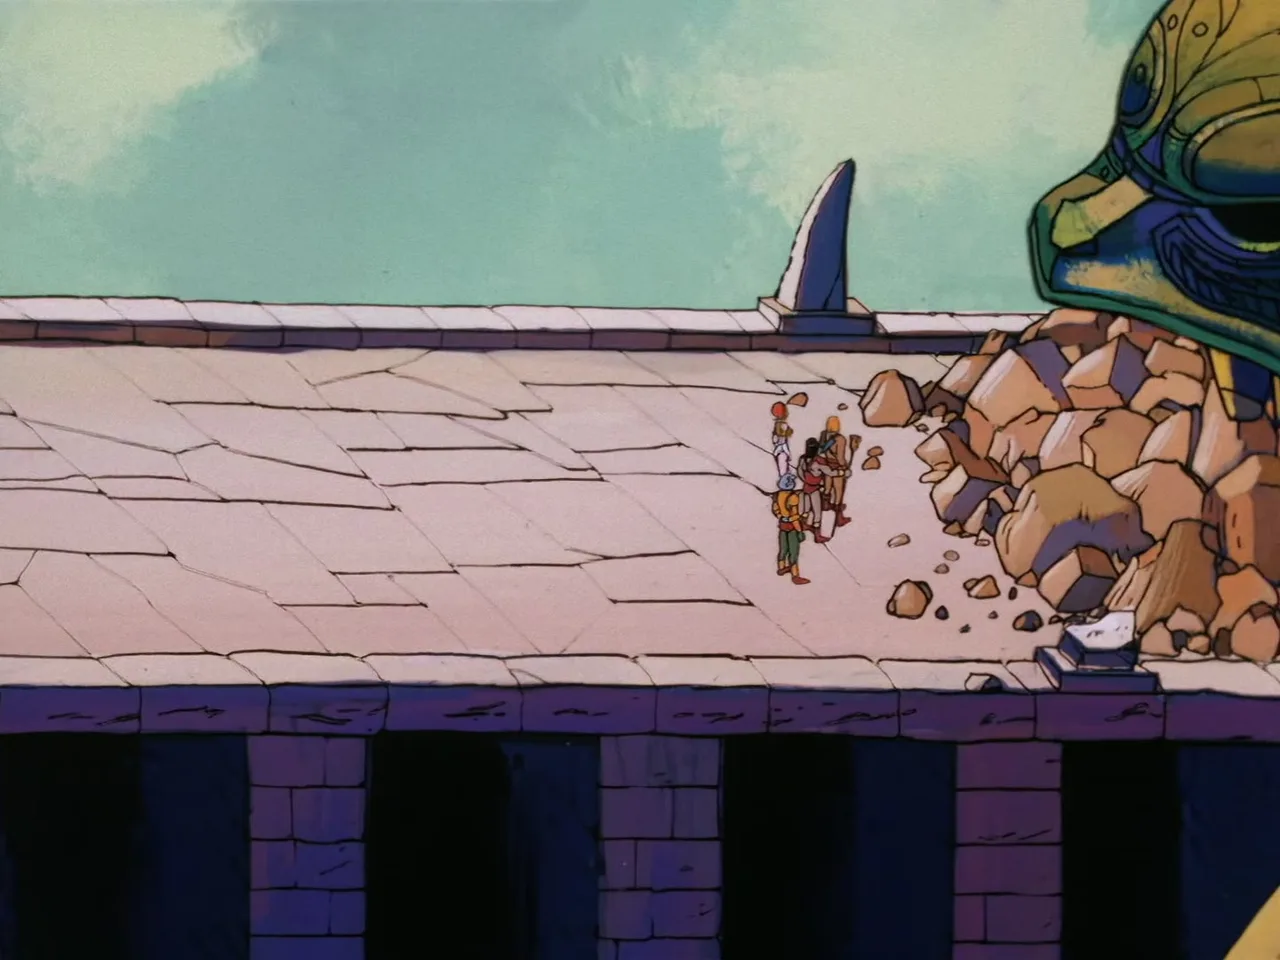
He-Man, Man-At-Arms, Teela and Chief Merlo stand together on a temple rooftop beside a pile of rubble, with a huge carved idol head looming at the right.
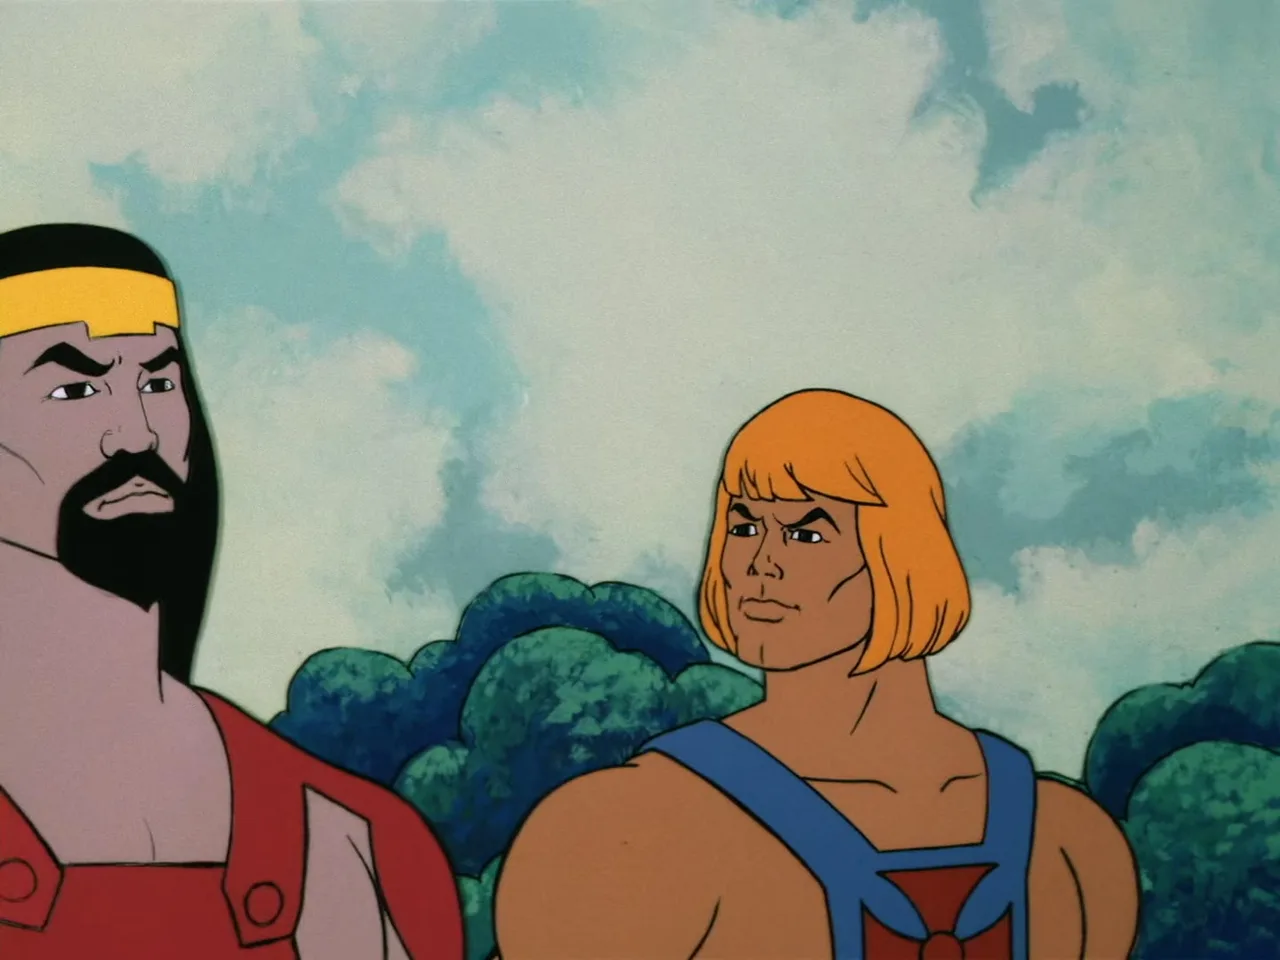
Chief Merlo and He-Man stand side by side outdoors against a cloudy sky, both looking off in the same direction.
Close-up of He-Man's red boots landing and striding across a pile of rubble and broken stone.
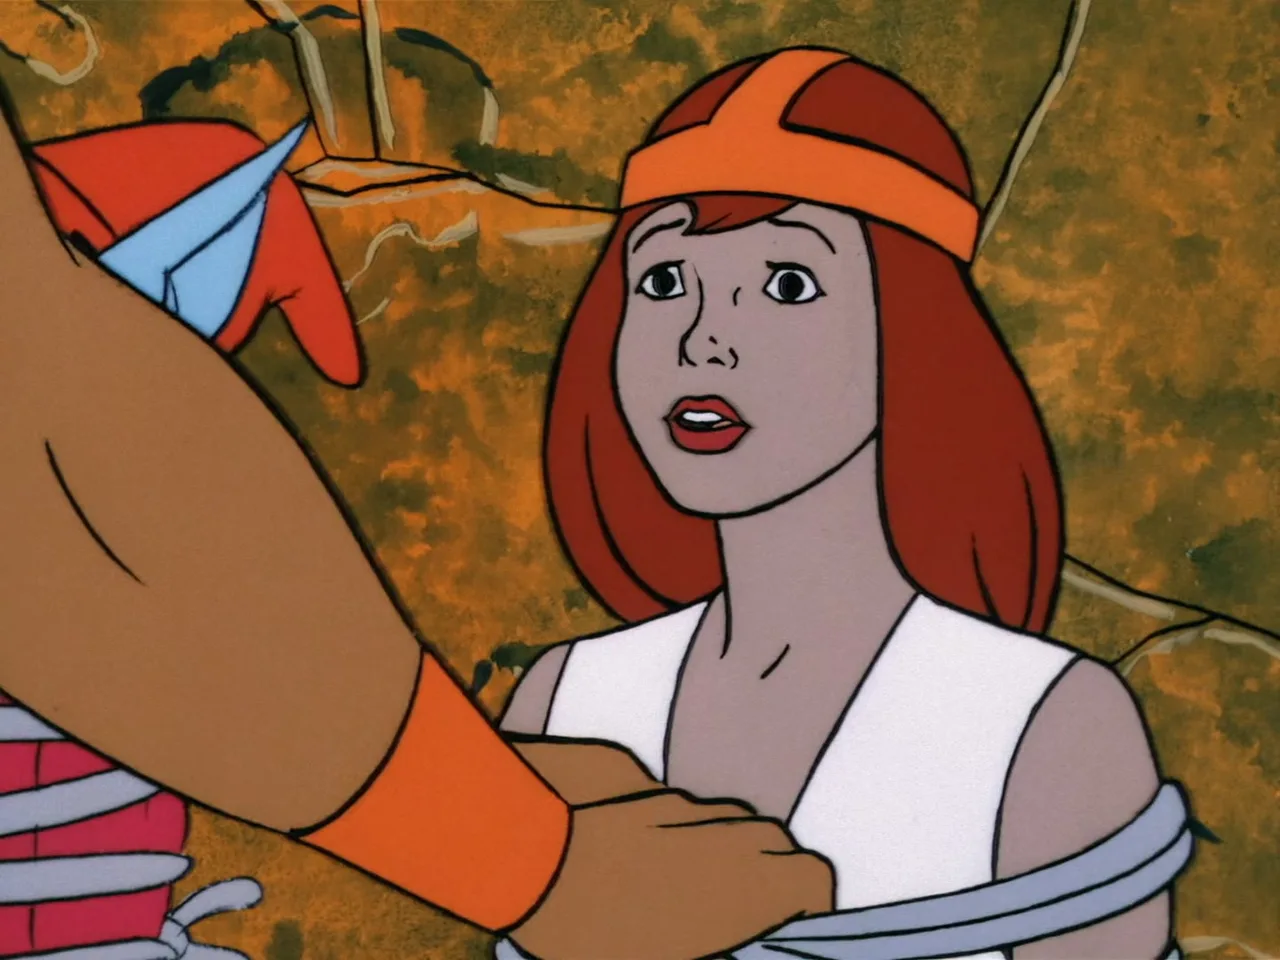
He-Man reaches out to comfort a rope-bound, startled Podi, Orko's hat visible at the edge of the frame, against a cracked orange wall.
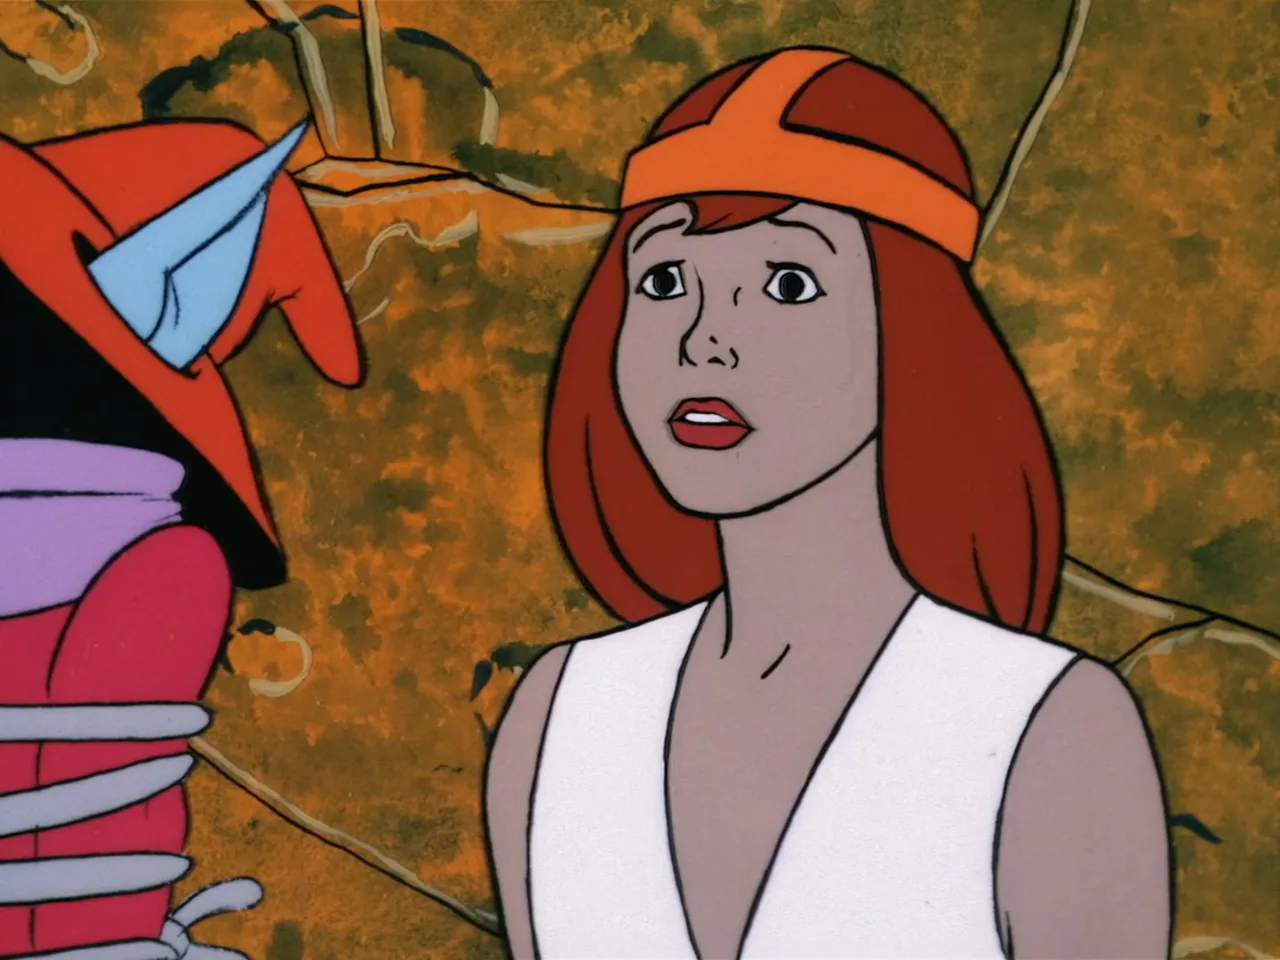
Close-up of Podi's startled face as she sits bound in rope beside the bound Orko, both just rescued from the rubble.
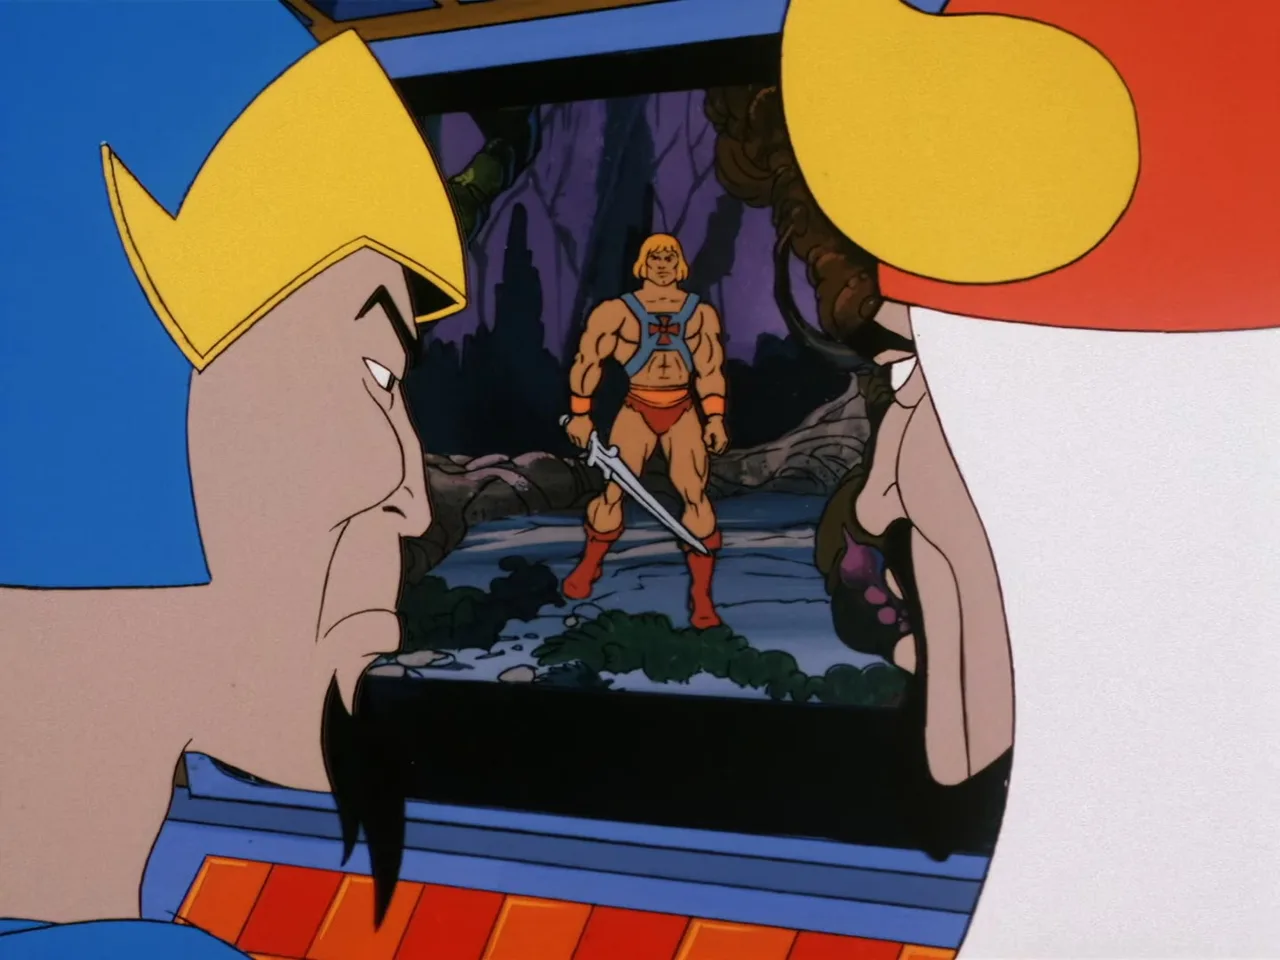
Man-At-Arms and Rago lean in from either side of a cockpit viewscreen that shows He-Man standing ready with his Power Sword drawn in the jungle.
Close-up of an open hatch or viewport on Zegone's hull, its dark interior visible against a cloudy sky.
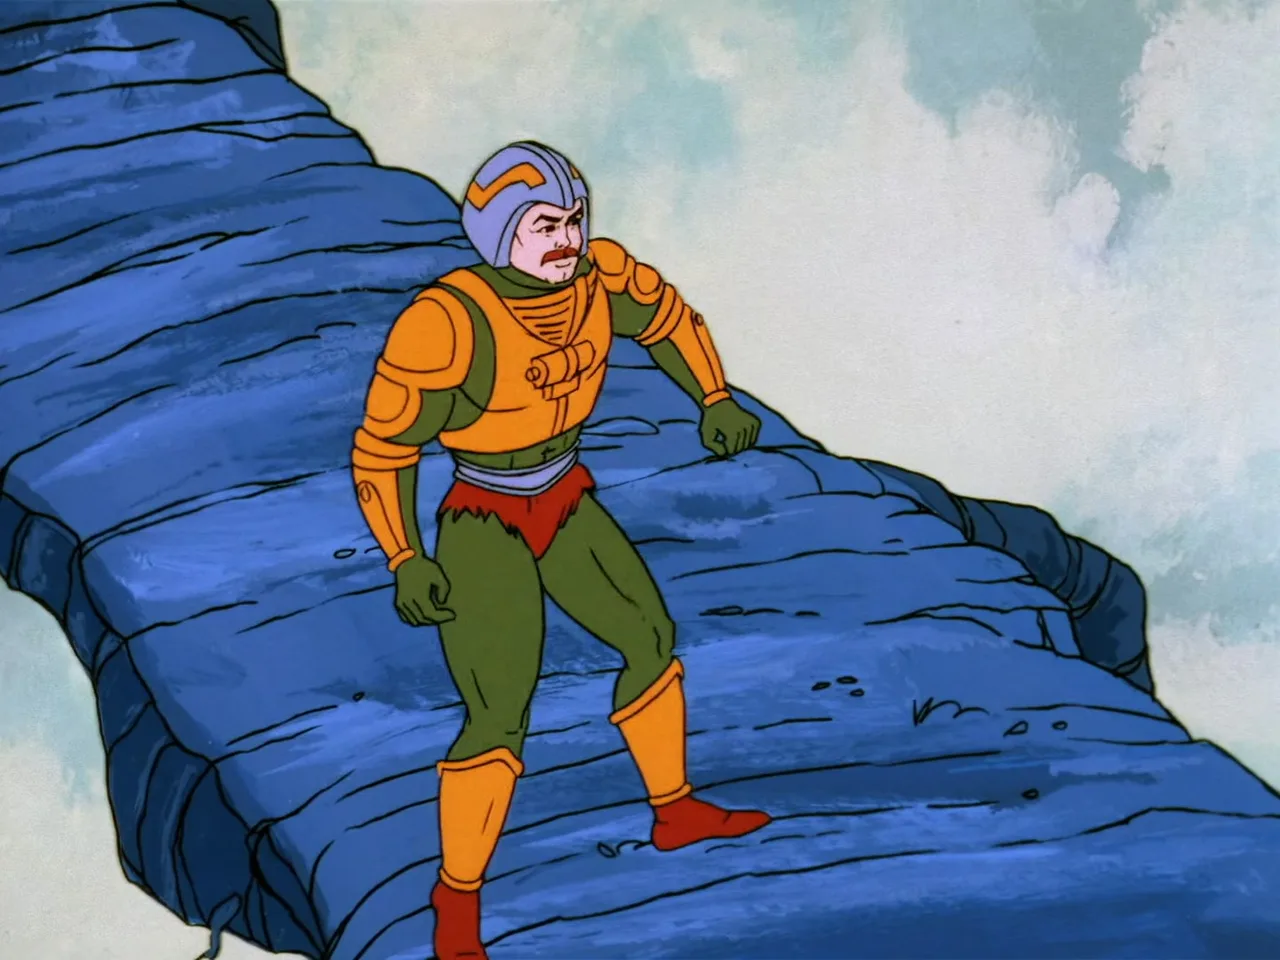
Man-At-Arms stands braced on a sloping blue rock formation, looking off alertly in his orange-and-green armor.
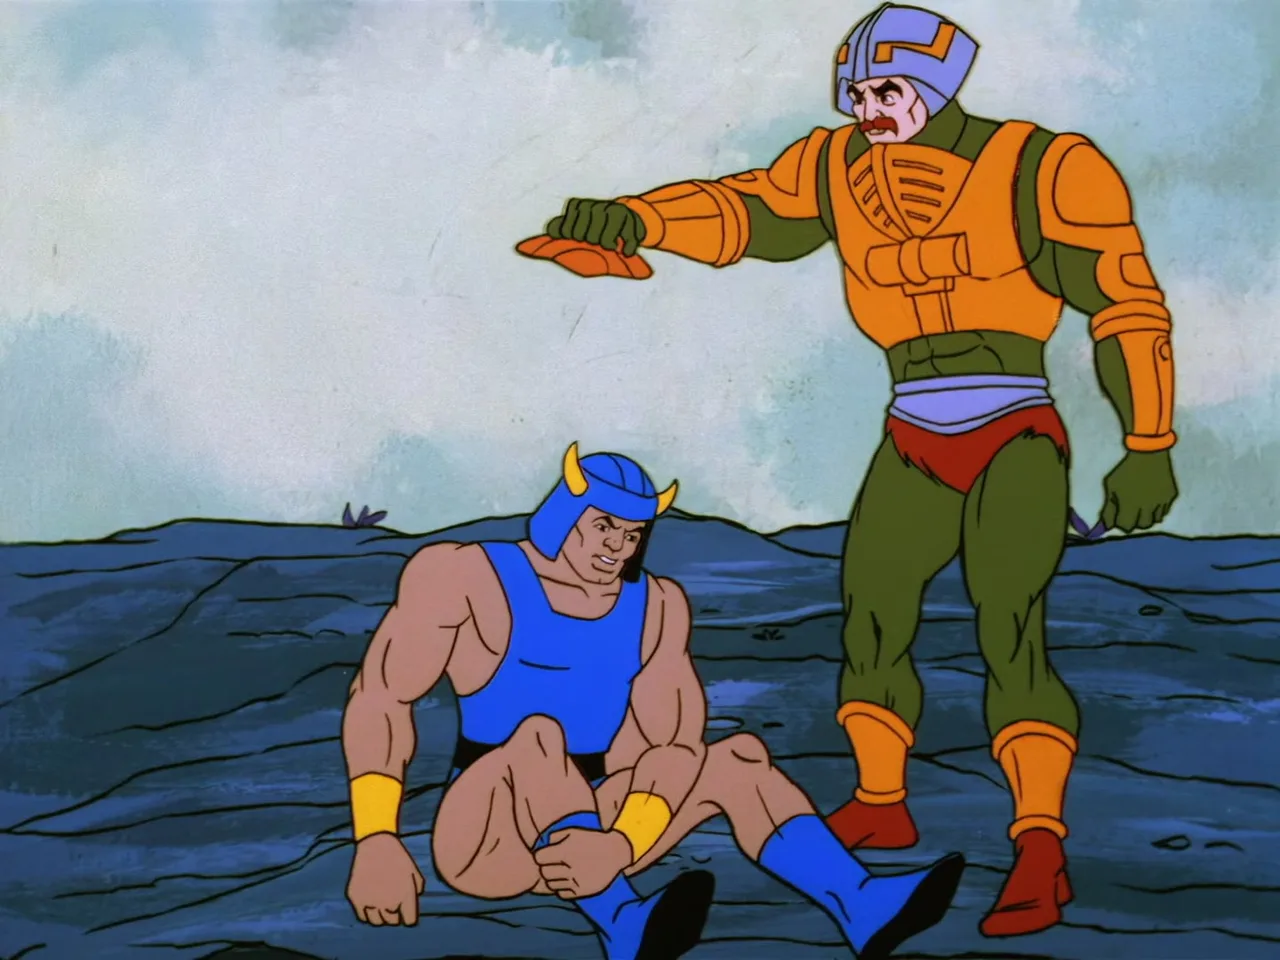
Man-At-Arms reaches down to help up a fallen warrior in a blue tunic and horned helmet, both on a rocky outcrop.
Teela stands alert in her gold-and-white armor amid dark, icicle-draped jungle foliage.
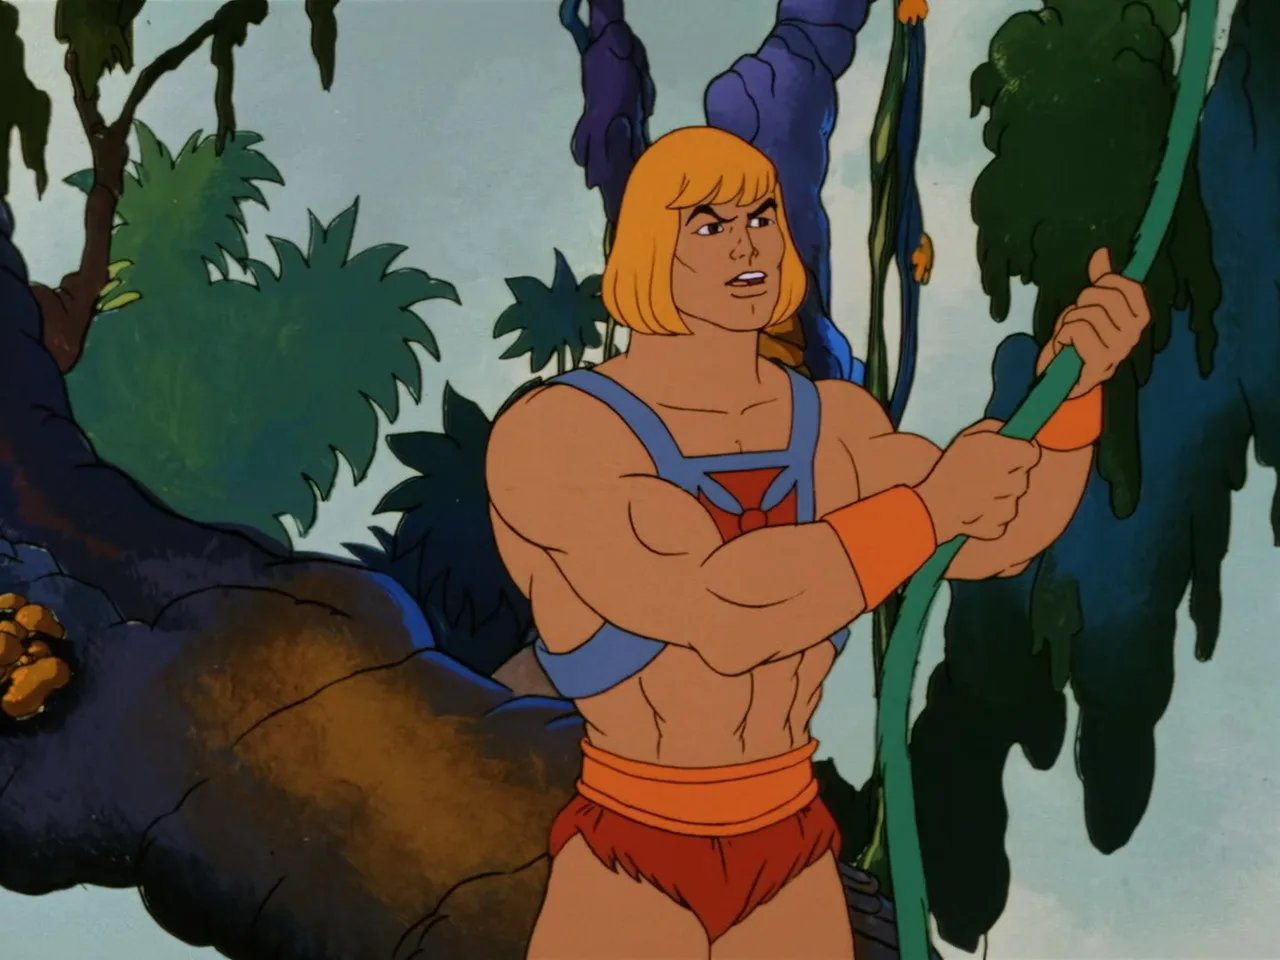
He-Man grips a thick green vine with both hands, bracing to pull or swing, jungle moss hanging around him.
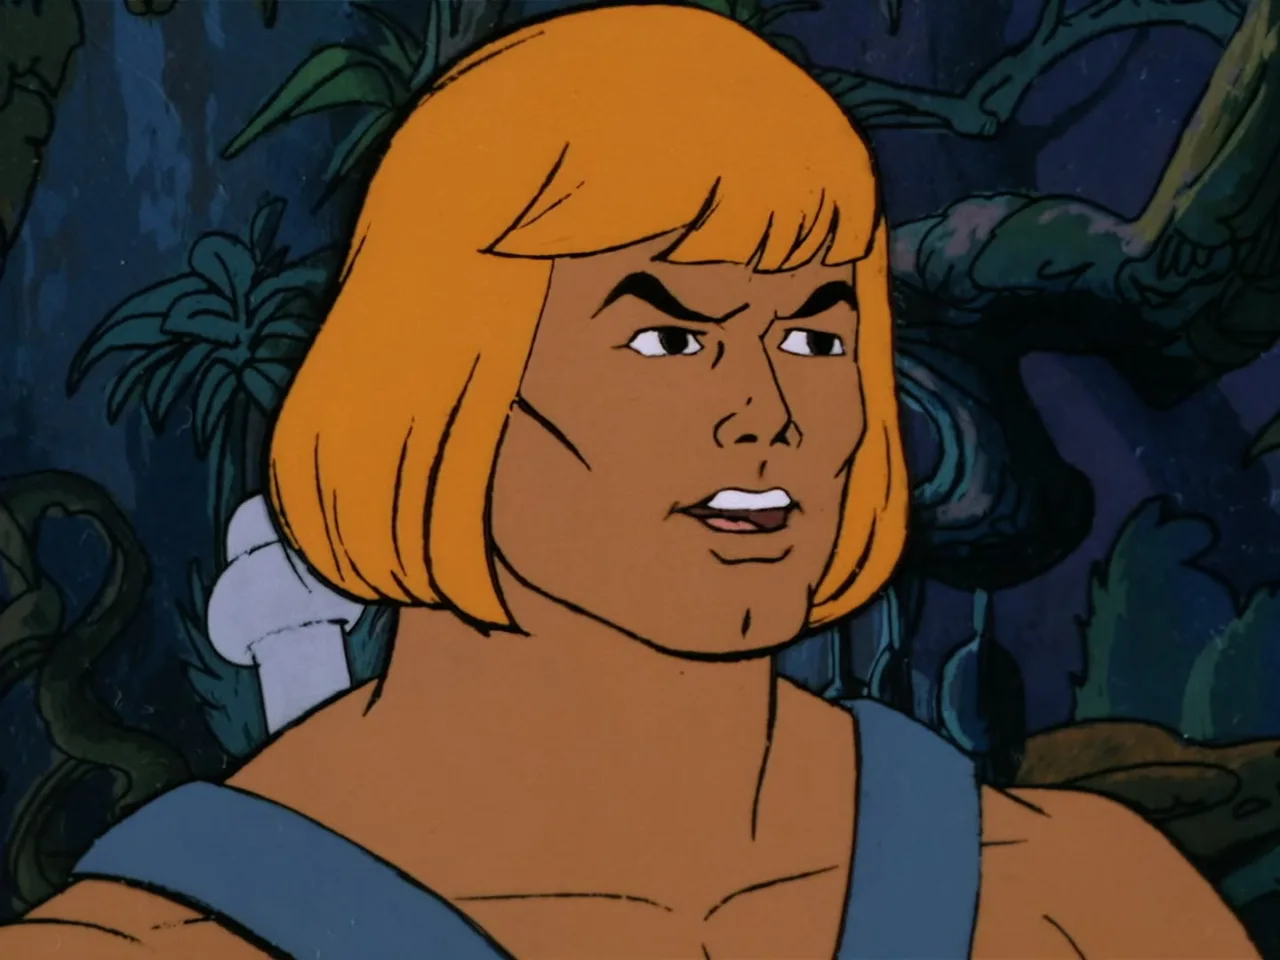
Close-up of He-Man's face, alert and focused, set against the dim blue-green jungle backdrop.
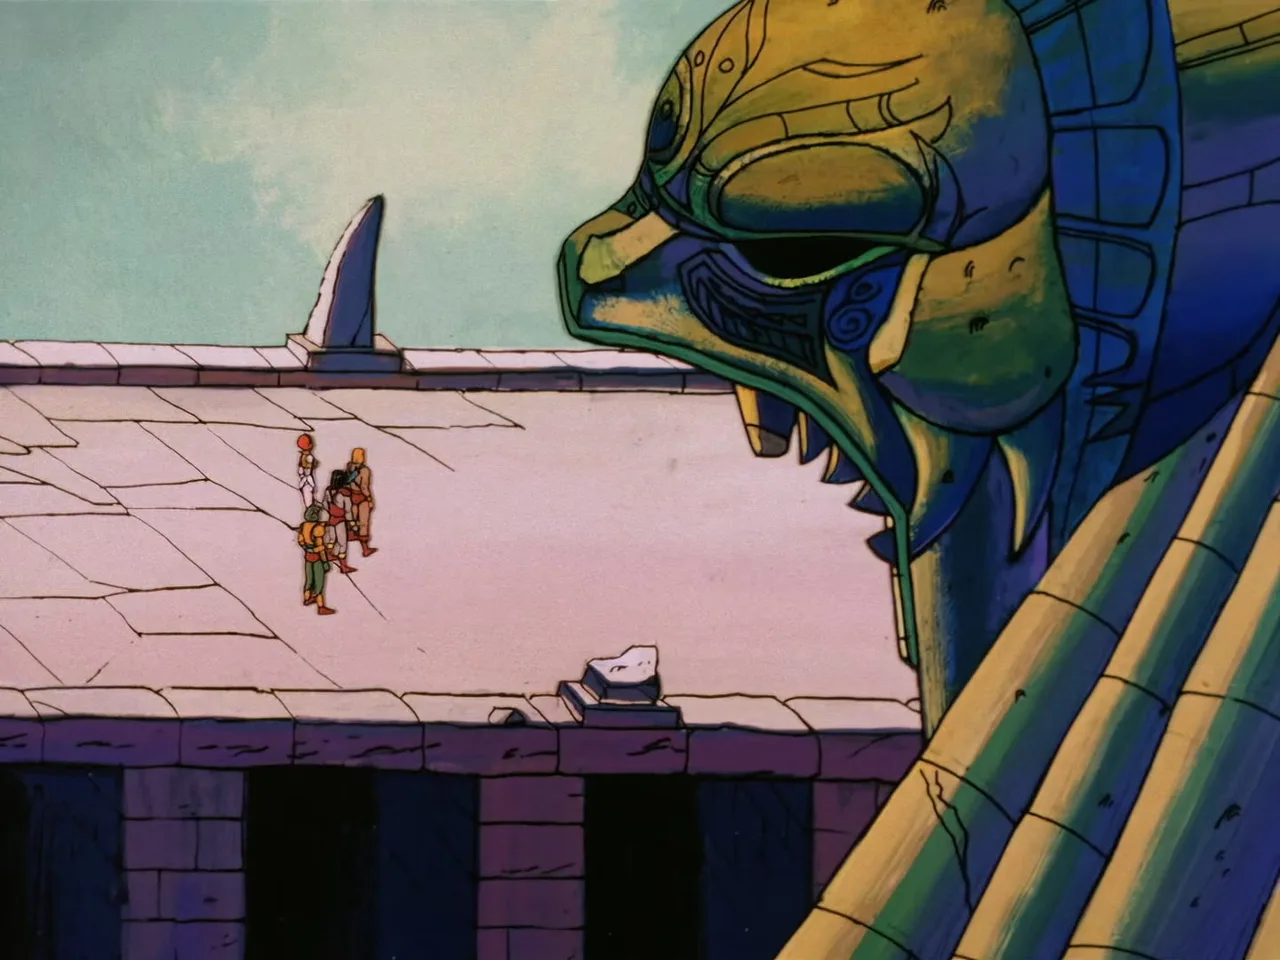
He-Man, Man-At-Arms, Teela and Chief Merlo walk together as tiny figures across a temple rooftop, dwarfed by the huge carved idol head at right.
Orko holds out a broken piece of pottery while Podi, standing beside Chief Merlo, holds another broken shard, both looking sheepish atop the temple steps.
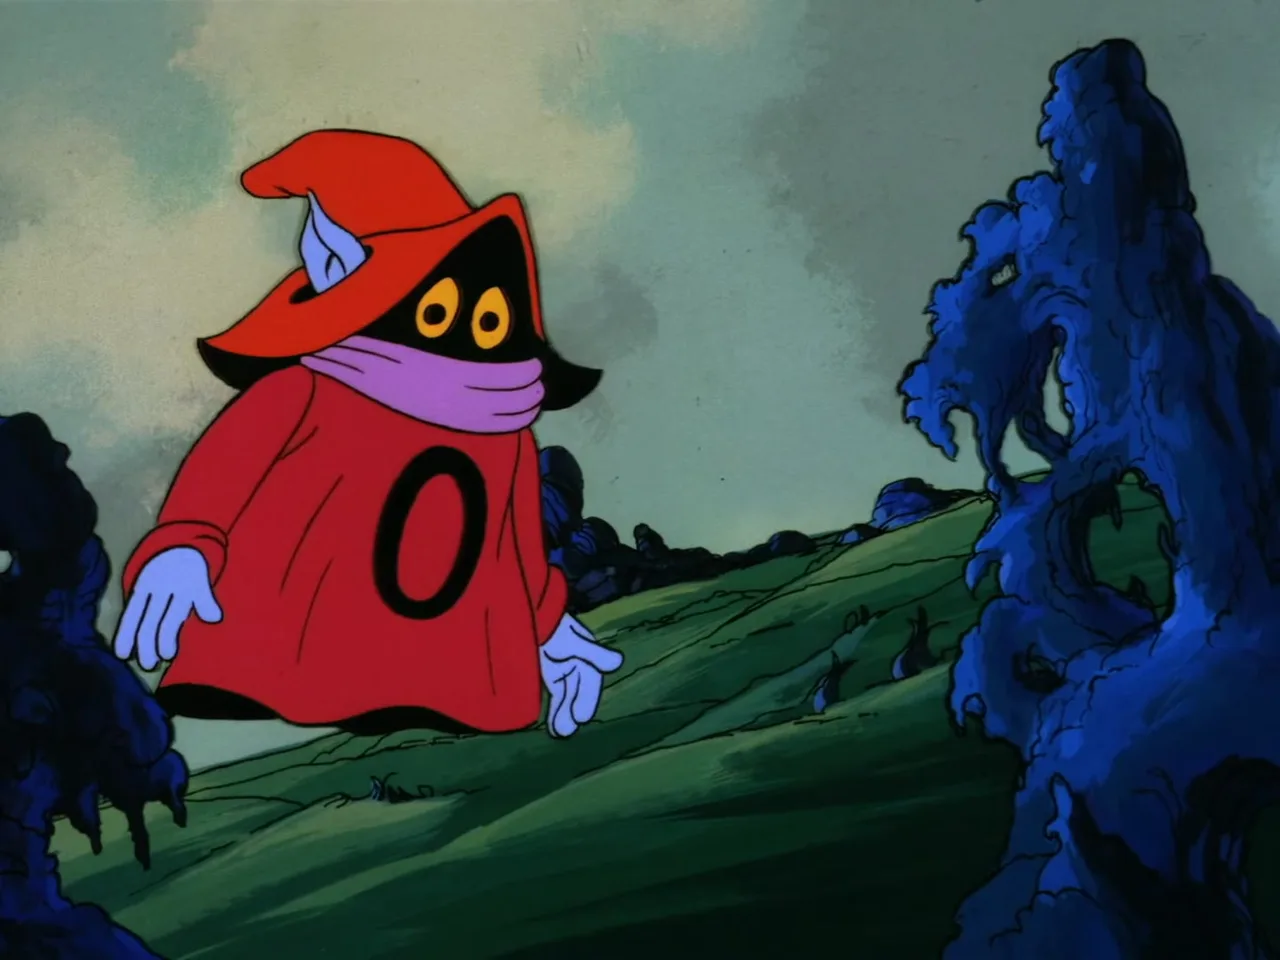
Orko hovers apologetically over a green hillside, hands spread in a sheepish shrug.
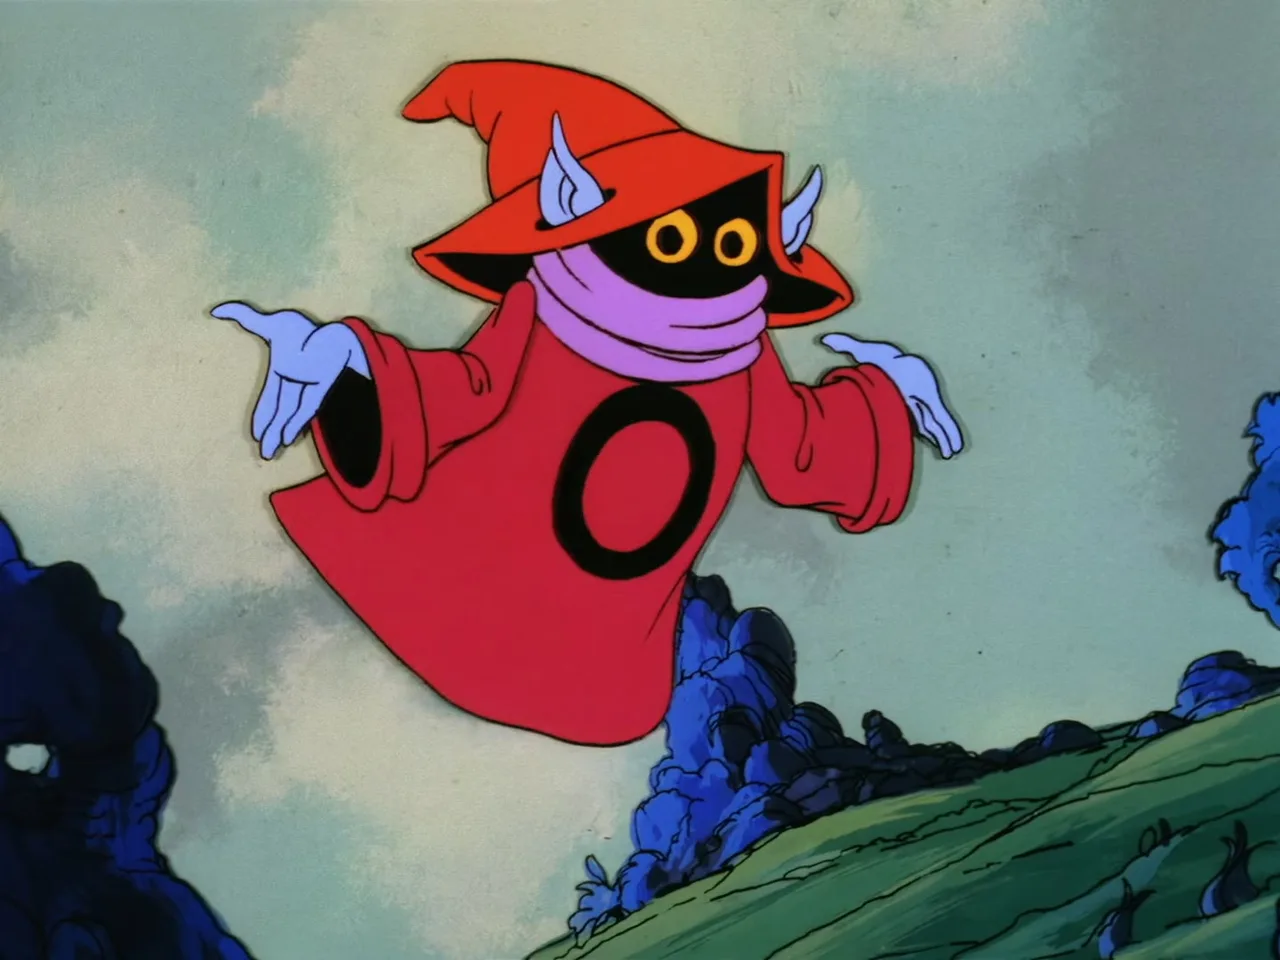
Orko floats with arms spread wide in a pleading gesture over a grassy hillside dotted with rock outcroppings.
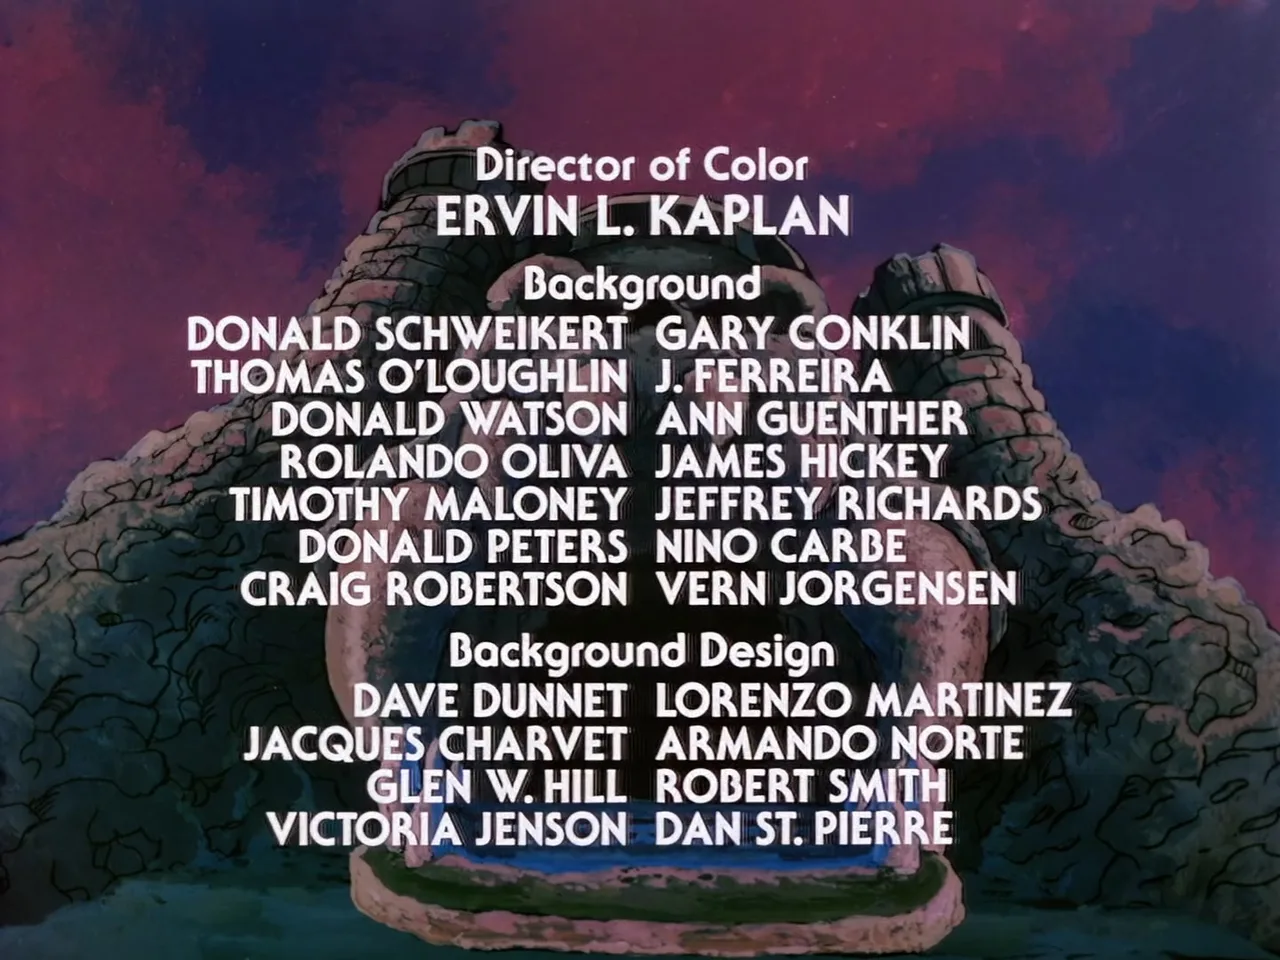
End credits card listing the Director of Color, Background artists and Background Design artists over a painted image of Castle Grayskull's towers against a purple sky.

DISCUSSION

Join the conversation.

Comments below are mirrored on the heman.org forum. Sign in once, post anywhere.