FILMATION - 1983

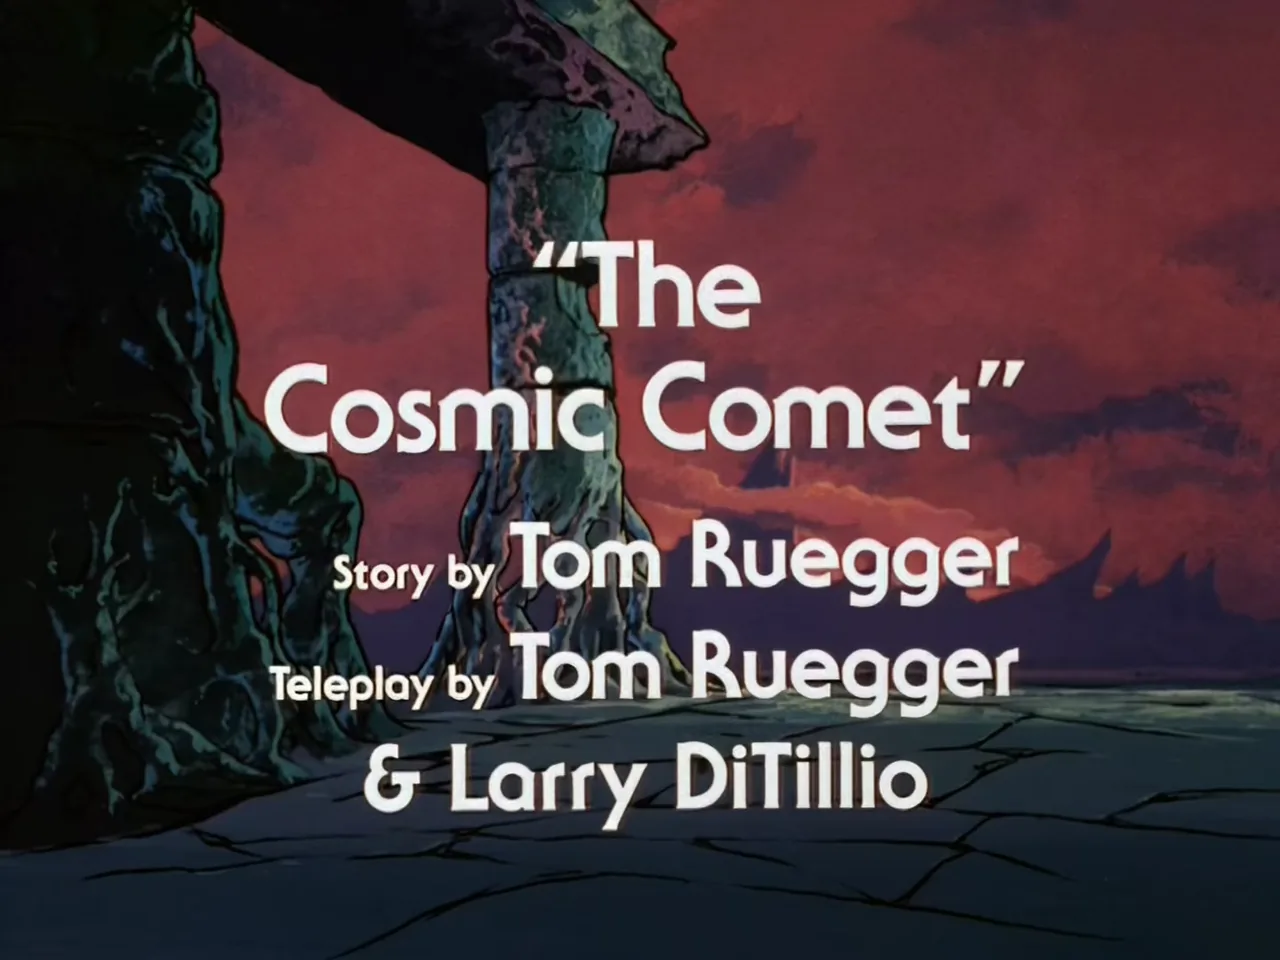
The Cosmic Comet

Official Synopsis

The Cosmic Comet synopsis still

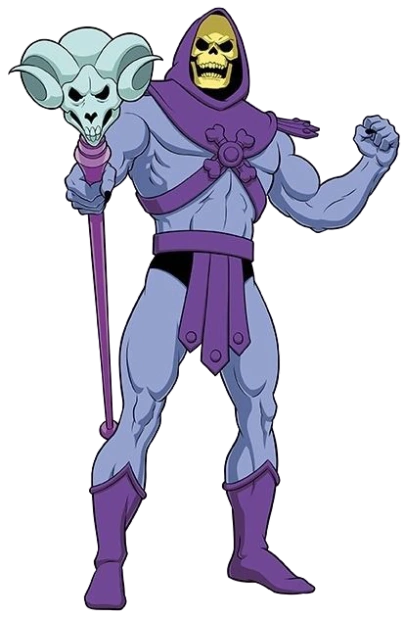
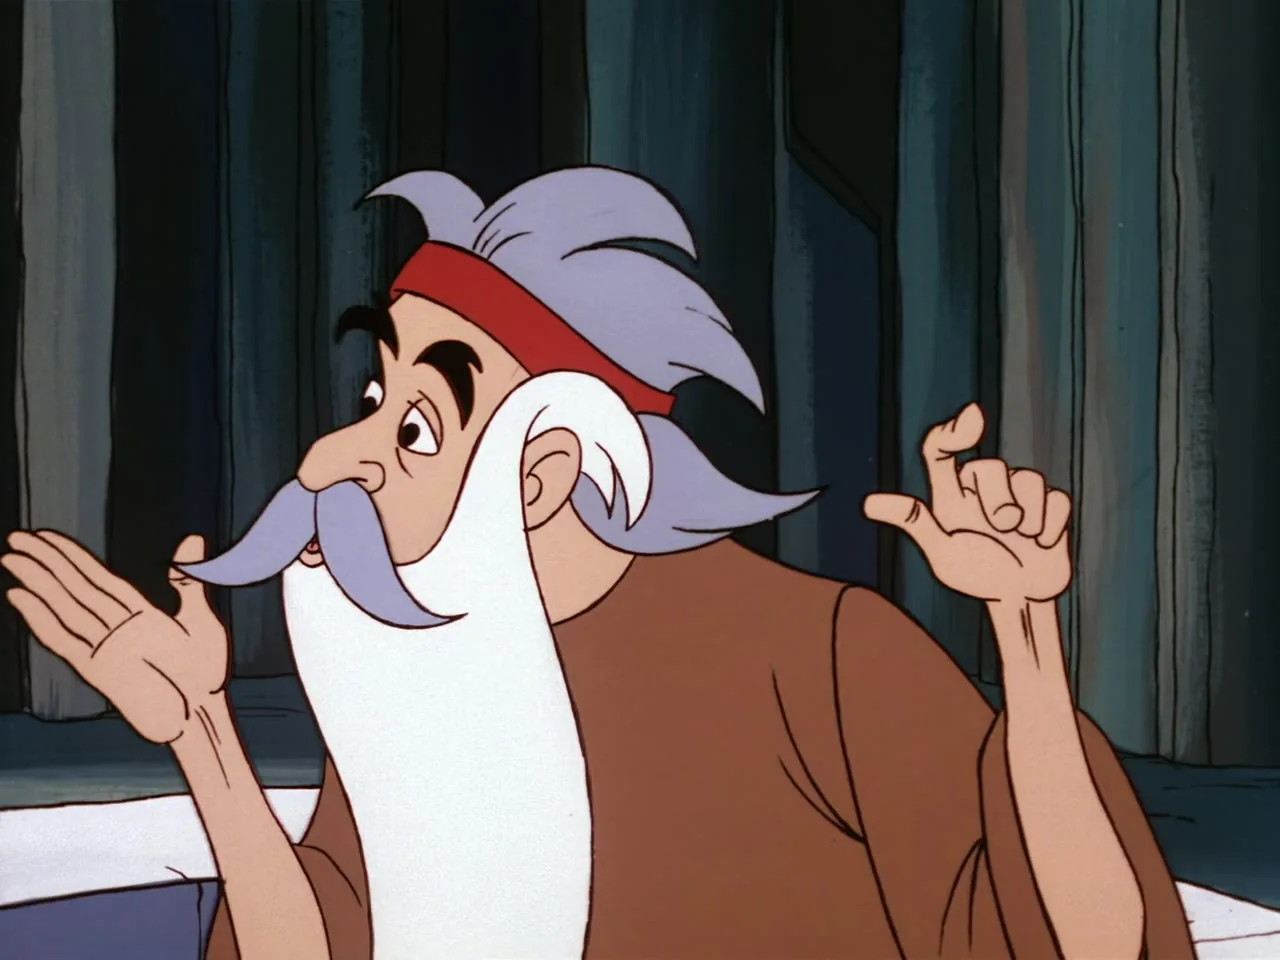
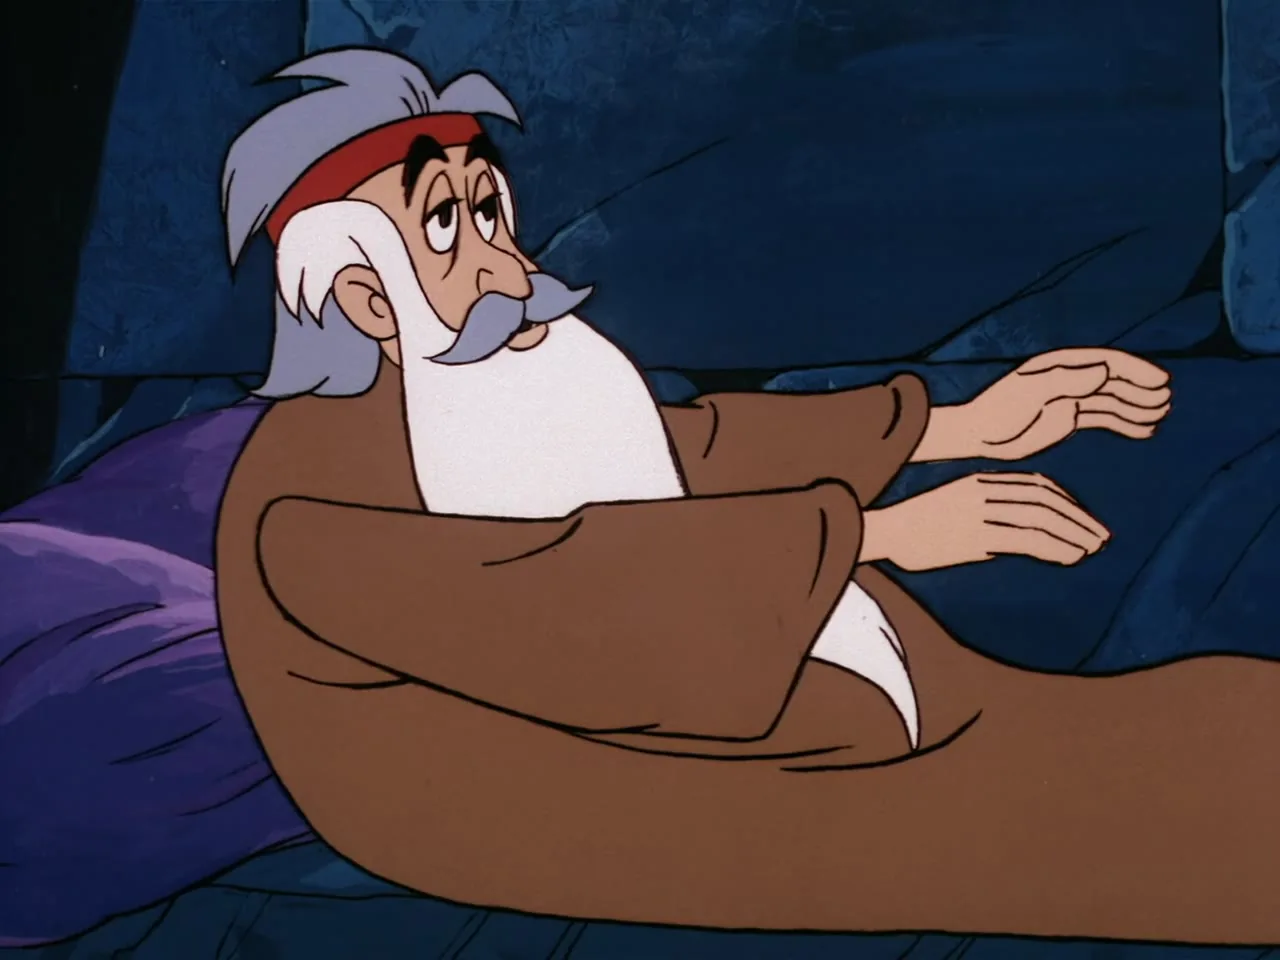
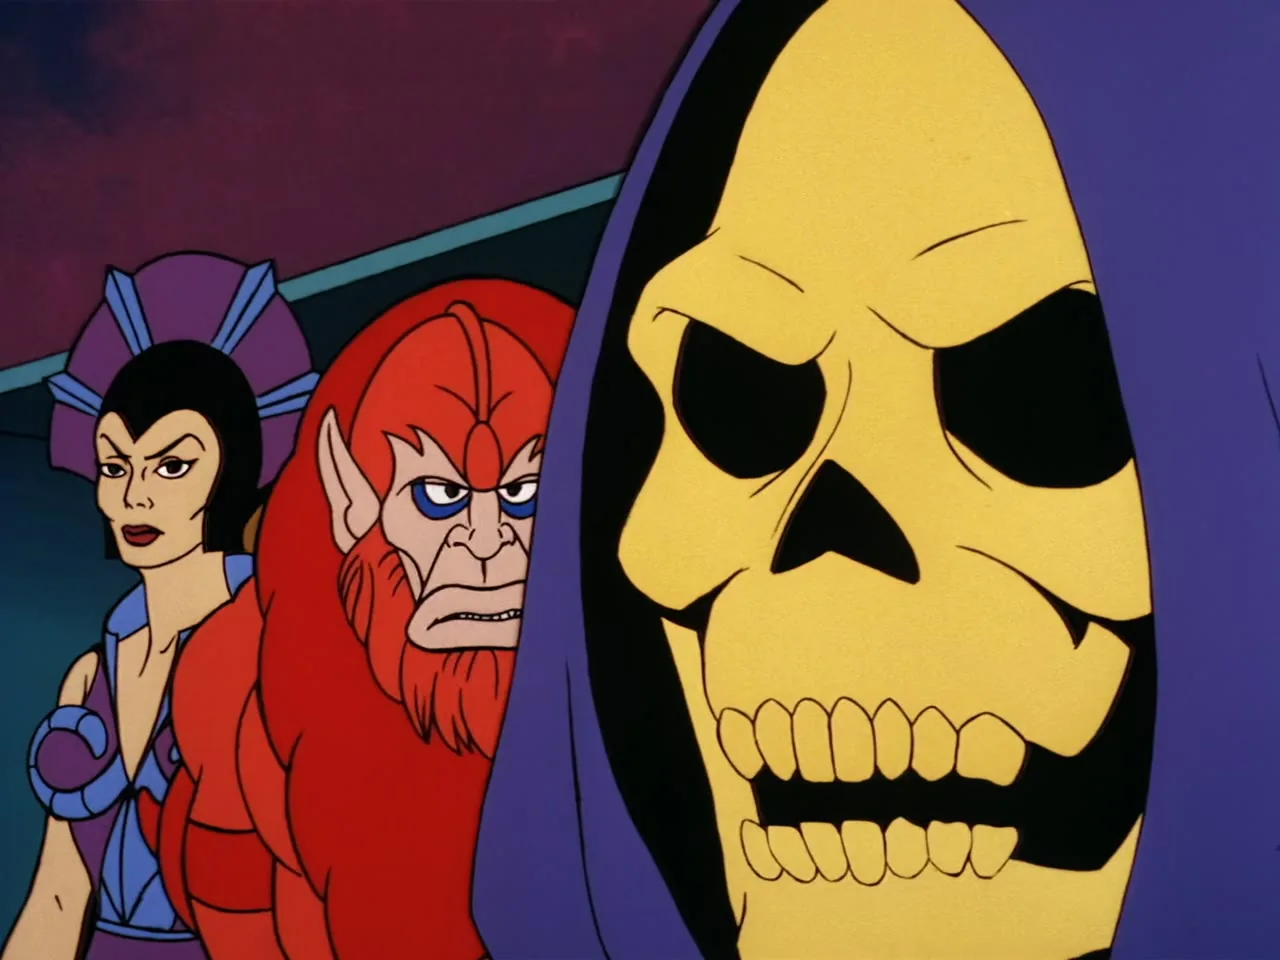
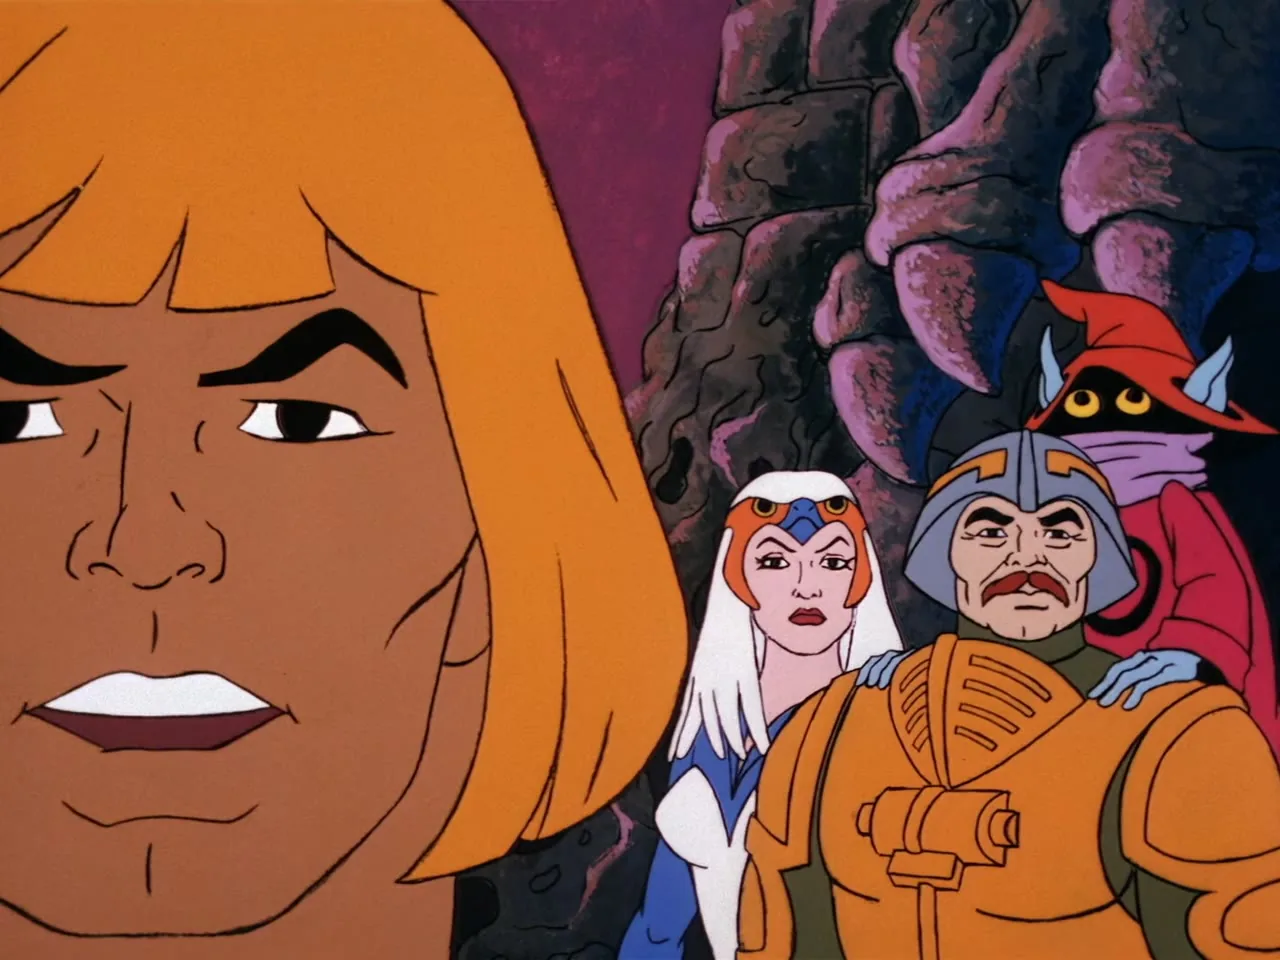
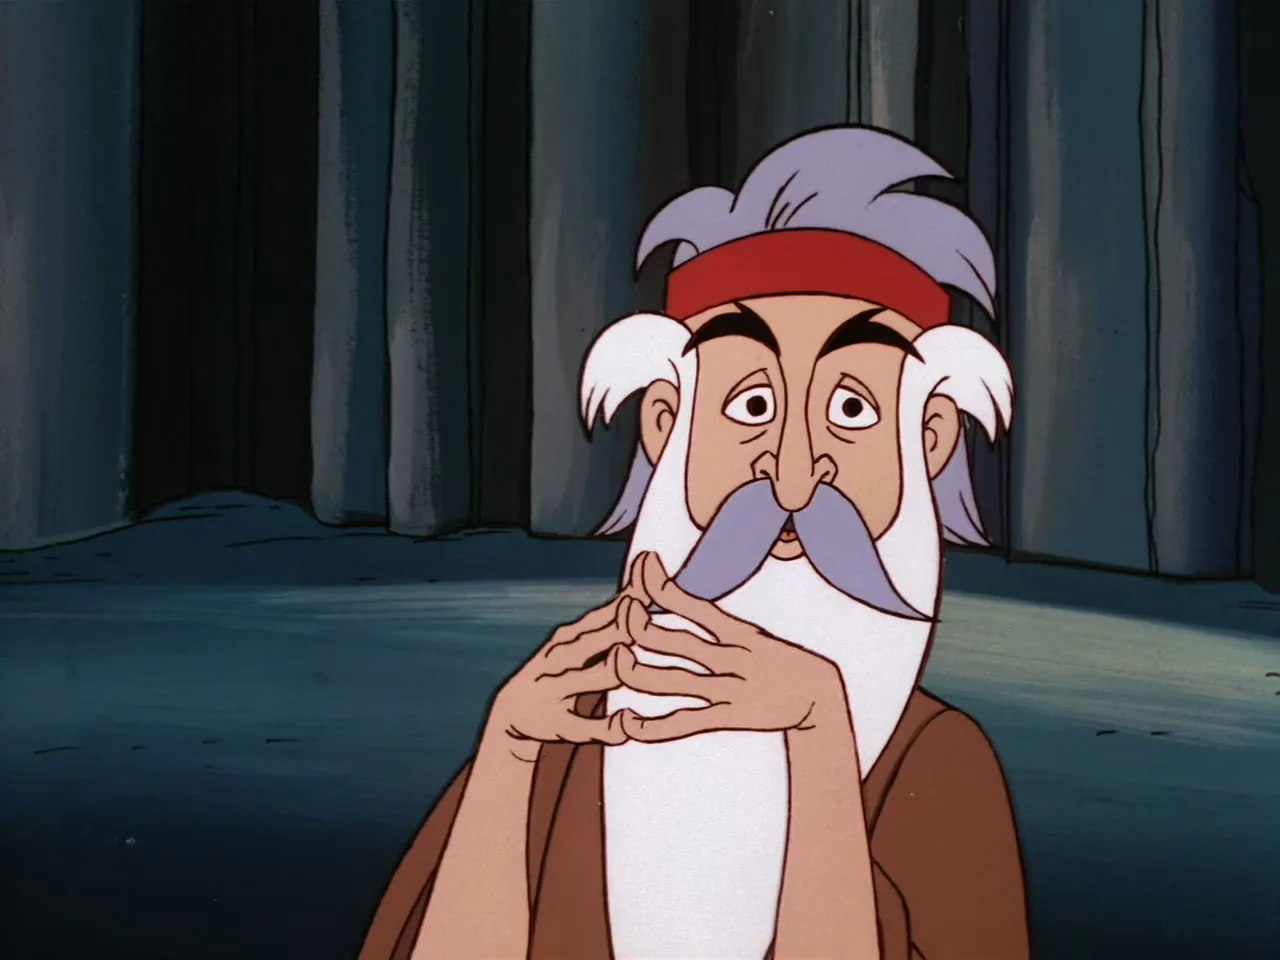
Skeletor, Evil-Lyn, and Beast Man test the power of a wandering comet by attacking Castle Grayskull, only to be beaten back by He-Man, Battle Cat, and Man-At-Arms. The Sorceress warns that the assault was only a trial run for something far more dangerous, and sends He-Man to seek out Zagraz, an old wizard who lives atop a distant mountain and bears responsibility for the comet's existence. Years earlier, Zagraz tried to tame two wandering comets at once; the attempt went wrong, destroying one comet outright and leaving the other enraged and now within Skeletor's reach.

While the heroes travel to find him, Skeletor seizes full control of the comet and uses it to hurl three monstrous creatures down on Zagraz Mountain. Prince Adam slips away to become He-Man and destroys them, and Orko quietly gathers up the pieces left behind. The encounter leaves Zagraz unconscious, and He-Man carries him to Castle Grayskull, where the Sorceress works to revive him. A scouting run to Snake Mountain goes badly; Skeletor and Evil-Lyn, charged with the comet's power, overwhelm the heroes, and the Sorceress is forced to teleport everyone back to safety.

Once Zagraz recovers, he realizes the collected fragments can be reshaped into a new comet, and the Sorceress fuses them together. Zagraz asks He-Man, Teela, Man-At-Arms, and the Sorceress to fill the new comet with love and good intention rather than relying on raw magic alone. When Skeletor sends the original comet streaking toward Grayskull, He-Man holds it back with his own strength until Zagraz can release the one they built. The two comets collide, and the resulting release of energy drives Skeletor off in defeat.

With the castle safe, Zagraz returns to the Royal Palace to pass his comet-taming technique on to Prince Adam, though the lesson is quickly interrupted when a stray practice globe takes off after Orko instead.

Watch the Full Episode

The Cosmic Comet Official upload, Masters of the Universe channel

Morals by Spoken by Man-At-Arms at the episode's close, original Filmation broadcast

Man-At-Arms: "In today's story, Zagraz had a problem. He lost his confidence in himself because he had once failed. Well, now we all fail sometimes, but we should never be afraid to try again and we should always keep believing in ourselves. As the old saying goes: If at first you don't succeed, try, try again. Until later, bye."

Voice Cast

John Erwin as He-Man/Prince Adam, Beast Man and Zagraz

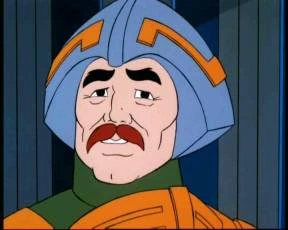
Alan Oppenheimer as Cringer, Man-At-Arms and Skeletor

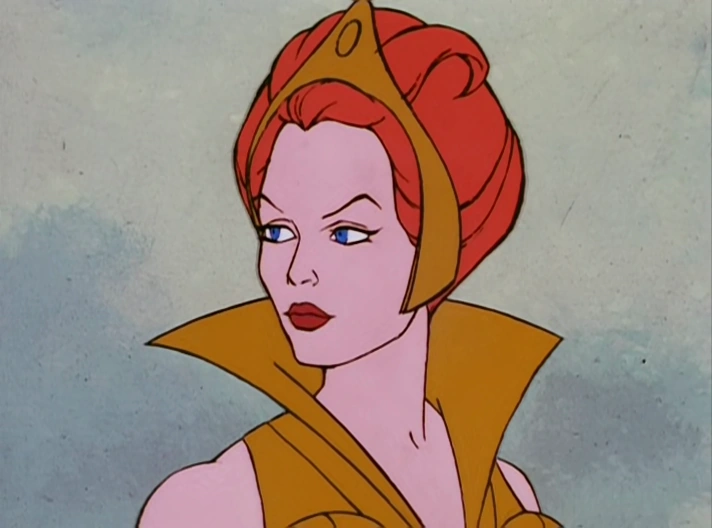
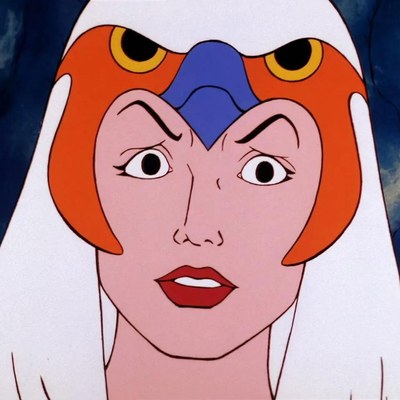
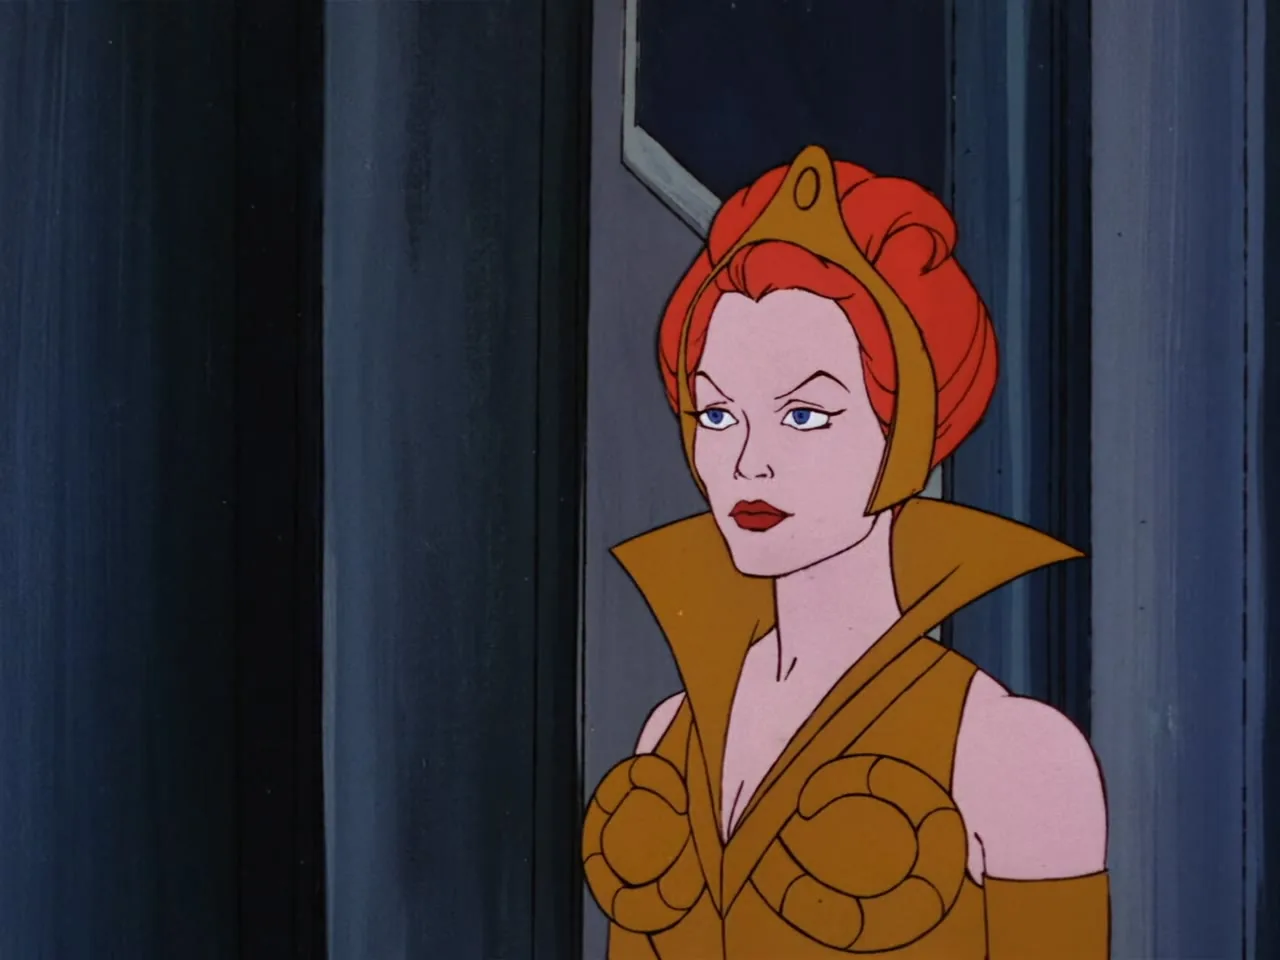
Linda Gary as Teela, Evil-Lyn and The Sorceress

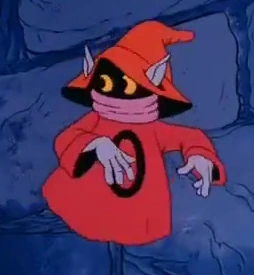
Erik Gunden as Orko, King Randor, Attak Trak, Cosmic Comet and Second Comet

Memorable Quotes

"I just haven't got what it takes anymore. I'm too old and silly, I guess."

- Zagraz

heman.org Episode Review

The first script Filmation ever got approved for He-Man and the Masters of the Universe turns out to be about an old man who has stopped trusting himself. Zagraz, Keeper of the Comets, made one bad call years before the story starts: he tried to control a pair of wandering comets at once, overreached, and destroyed one of them outright. The survivor curdled into the weapon Skeletor now means to drop on Castle Grayskull, and Zagraz has spent the years since convinced he is too old and too foolish to be trusted with power again. It is a strange thing to build a toy commercial's pilot episode around, and it is also the single best choice the script makes.

Tom Ruegger and Larry DiTillio keep the plotting straightforward by design. Skeletor's scheme barely evolves across twenty-two minutes: find the comet, point it at Grayskull, repeat after the heroes interfere. What carries the episode instead is how consistently it returns to Zagraz's self-doubt as the actual obstacle, ahead of Skeletor himself. Teela gets the clearest version of the episode's argument, telling the wizard flatly that anyone can make a mistake, and the line lands because the show has already spent several scenes showing Zagraz unable to hear it. By the time He-Man is physically holding the real comet back with his bare hands so Zagraz has time to finish building a second one, the stakes have become as much about whether the old wizard will try again as whether Eternia survives the night.

The strongest stretch of the episode is the ritual that builds that second comet. Rather than hand Zagraz a spell he can perform alone, the script has him ask Teela, Man-At-Arms, He-Man and the Sorceress to physically touch the dead husk of the first comet and fill it with good intentions, concentrating on the people of Eternia they care about. It is a small moment of the show trusting sincerity over spectacle, and it pays off visually: the comet that was cold and grey when the heroes first touch it is glowing by the time they let go. Zagraz's own hands shake through the sequence, and the animation lets that tremor sit on screen rather than cutting away from it.

Where the episode runs thin is in the middle third, once Skeletor sends his comet-fragment creatures after the party at Zagraz Mountain. The creatures have no real identity beyond "grey and vaguely humanoid," they never speak, and the fight exists mainly to give Adam an excuse to slip away and become He-Man unseen. Teela and Man-At-Arms spend the stretch getting knocked down and standing back up, which works fine as action filler but gives neither character anything to actually play beyond endurance. Skeletor himself is similarly underused for a villain carrying the episode's whole threat: once Evil-Lyn and Beast Man are dispatched early on, he mostly watches the comet do his work for him from his throne, and his only real scene of agency, ambushing He-Man and Man-At-Arms's Attack Trak on the road to Snake Mountain, is over almost as soon as it starts.

None of that undercuts the episode's real achievement, which is sneaking a legitimate character arc into a half hour that also has to sell a sword, a tiger, and a wizard with a staff. "The Cosmic Comet" never oversells Zagraz's recovery, either. He does not walk away cured of self-doubt; he walks away having tried once, successfully, with people around him who believed he could. For a script written before the series had any idea what its own voice would sound like, that is a surprisingly sturdy template to have landed on first.

Notes of Interest

  1. Behind the scenes: Script was approved April 18, 1983 and final script revision took place April 28, 1983. "The Cosmic Comet" was the first script to be approved for production, and is therefore the first episode in the show's production order, including its broadcast code. The episode was not, however, the first to be screened and was in fact the twentieth episode to be broadcast. No official episode order has ever been established for the series, given as the series, produced for syndication, was designed to be shown in any order with a few notable exceptions. As the episodes are usually listed in production order (as well as having been released on DVD in that order in the UK) "The Cosmic Comet" is occasionally cited incorrectly as the first episode of the series.
  2. In the original script, instead of causing He-Man to shoot into the sky to slow down the Cosmic Comet, the Sorceress created a magical platform for He-Man to levitate on. The moral segment as written in the script featured Man-At-Arms practicing his shooting skills at a target range. To support the moral, he would miss his target, then tell himself and viewers to always 'try, try again'. This extra animation was deemed unnecessary and instead only clips from preceding story were used while Man-At-Arms addressed the camera.
  3. Continuity: The fight sequence between He-Man and Beast Man would be seen again in Diamond Ray of Disappearance. Although The Cosmic Comet was broadcast first in most territories, the scene was originally animated for the Diamond Ray of Disappearance. The shot of Teela cradling Prince Adam on the ground will be used again in The Littlest Giant, except at that time it will be He-Man instead of Adam. It will be the basis for another similar shot seen in the She-Ra: Princess of Power episode The Price of Freedom in which She-Ra is cradling Prince Adam. The animation of the Sorceress using her magic to cast a spell will be seen again in To Save Skeletor. The animation of Skeletor leaping out of frame will be used again in Double Trouble.
  4. More continuity: The character of Zagraz returns in the second season episode Capture the Comet Keeper, while his character model will be reused as the Gatekeeper in The Magic Falls. The animated sequence of the Sorceress raising her hands was used again in the She-Ra: Princess of Power episode Into Etheria.
  5. Animation errors and goofs: When the heroic warriors arrive at Zagraz Mountain in the Attak Trak, the bridge of Cringer's nose is colored dark green (the same as the underside) when he says 'What's that' and wants to turn back. Near the end of the story, when Zagraz tells He-Man "you had faith in me", he waves his hands about and at one point his entire hand disappears as it passes in front of He-Man's chest. When all the heroic characters are standing on the jaw bridge to Castle Grayskull as He-Man carries the new cosmic comet, the characters are drawn too large in comparison with the castle entrance.
  6. Skeletor magically summons a cosmic comet aimed at Eternia, intending to use the impact to claim the planet. He-Man must redirect the comet before it strikes.
Cast Appearances

Full roster →

Episode screenshots

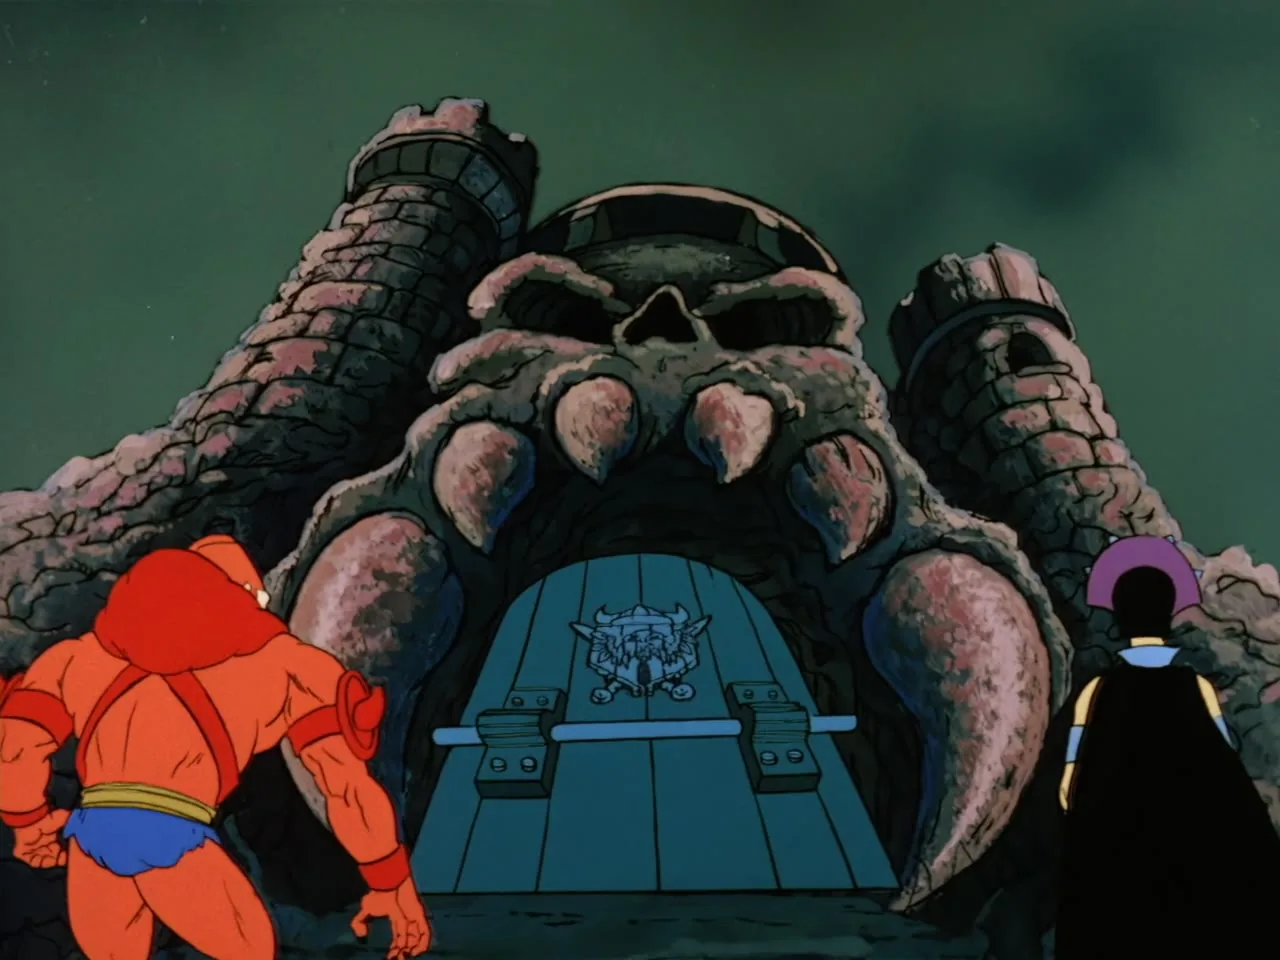
Beast Man and Evil-Lyn stand with their backs to camera before Snake Mountain's skull-shaped barred gate.
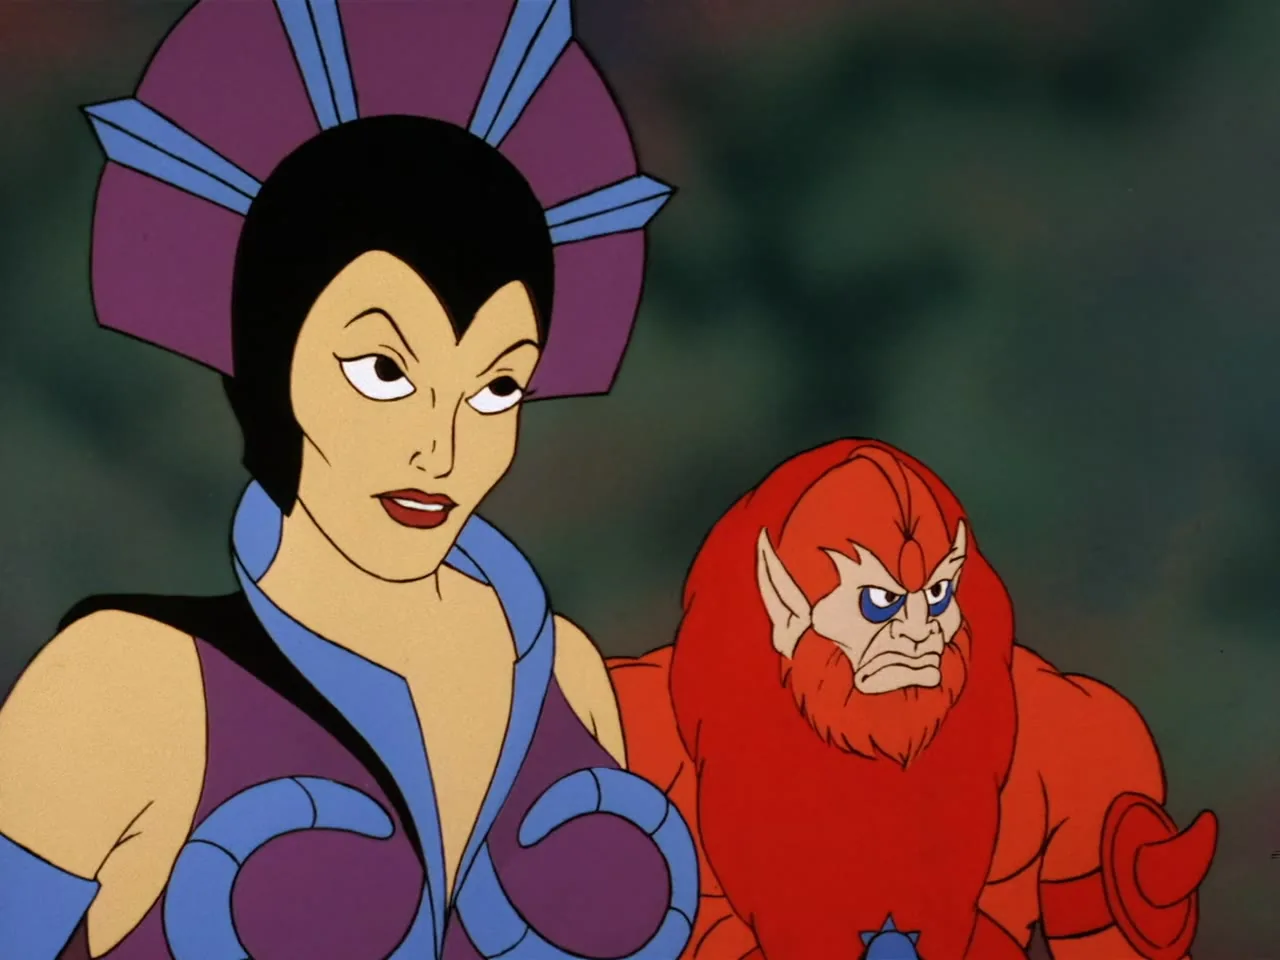
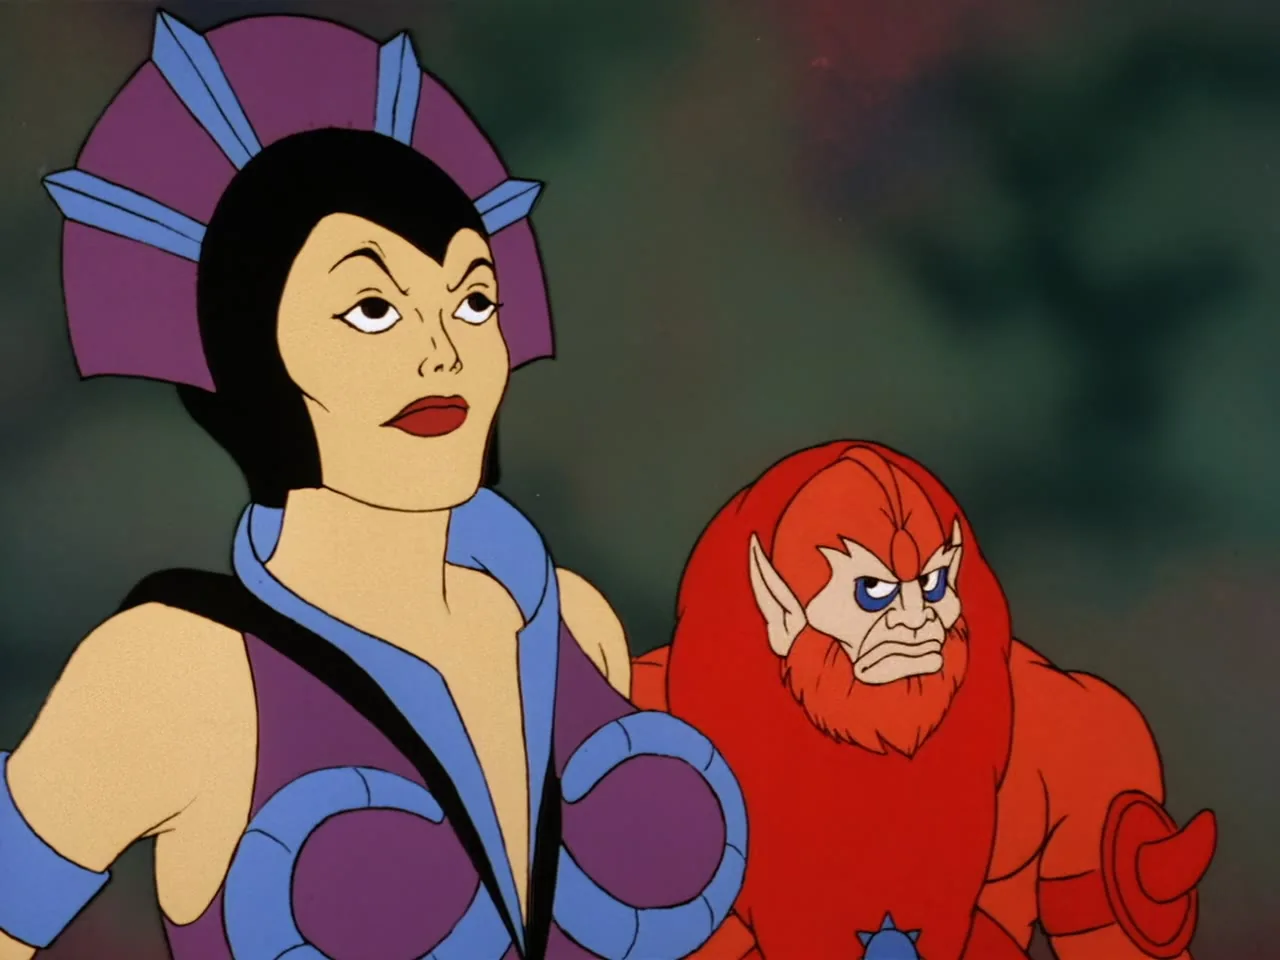
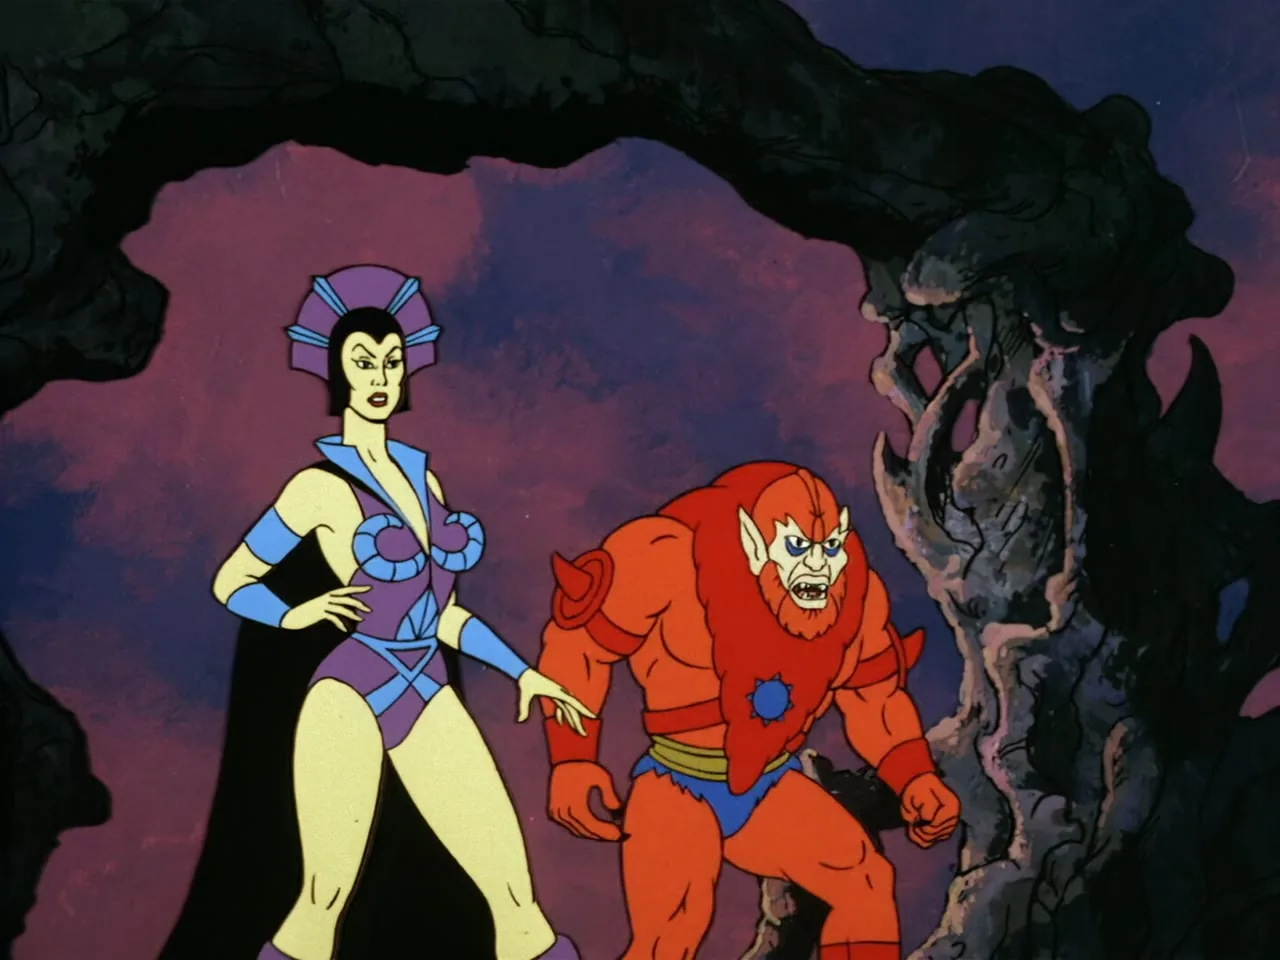
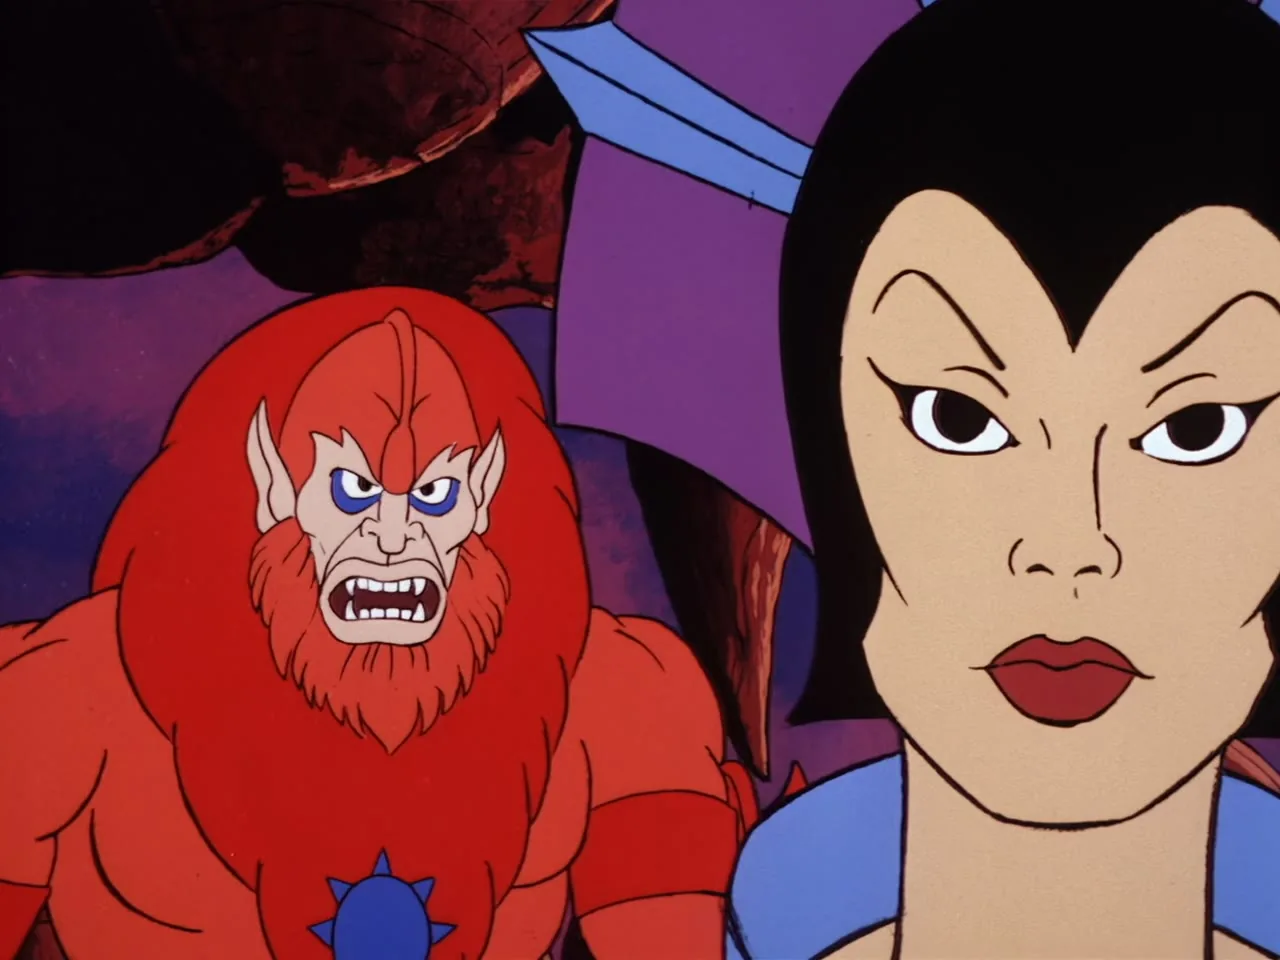
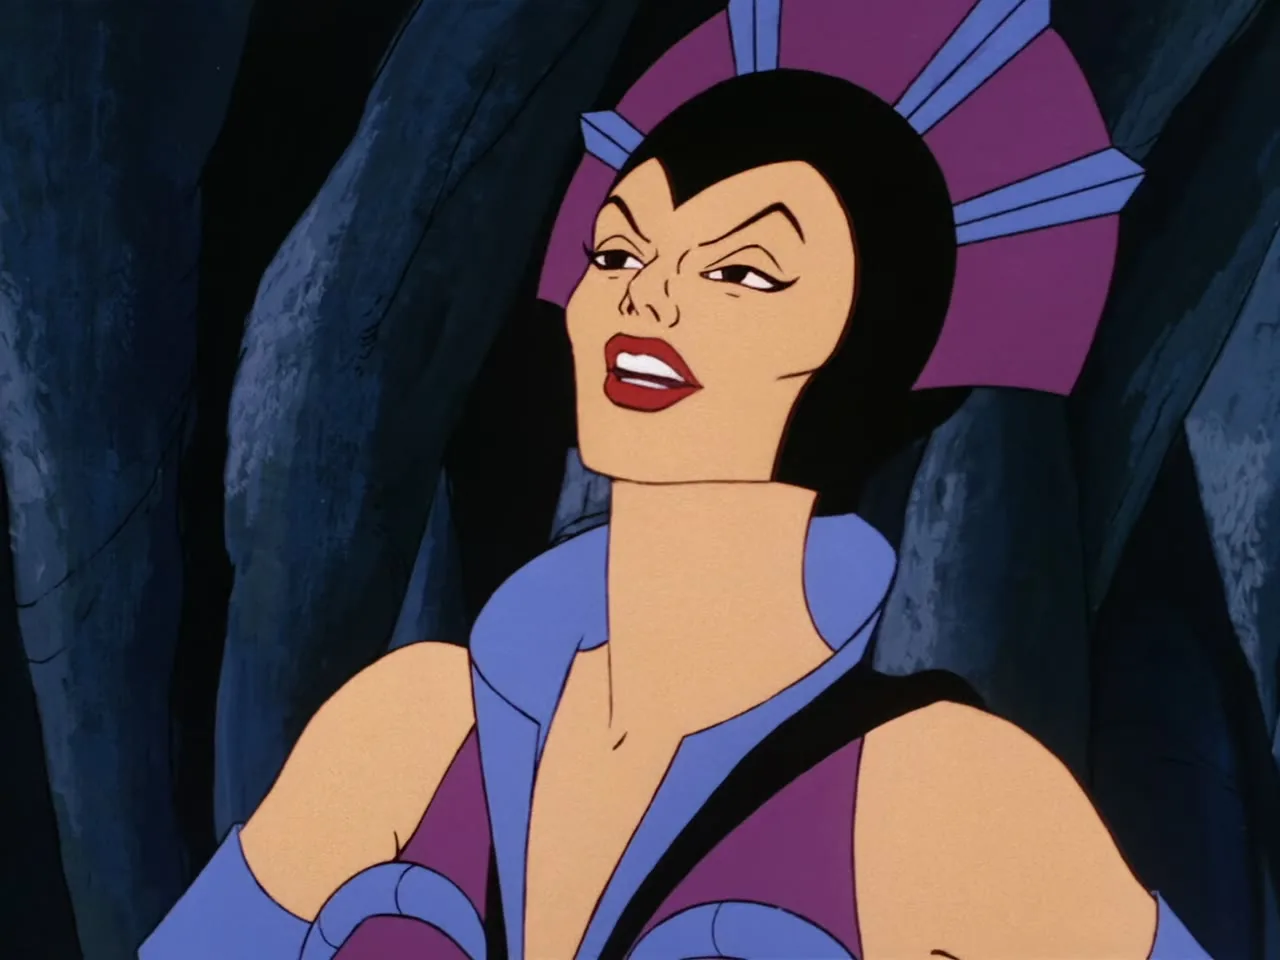
Close two-shot of Evil-Lyn and Beast Man as she speaks to him.
Evil-Lyn and Beast Man in profile, continuing their conversation.
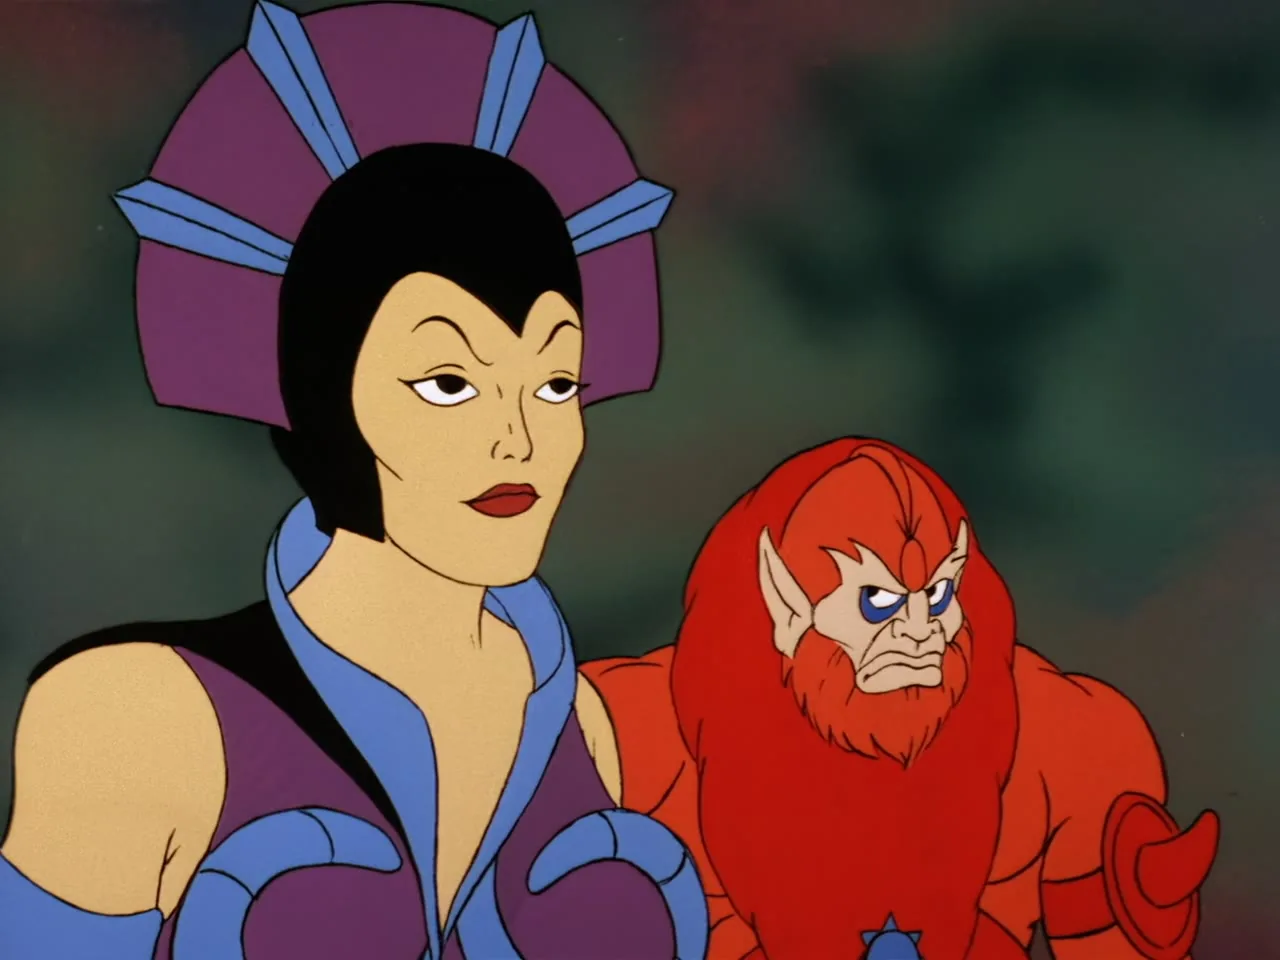
Close profile shot of Evil-Lyn with Beast Man behind her.
Close view of Snake Mountain's skull-shaped gate and its barred double doors, seen from below with no characters in frame.
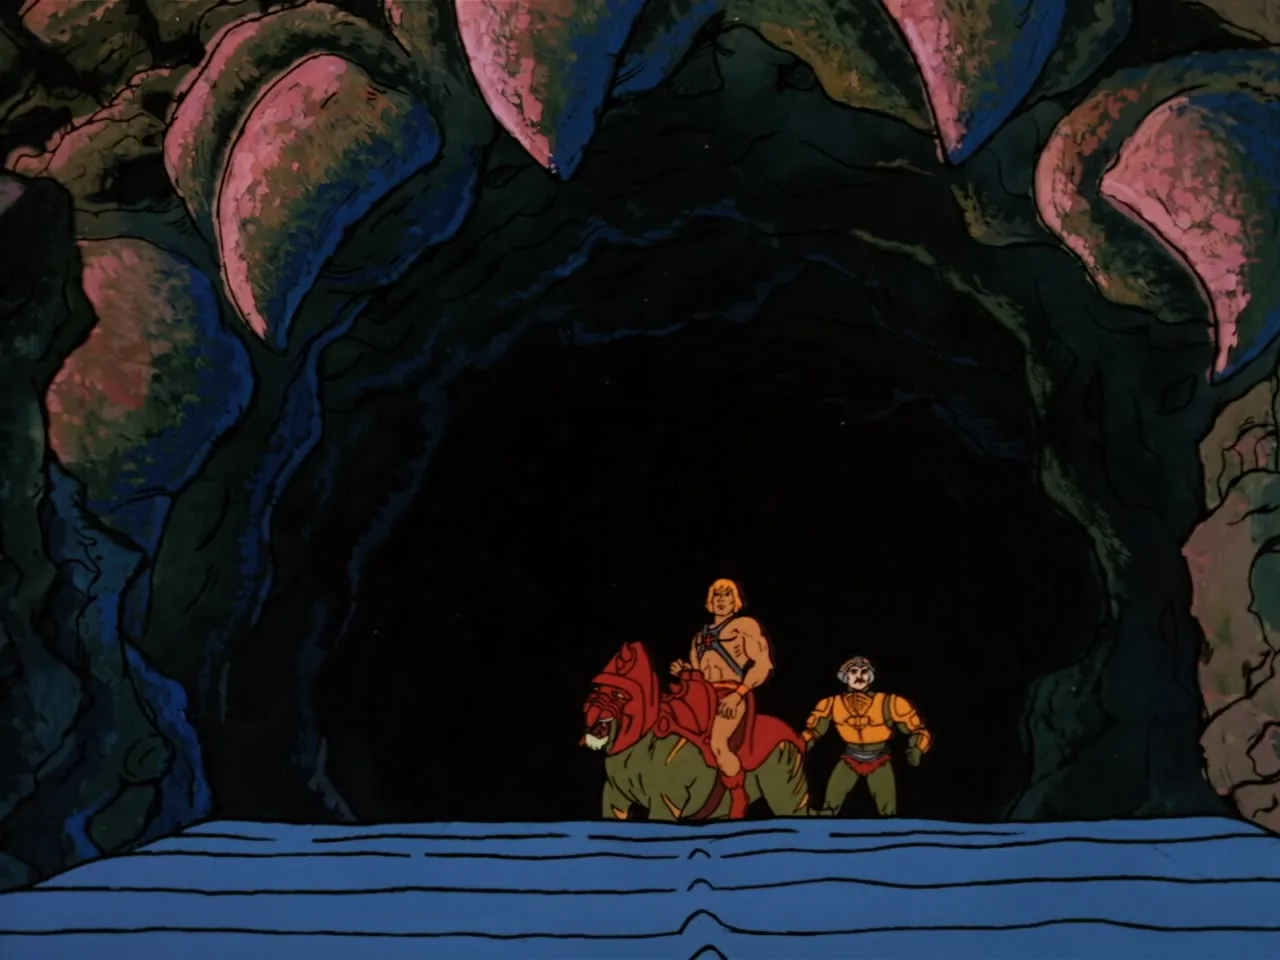
He-Man rides Battle Cat out of a dark cave entrance with Man-At-Arms walking alongside.
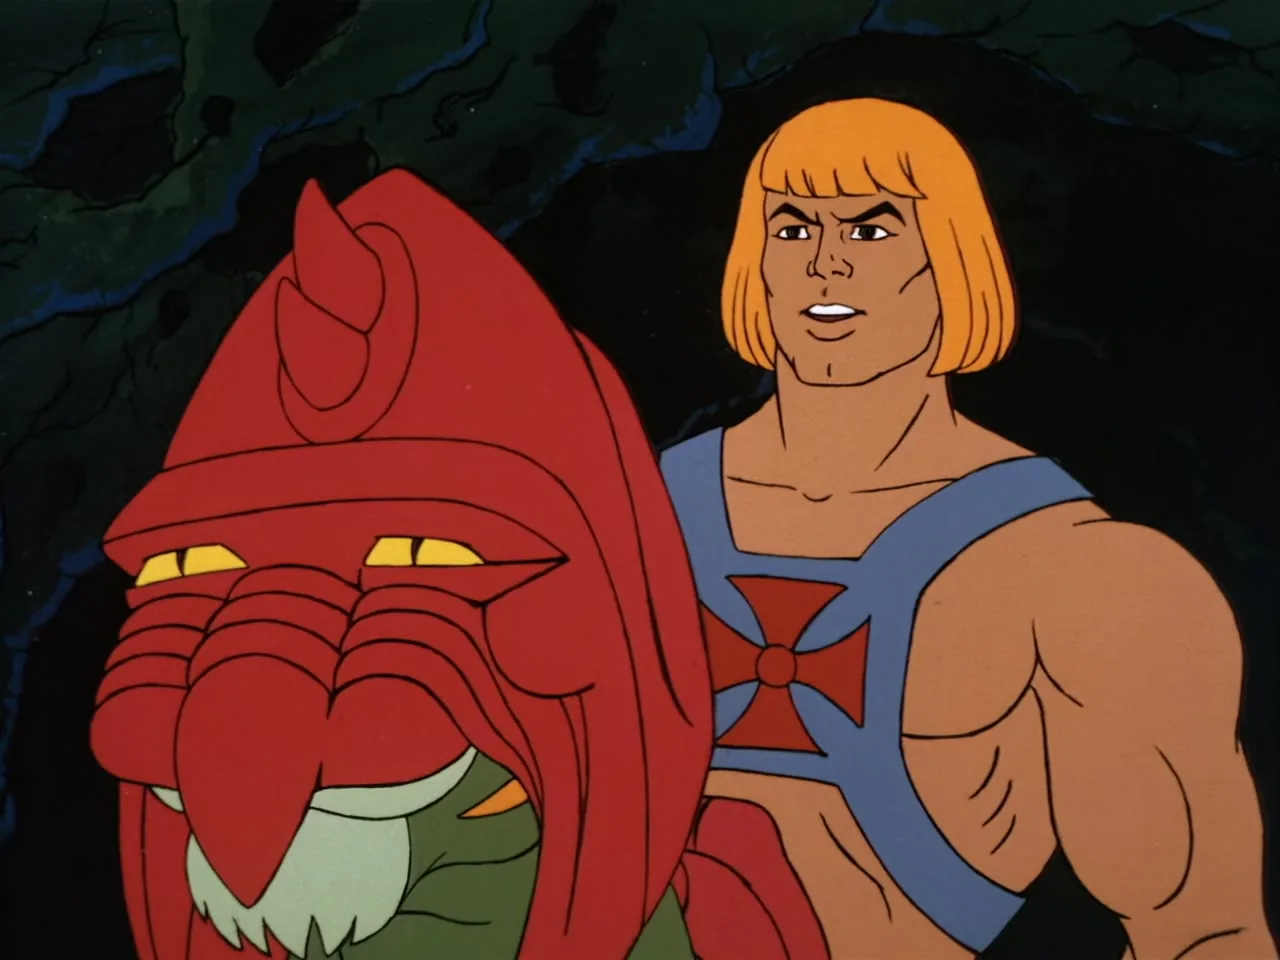
Close-up of He-Man with Battle Cat's armored head beside him.
Evil-Lyn and Beast Man in profile against a cave backdrop.
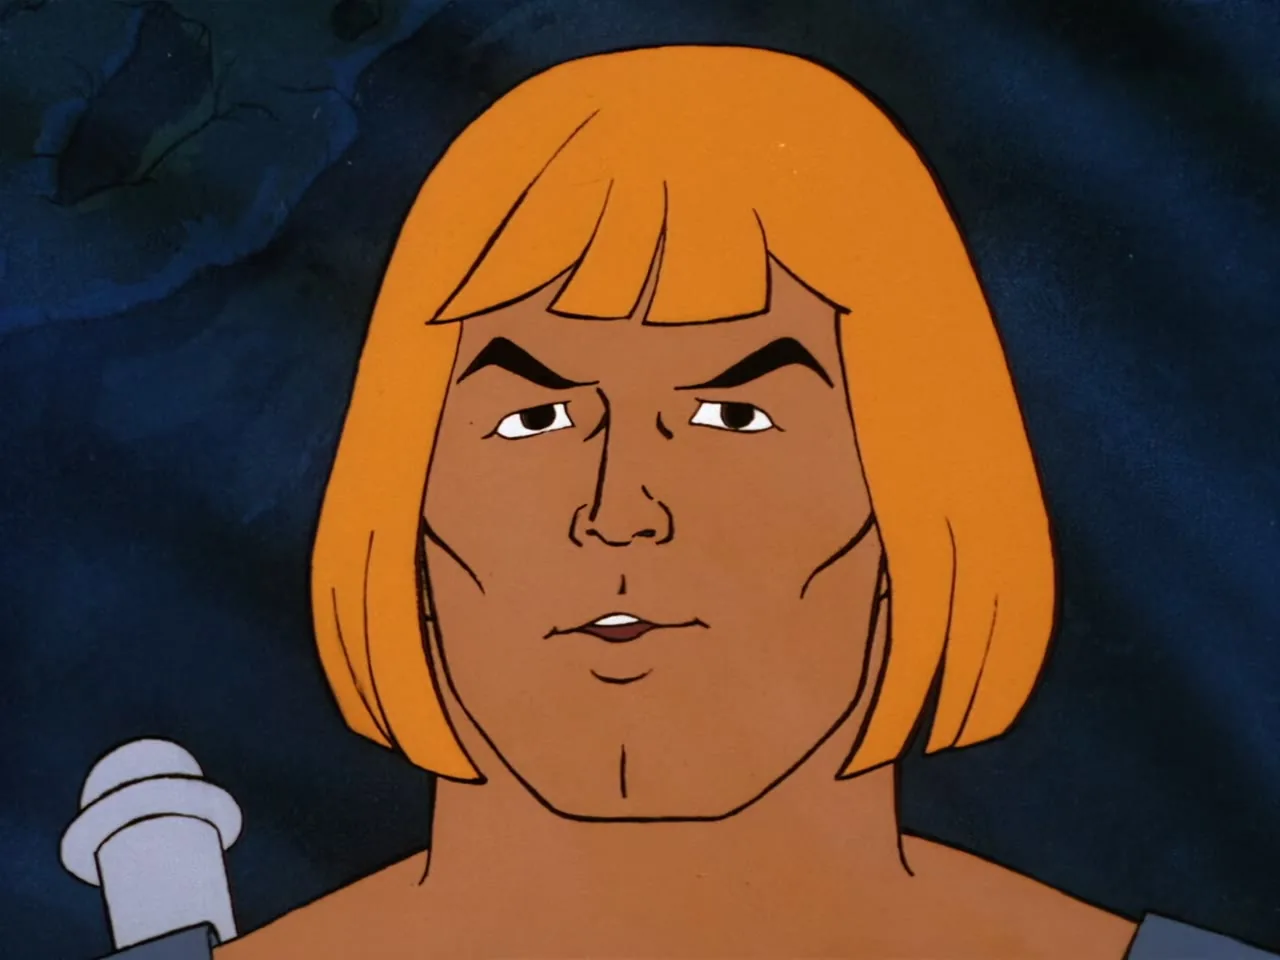
Close-up of He-Man's face against a dark cave background.
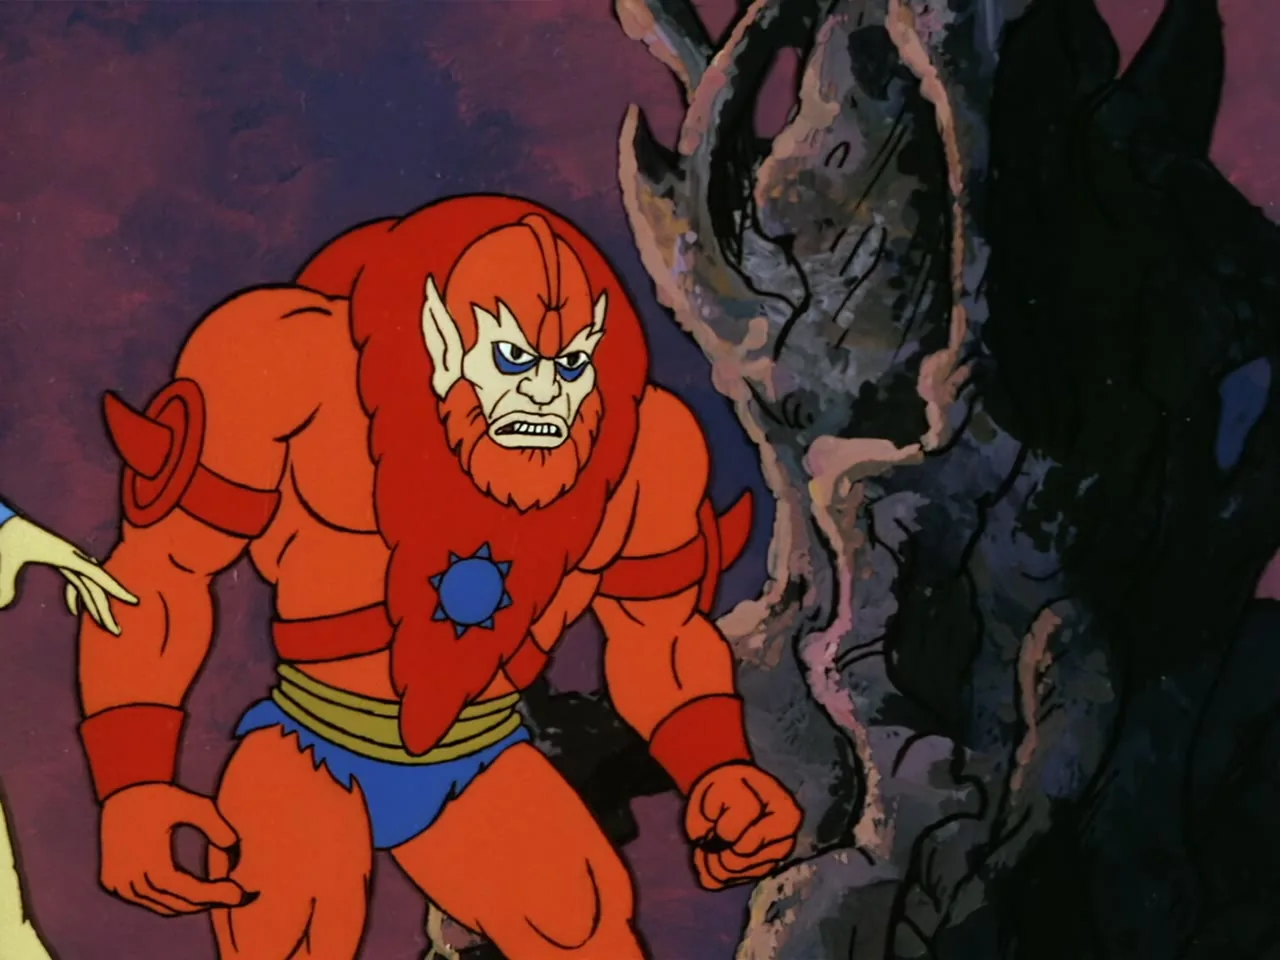
Beast Man charges forward alone, fists clenched.
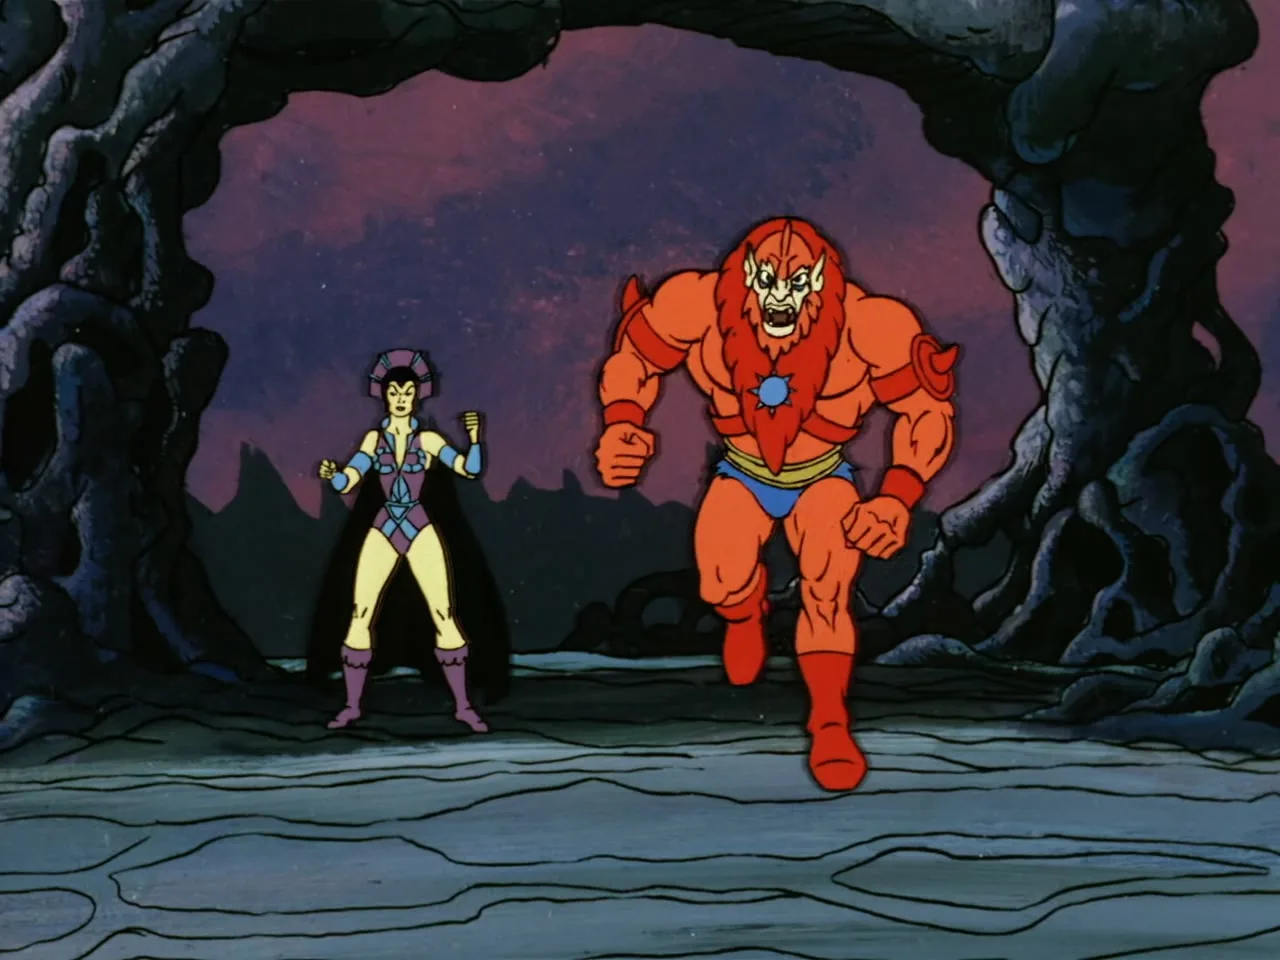
Evil-Lyn and Beast Man run forward together through a rocky archway.
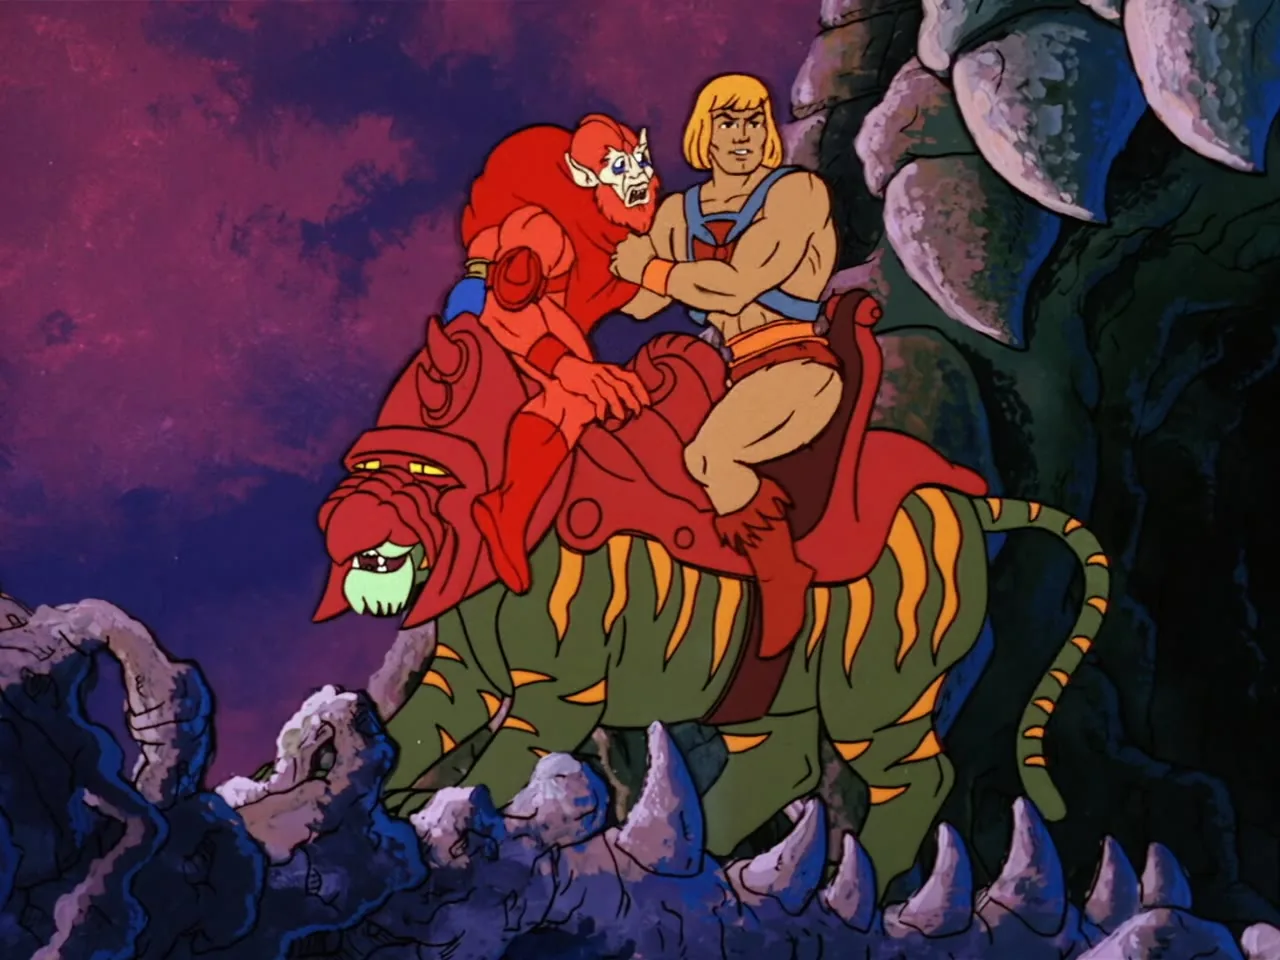
He-Man rides Battle Cat up a rocky cliff while Beast Man grapples with him from behind.
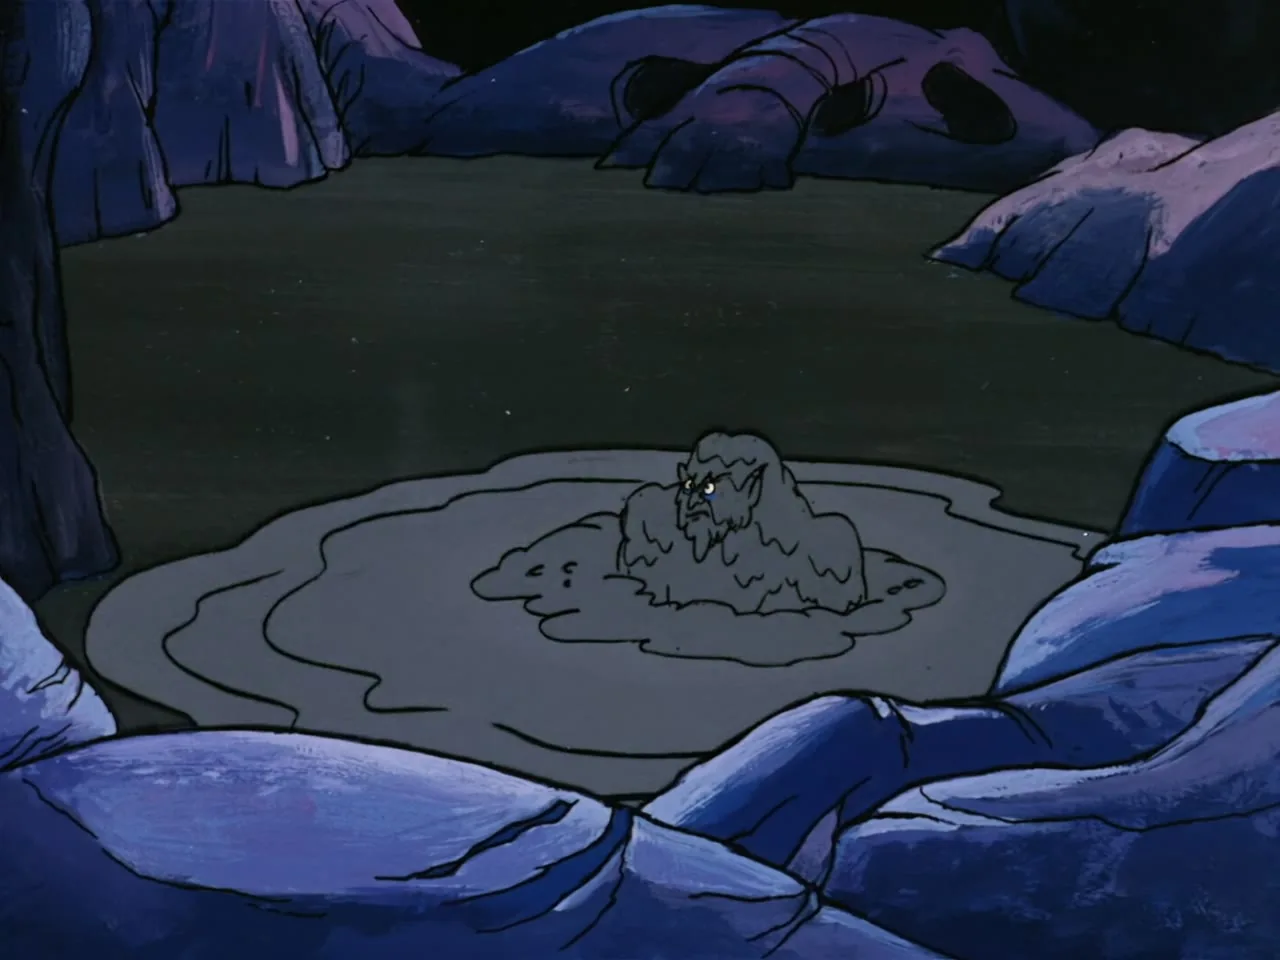
A grey, shaggy-furred creature with a bearded face rises out of a puddle of mud among dark rocks.
Dark, abstract shot of jagged rock silhouettes against a purple sky; no characters visible.
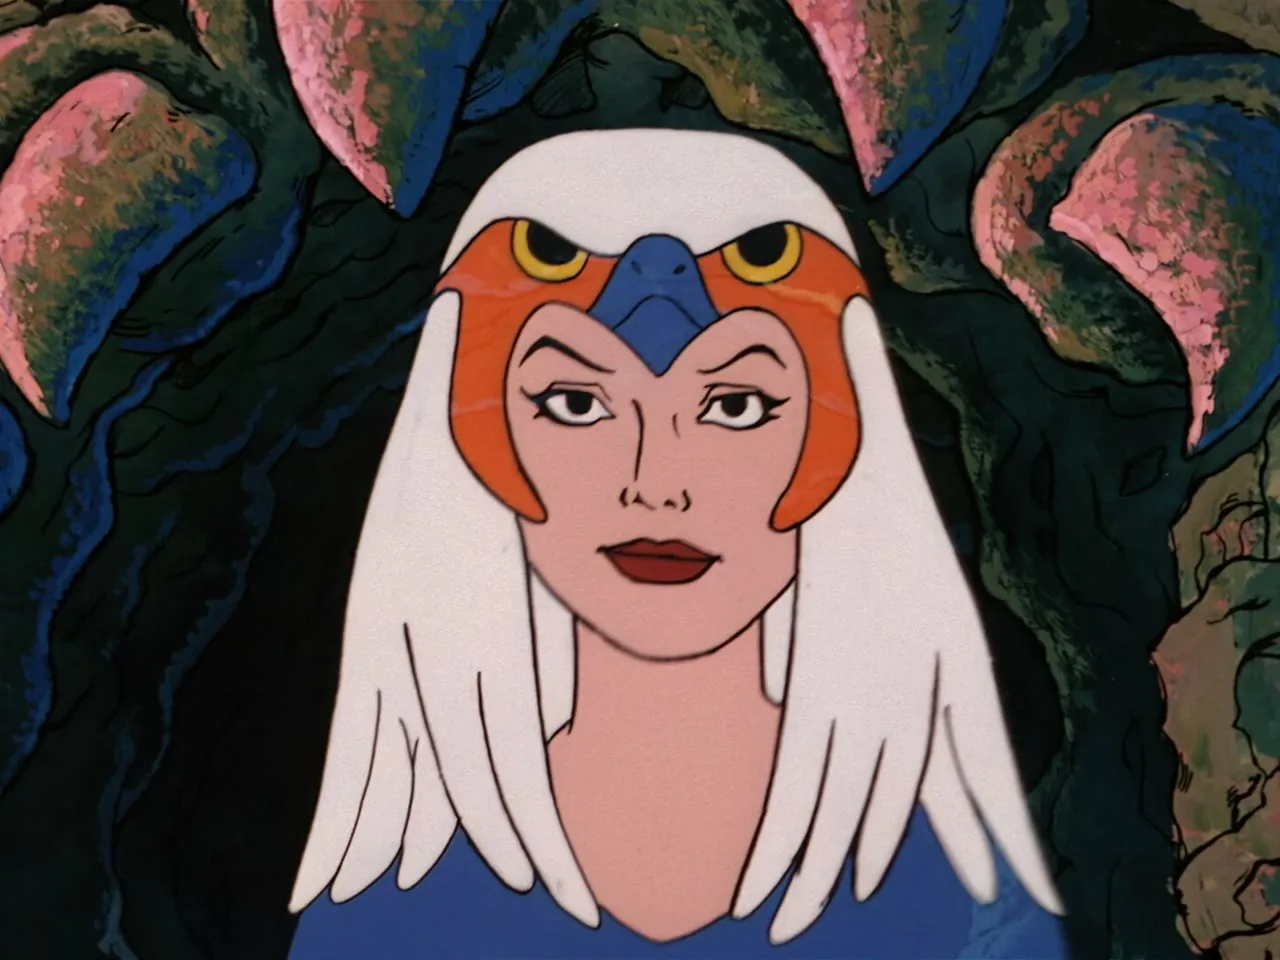
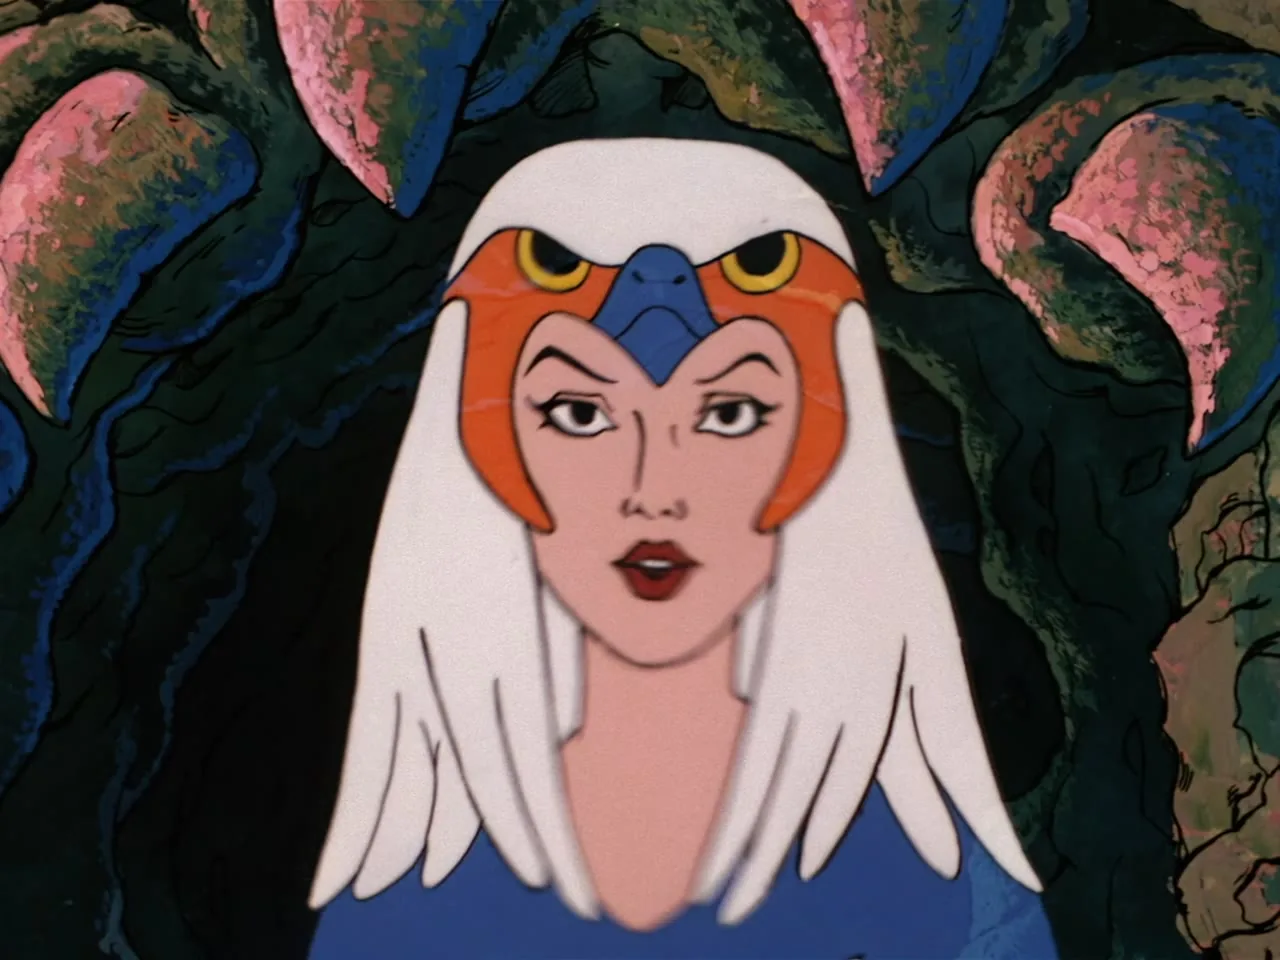
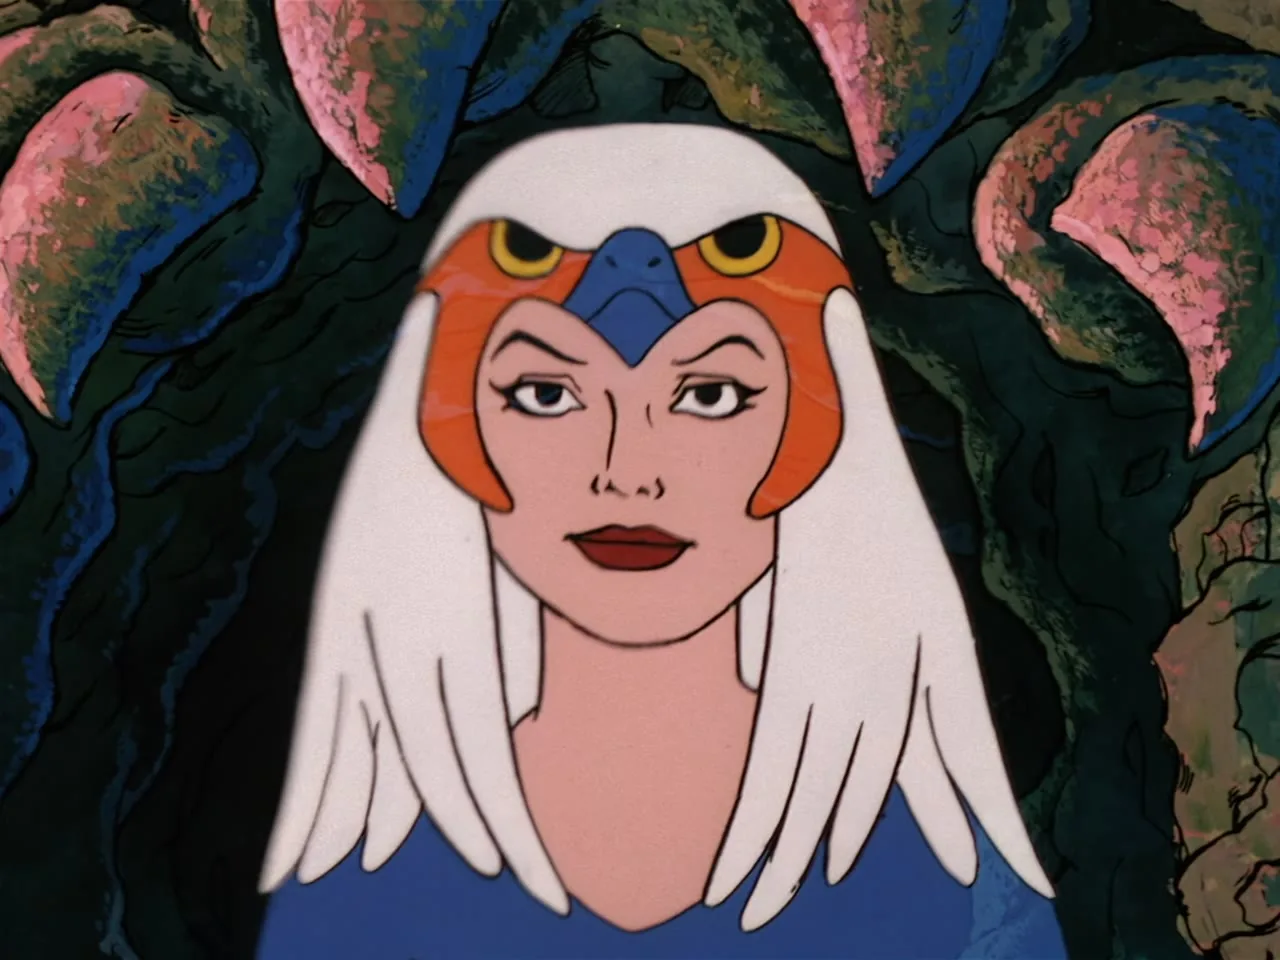
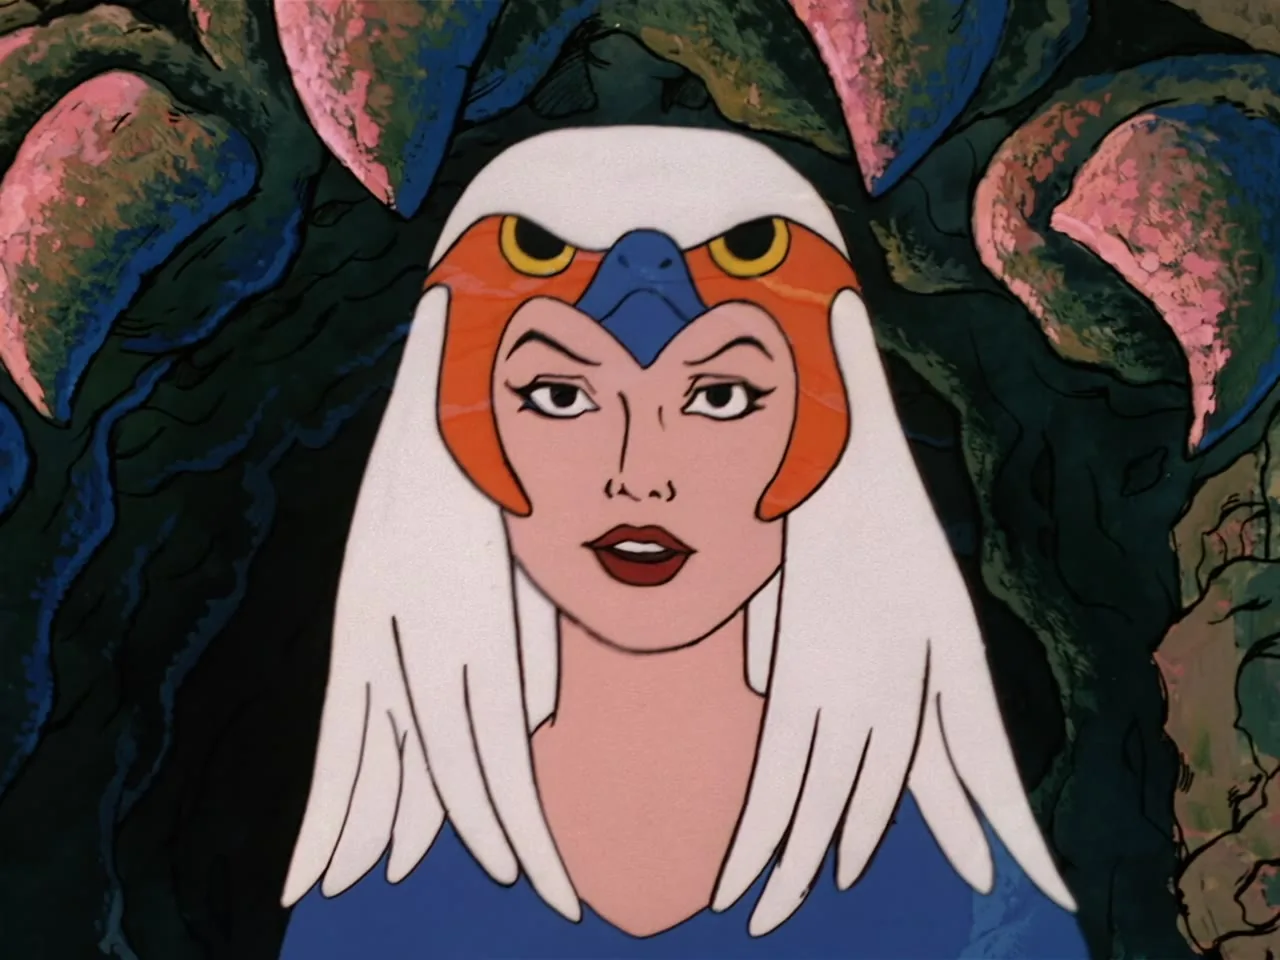
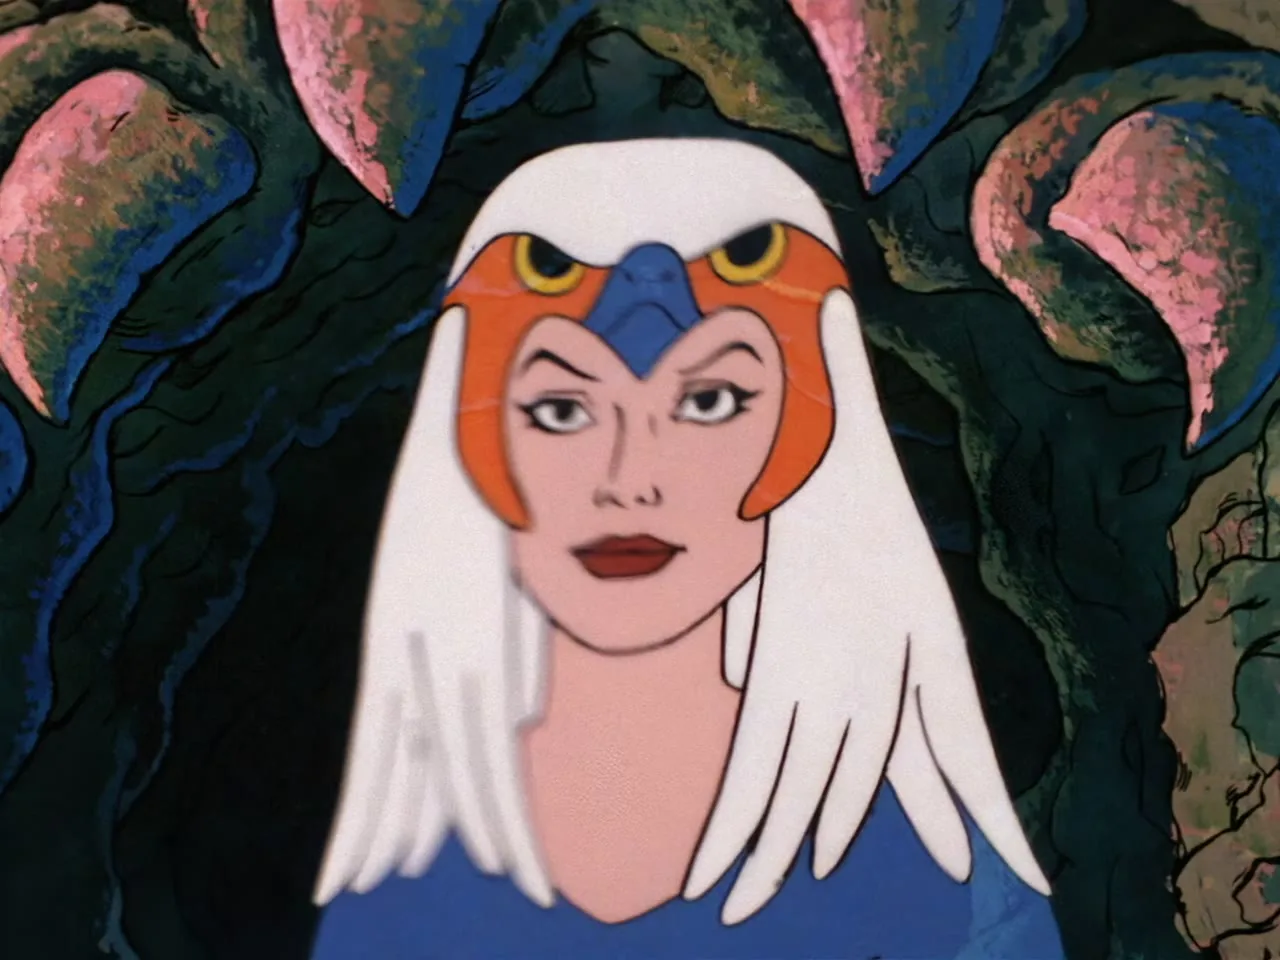
Close-up of the Sorceress of Grayskull's face, framed by her hawk-winged headdress.
Another close-up of the Sorceress of Grayskull, looking off to the side.
The Sorceress of Grayskull's face in close-up, eyes narrowed.
Close-up of the Sorceress of Grayskull speaking.
The Sorceress of Grayskull looks ahead with a calm expression.
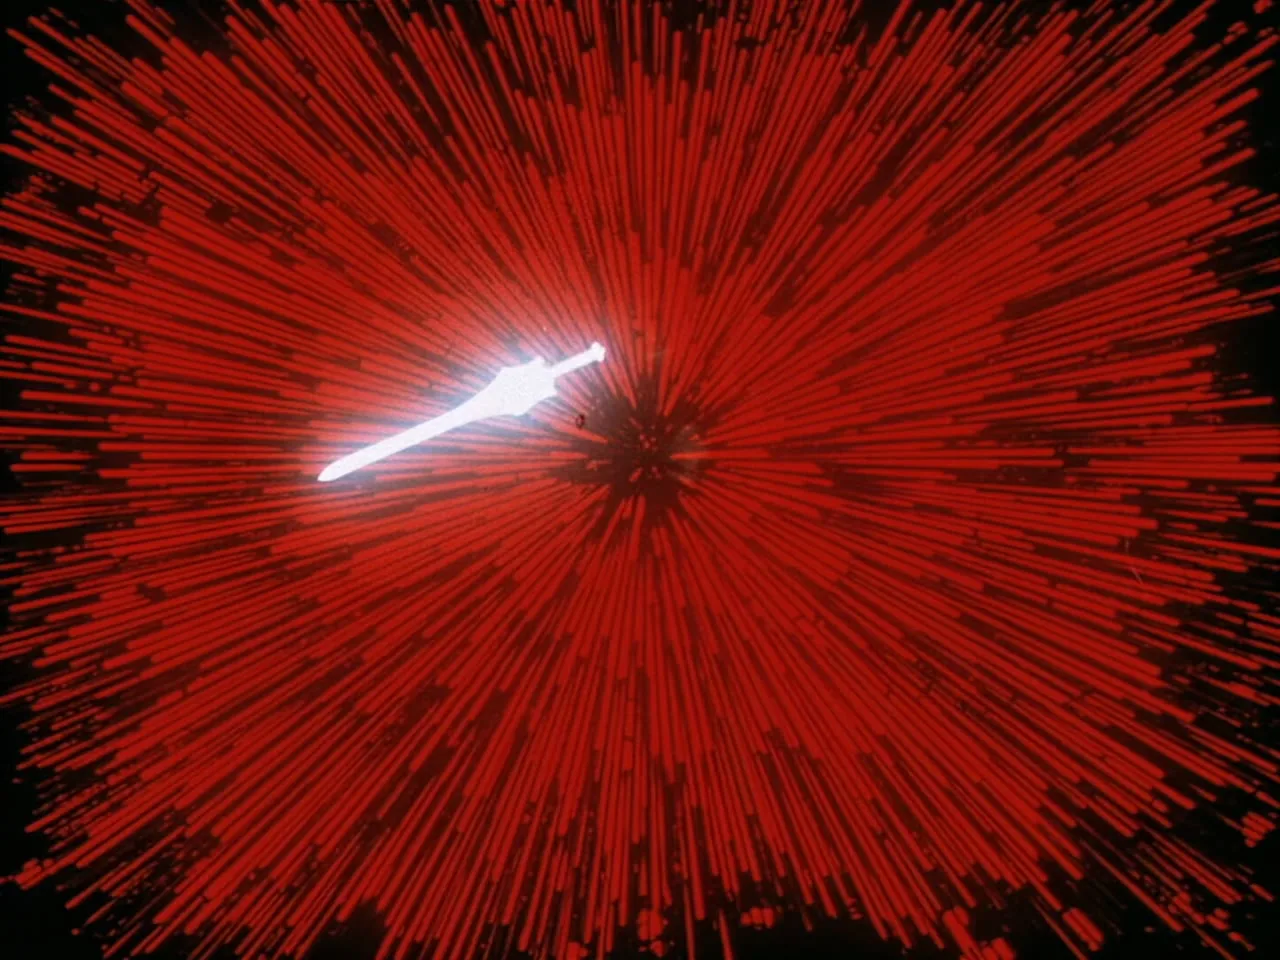
The Sword of Power flashes in a burst of red light.
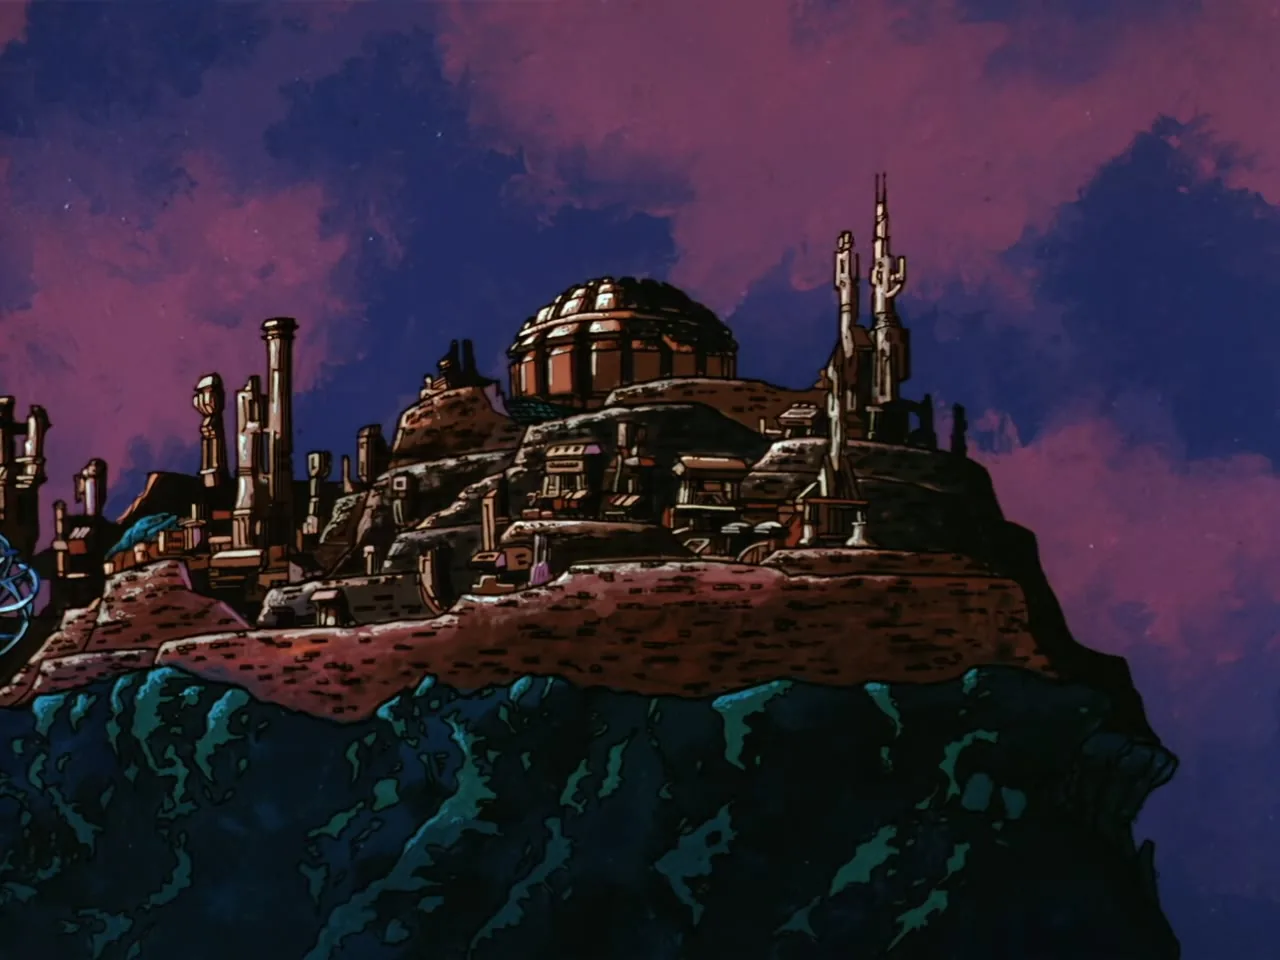
A domed city sits on a rocky hill under a purple sky.
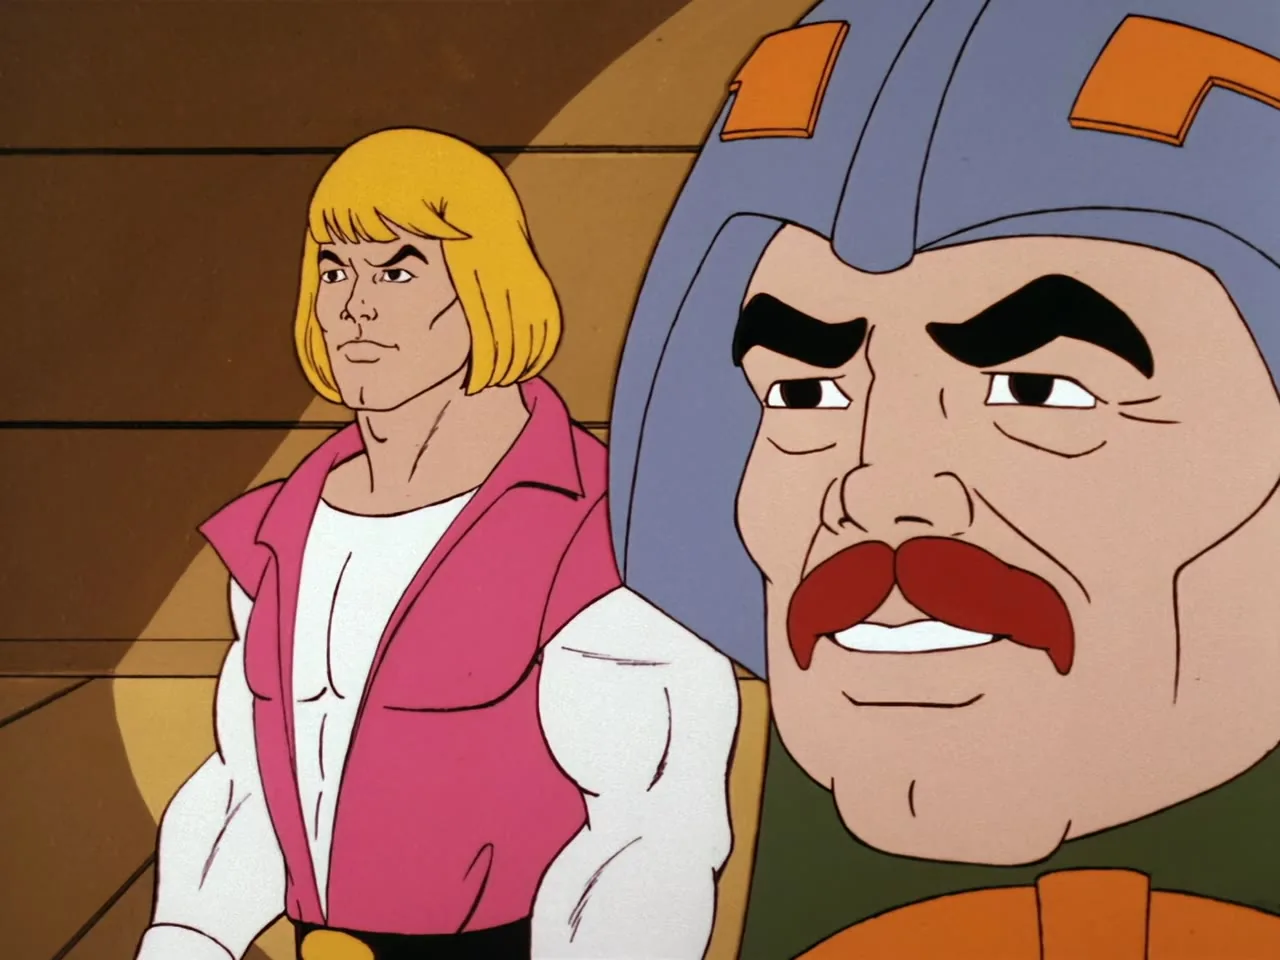
Prince Adam and Man-At-Arms in close-up, Man-At-Arms speaking with a stern expression.
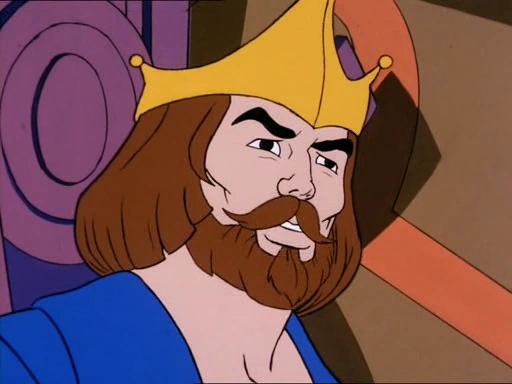
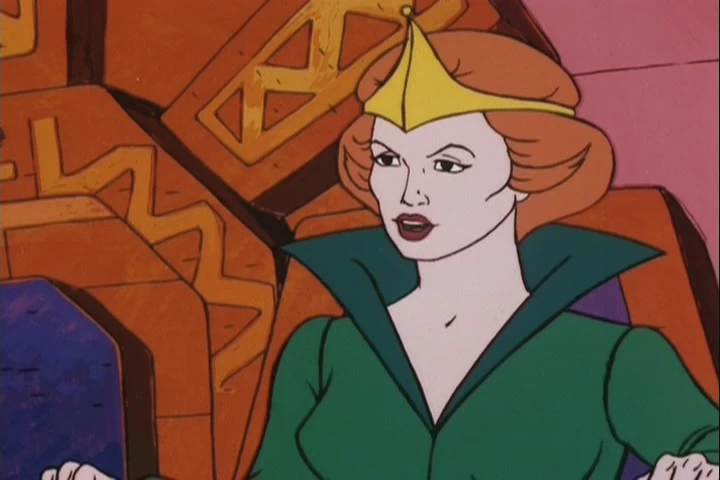
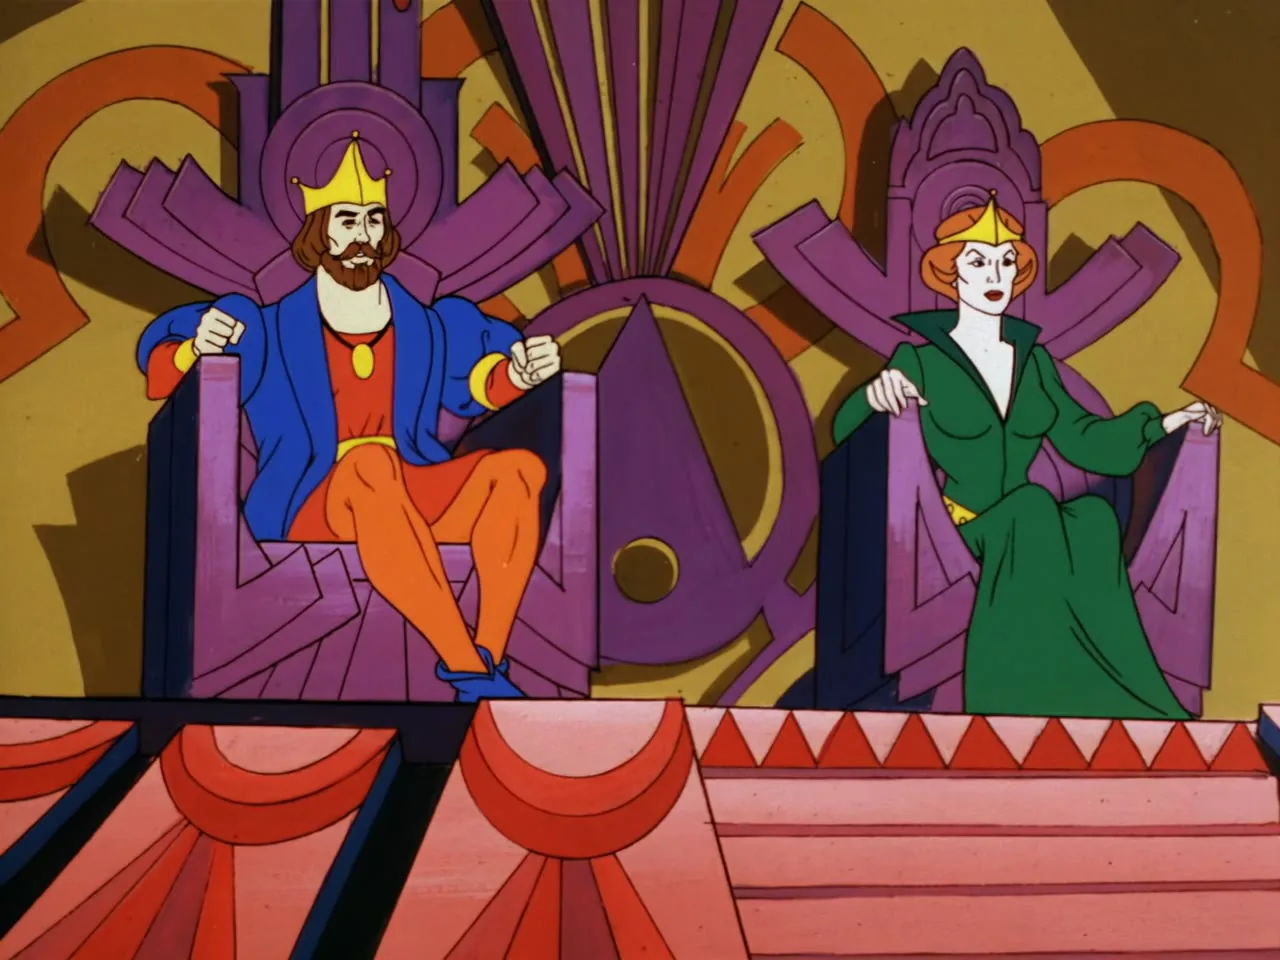
King Randor and Queen Marlena seated side by side on their thrones.
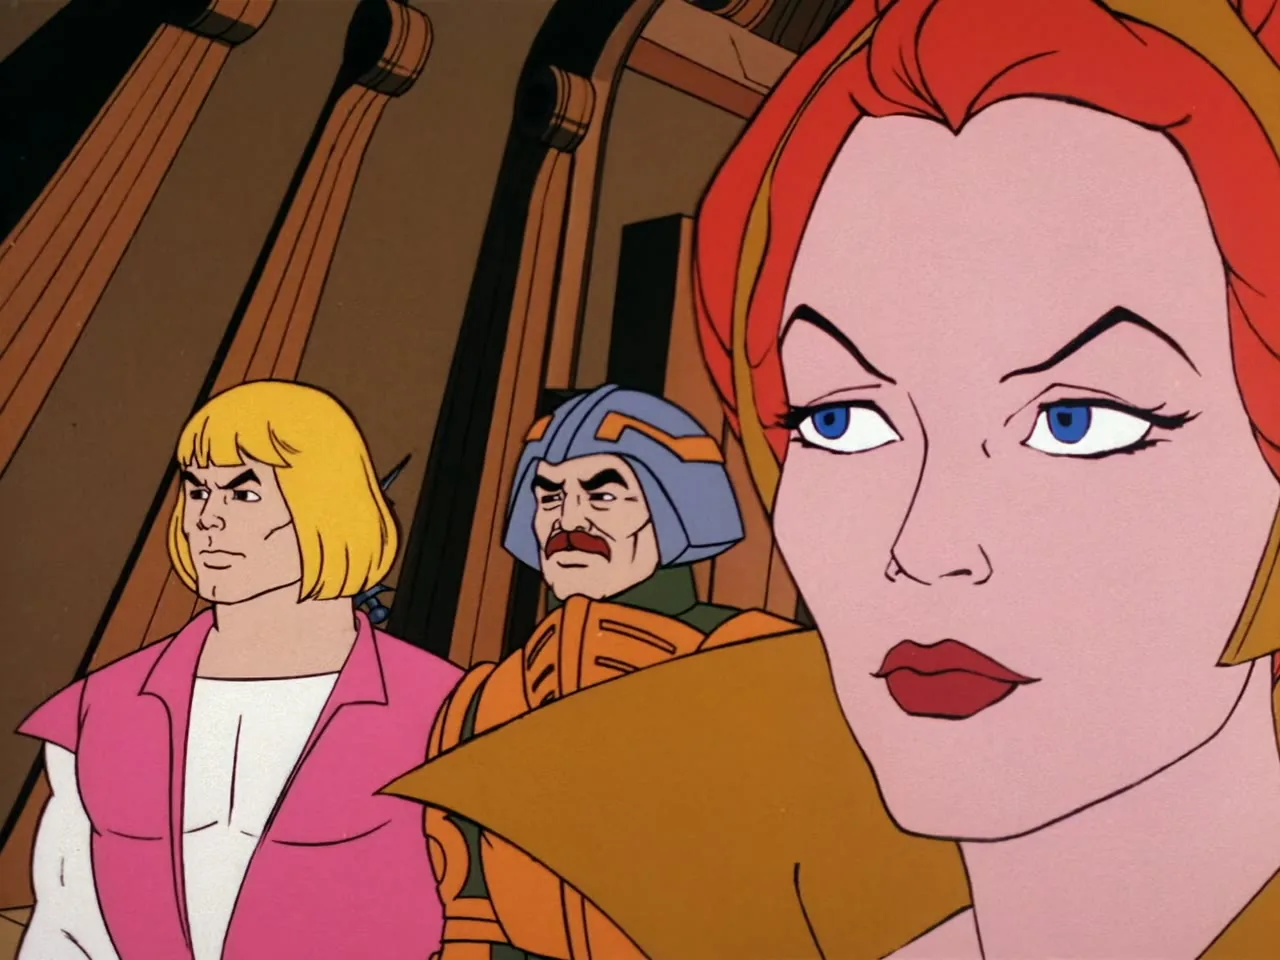
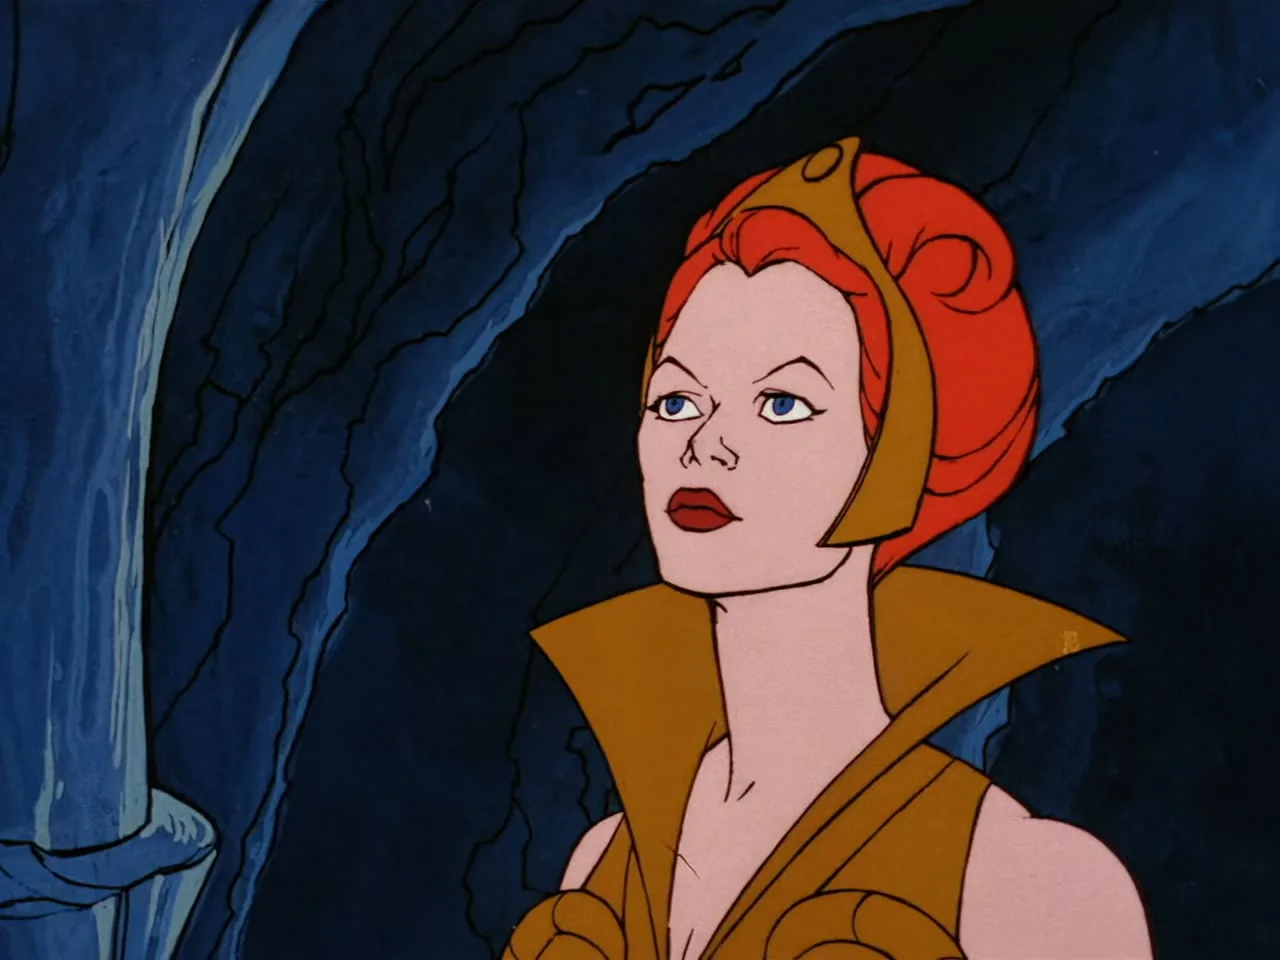
Close shot of Teela's face with Prince Adam and Man-At-Arms visible behind her.
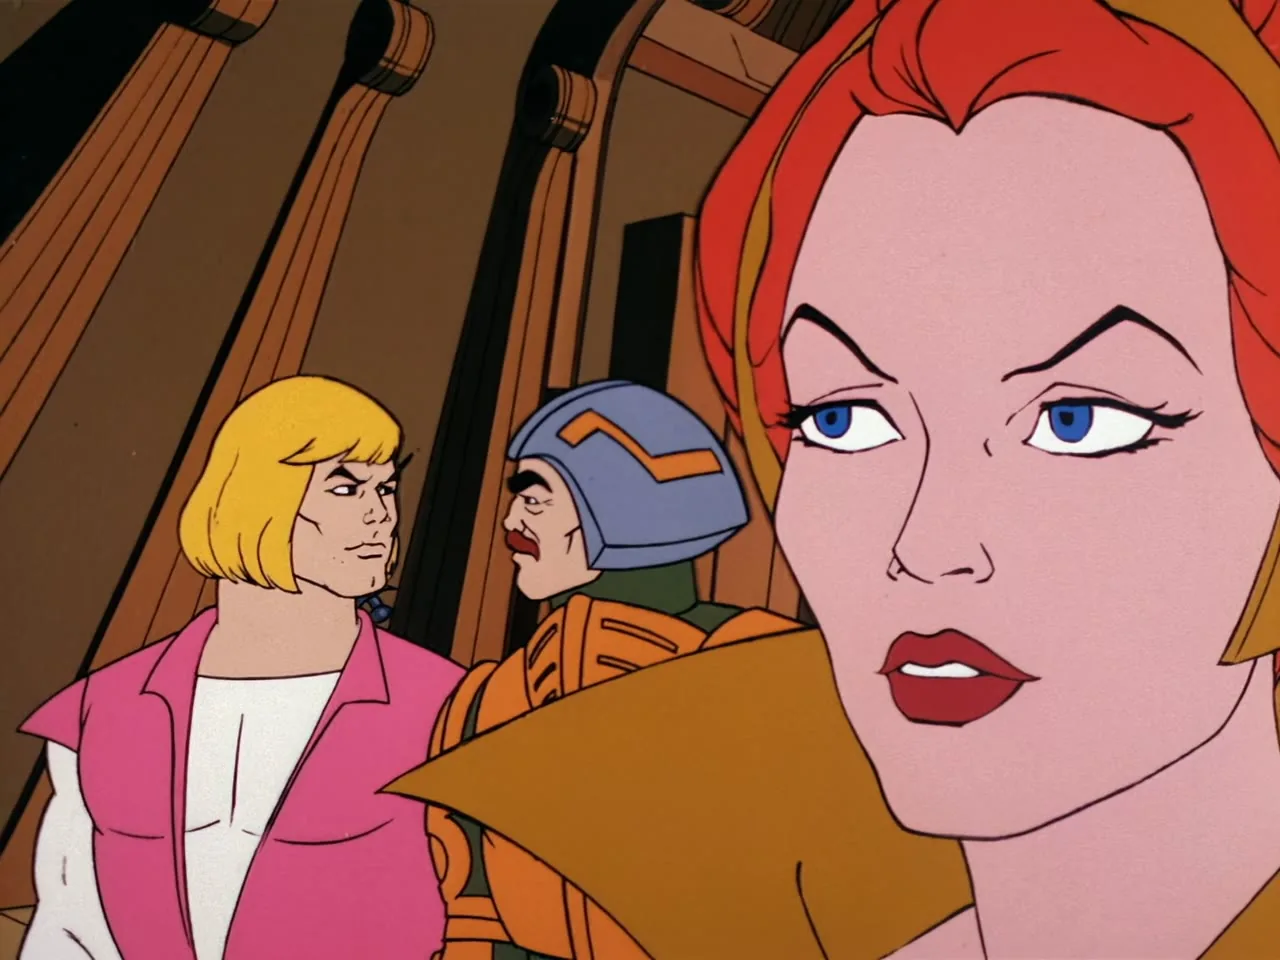
Teela looks off to the side with Prince Adam and Man-At-Arms behind her.
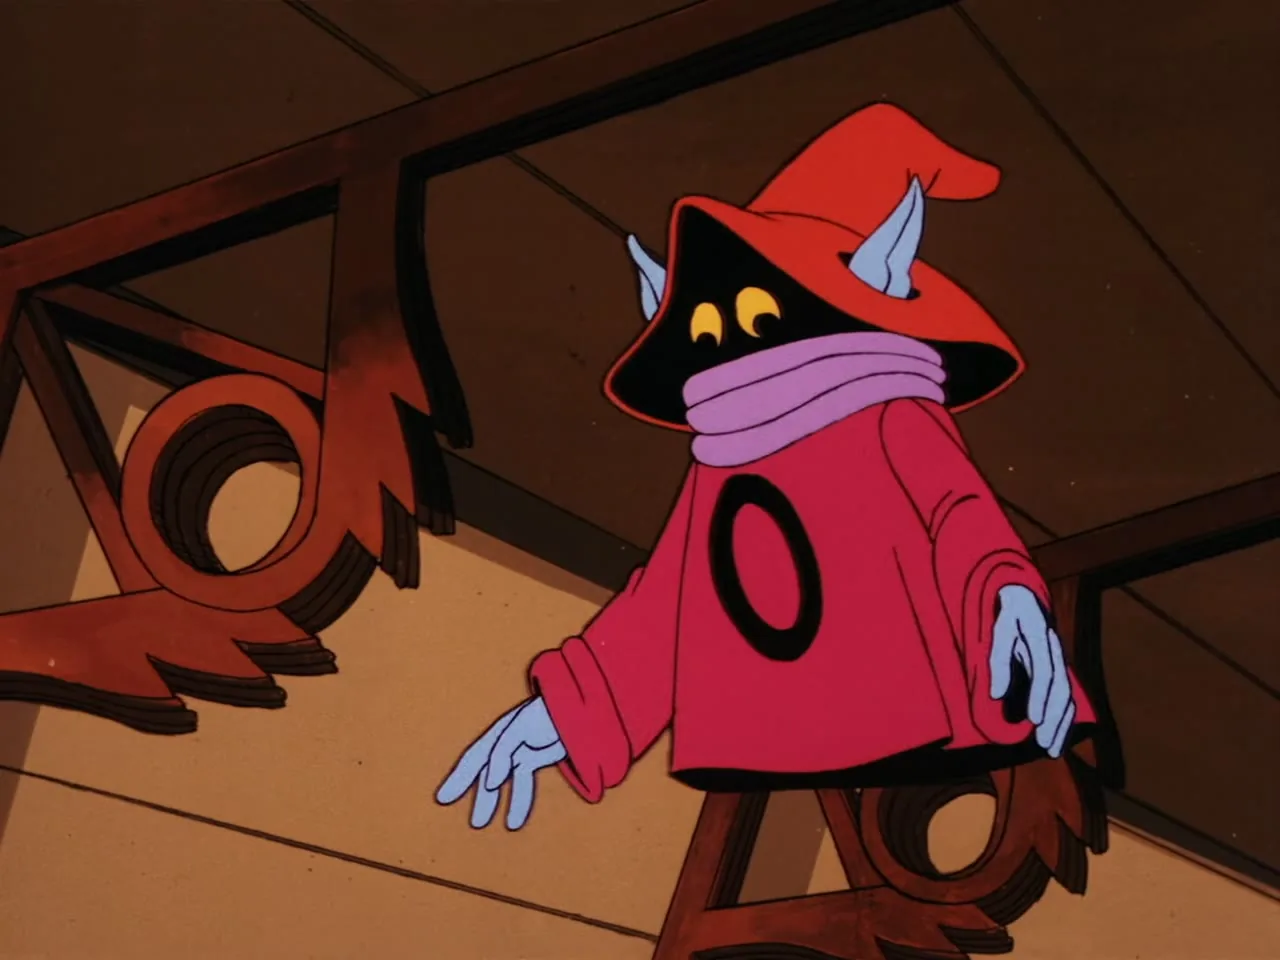
Orko peers over a railing with a startled expression.
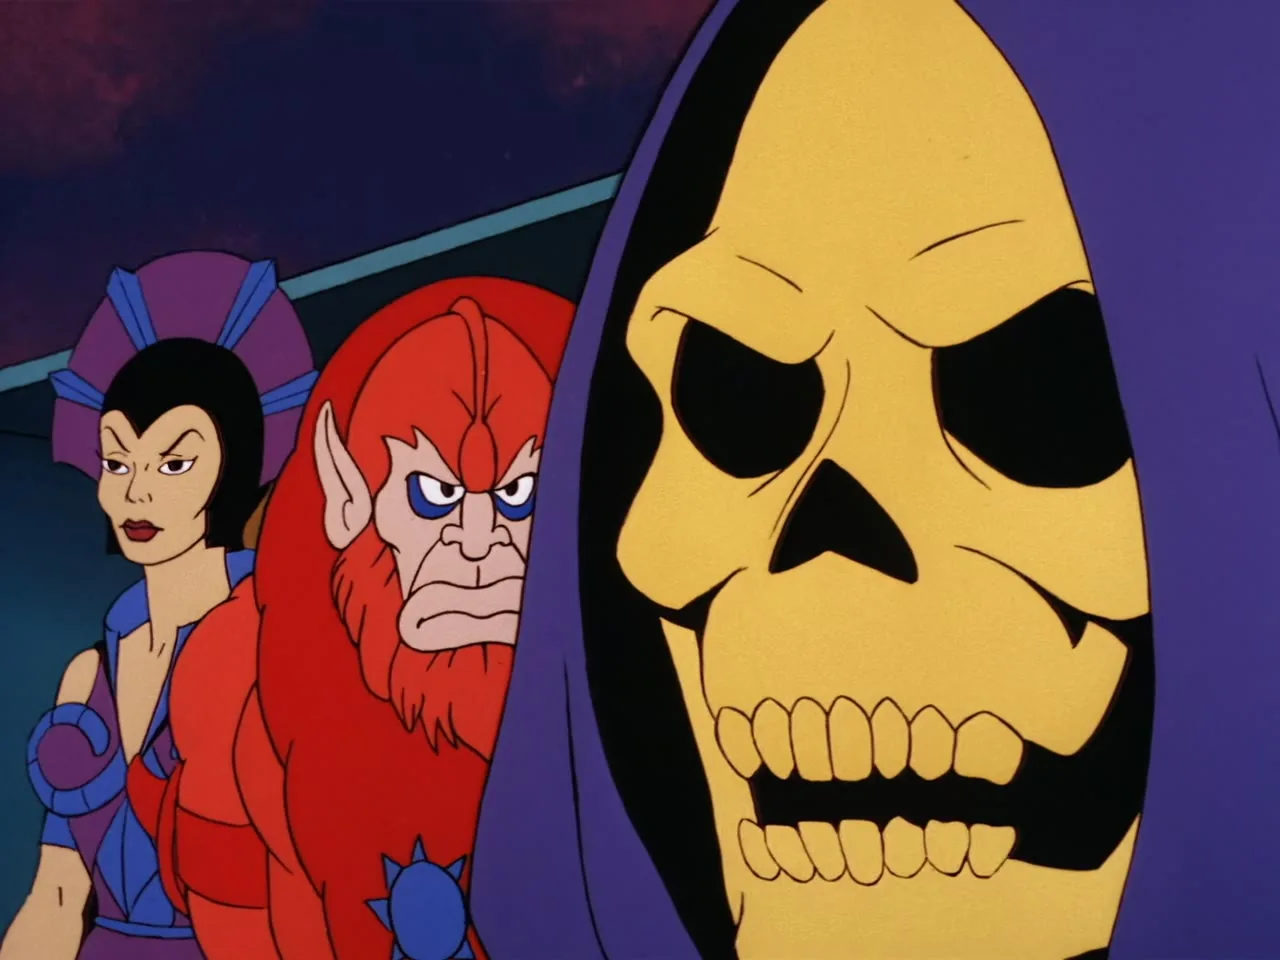
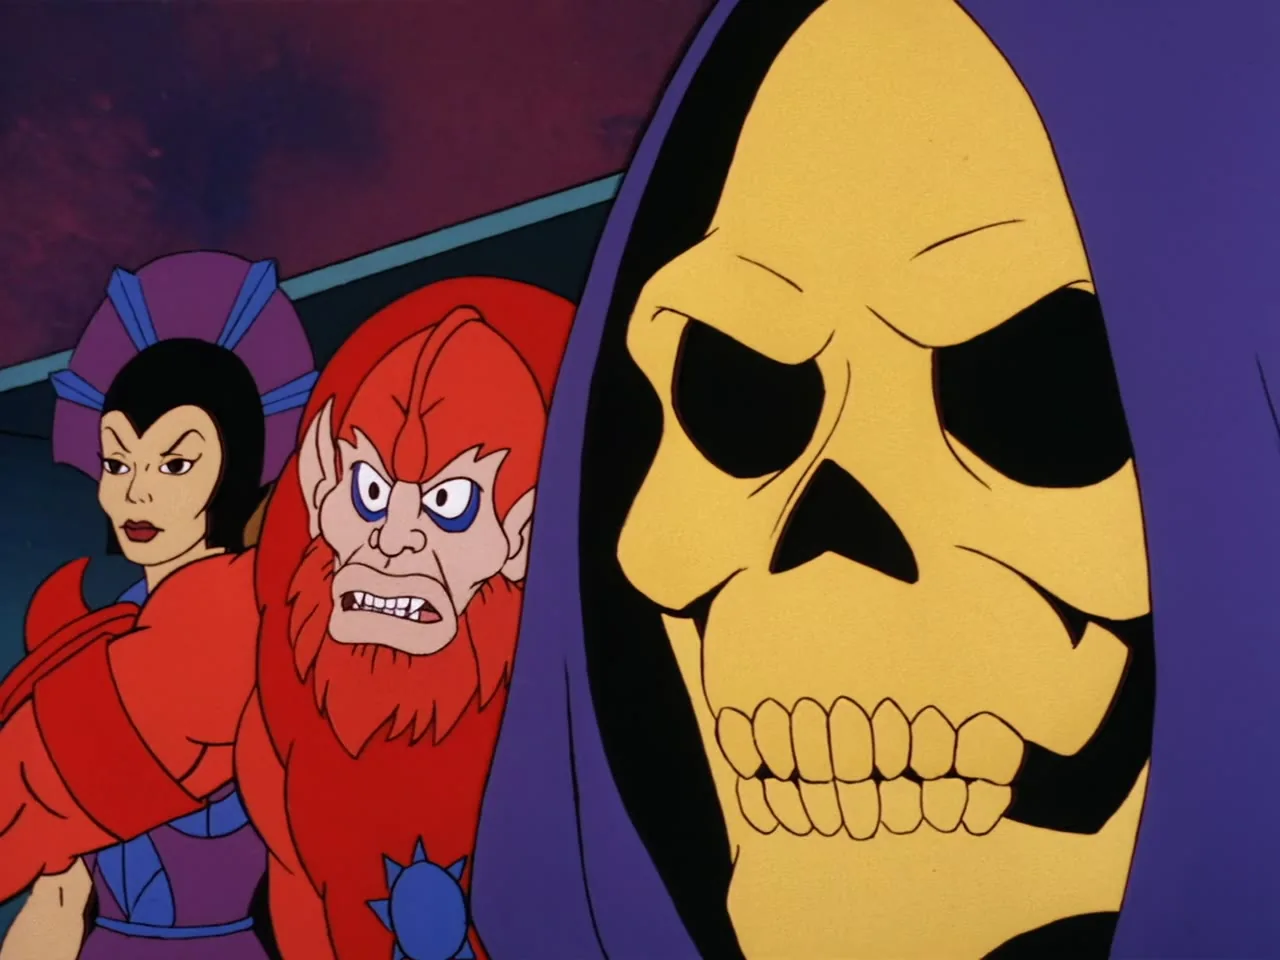
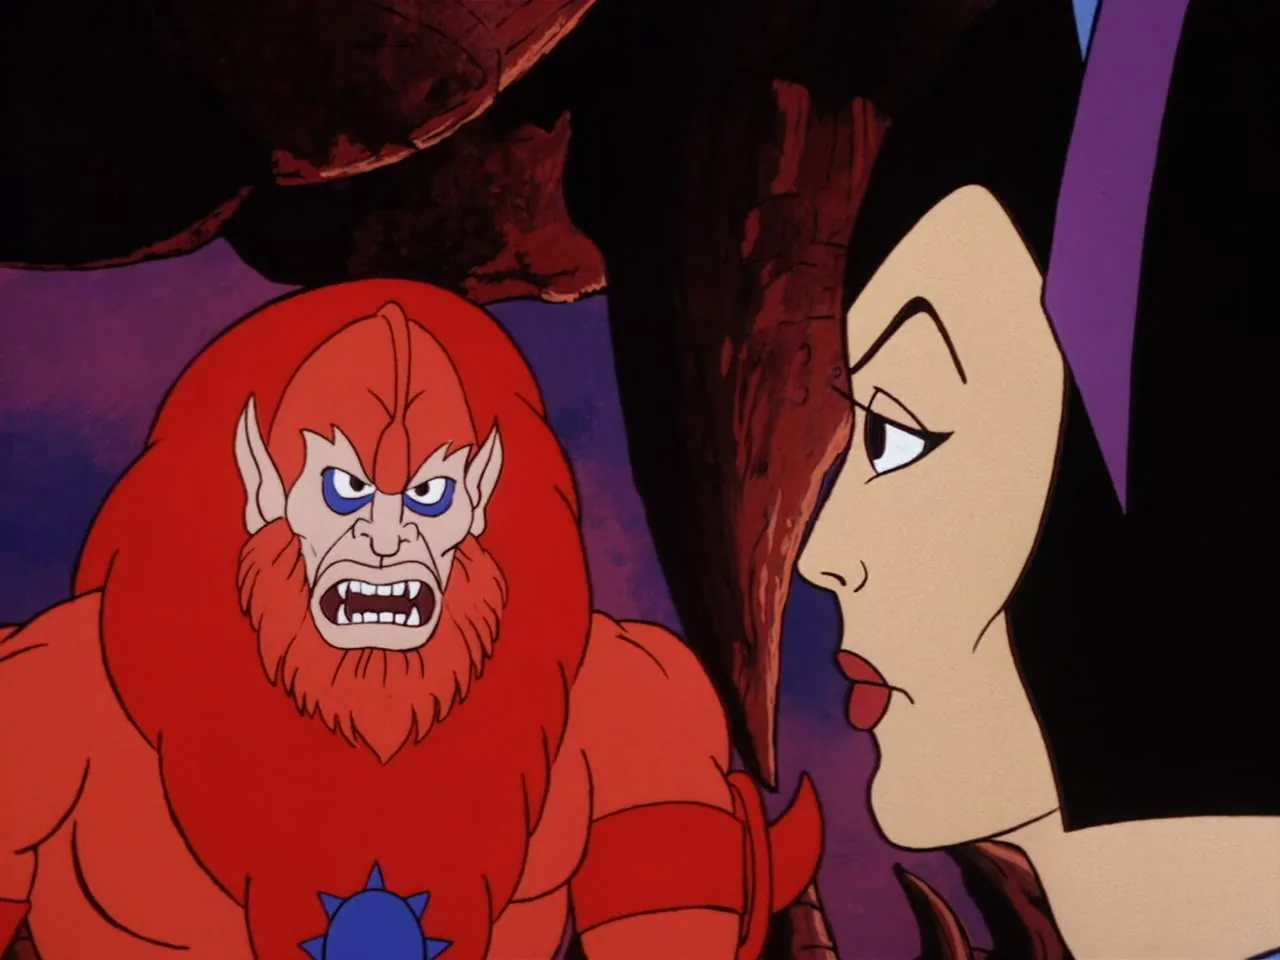
Close two-shot of an angry Beast Man and Evil-Lyn.
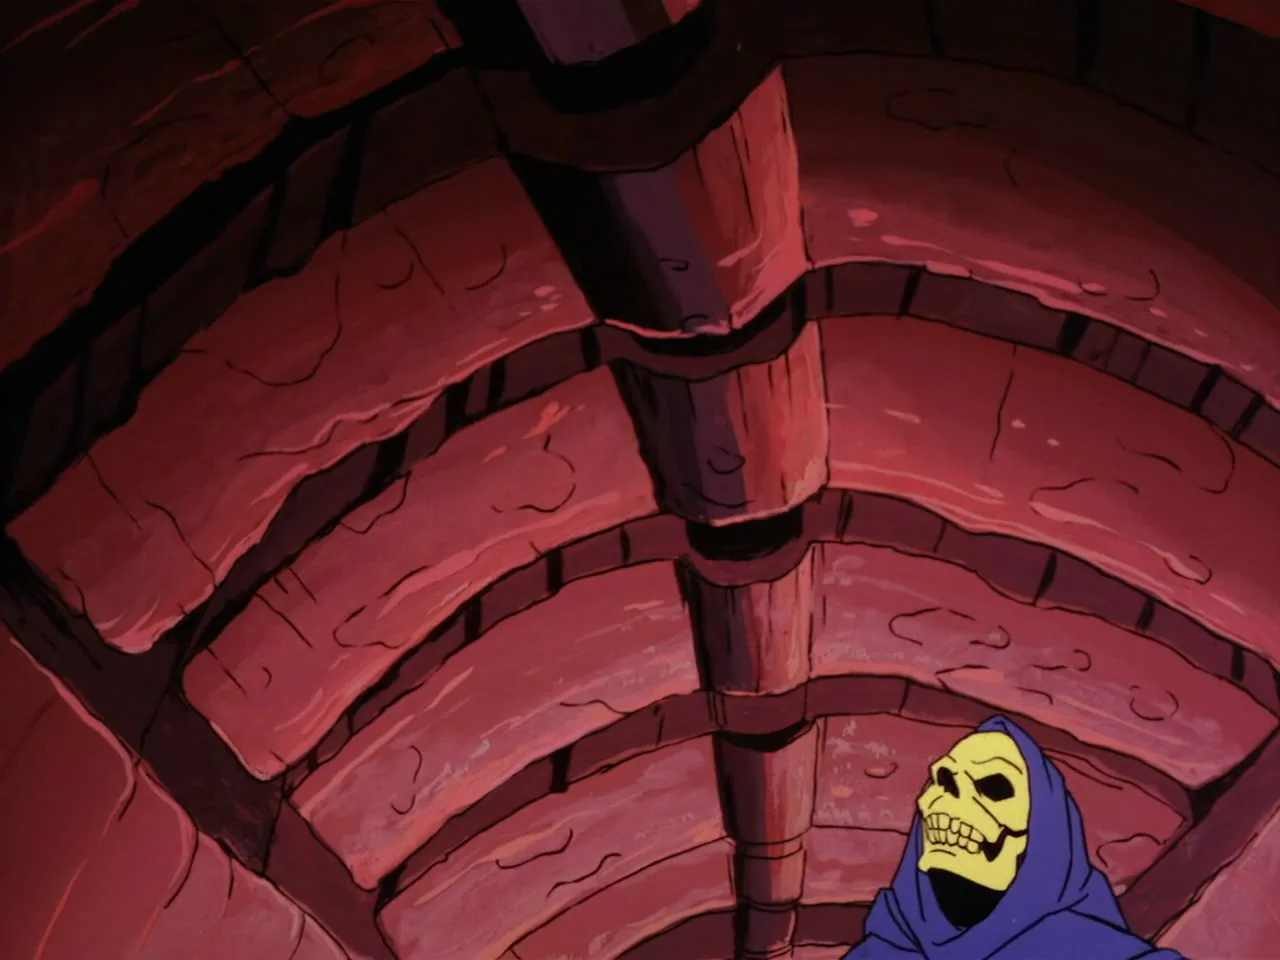
Close-up looking up at Snake Mountain's red brick archway, with Skeletor's hooded head barely visible at the bottom edge.
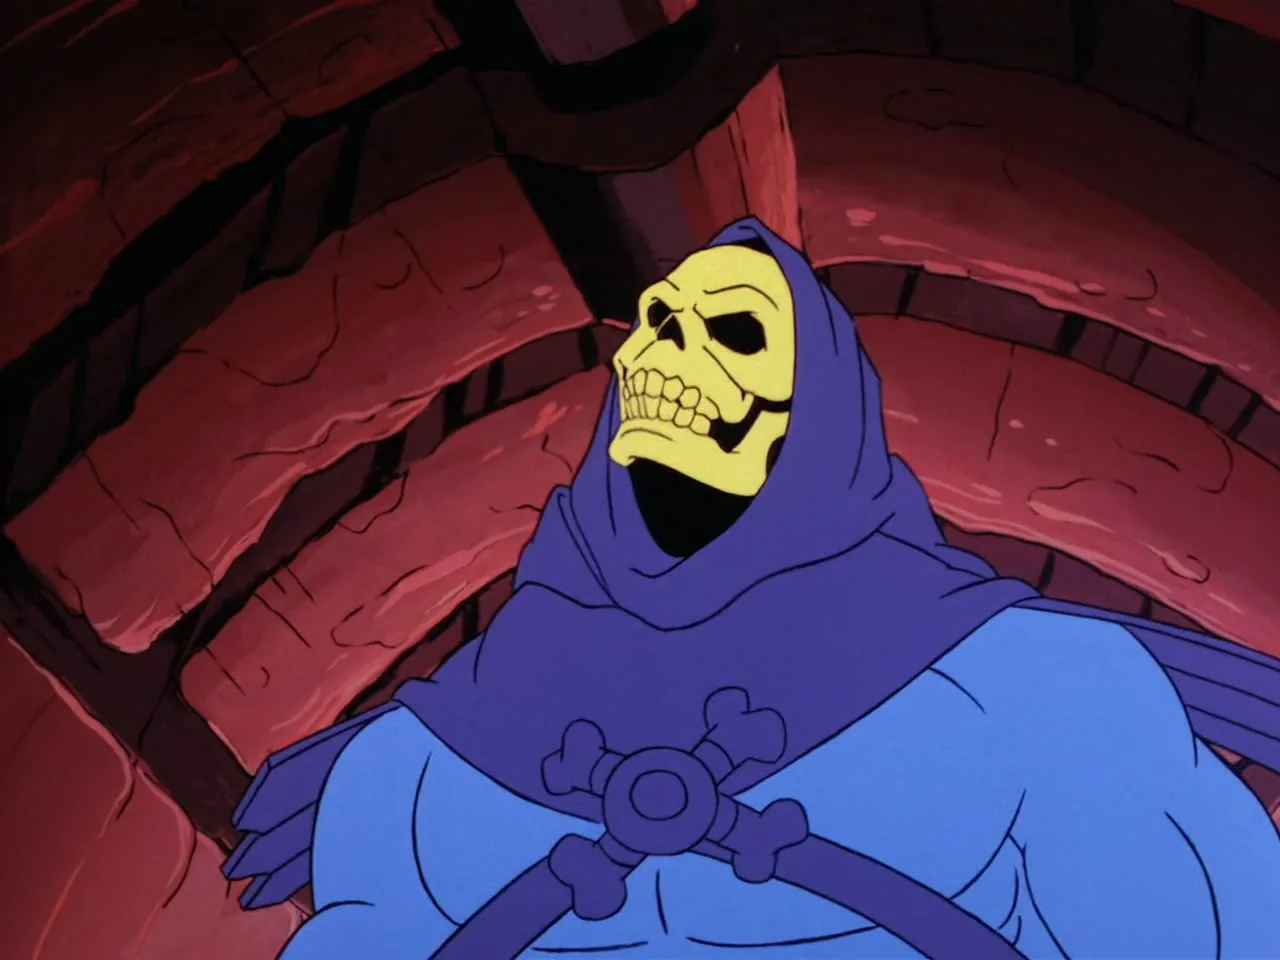
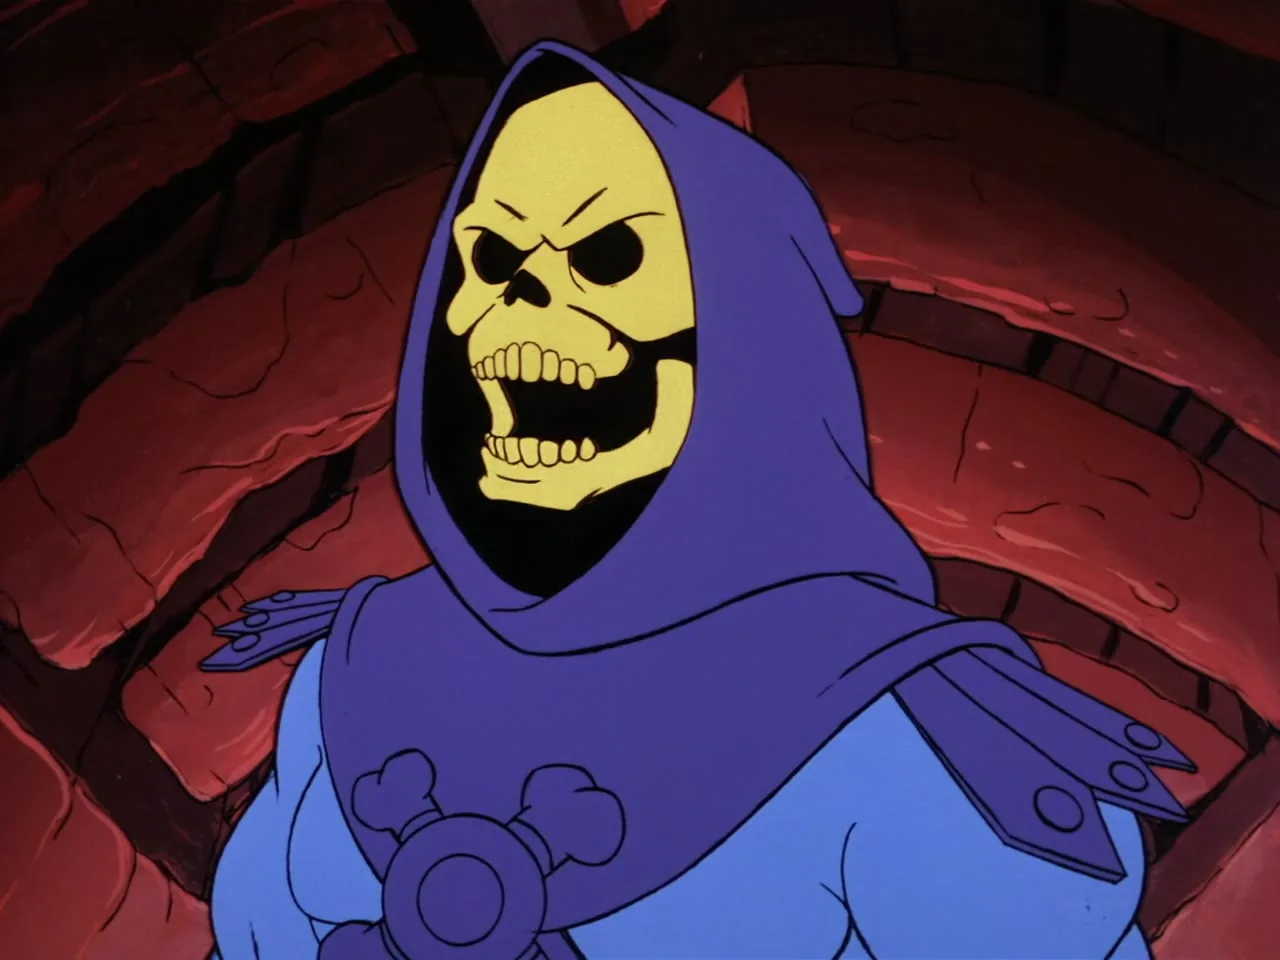
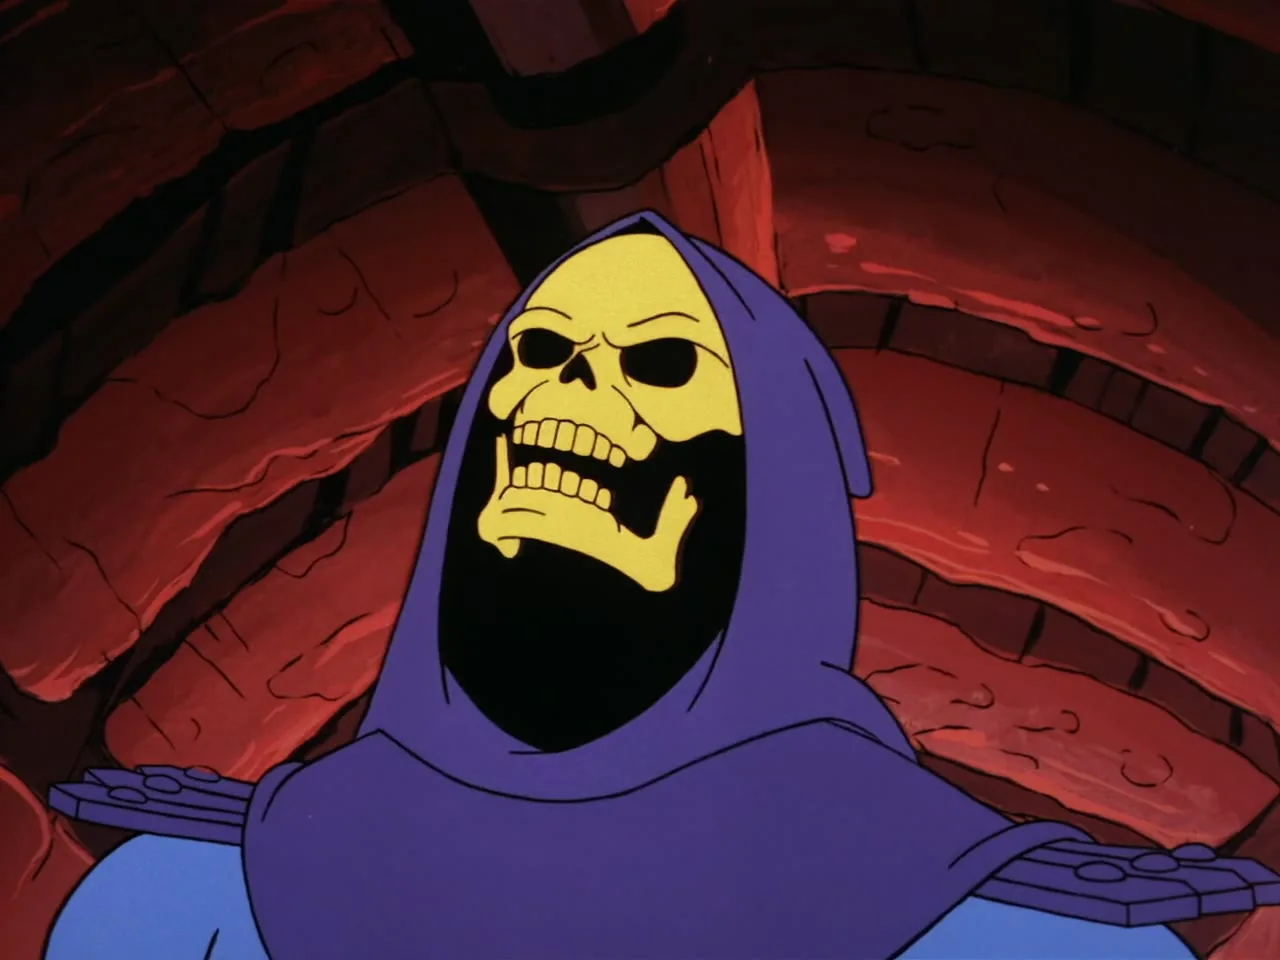
Close-up of Skeletor's hooded skull face, grinning.
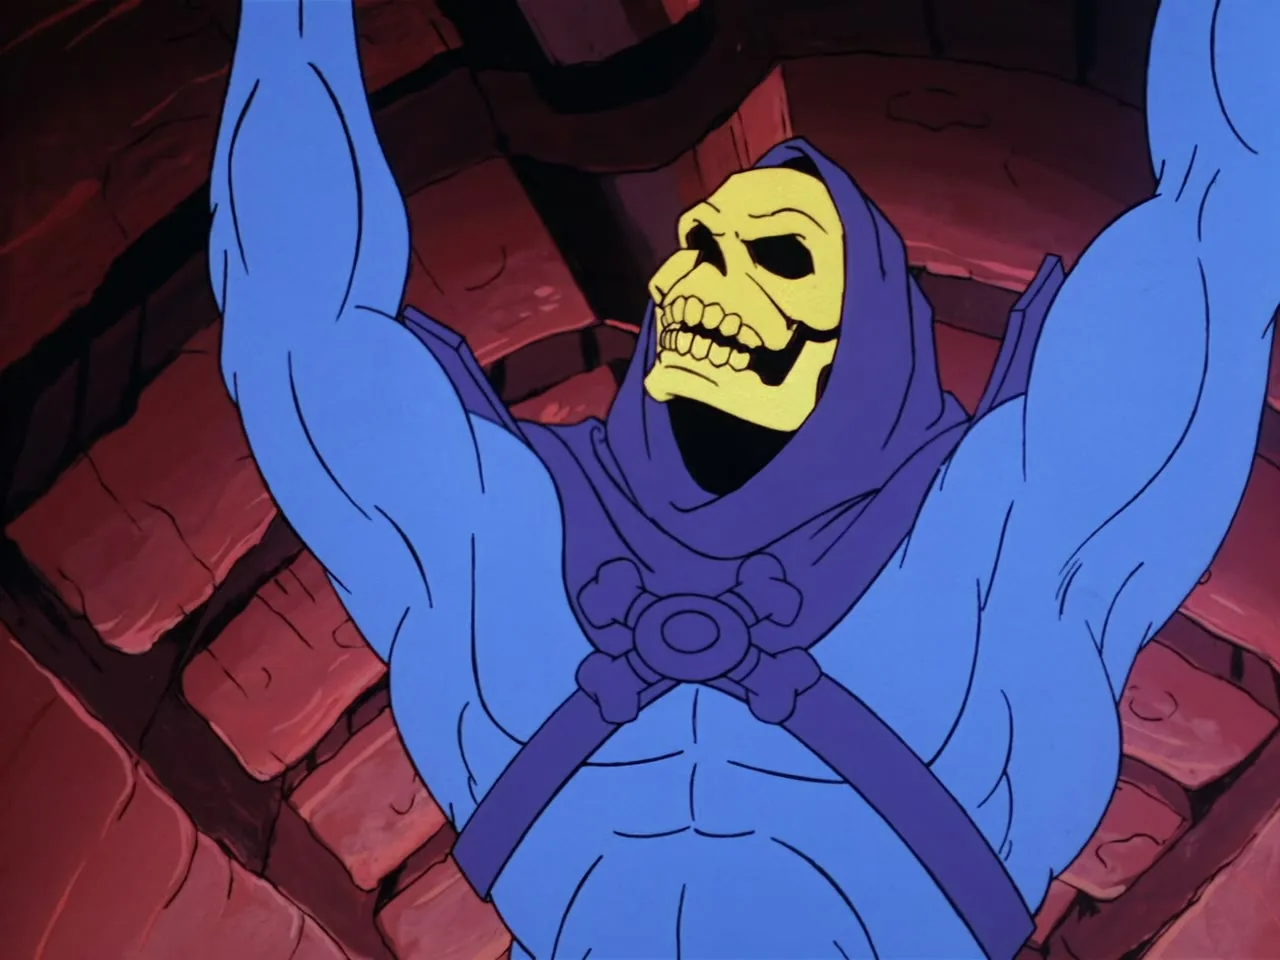
Skeletor raises both arms, his hood falling back to reveal his full skull face.
Beast Man snarls while Evil-Lyn looks on beside him.
Close-up of a tiled floor in Snake Mountain's throne room, with a staff and clawed feet visible at the edges; no characters clearly in view.
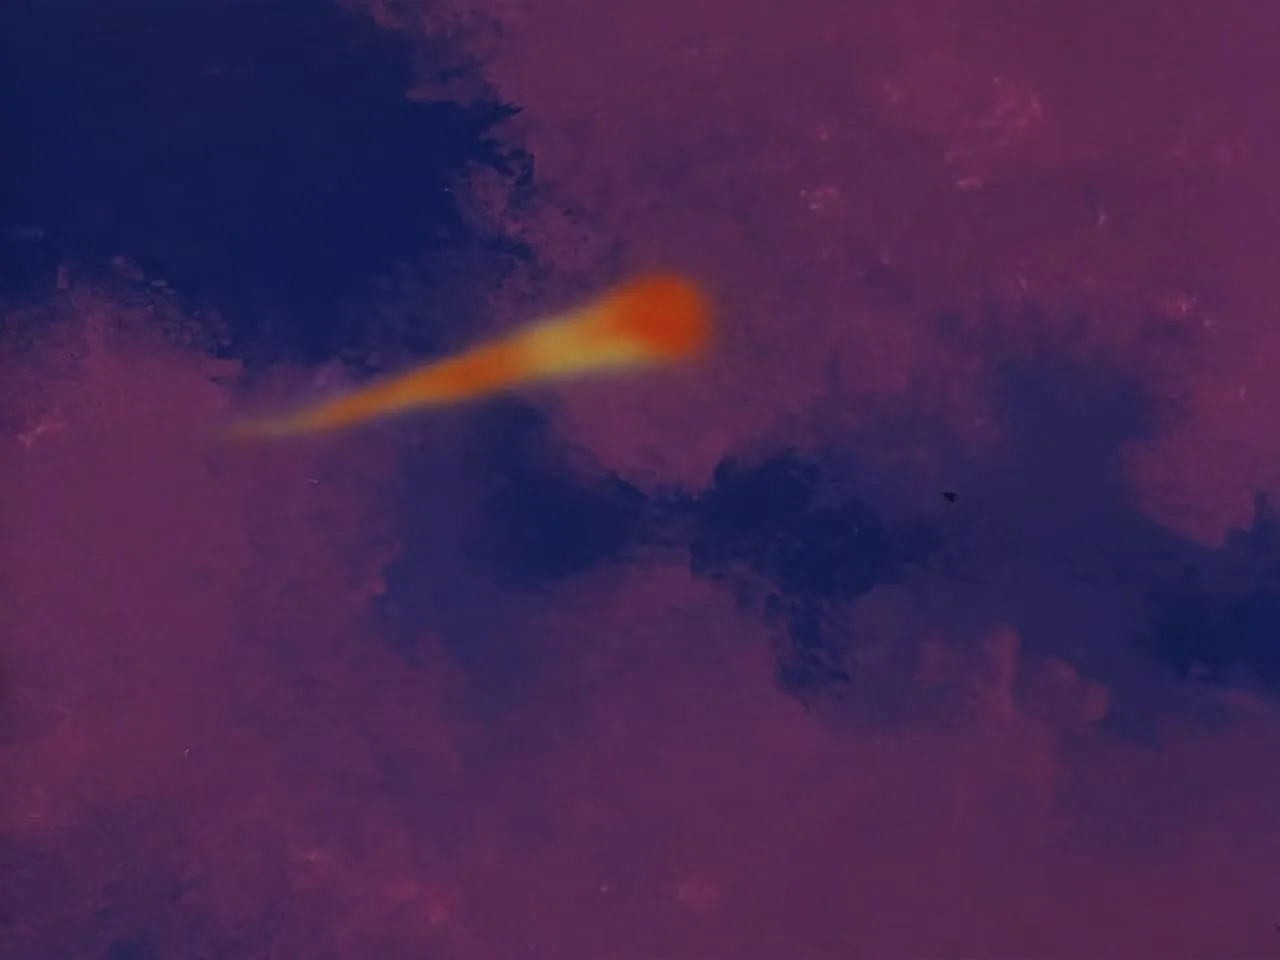
The Cosmic Comet streaks across a hazy purple sky, its tail glowing orange.
Close-up of Skeletor's hooded skull face laughing.
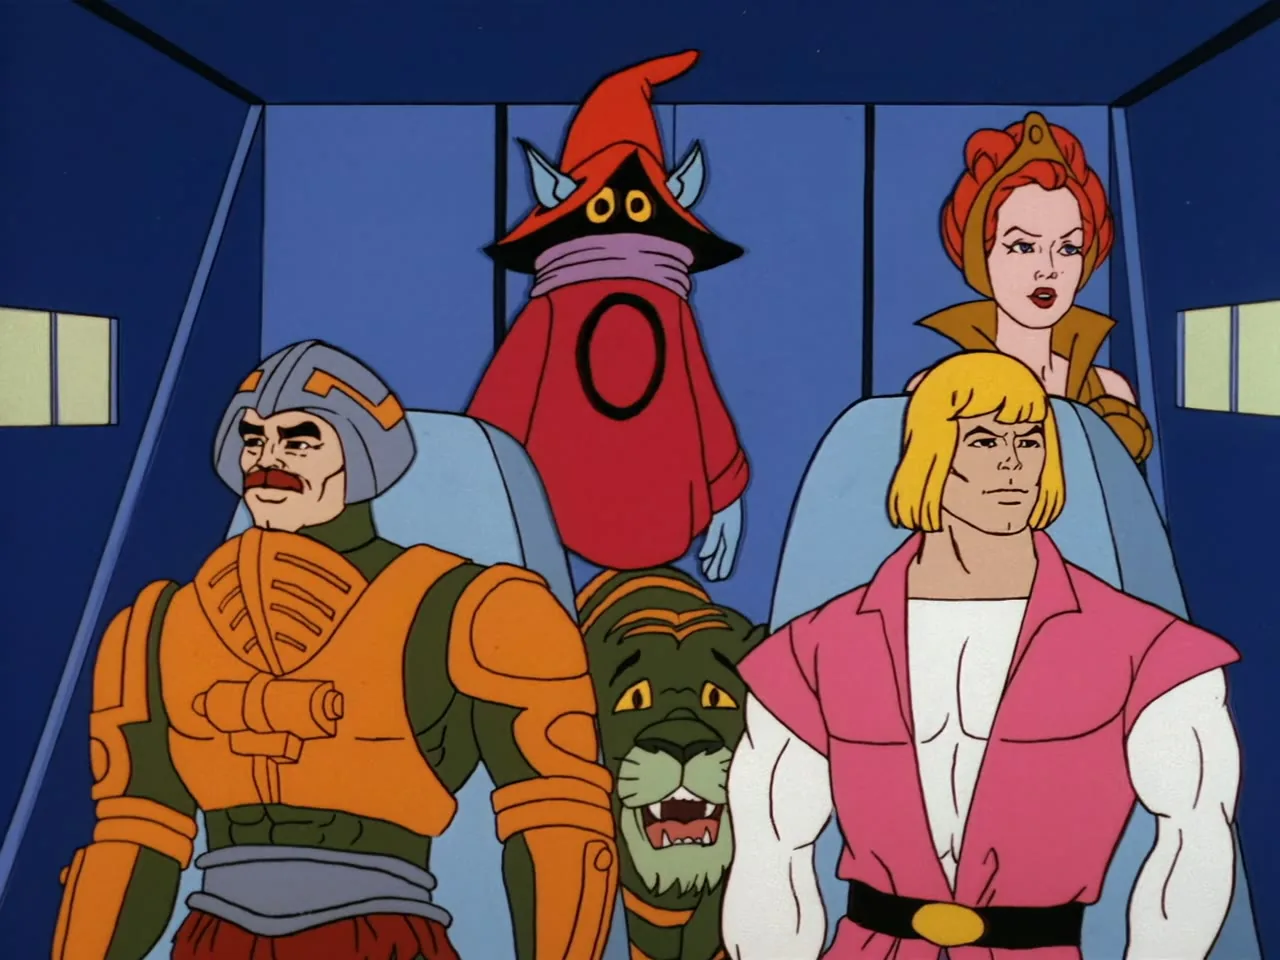
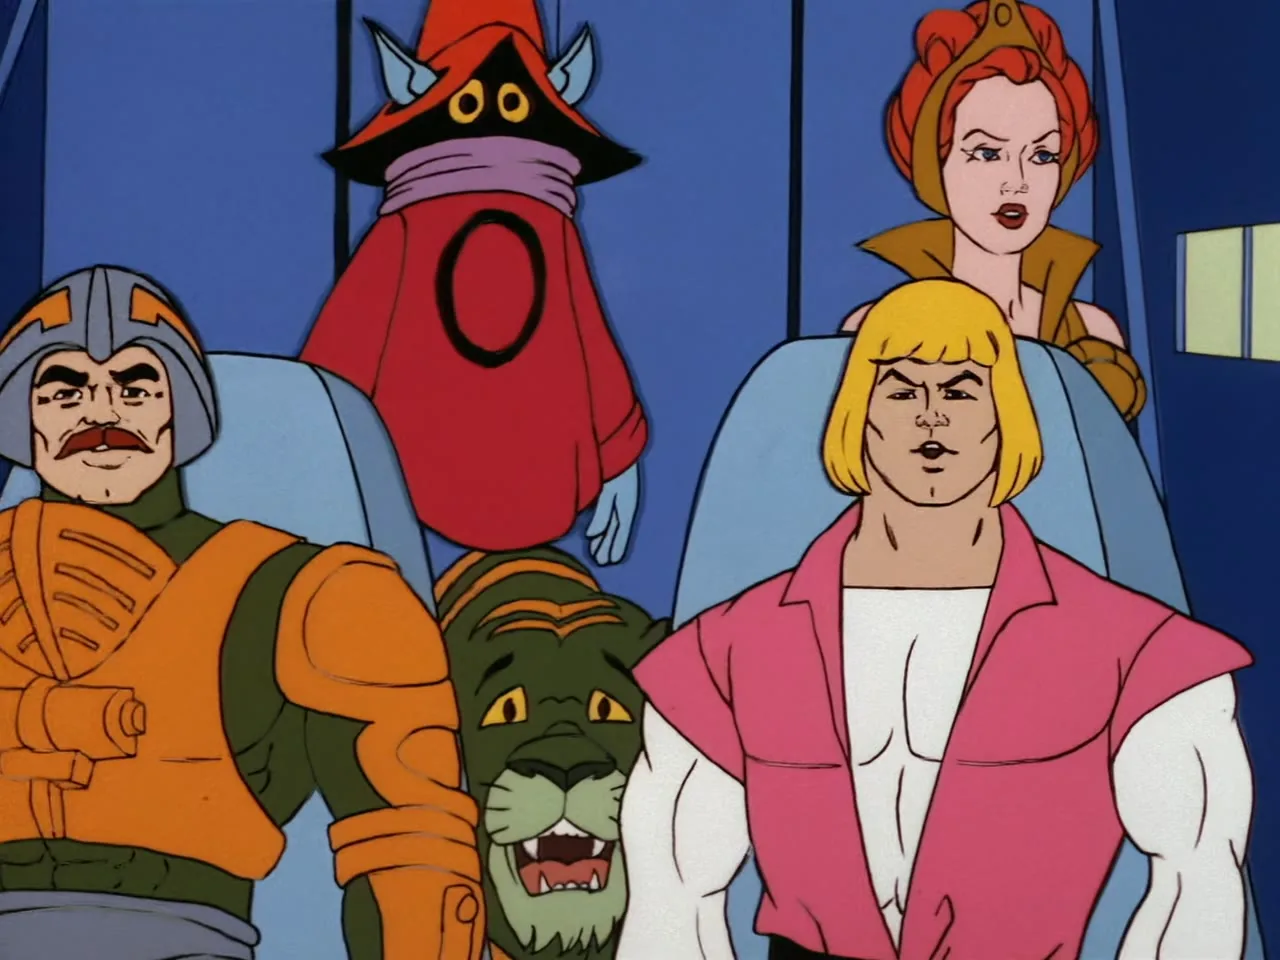
Man-At-Arms, Orko, Cringer, Prince Adam and Teela sit together in a vehicle.
Prince Adam sits in front with Man-At-Arms, Orko, Cringer and Teela behind him.
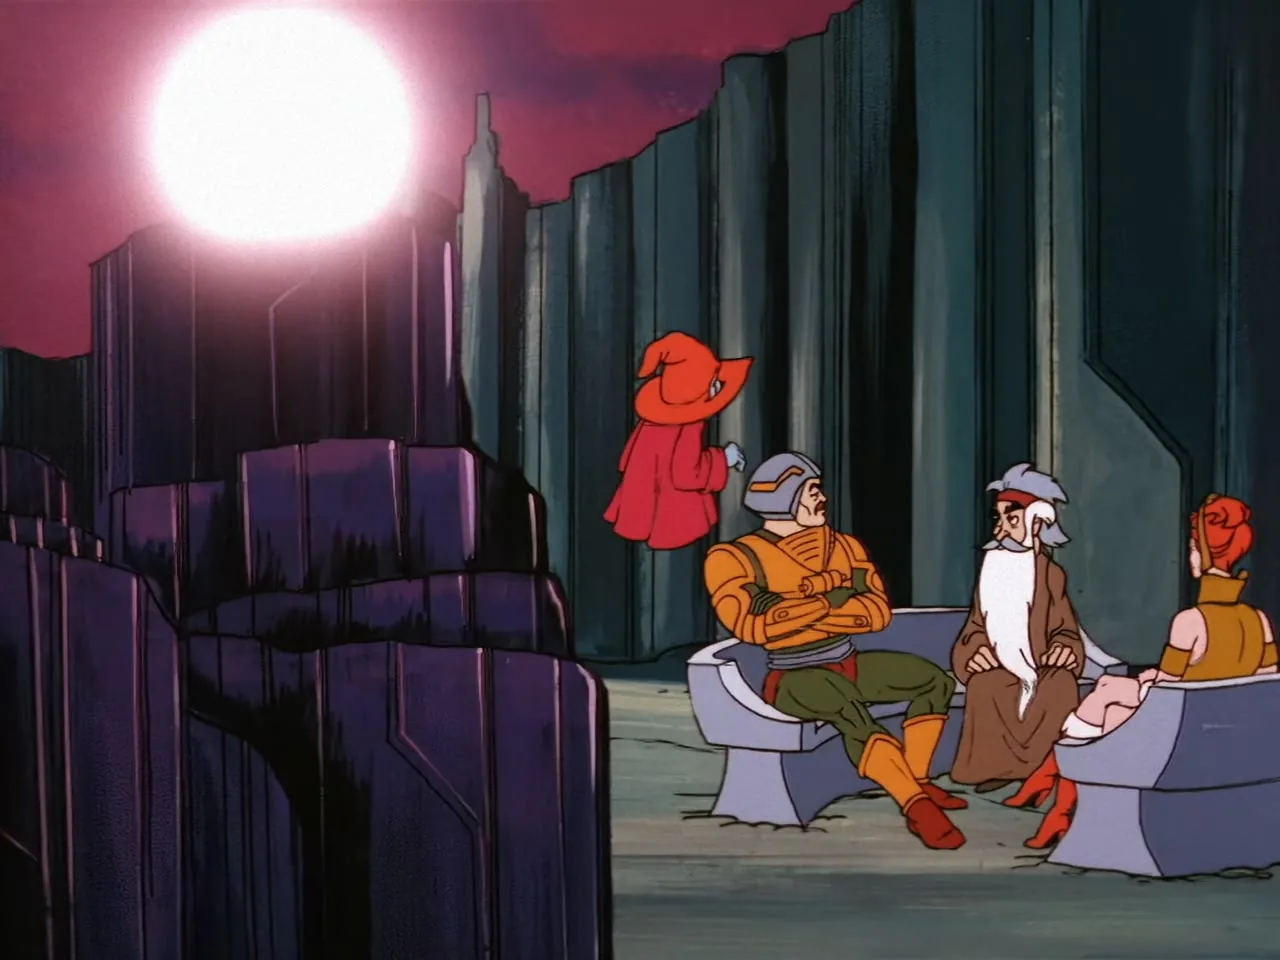
Wide outdoor shot of Zagraz, Man-At-Arms, Orko, and Teela gathered on a rocky ledge beneath a bright glowing orb in the sky.
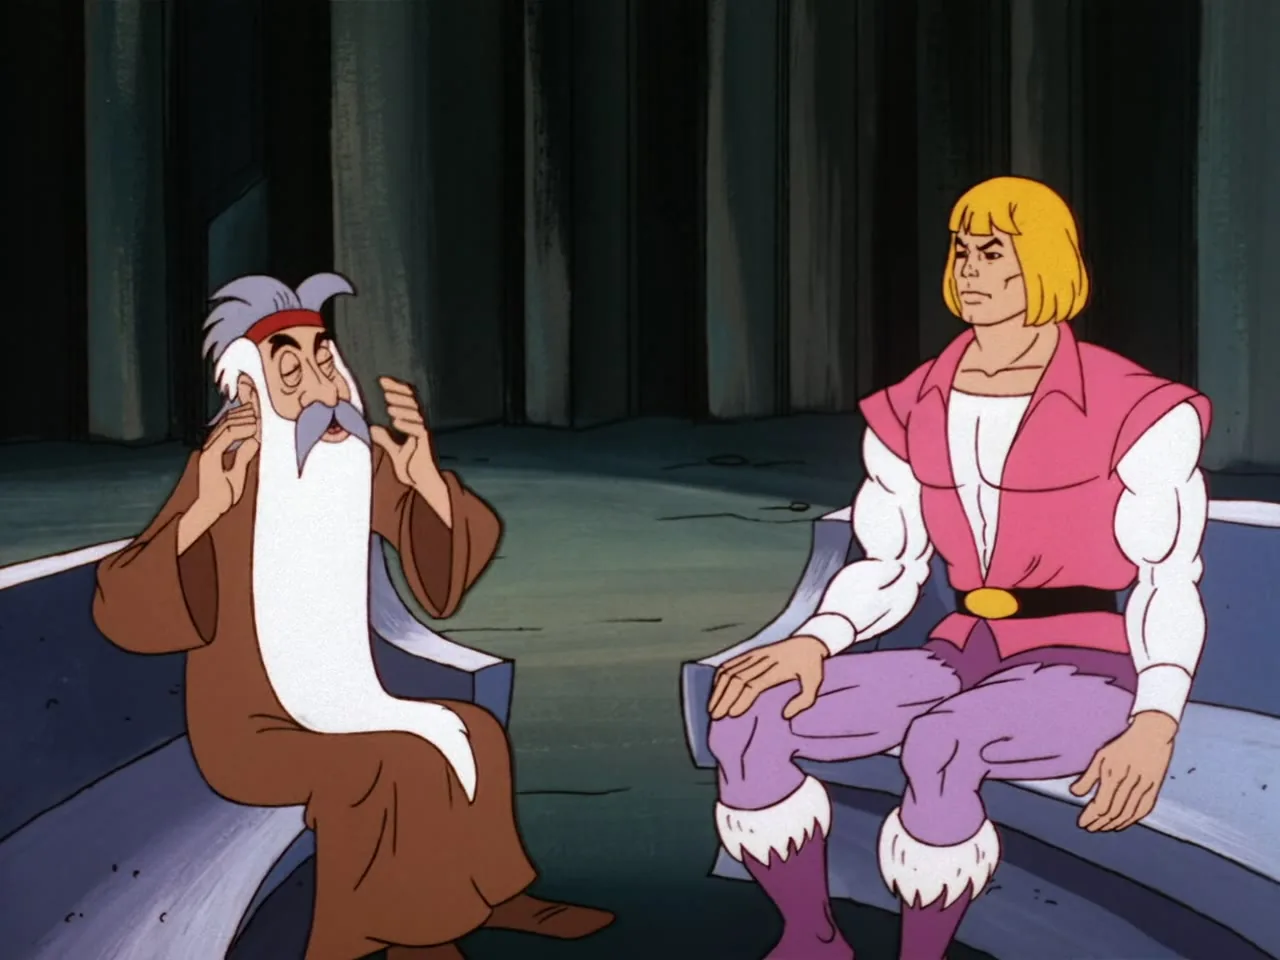
Zagraz and Prince Adam sit together in conversation.
Close-up of Zagraz gesturing with both hands as he speaks.
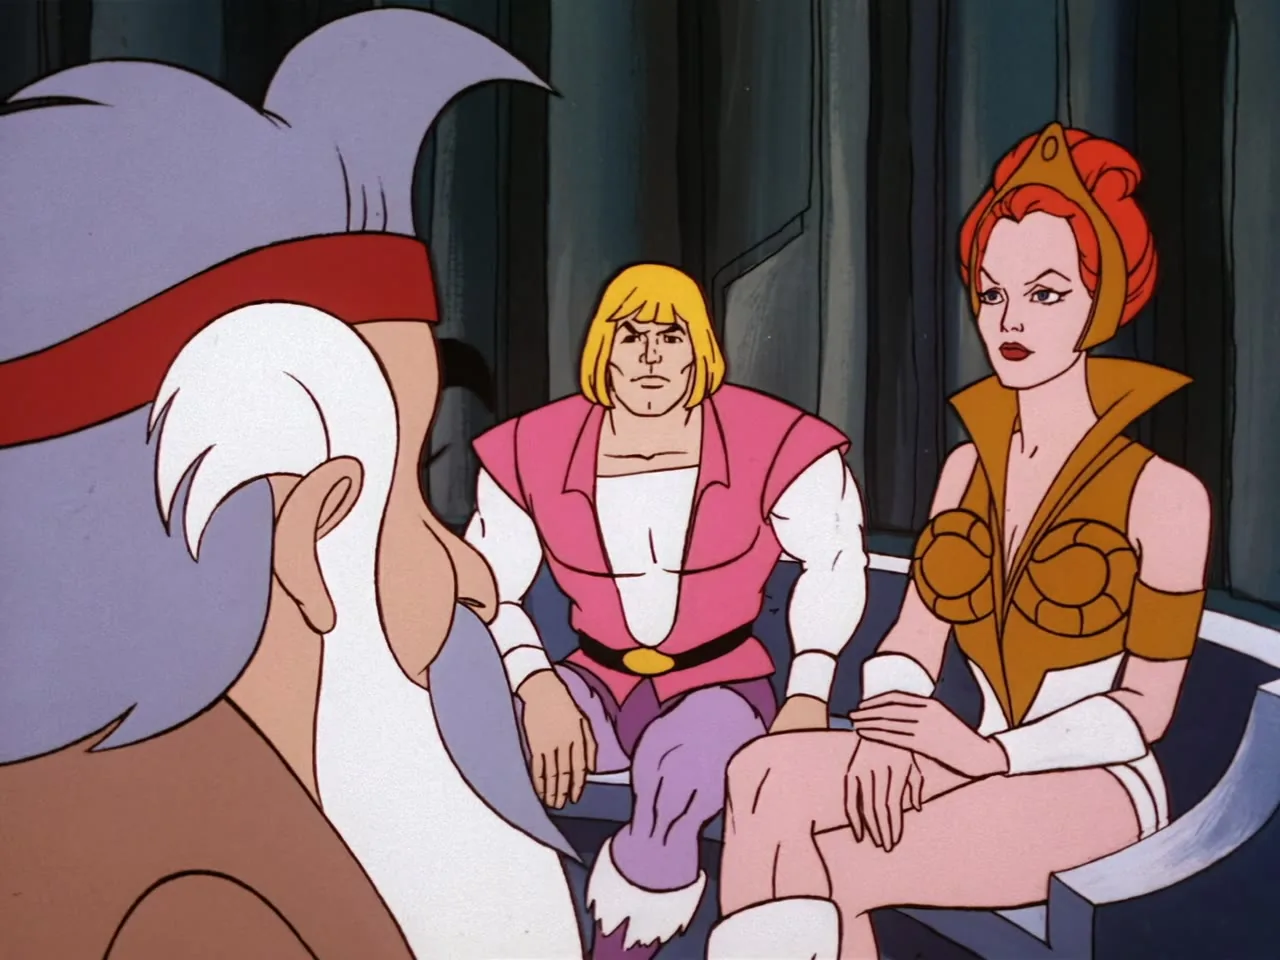
Prince Adam, Zagraz, and Teela seated together in conversation.
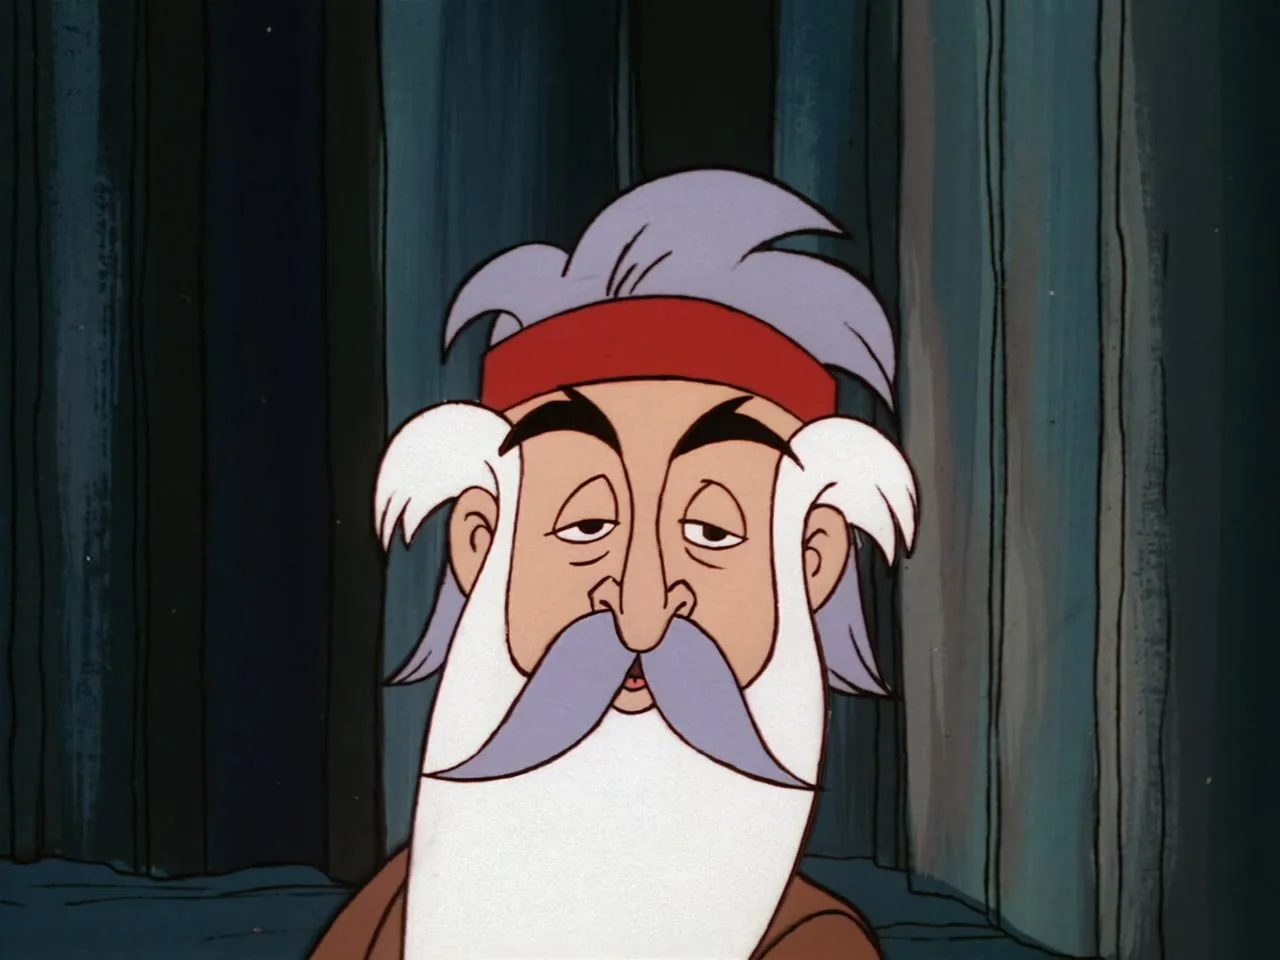
Close-up of Zagraz's face looking thoughtful.
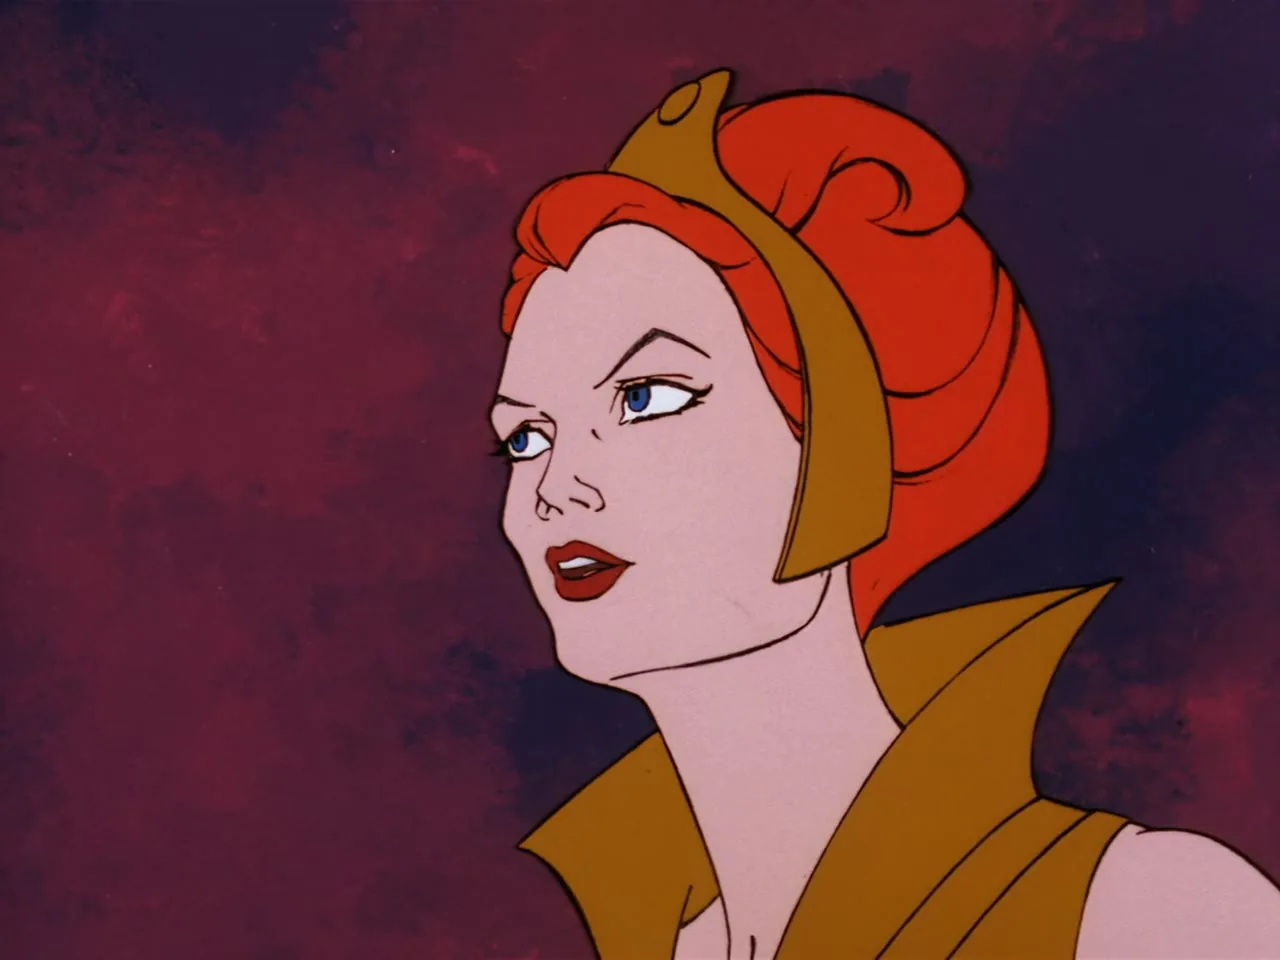
Close profile shot of Teela listening.
Blurred, abstract transition shot with greenish and blue streaks and a bright glow; no characters clearly visible.
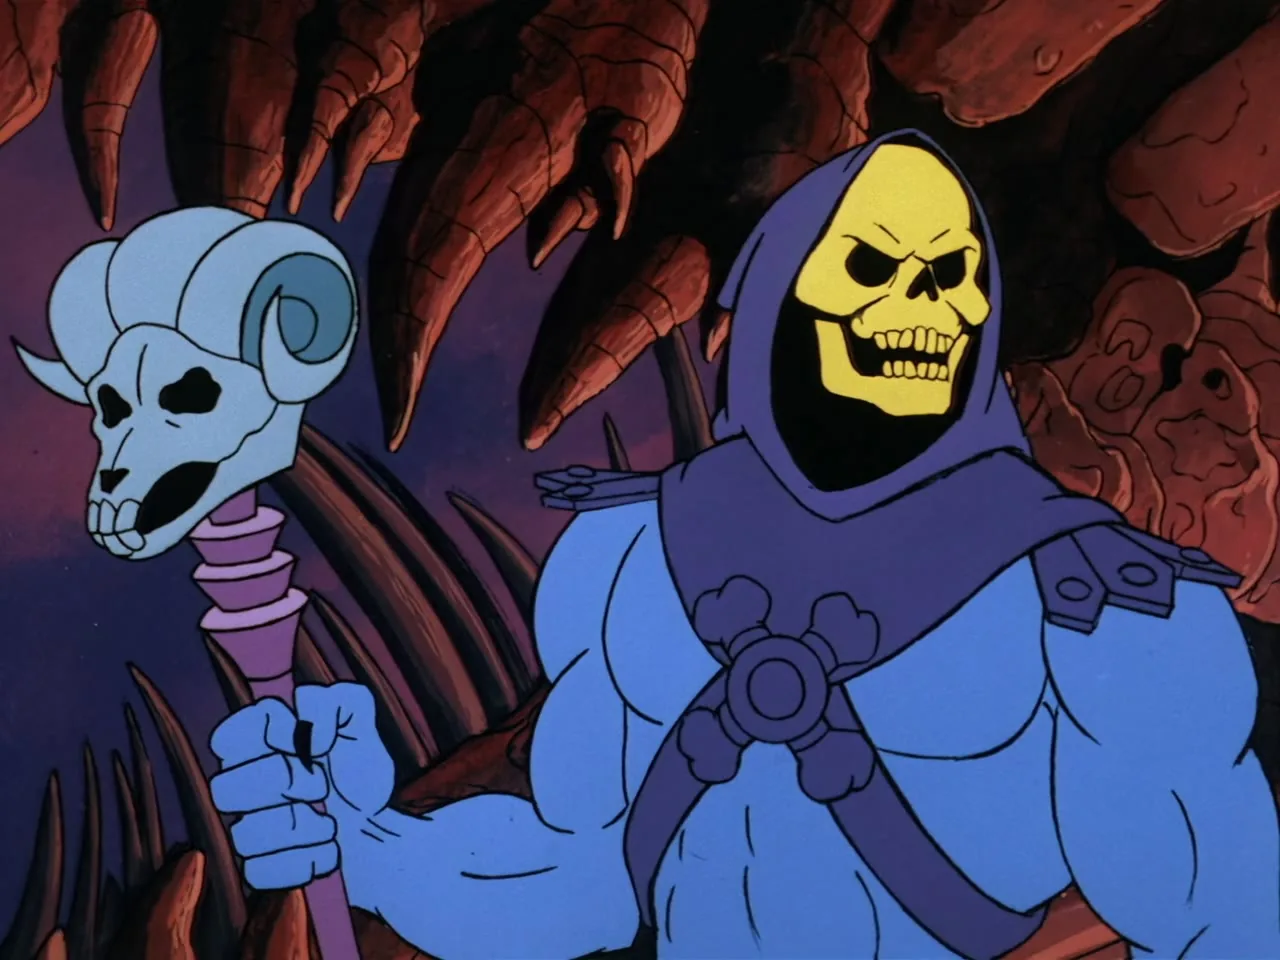
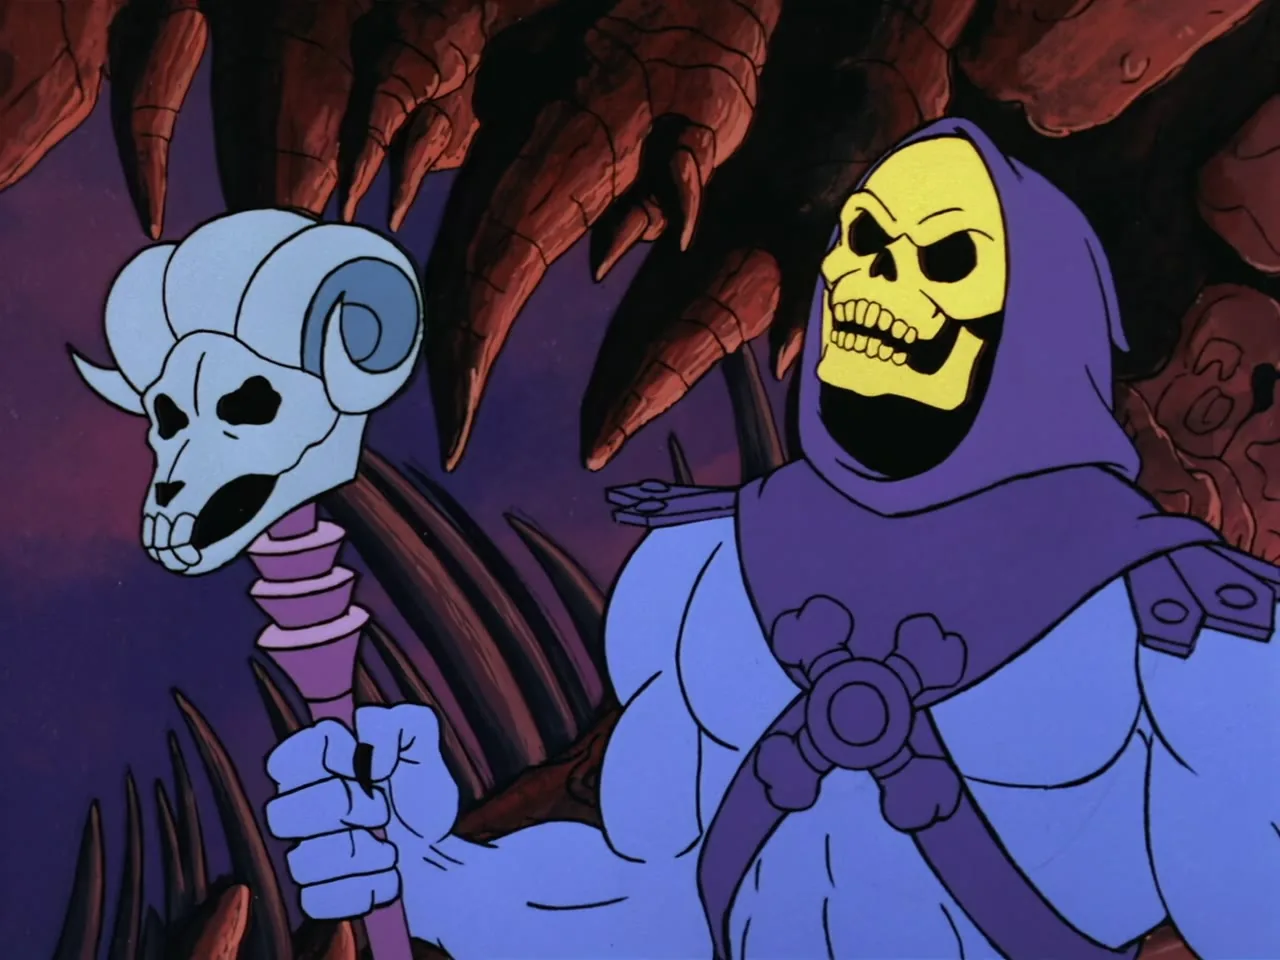
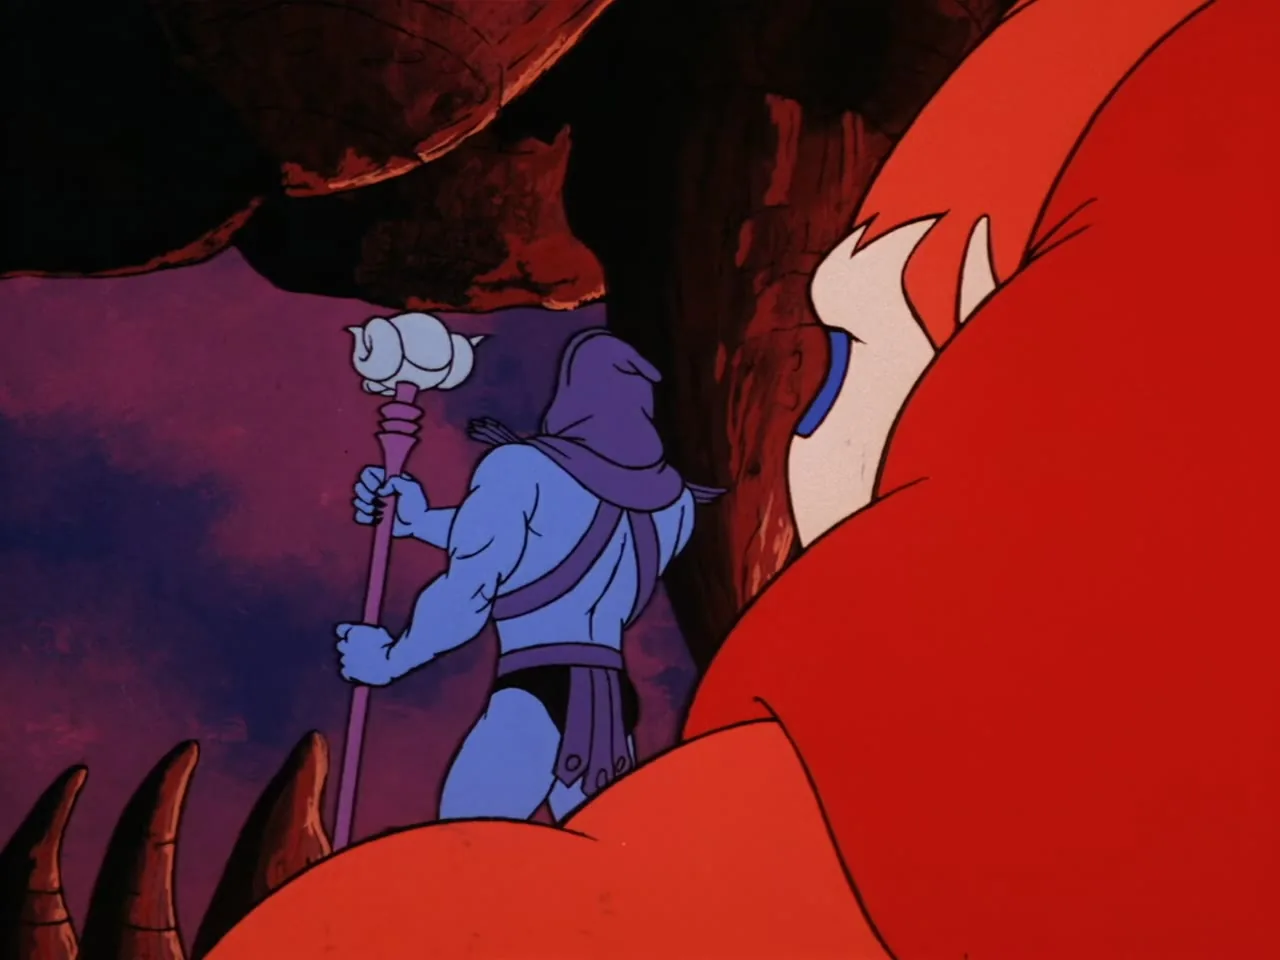
Skeletor stands holding his ram-skull staff in a rocky cave.
Close-up of Skeletor's skull face with his staff held up beside him.
Blurred, abstract transition shot with a dark red background and a pale vertical streak; no characters visible.
Blurred white silhouette of a robed figure against a dark red background, a transition shot.
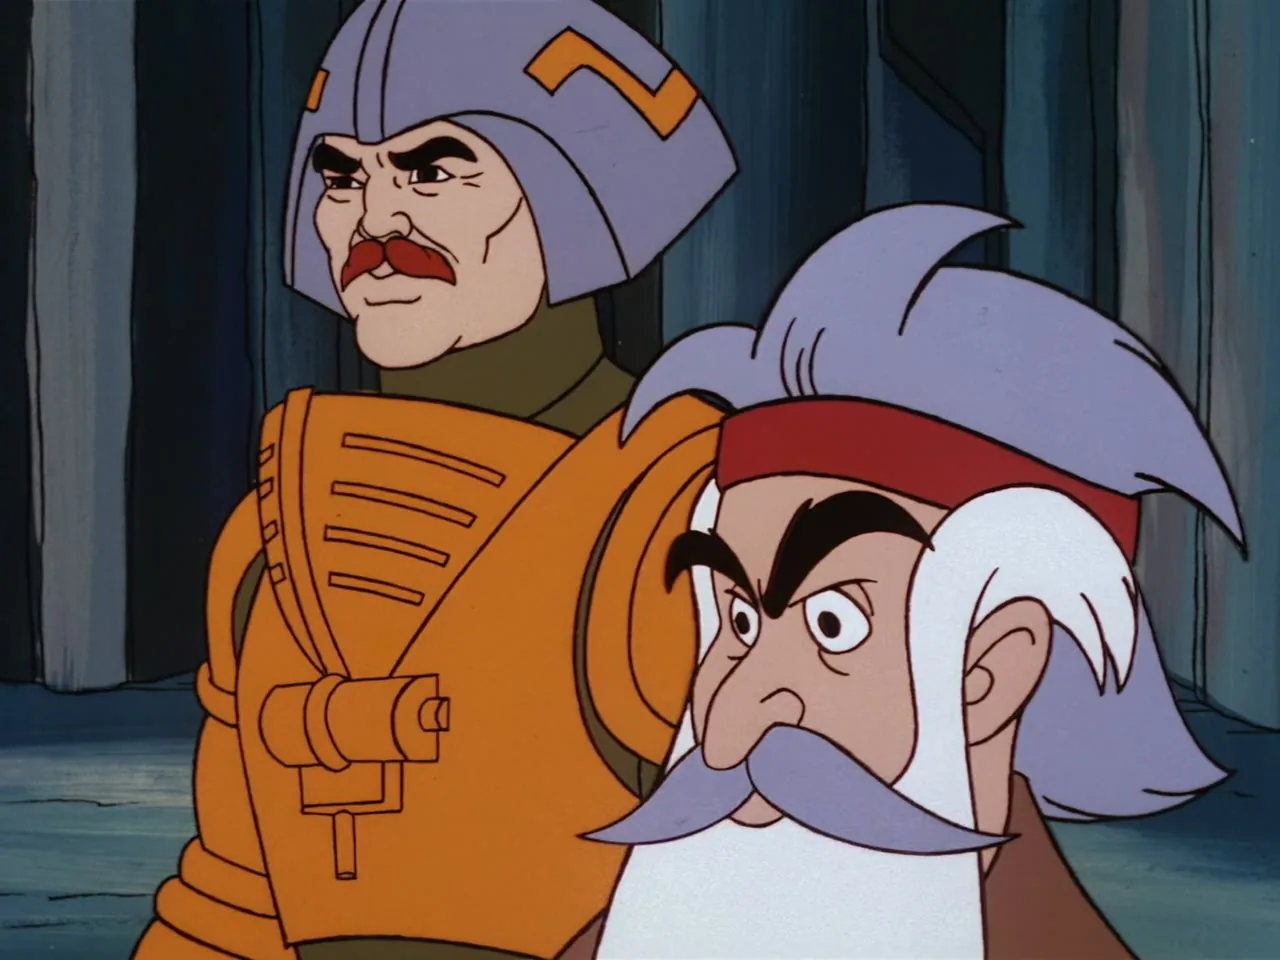
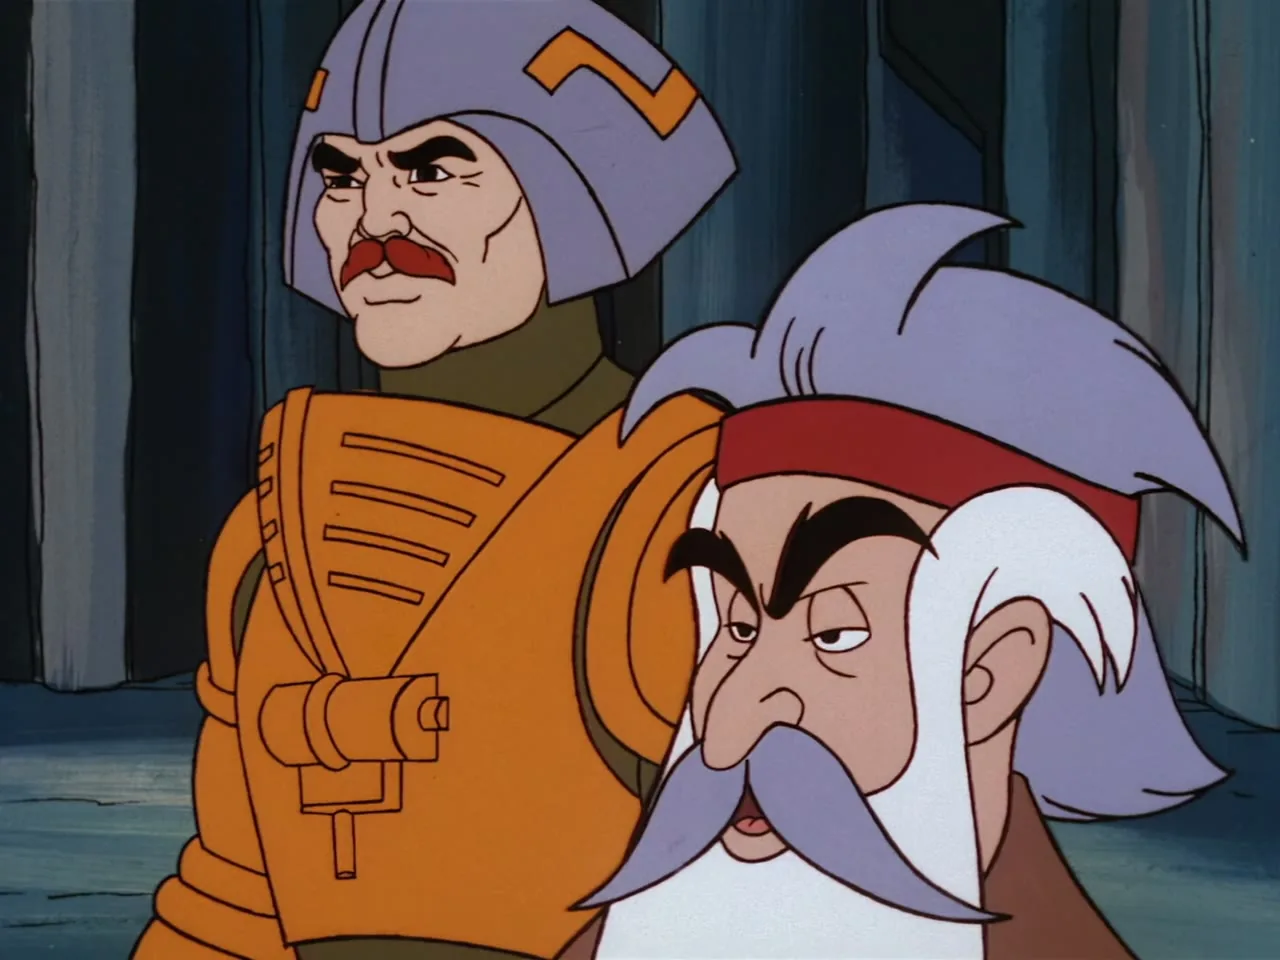
Man-At-Arms stands beside Zagraz, both looking off to the side.
Man-At-Arms and Zagraz in close-up again, slightly different angle.
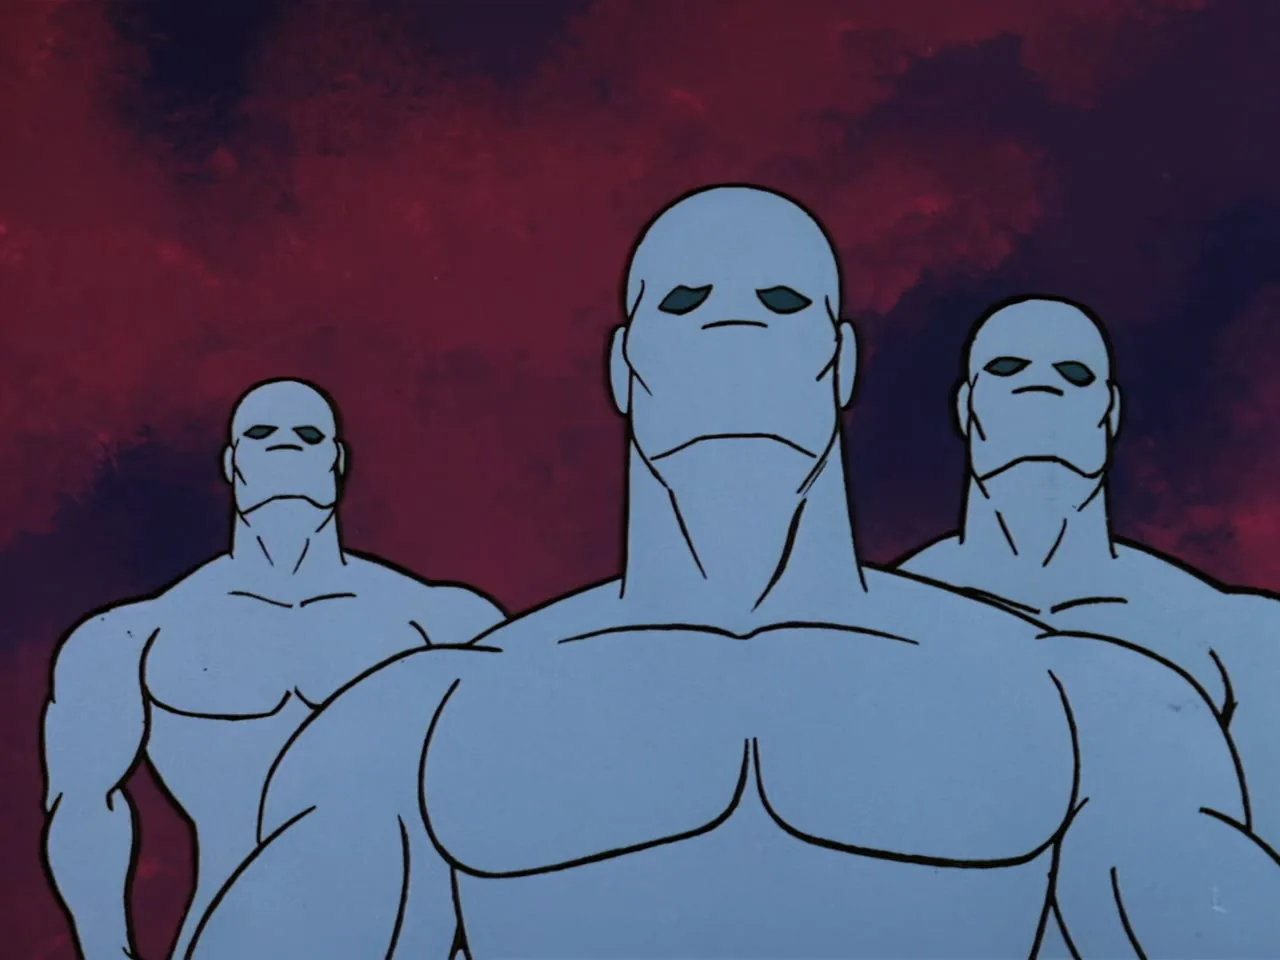
Three identical bald, blue-grey muscular humanoid figures stand in a row against a red sky.
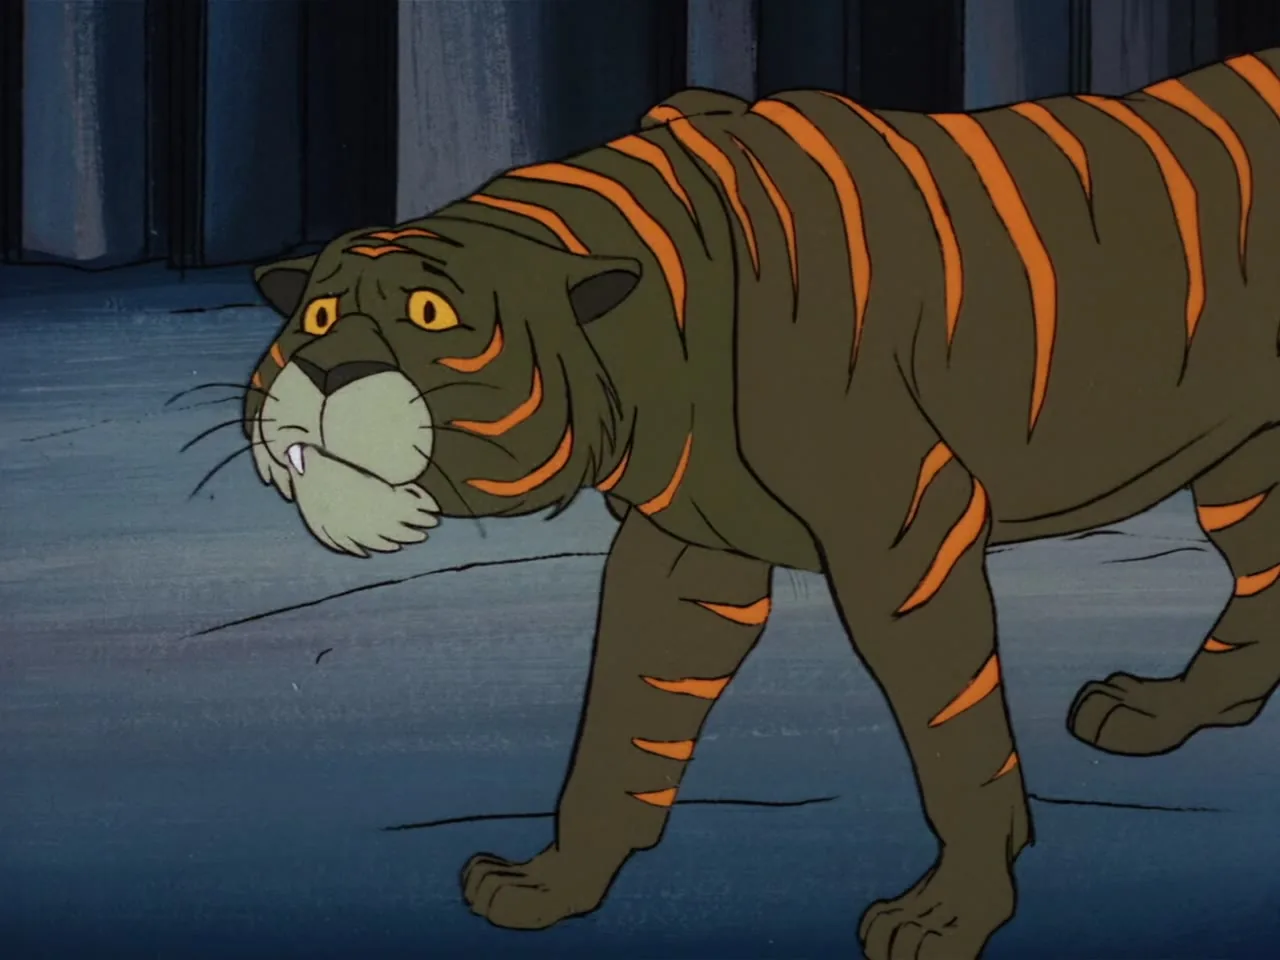
Cringer, in his natural striped tiger form, walks forward through a dim stone corridor.
A raised arm in a pink sleeve enters the frame at the right.
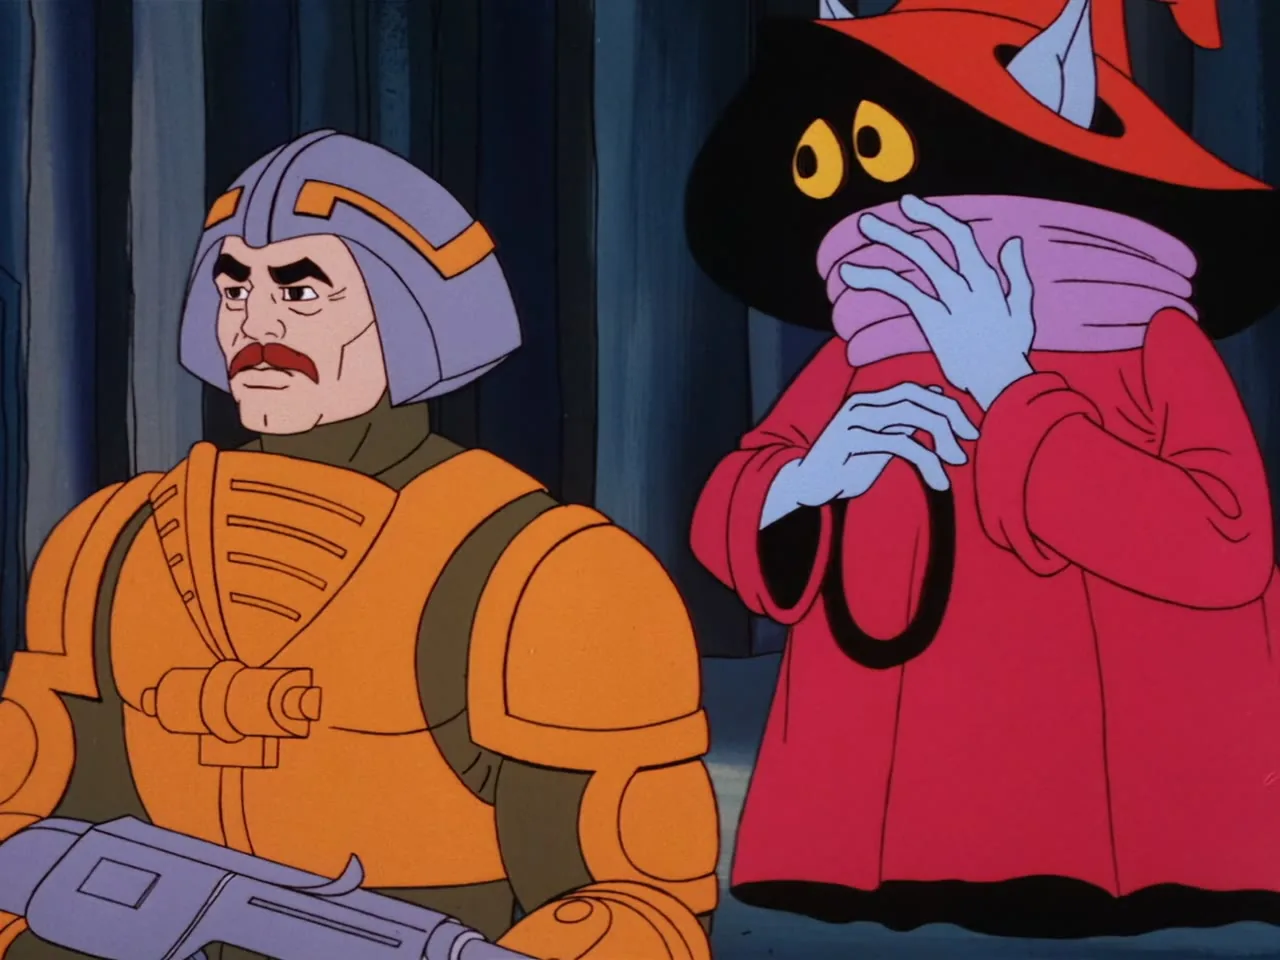
Close two-shot of Man-At-Arms and Orko, both looking alarmed.
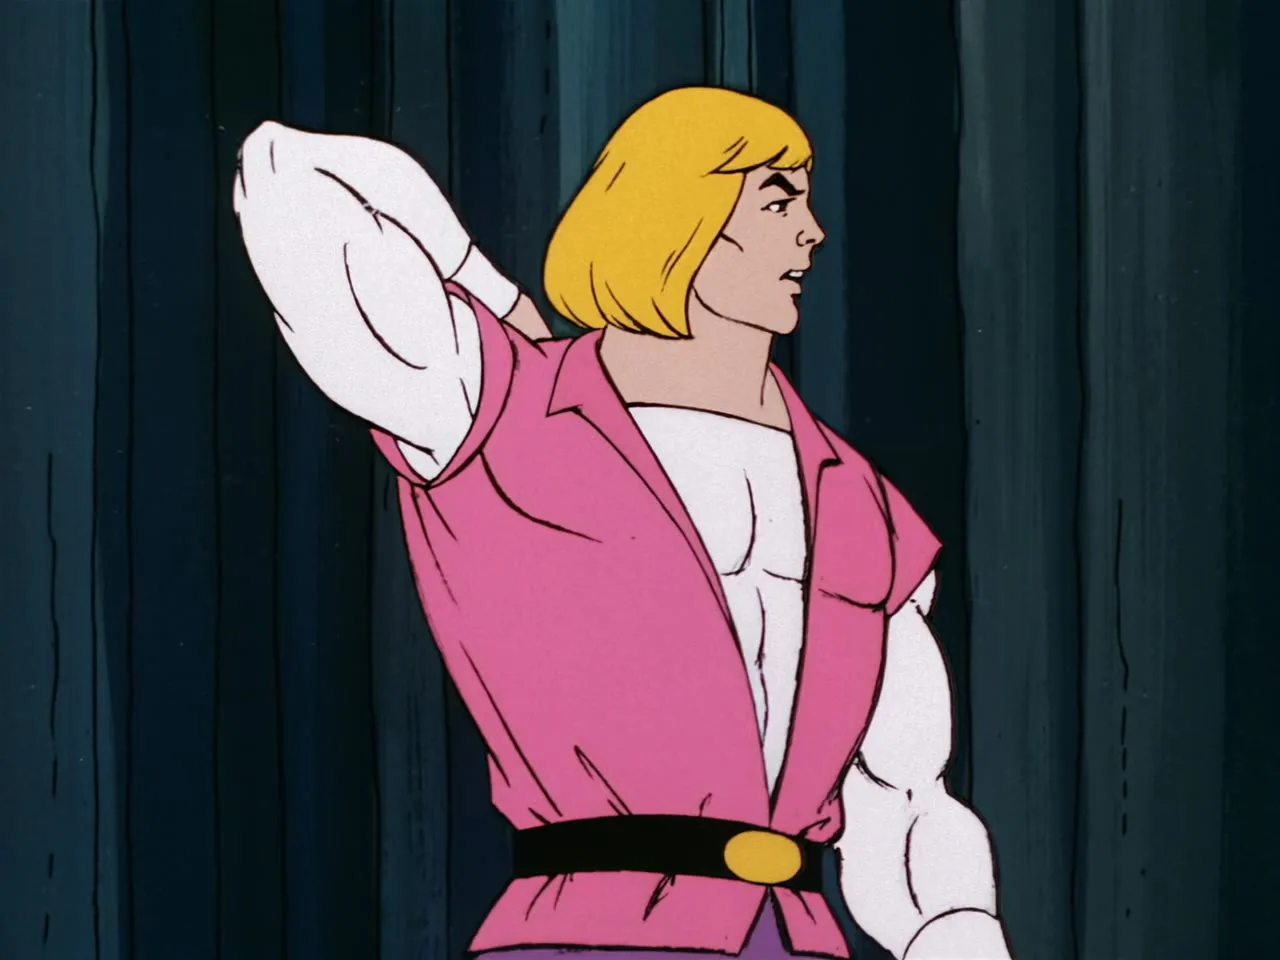
Prince Adam, seen in profile, raises his sword overhead.
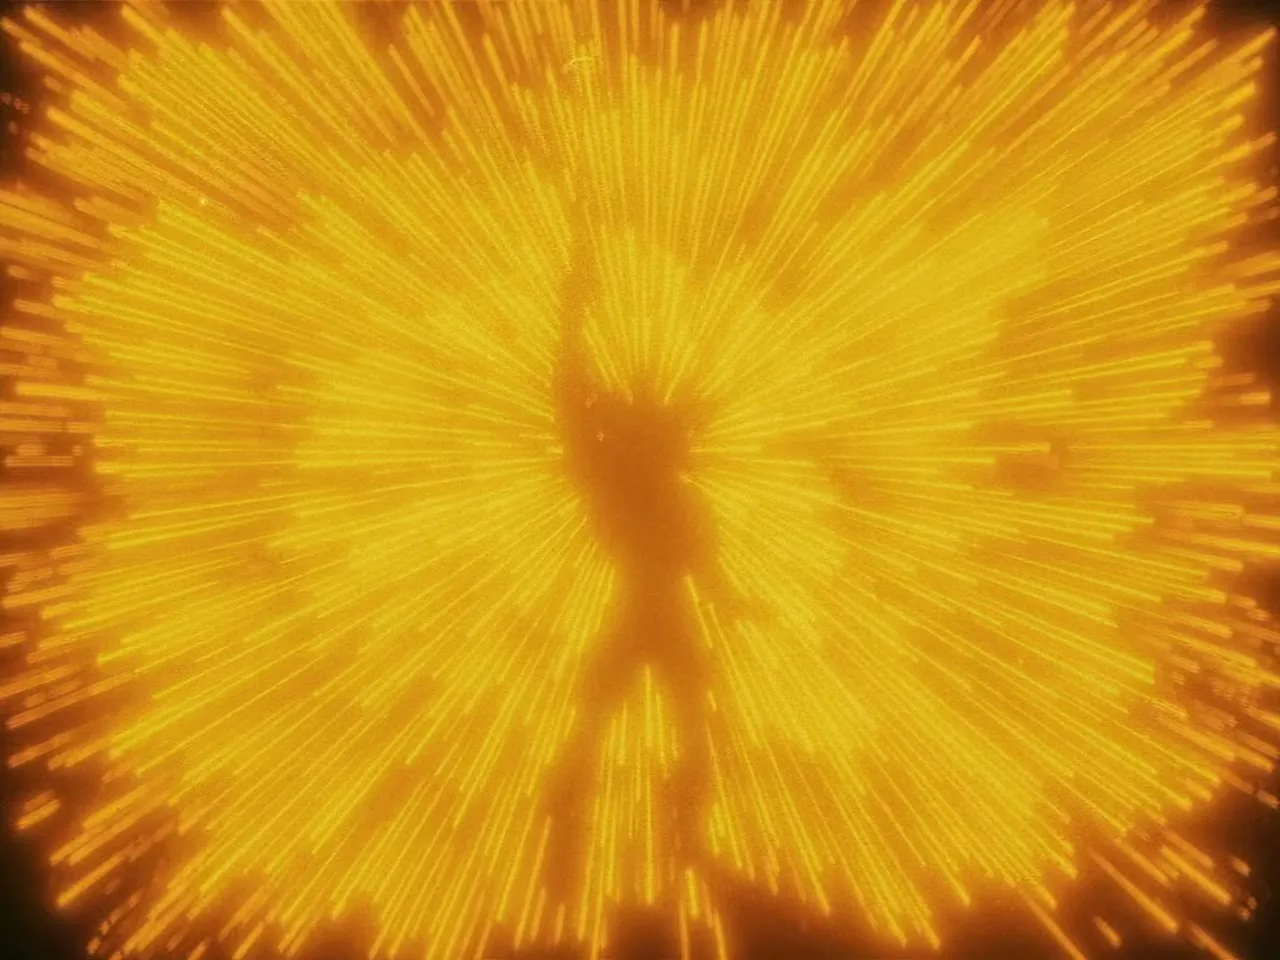
A bright yellow transformation burst with a silhouetted figure at its center.
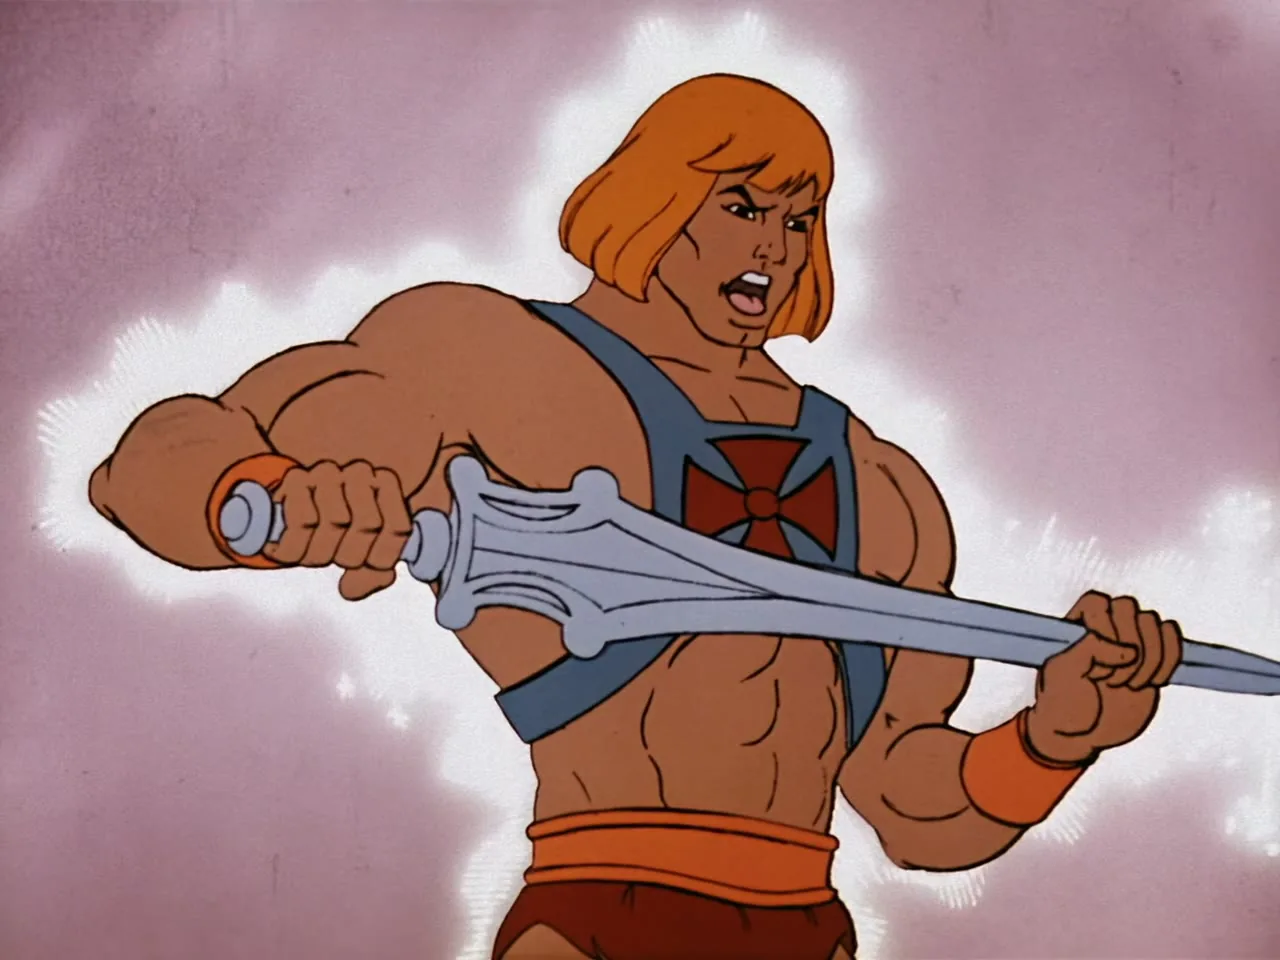
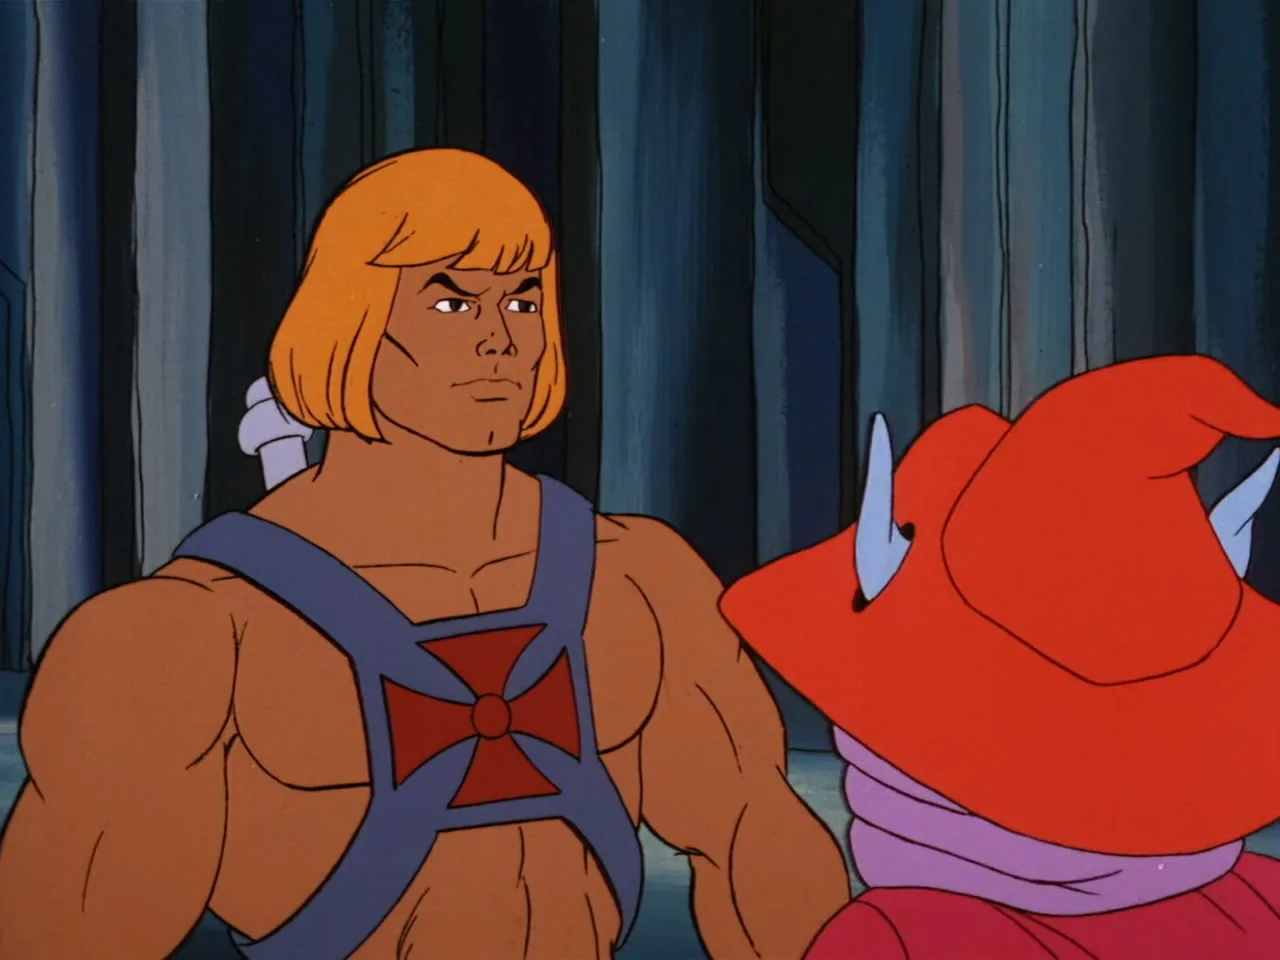
He-Man, newly transformed, holds his sword out in front of him with a determined shout.
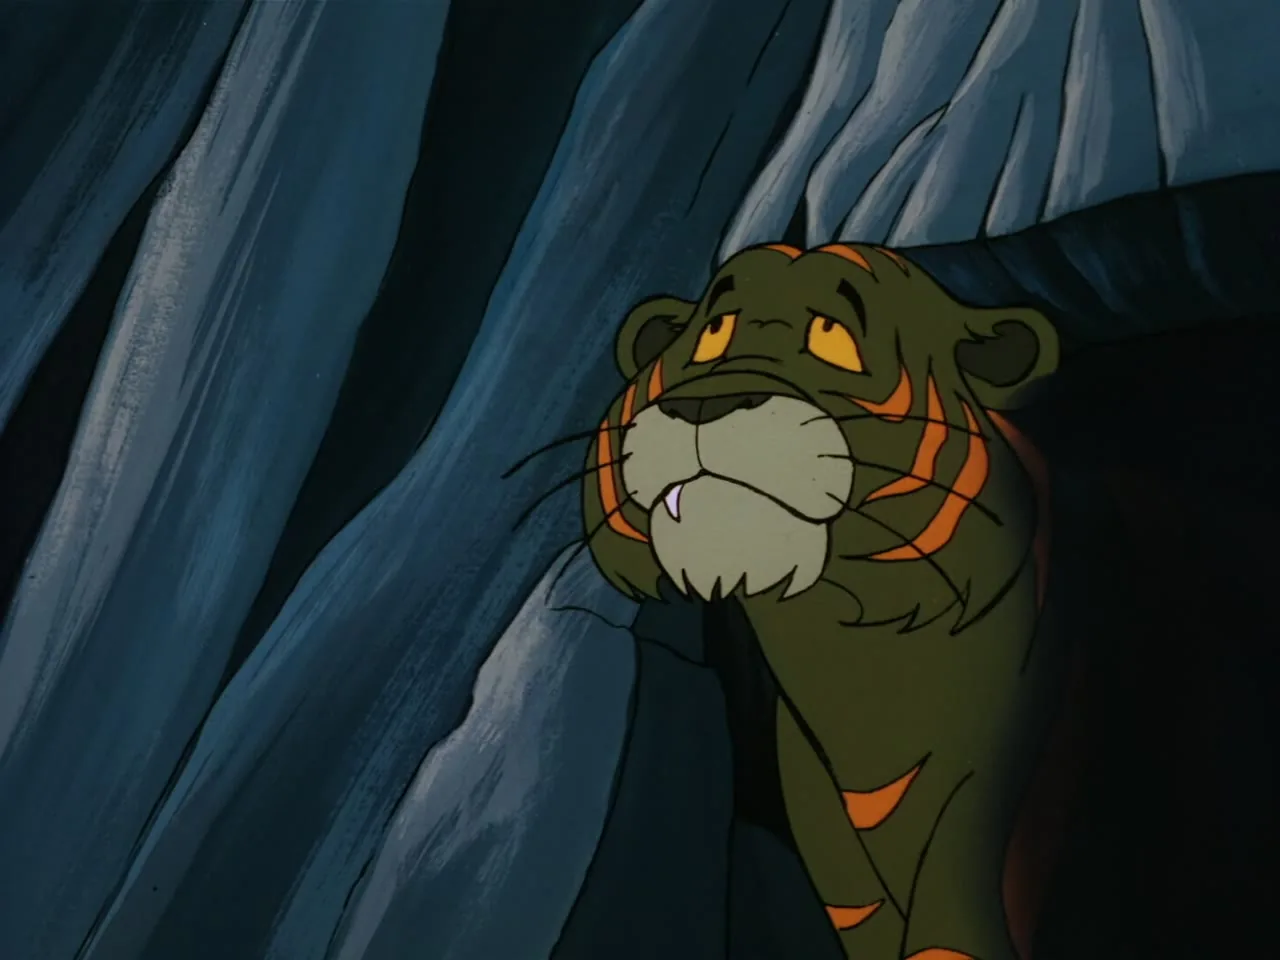
A striped tiger peeks timidly out from cave shadows, without armor or saddle.
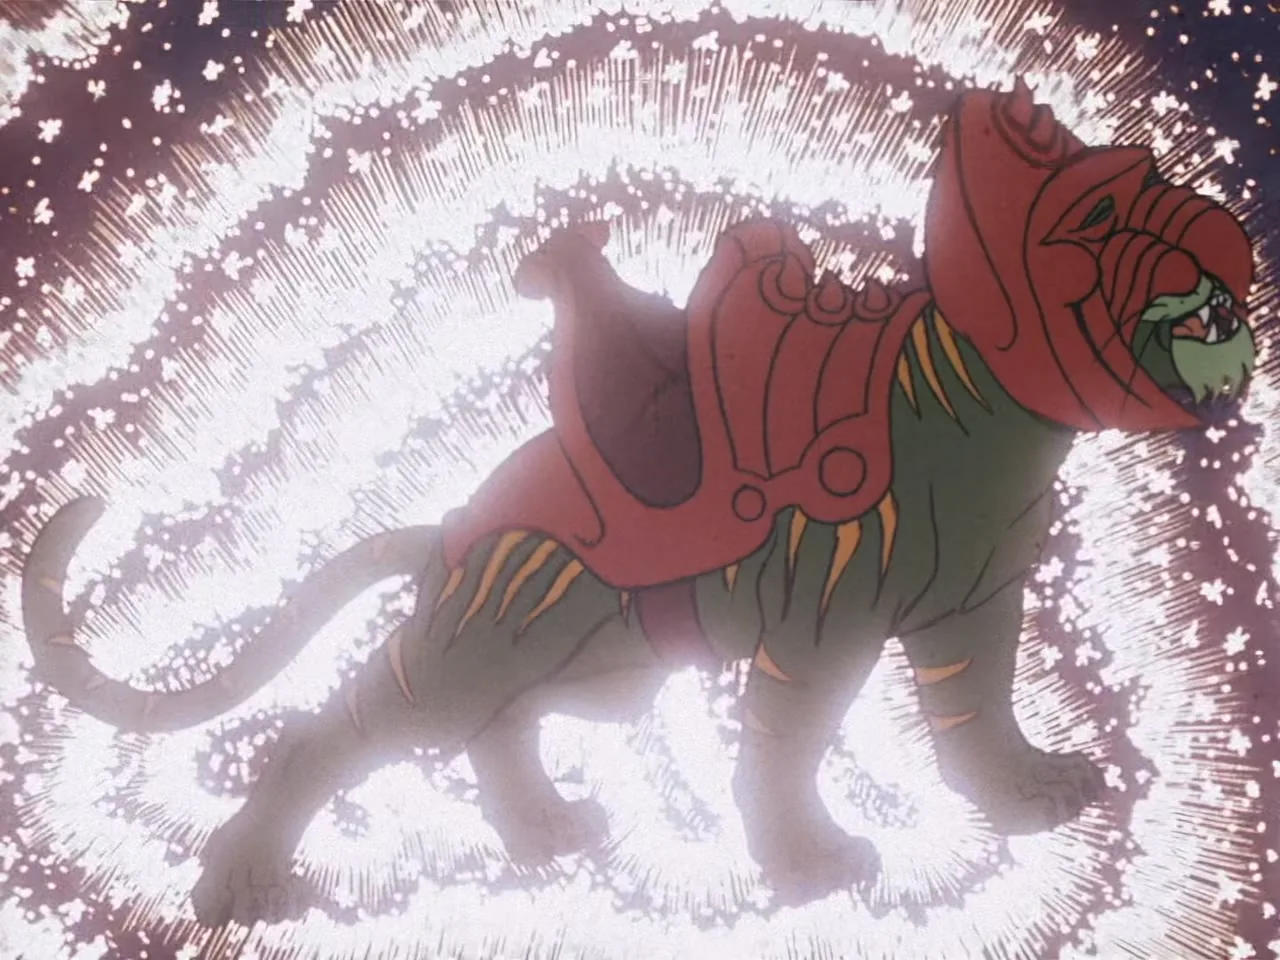
Battle Cat, fully armored and saddled, stands amid a swirling white transformation glow.
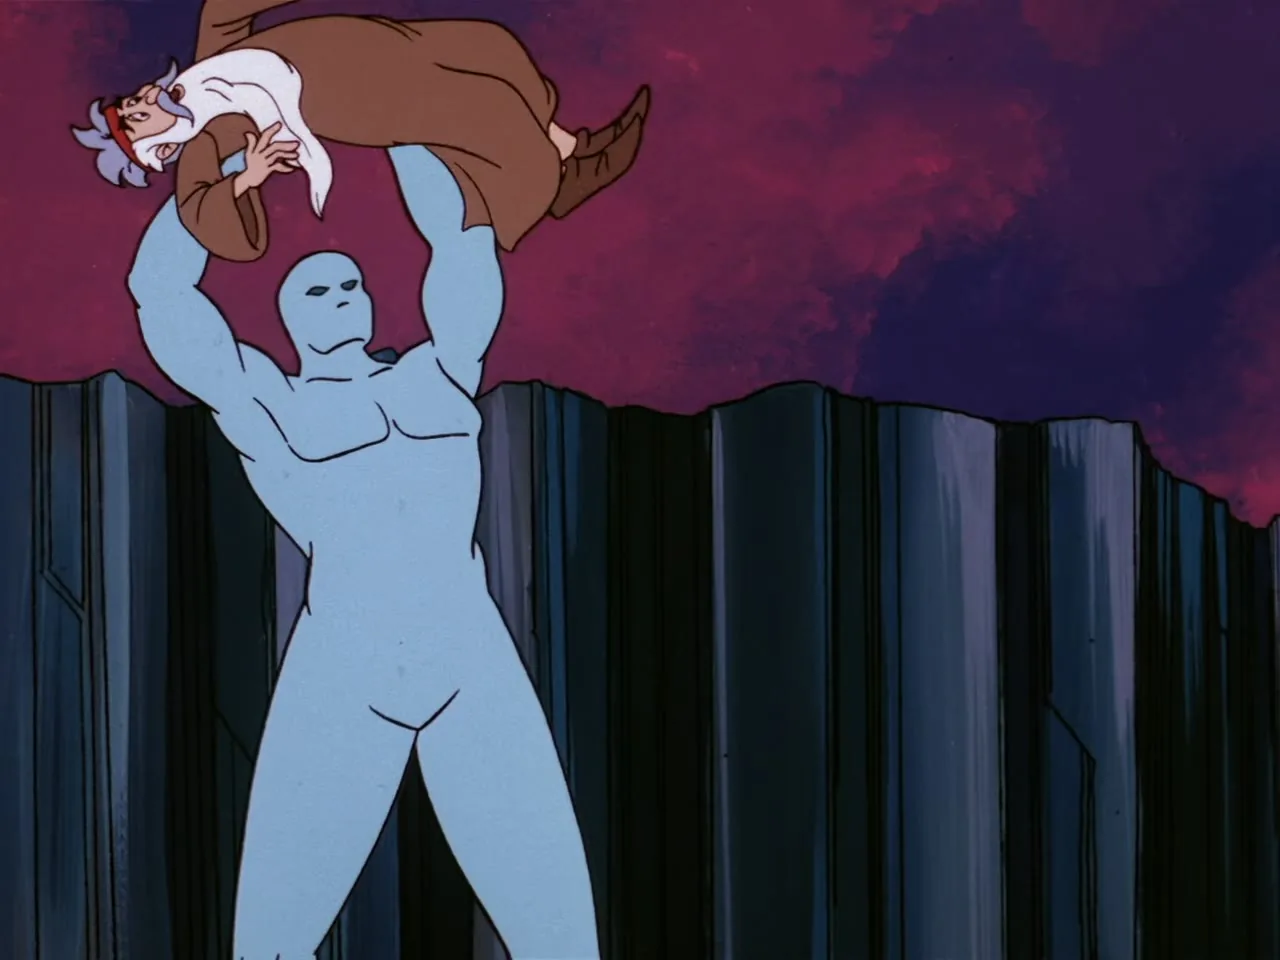
A bald, pale blue giant humanoid creature holds a struggling Zagraz aloft overhead.
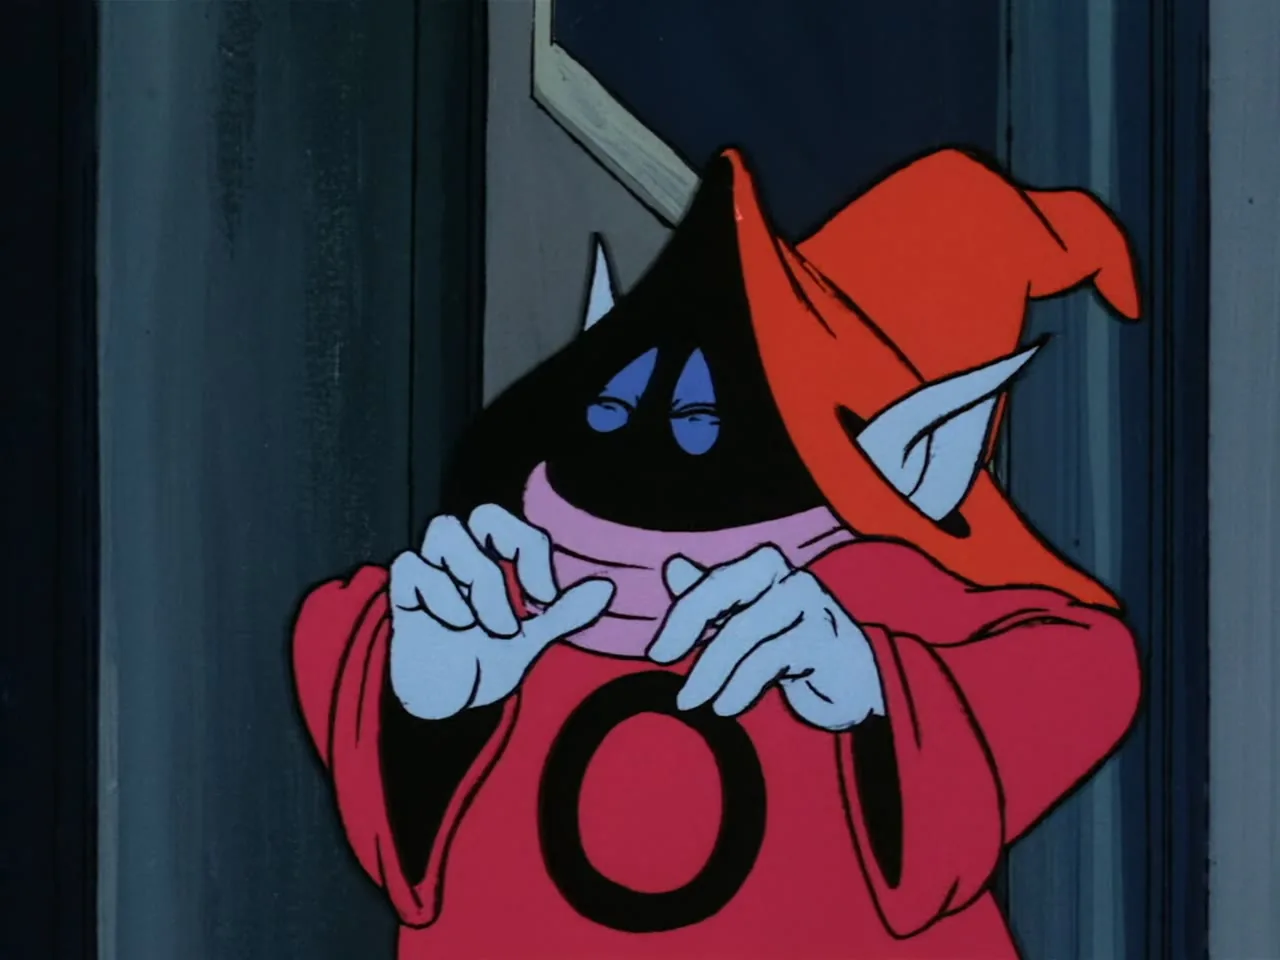
Close-up of Orko's frightened face, his hands raised.
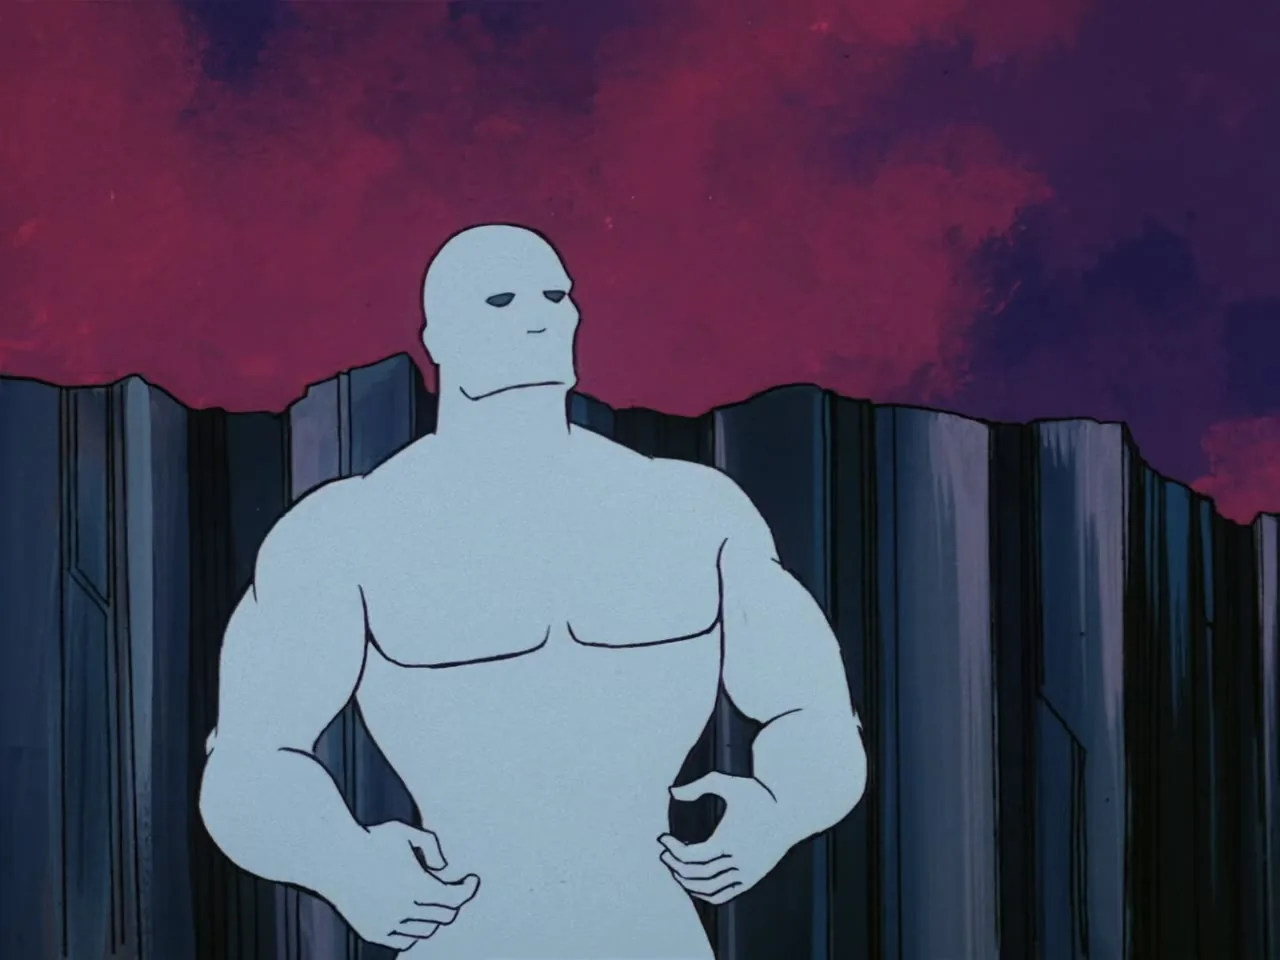
A bald, pale blue giant humanoid creature stands alone against a red sky.
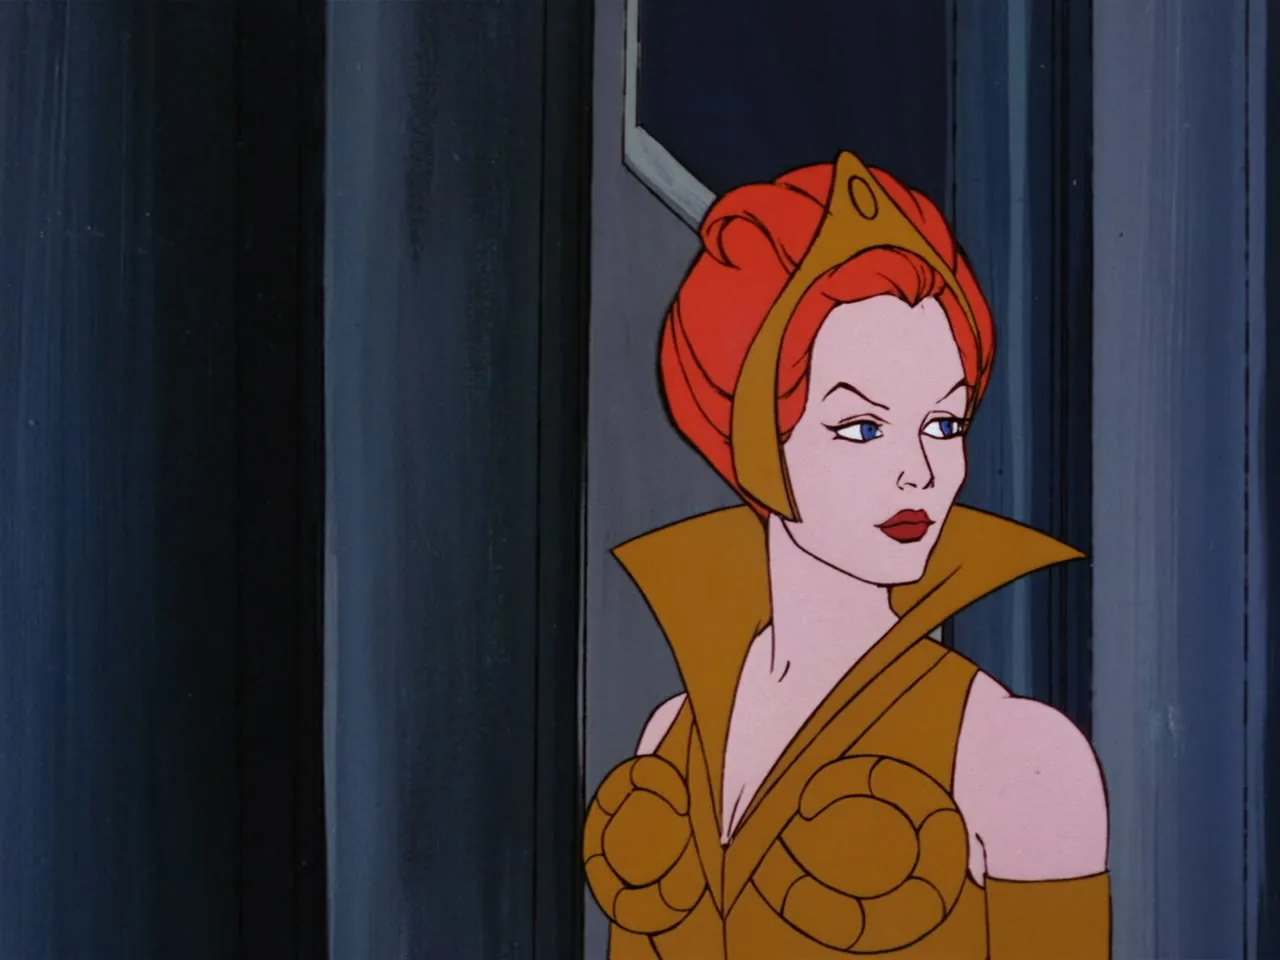
Close profile shot of Teela looking off to the side.
Teela looks off to the side with a serious face.
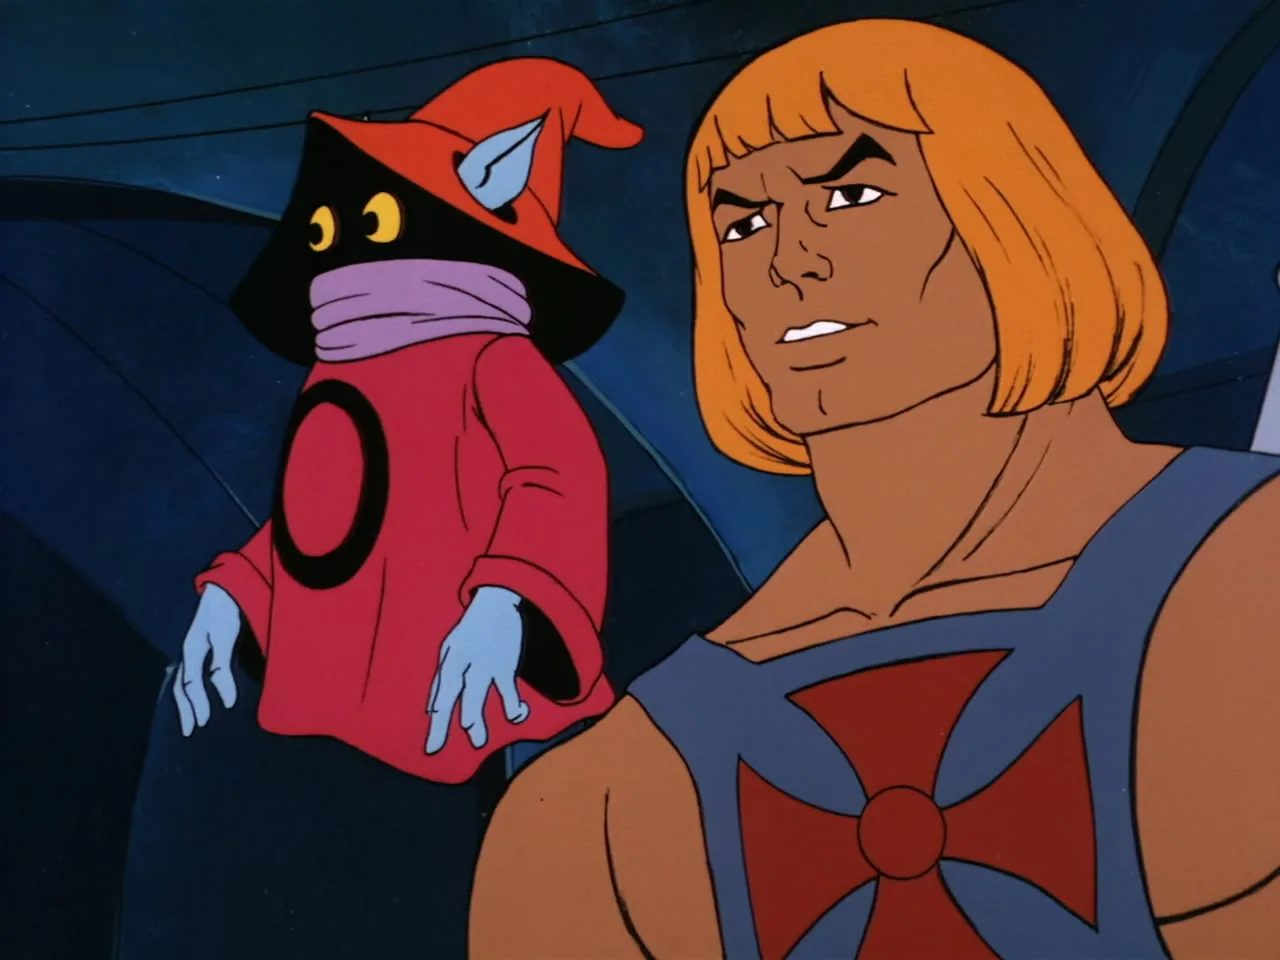
He-Man stands beside Orko in a stone corridor.
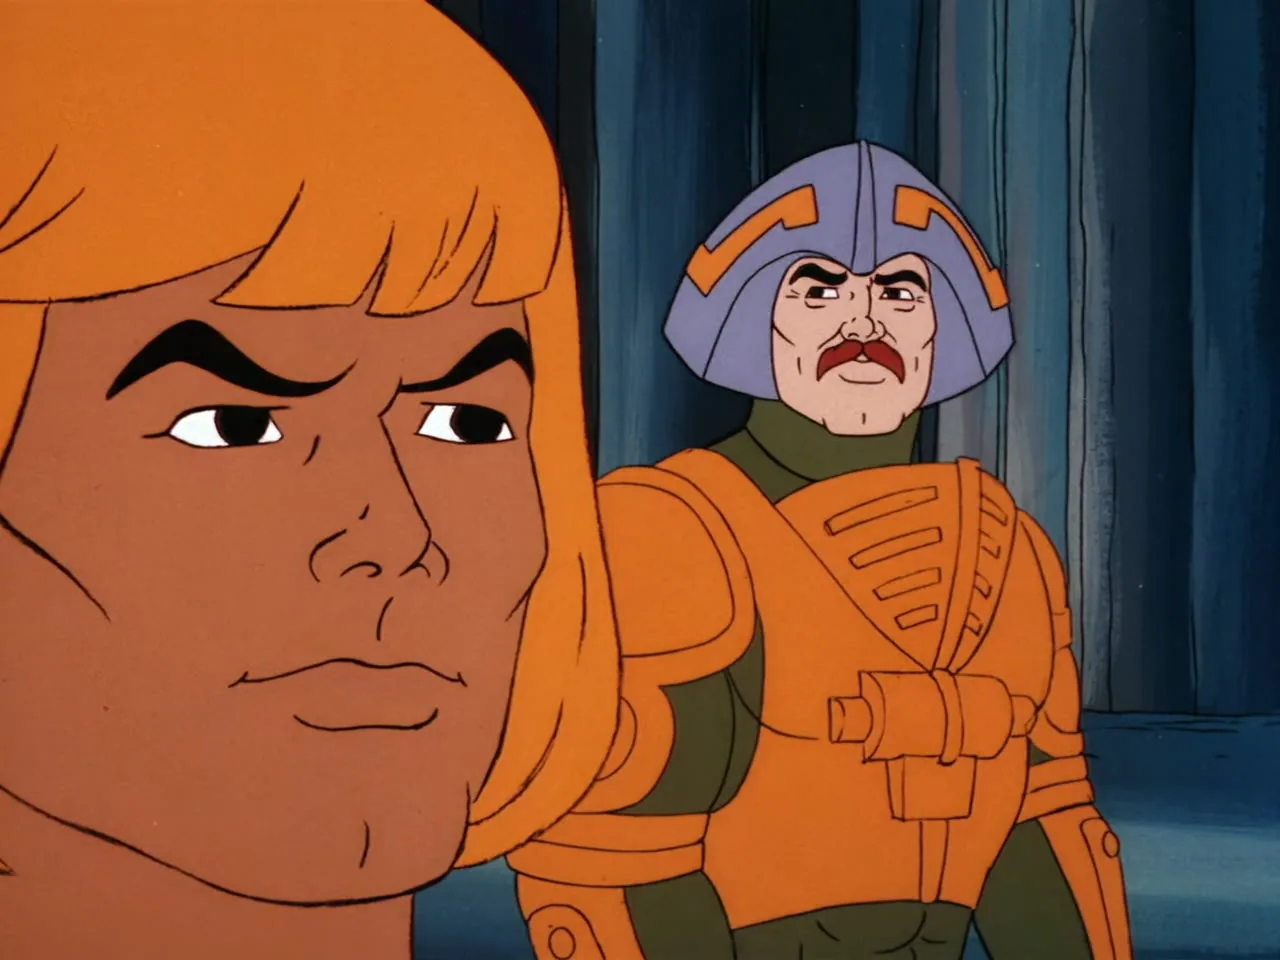
He-Man in close-up with Man-At-Arms behind him in a stone corridor.
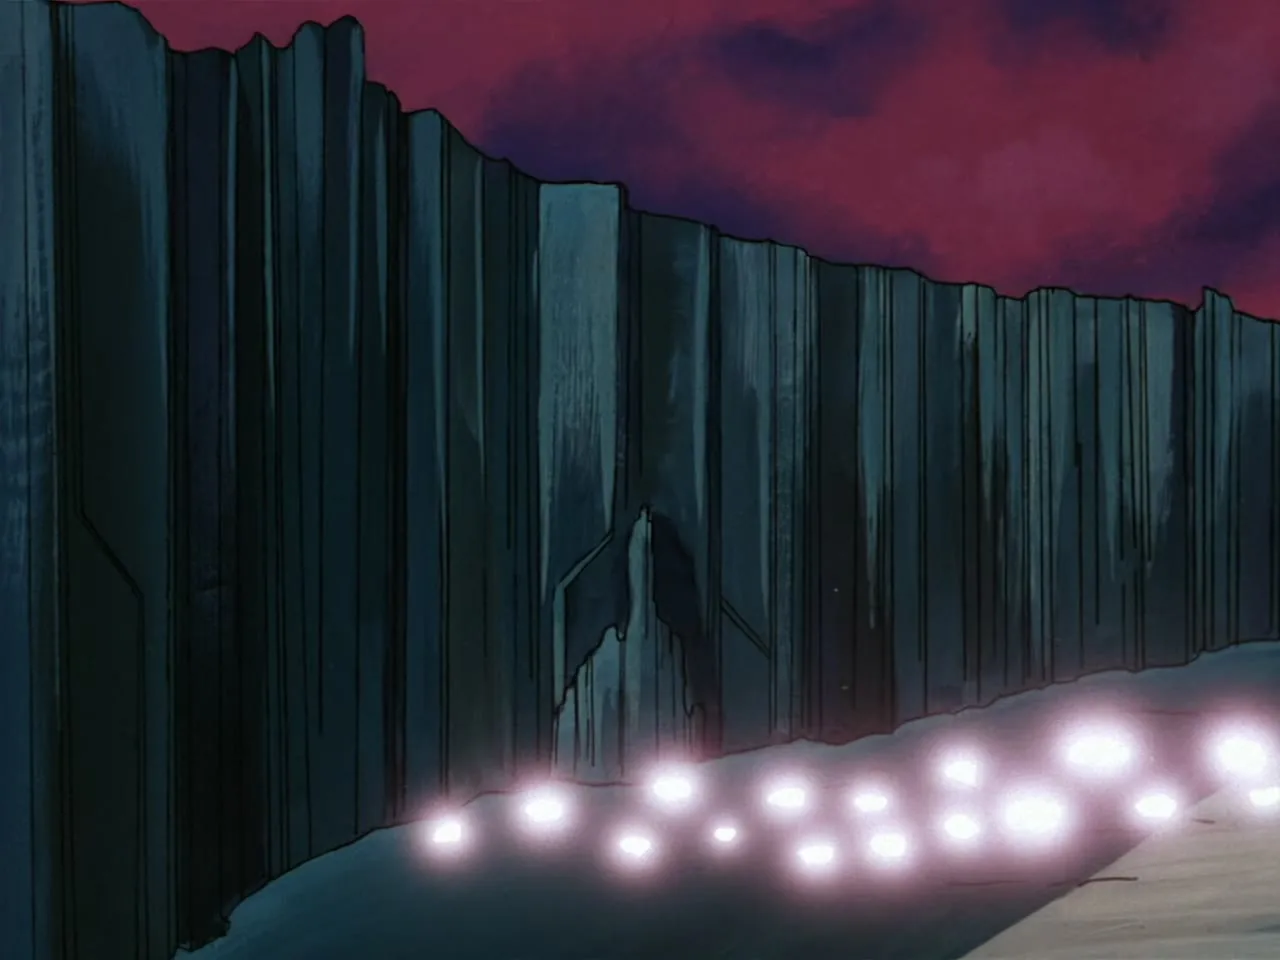
Exterior shot of a tall, jagged dark wall at dusk with a row of glowing lights approaching along the ground below.
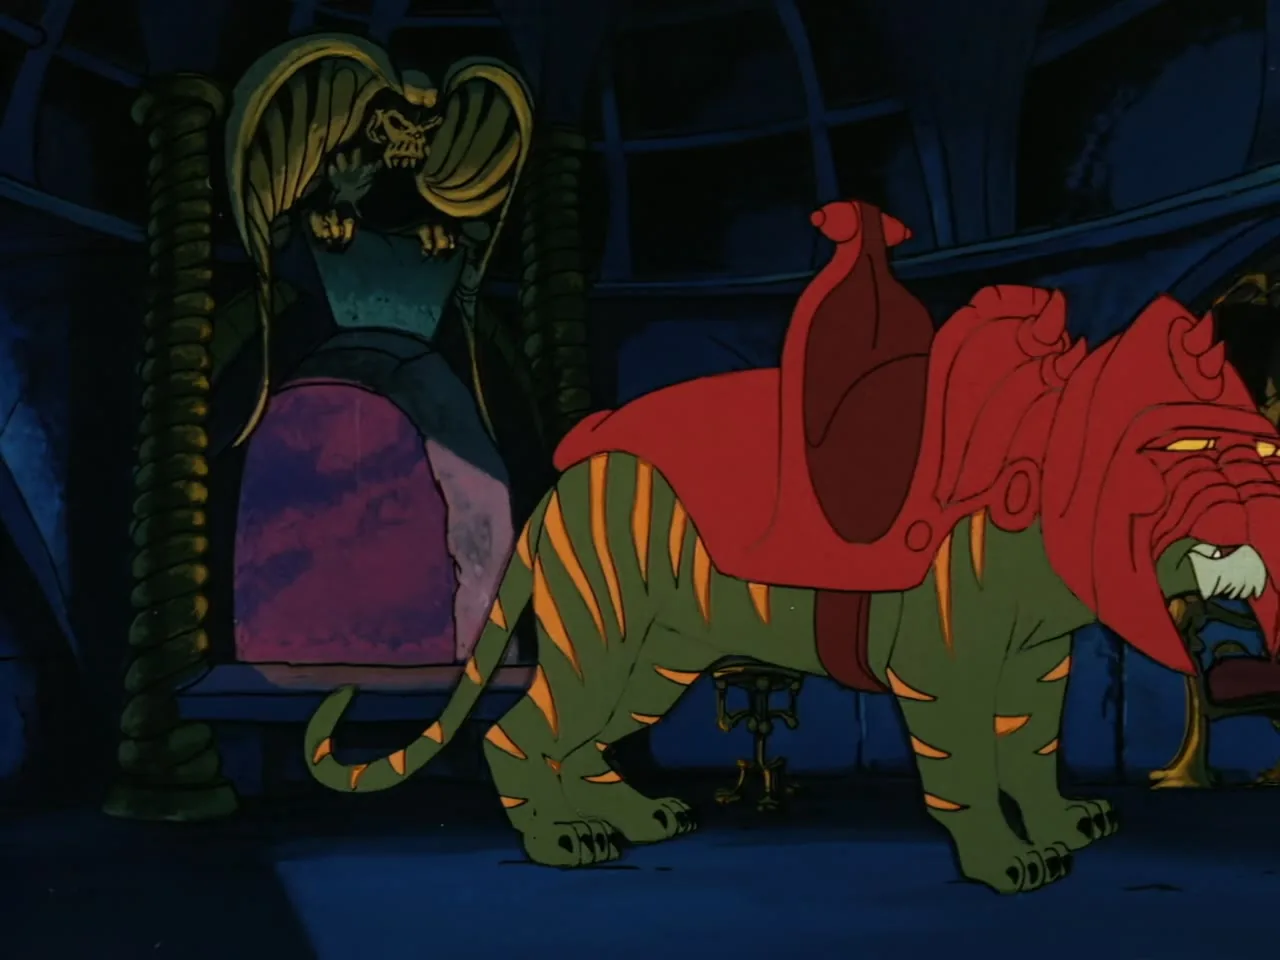
Battle Cat, fully armored and saddled, stands in an ornate stone chamber.
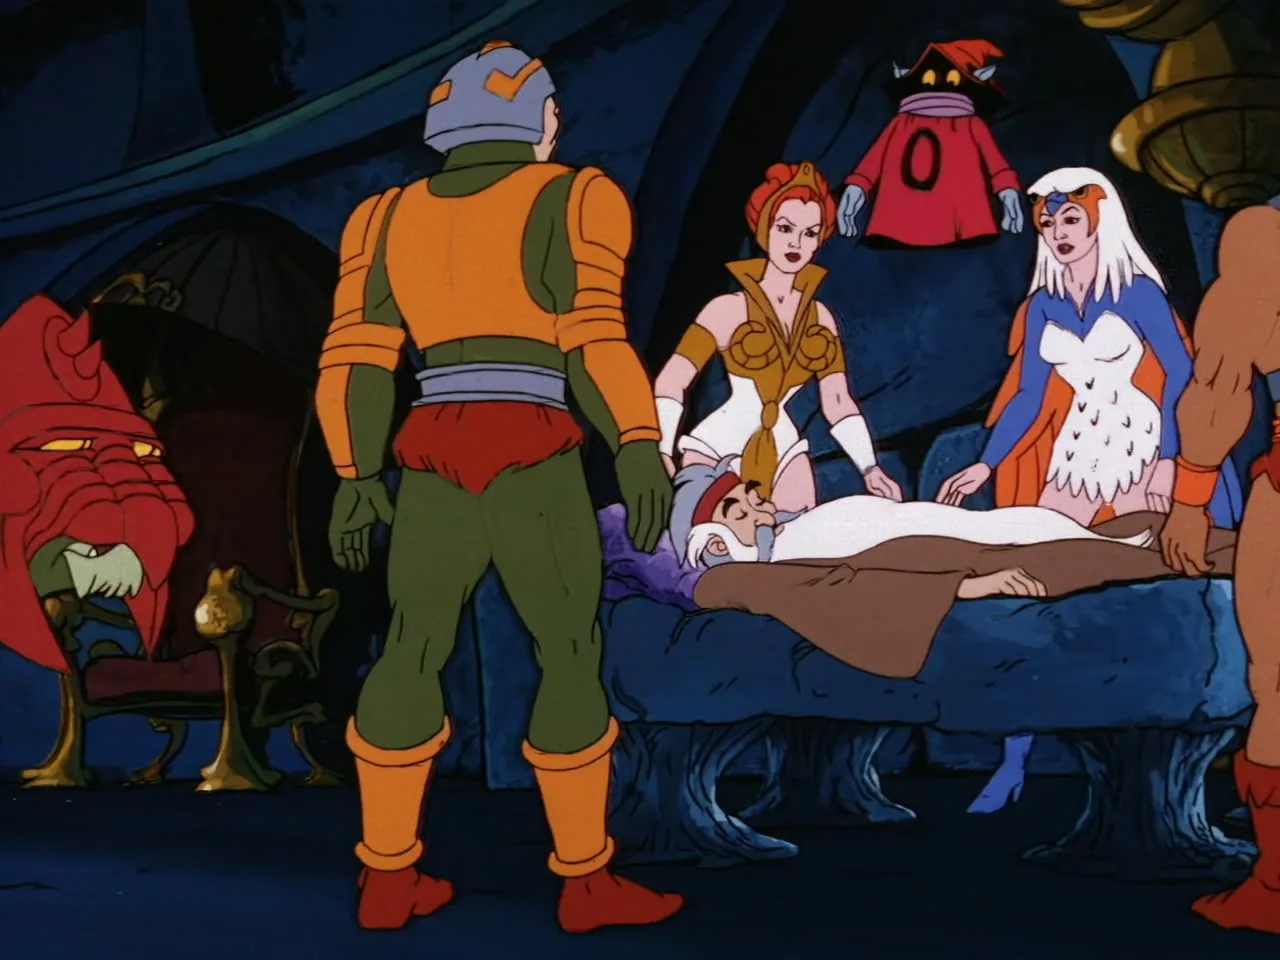
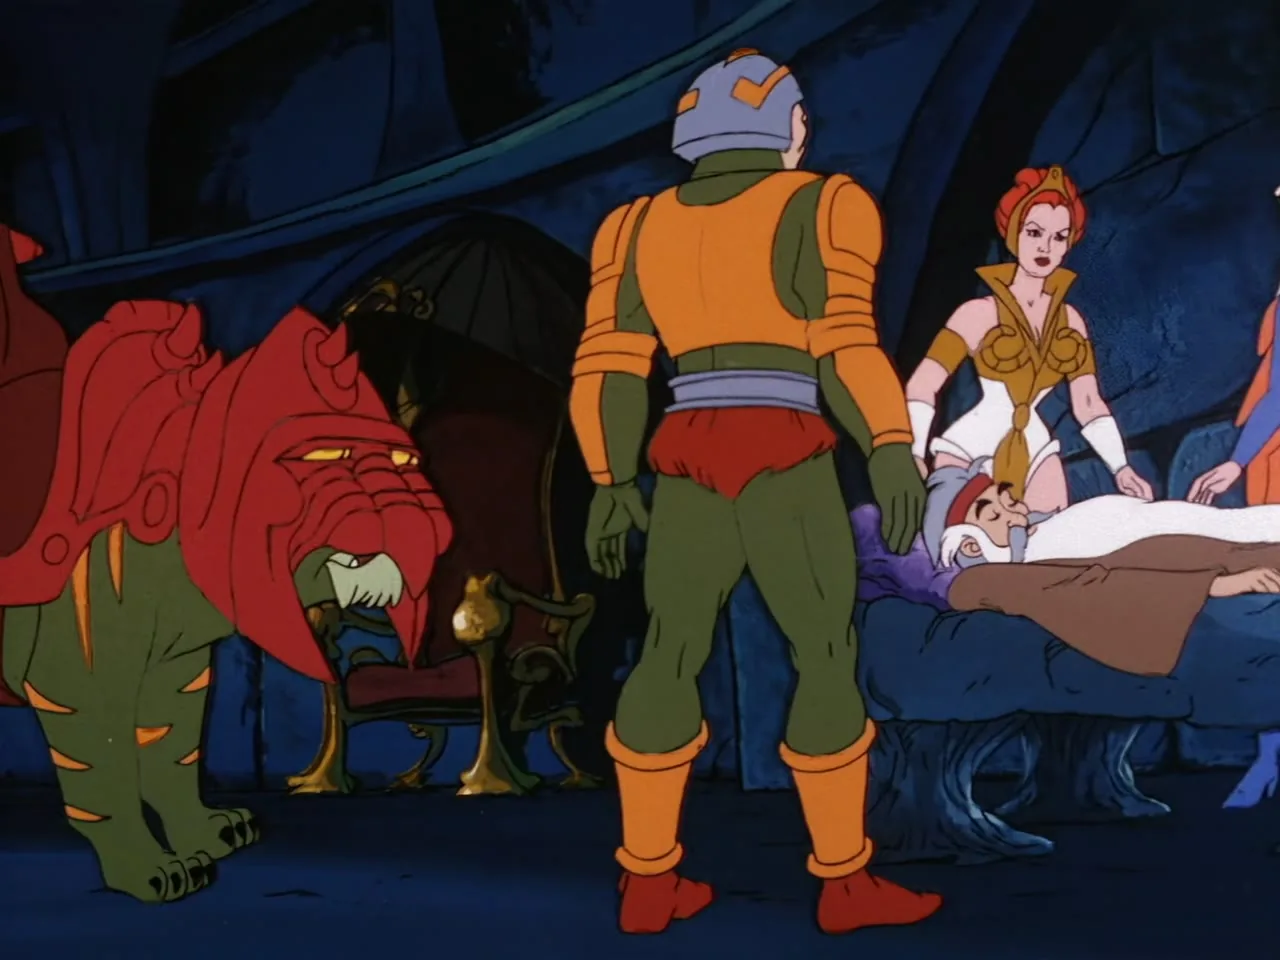
Man-At-Arms, Teela, and the Sorceress of Grayskull gather around Zagraz, who lies on a stone table, with Orko floating above and He-Man's arm visible at the edge of frame.
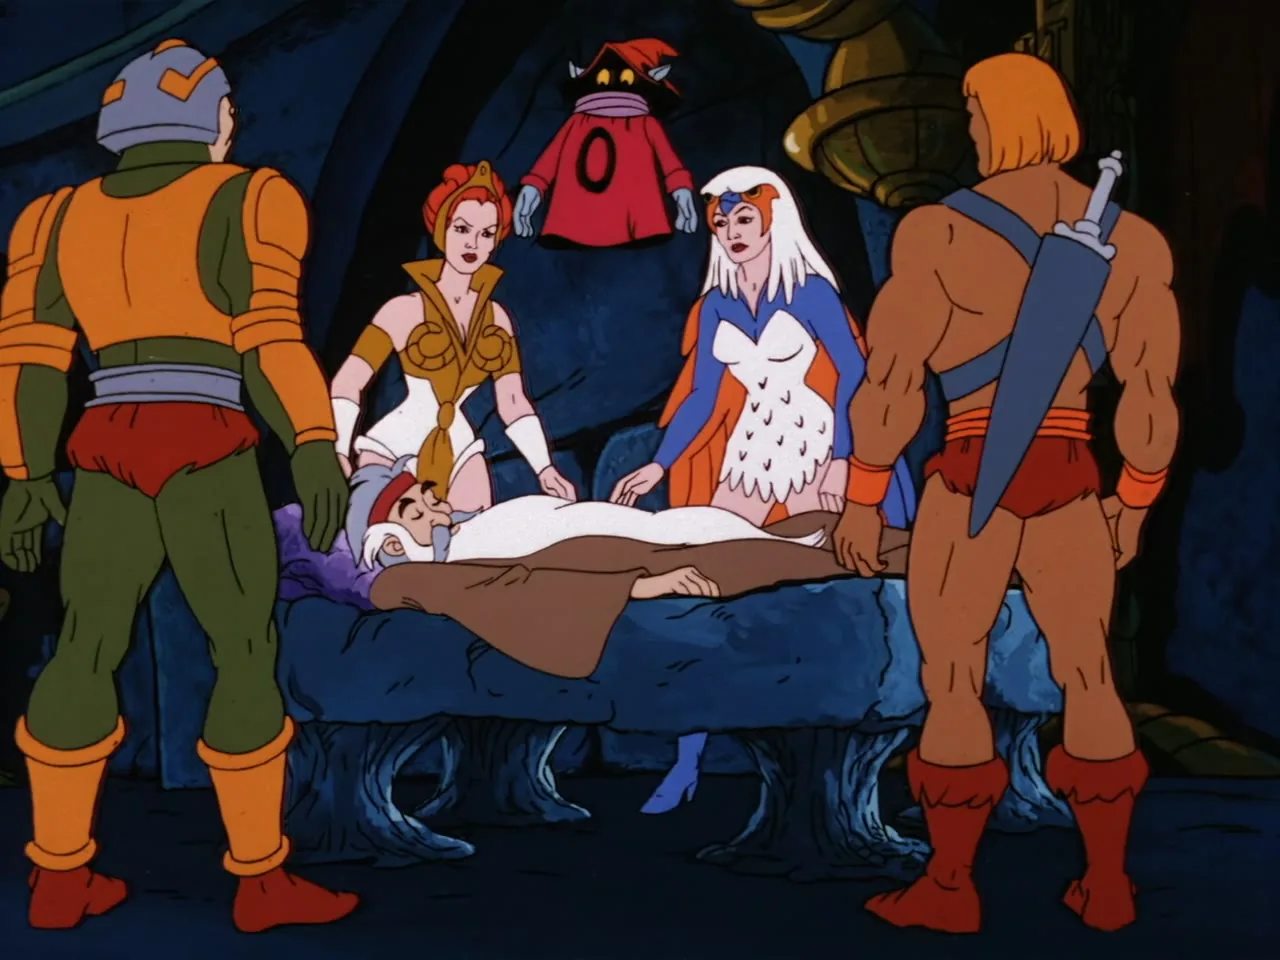
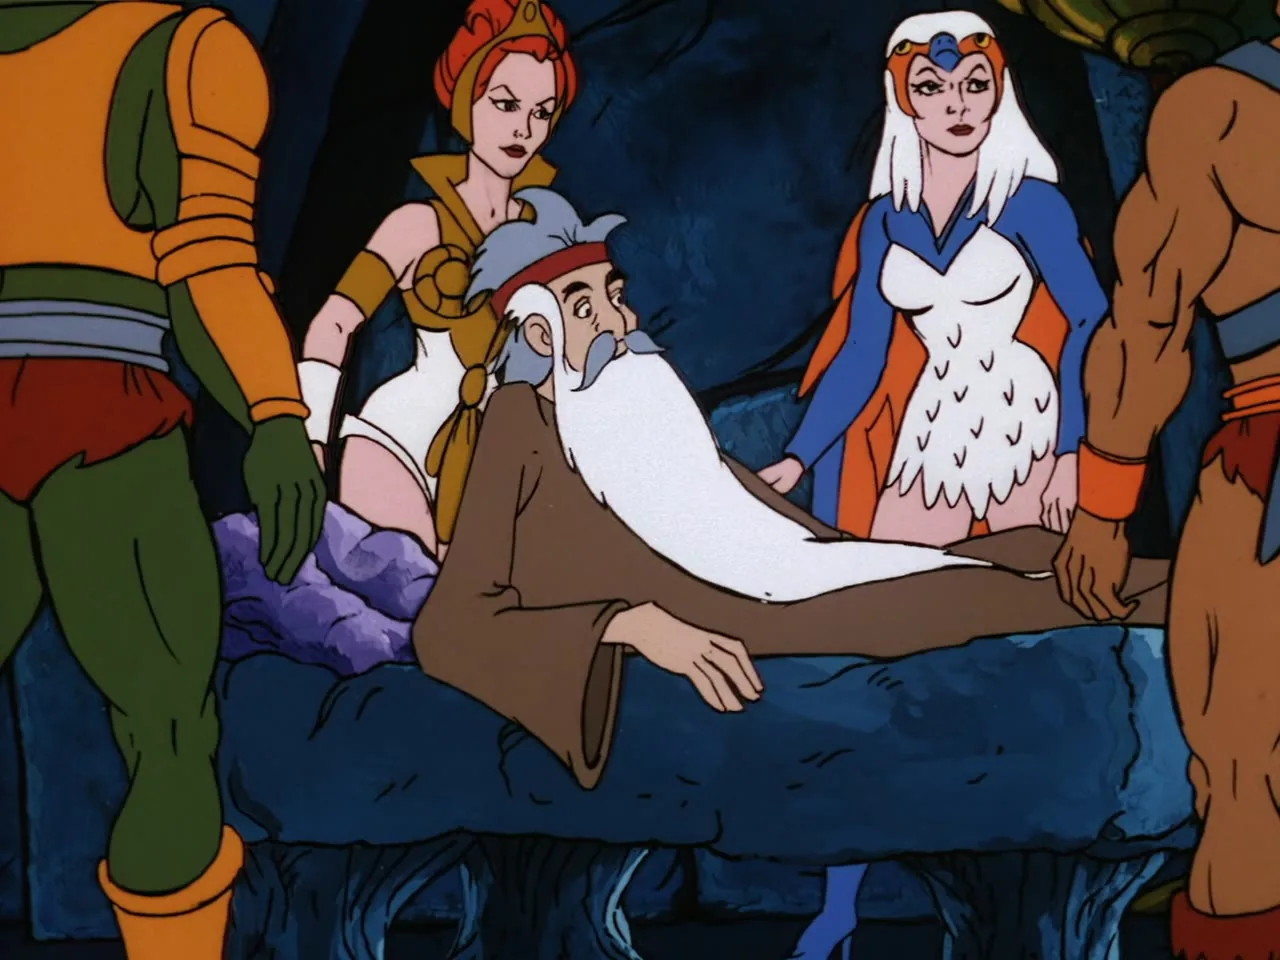
The same group tends to Zagraz on the stone table, with He-Man now clearly visible at the right.
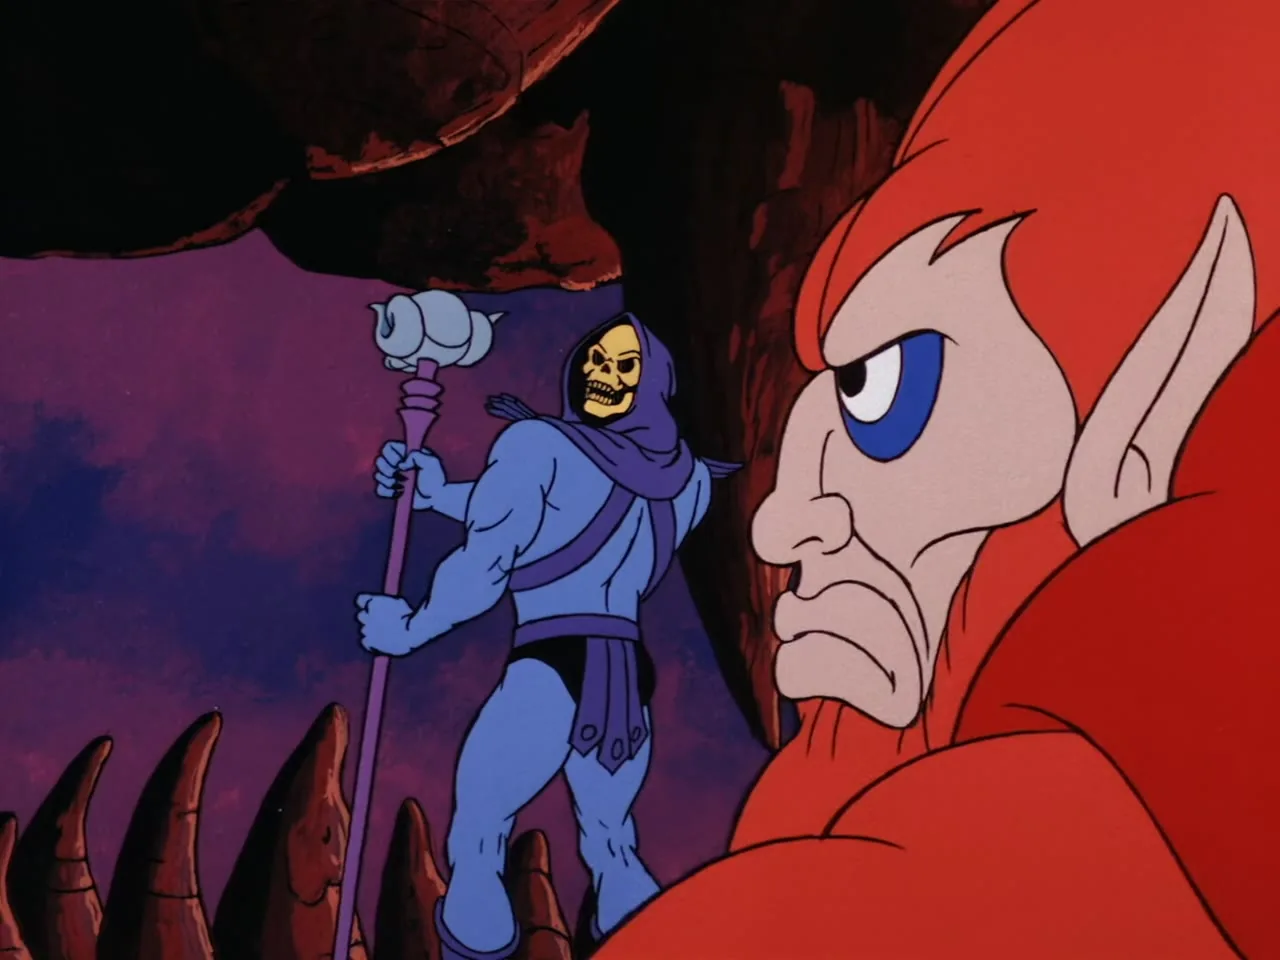
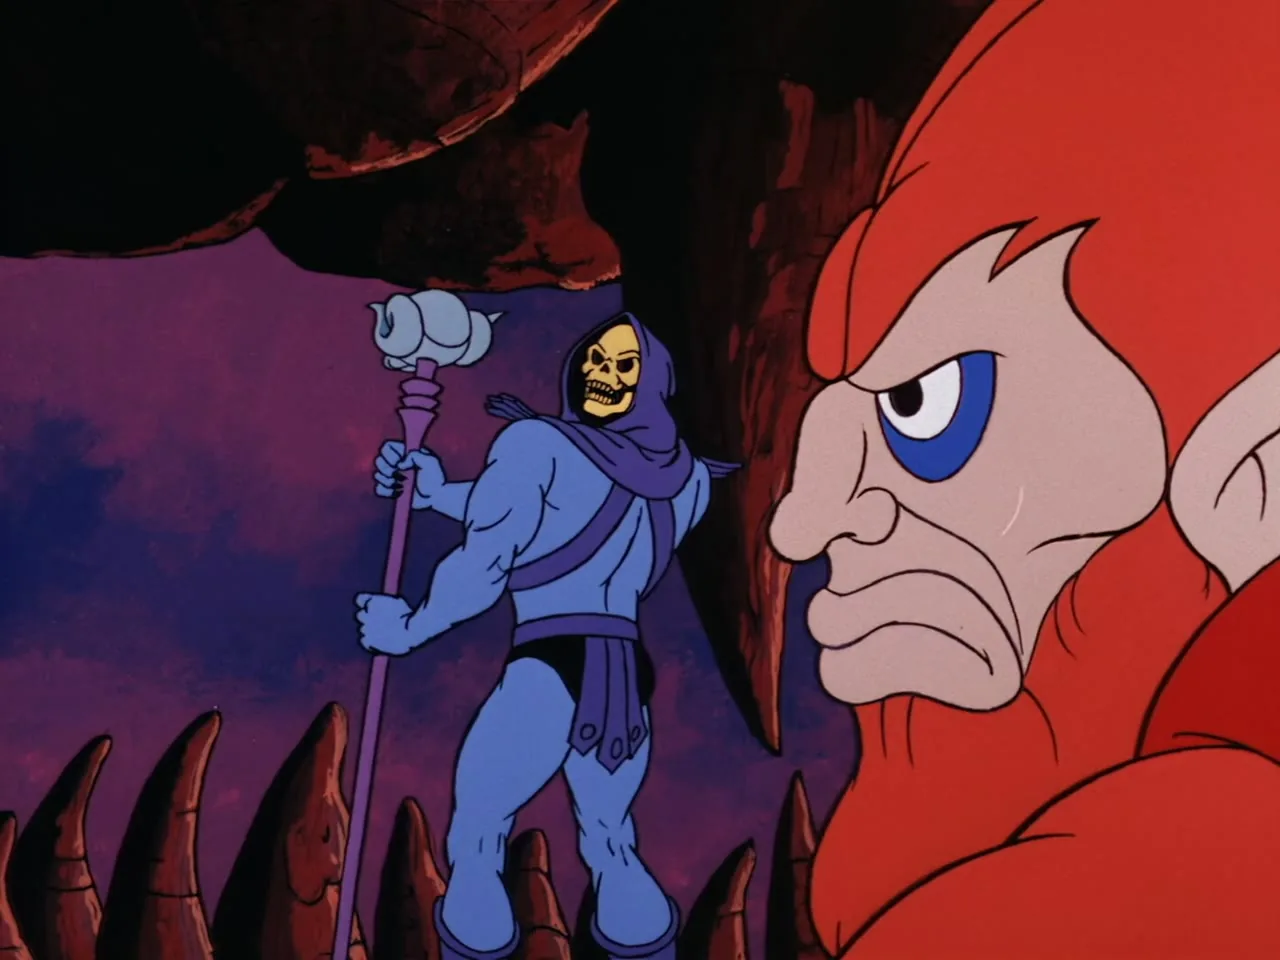
Close two-shot of Skeletor and an angry Beast Man in a rocky cave opening.
Skeletor and Beast Man again in close-up, same setting.
A dark, finned flying vehicle approaches a jagged mountain silhouette at dusk; no characters clearly visible.
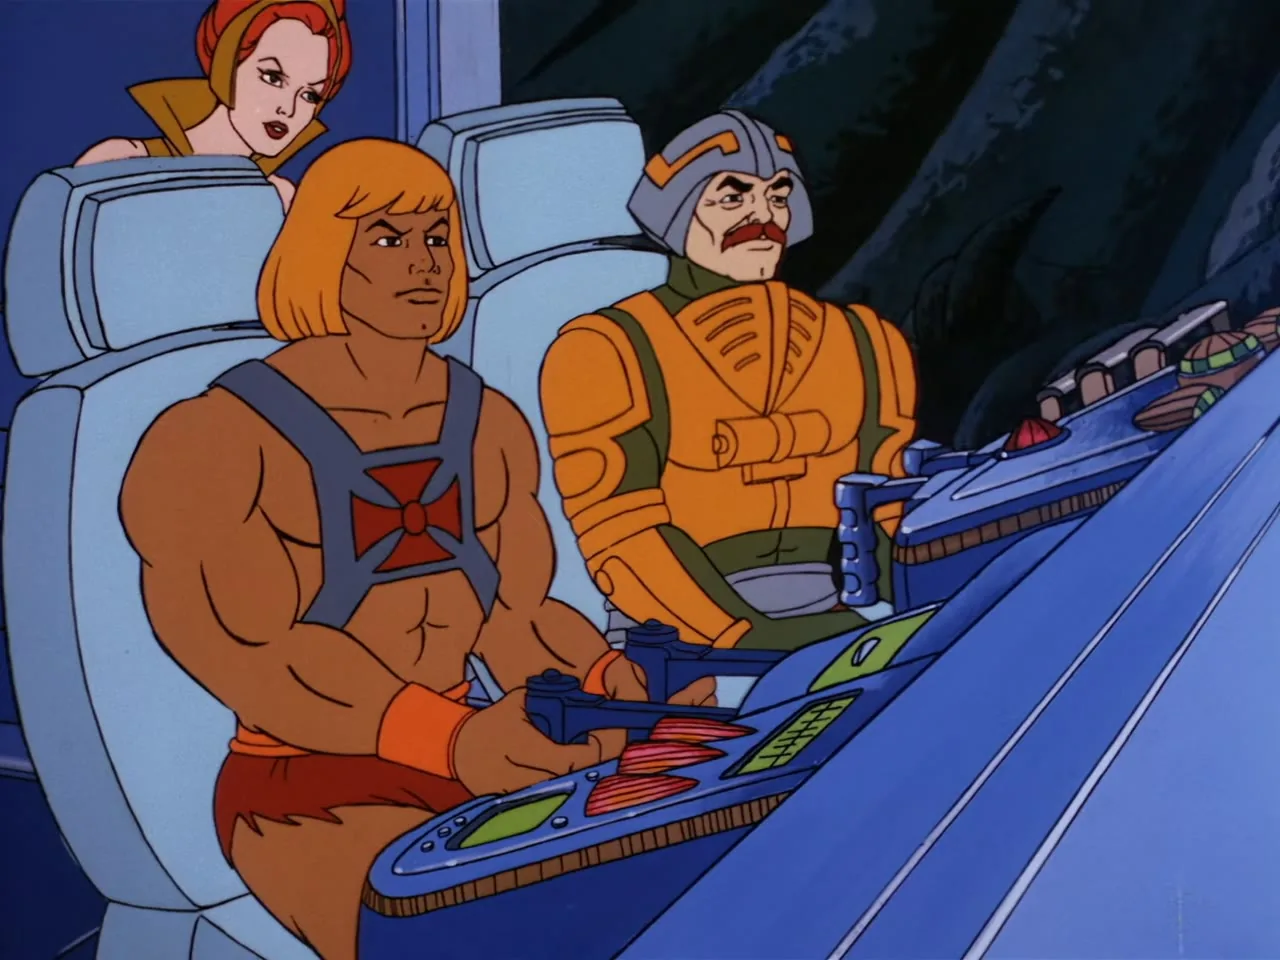
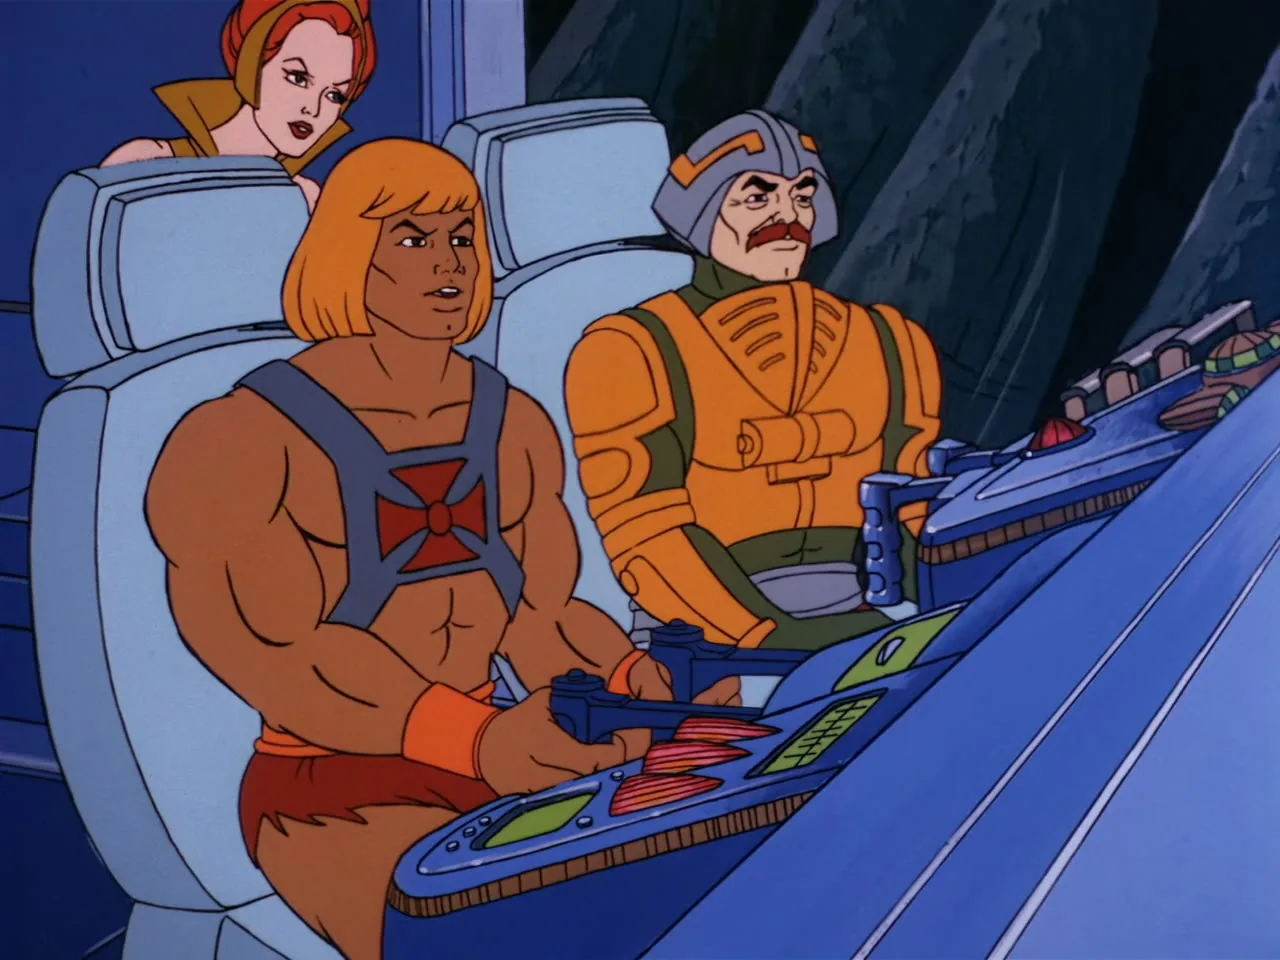
He-Man, Man-At-Arms, and Teela ride together in the cockpit of a flying vehicle.
A small flying vehicle passes alone against a backdrop of tall dark mountain spires.
A small flying vehicle drifts alone against a pink and purple sky.
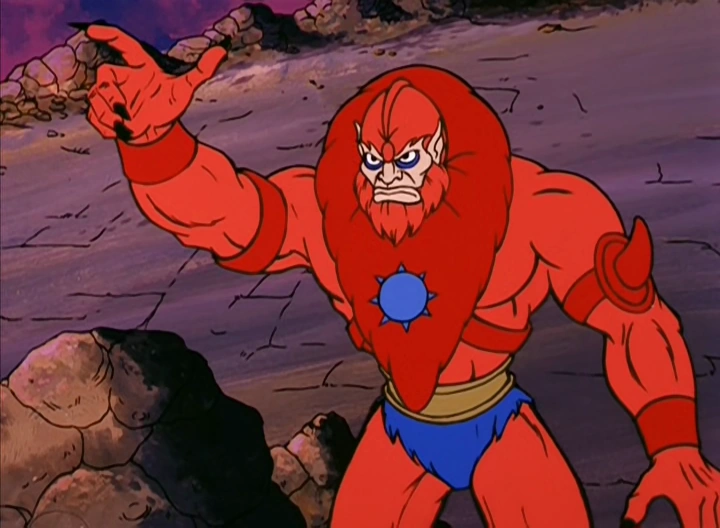
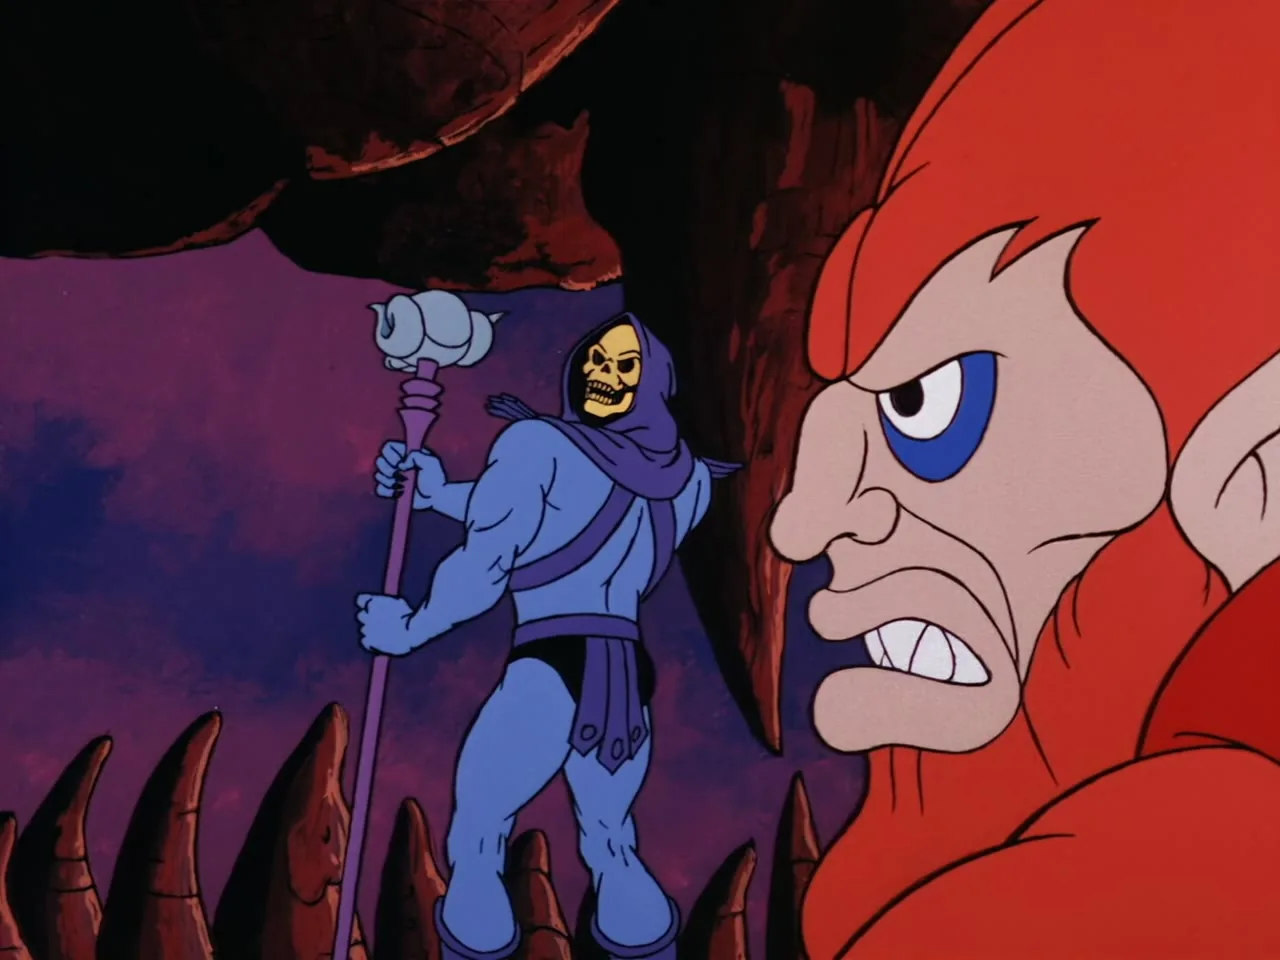
Close-up of an angry Beast Man baring his fangs.
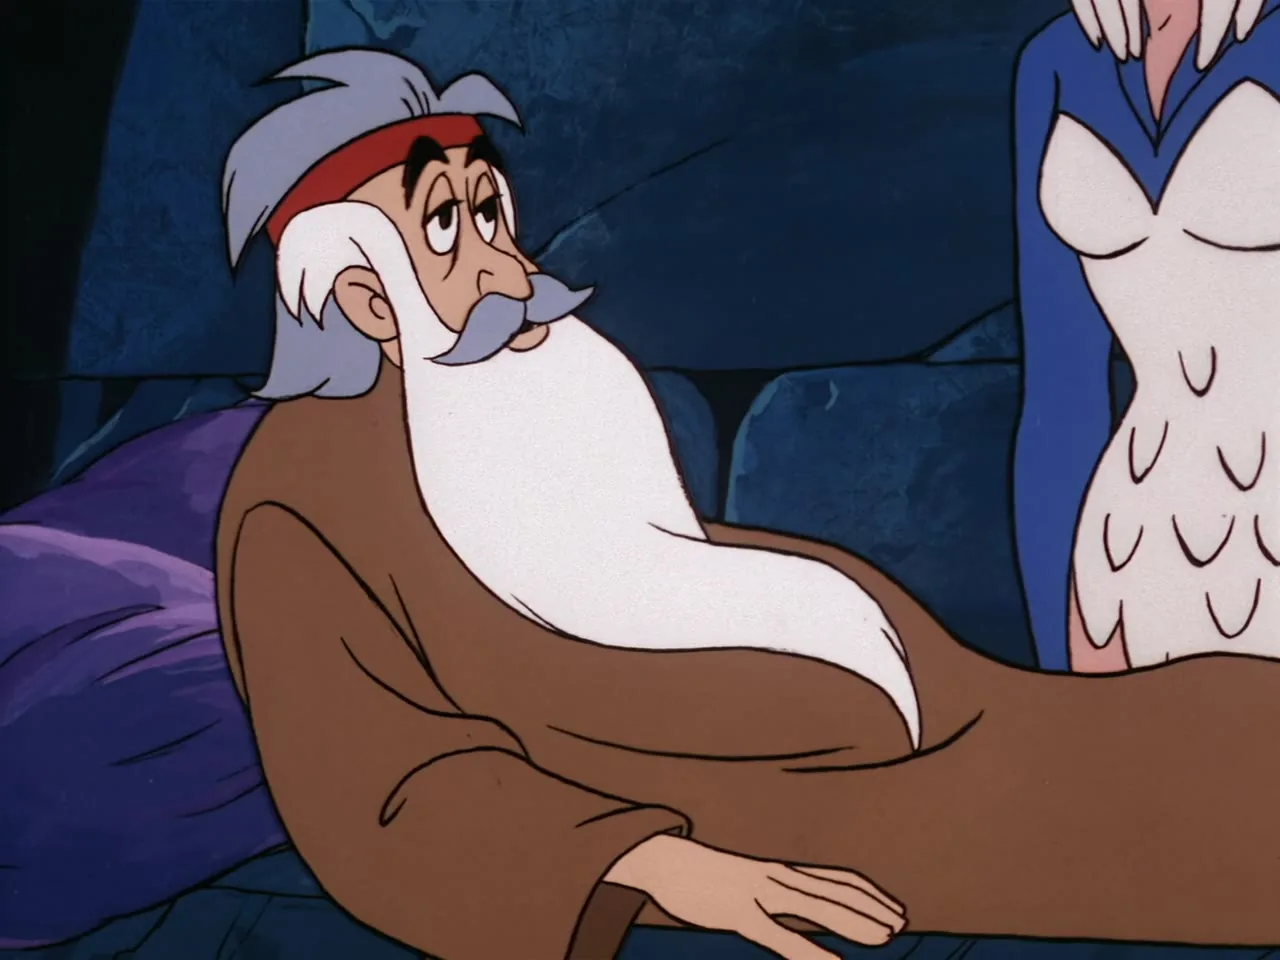
Another close-up of Beast Man snarling.
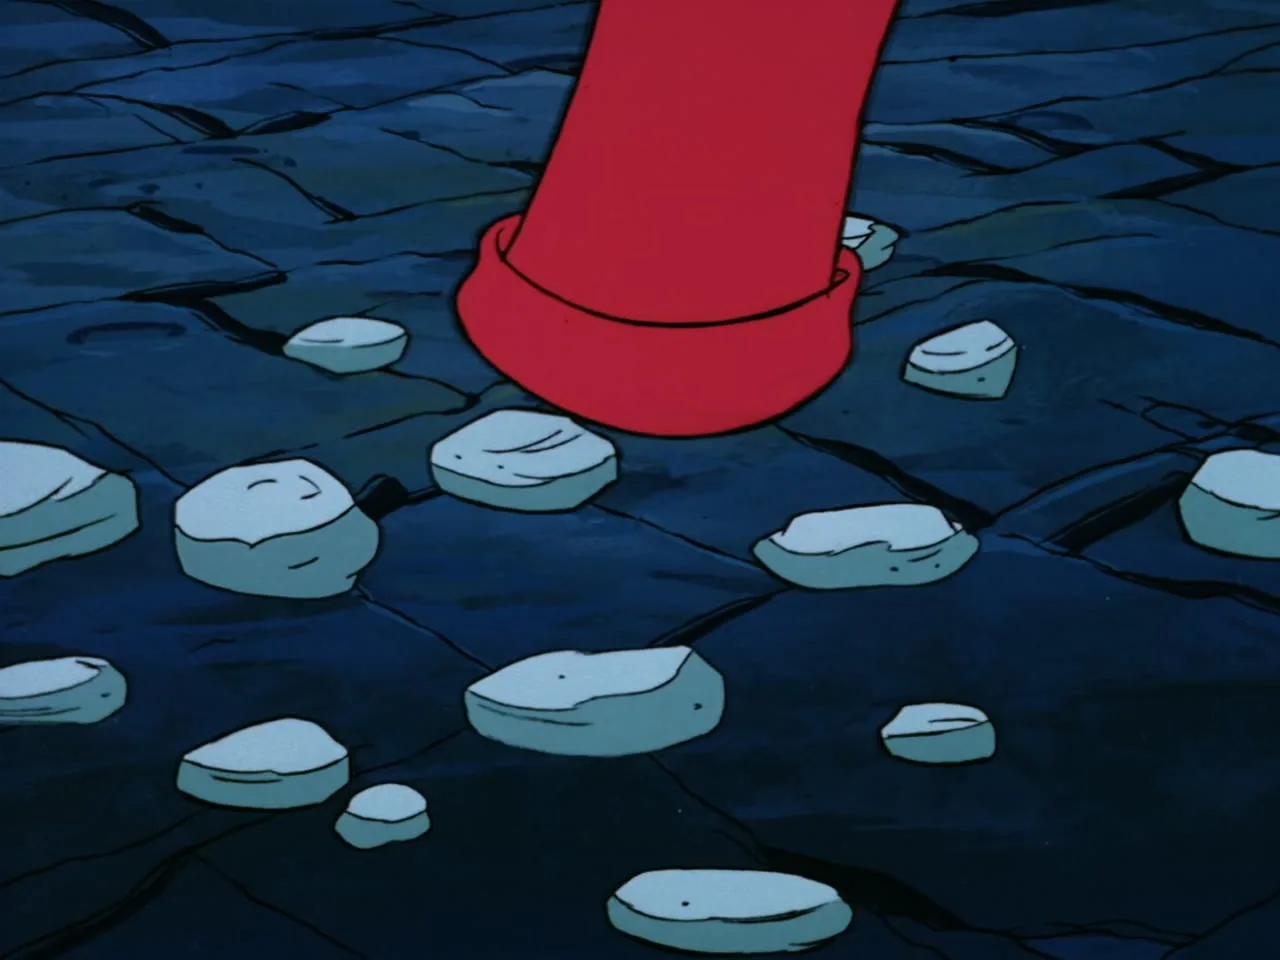
A barren landscape of tall black jagged spires with a pale, shaggy shape lying on the ground below; no clear characters visible.
He-Man, Man-At-Arms, and Teela again ride together in the vehicle cockpit.
Blurred, abstract dark transition shot with faint colored glows; no characters visible.
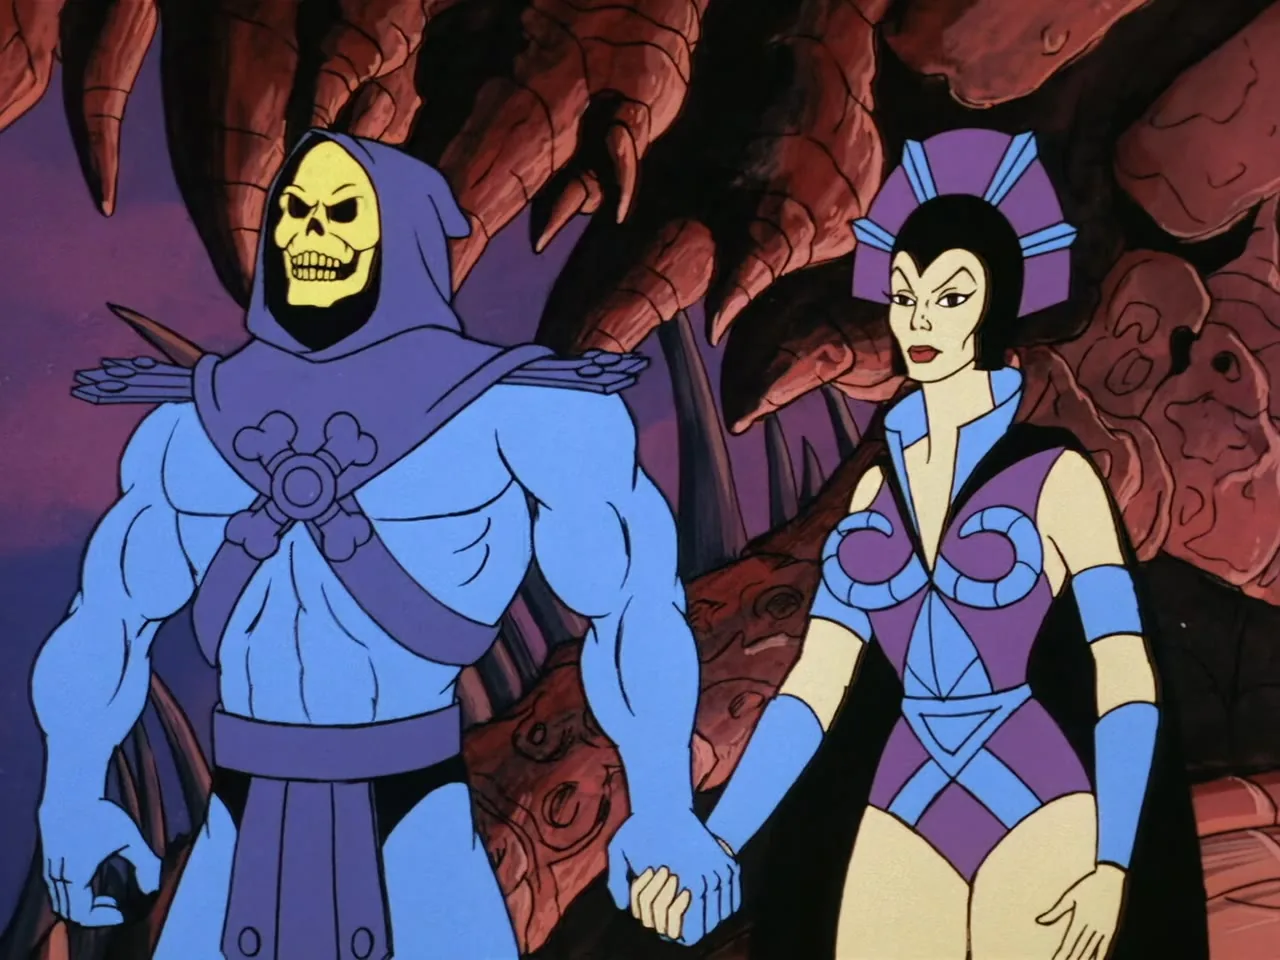
Skeletor and Evil-Lyn stand hand in hand in a rocky cave opening.
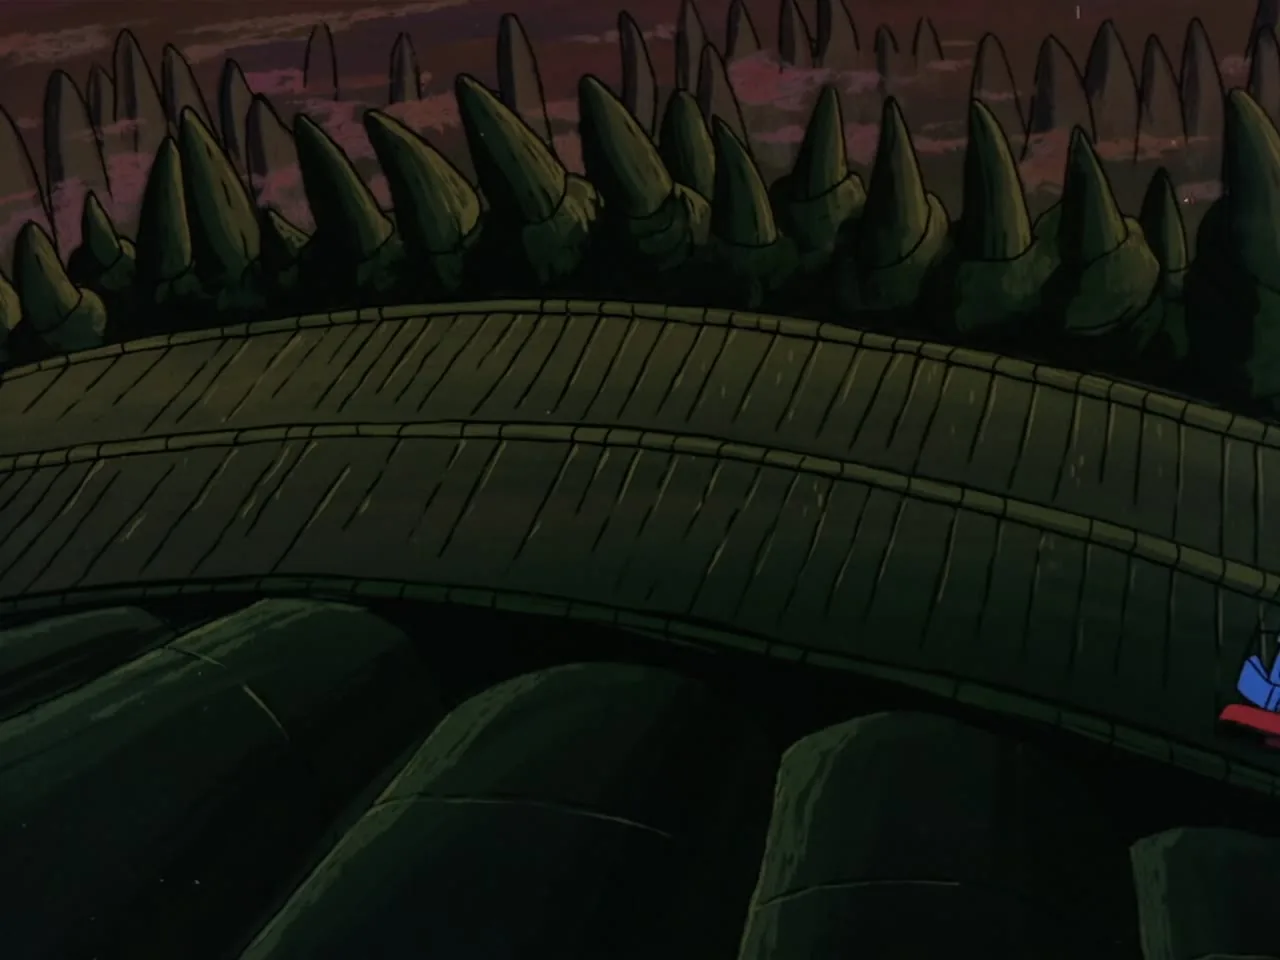
Aerial view of Snake Mountain's spiked outer wall and a bridge, with two tiny figures walking across it.
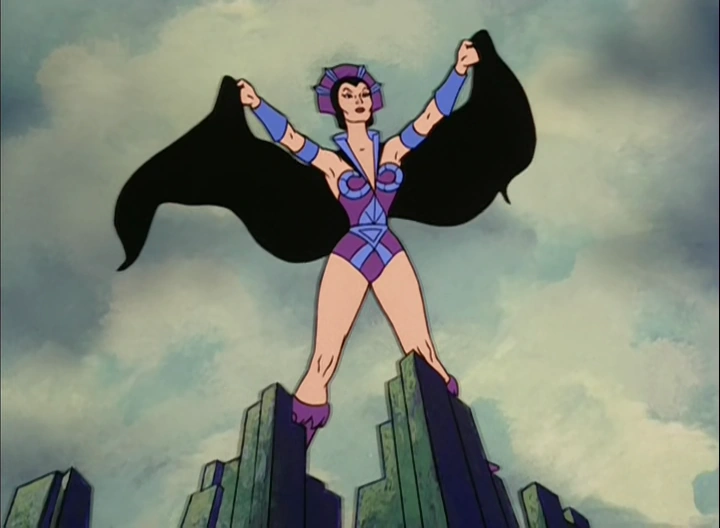
Close-up of Evil-Lyn's face, smirking.
Battle Cat and several figures -- Man-At-Arms, Teela, and the Sorceress of Grayskull -- gather around Zagraz lying on the stone table.
Orko peers over Zagraz's bed with He-Man beside him.
The group -- Man-At-Arms, Teela, the Sorceress of Grayskull, and He-Man -- stand around Zagraz on the stone table.
Close-up of Zagraz lying down with the Sorceress of Grayskull beside him.
Close-up of a stone floor scattered with pebbles, with a red boot visible at the top of frame.
Skeletor and Beast Man in close-up together.
Close-up of Skeletor's skull face, mouth open in a wide laugh.
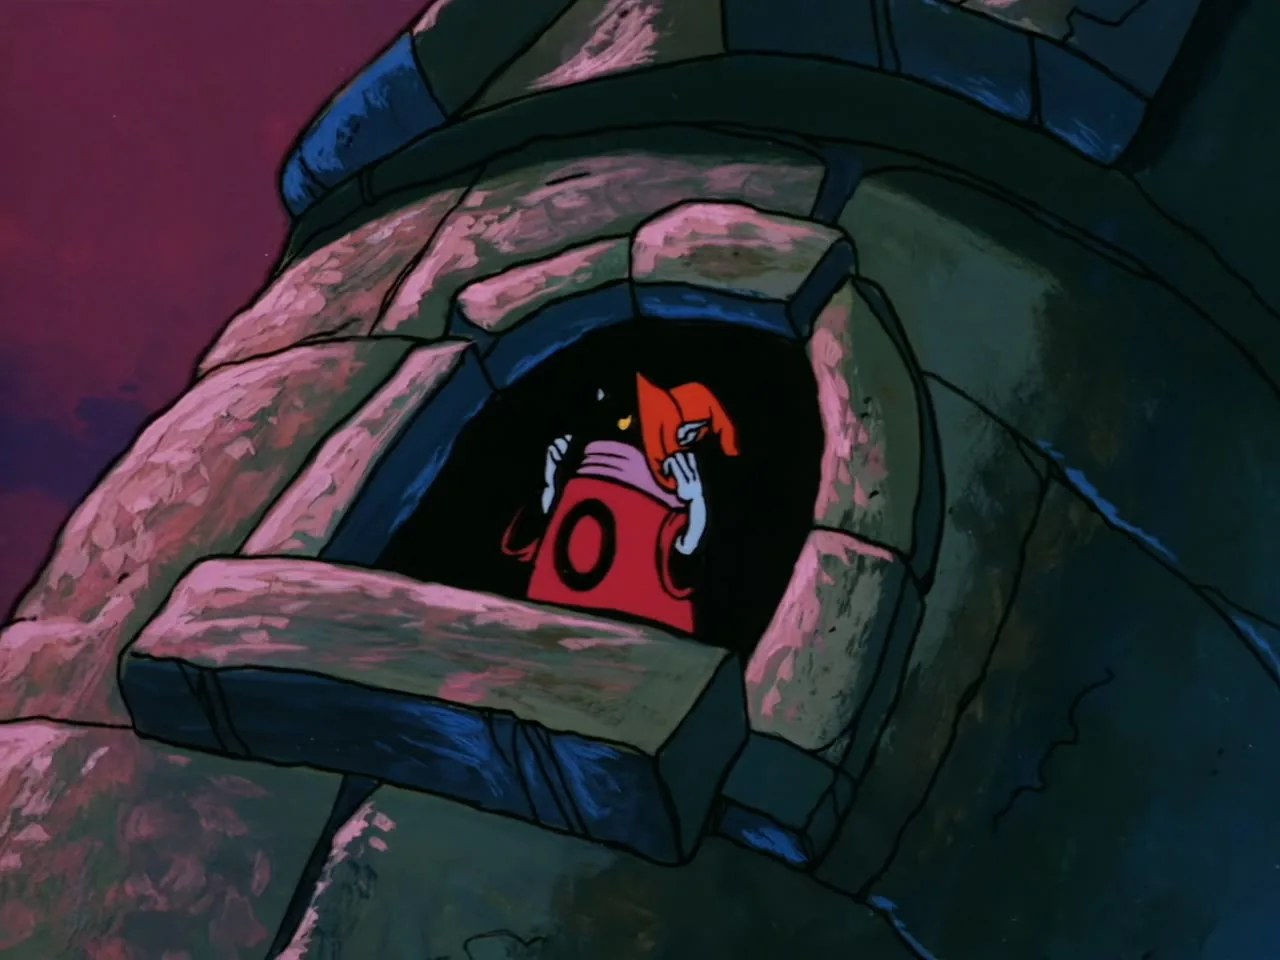
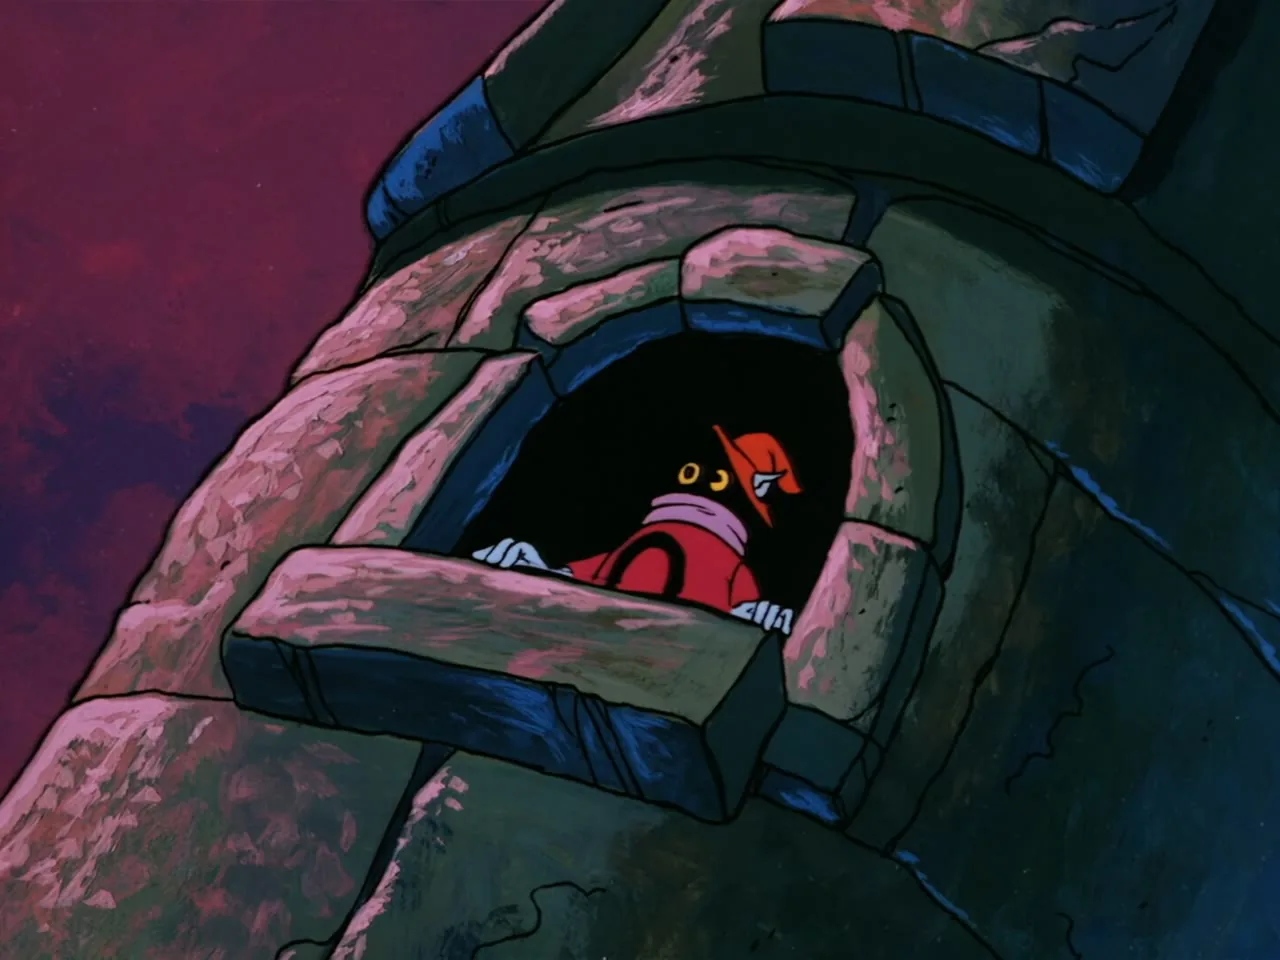
Orko peeks out through a stone window opening in Snake Mountain's wall.
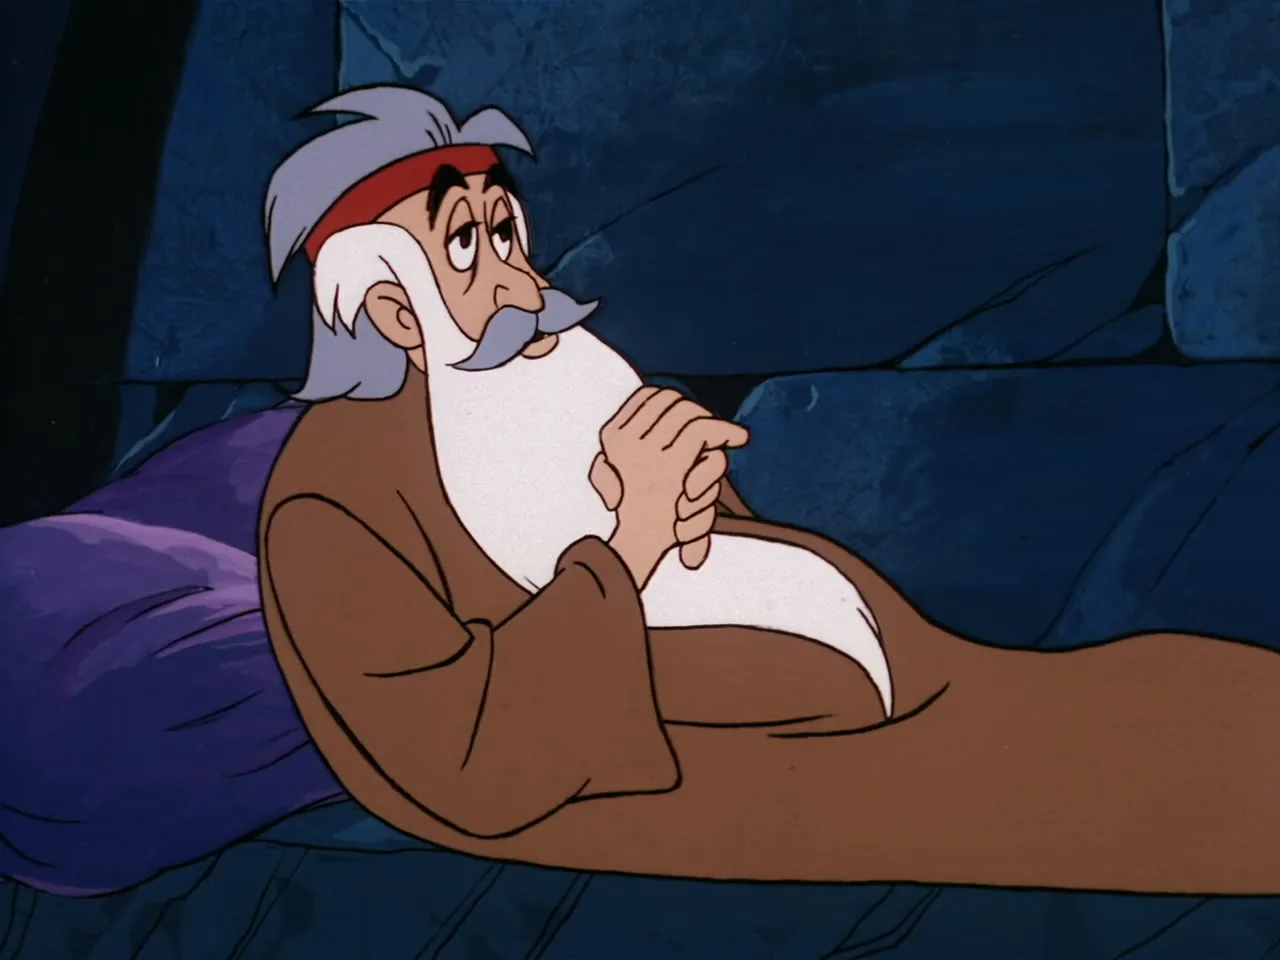
Close-up of Zagraz lying down, looking troubled.
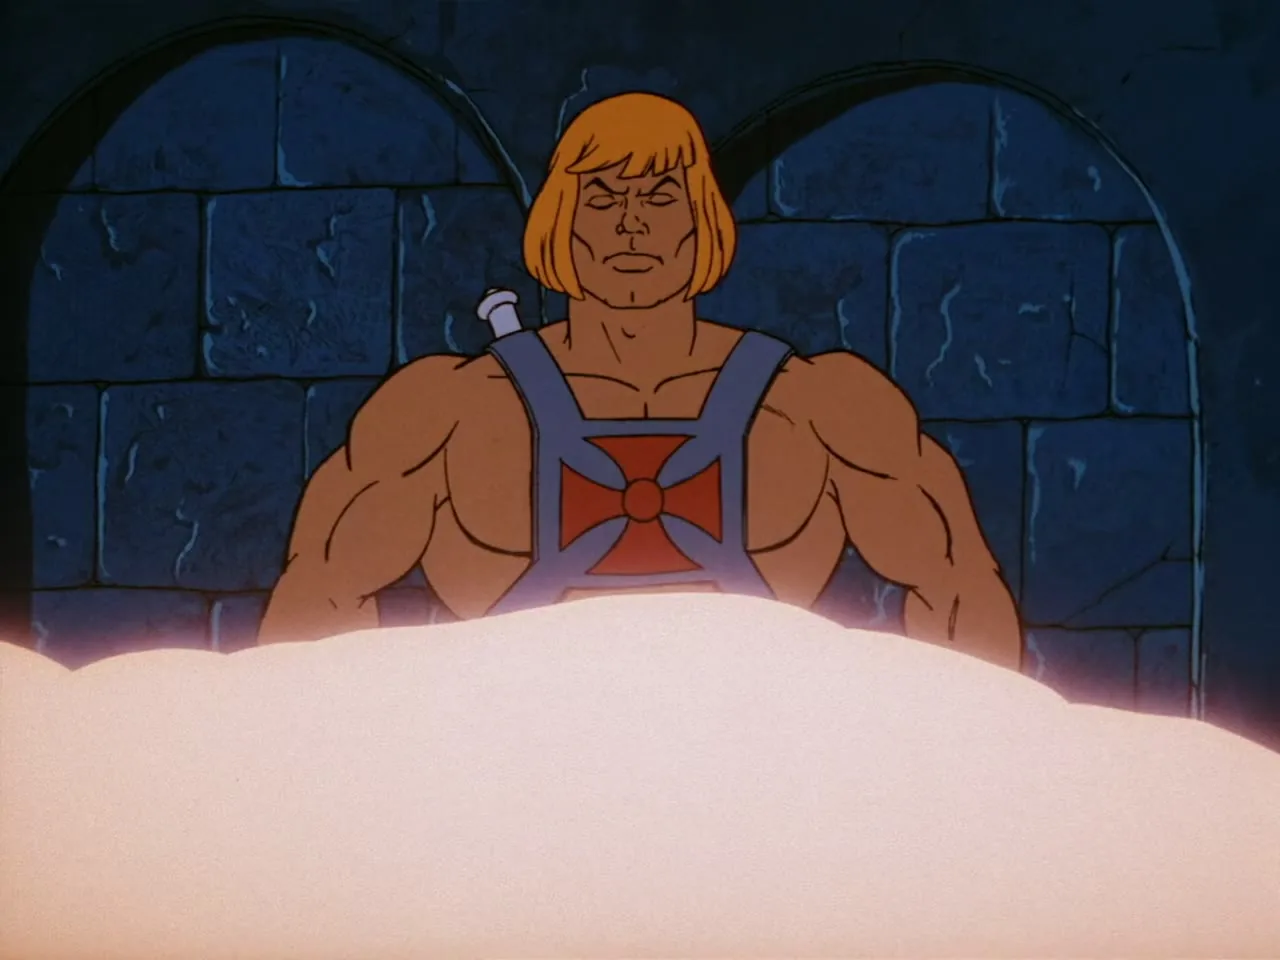
He-Man emerges from a bright glowing light.
Close-up of Zagraz reclining and gesturing with both hands.
Orko peeks out through the same stone window opening again.
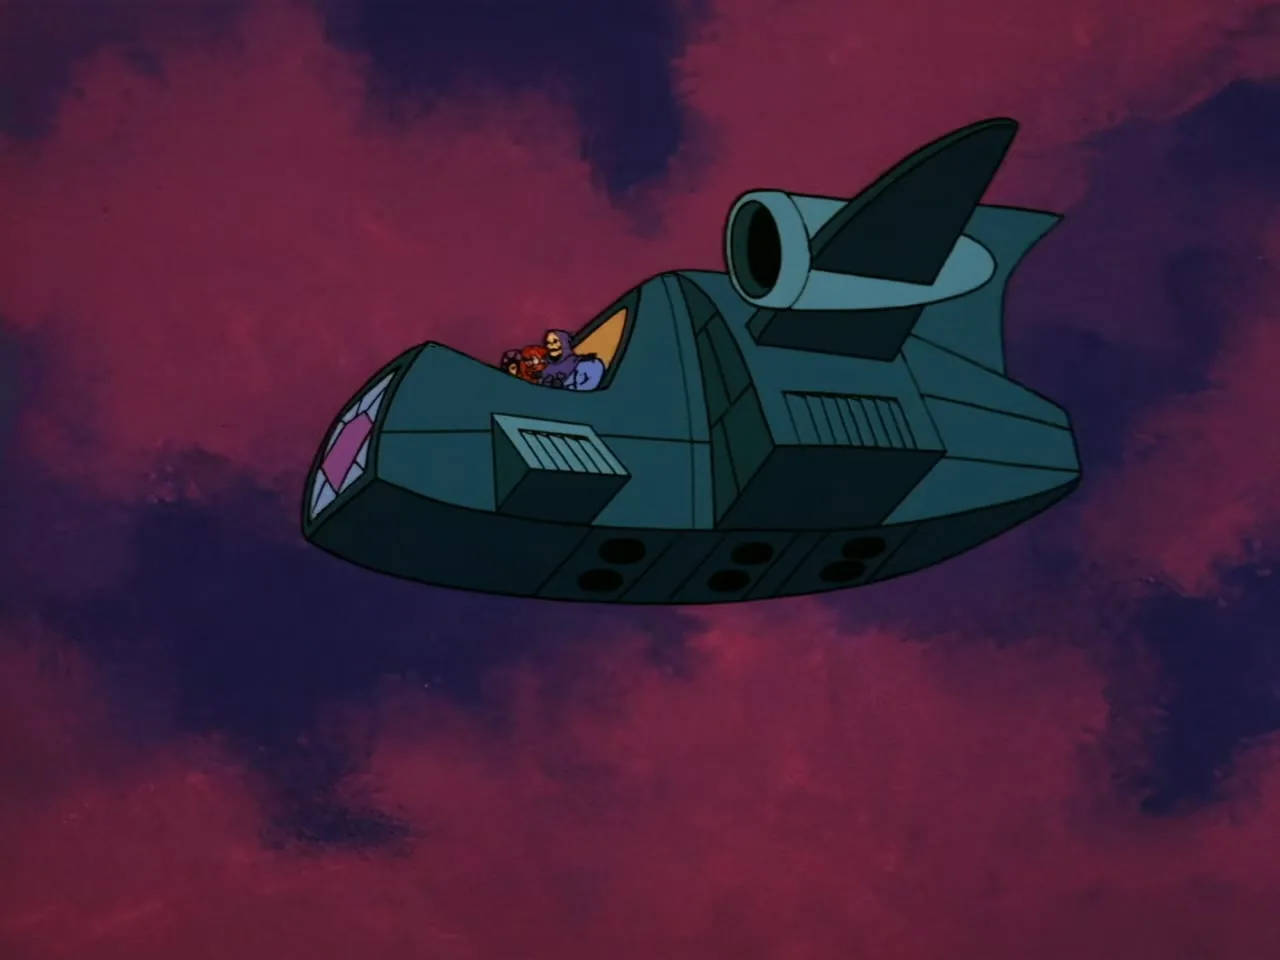
A dark, finned flying craft hangs in a red sky, with Skeletor and Evil-Lyn visible small inside its cockpit.
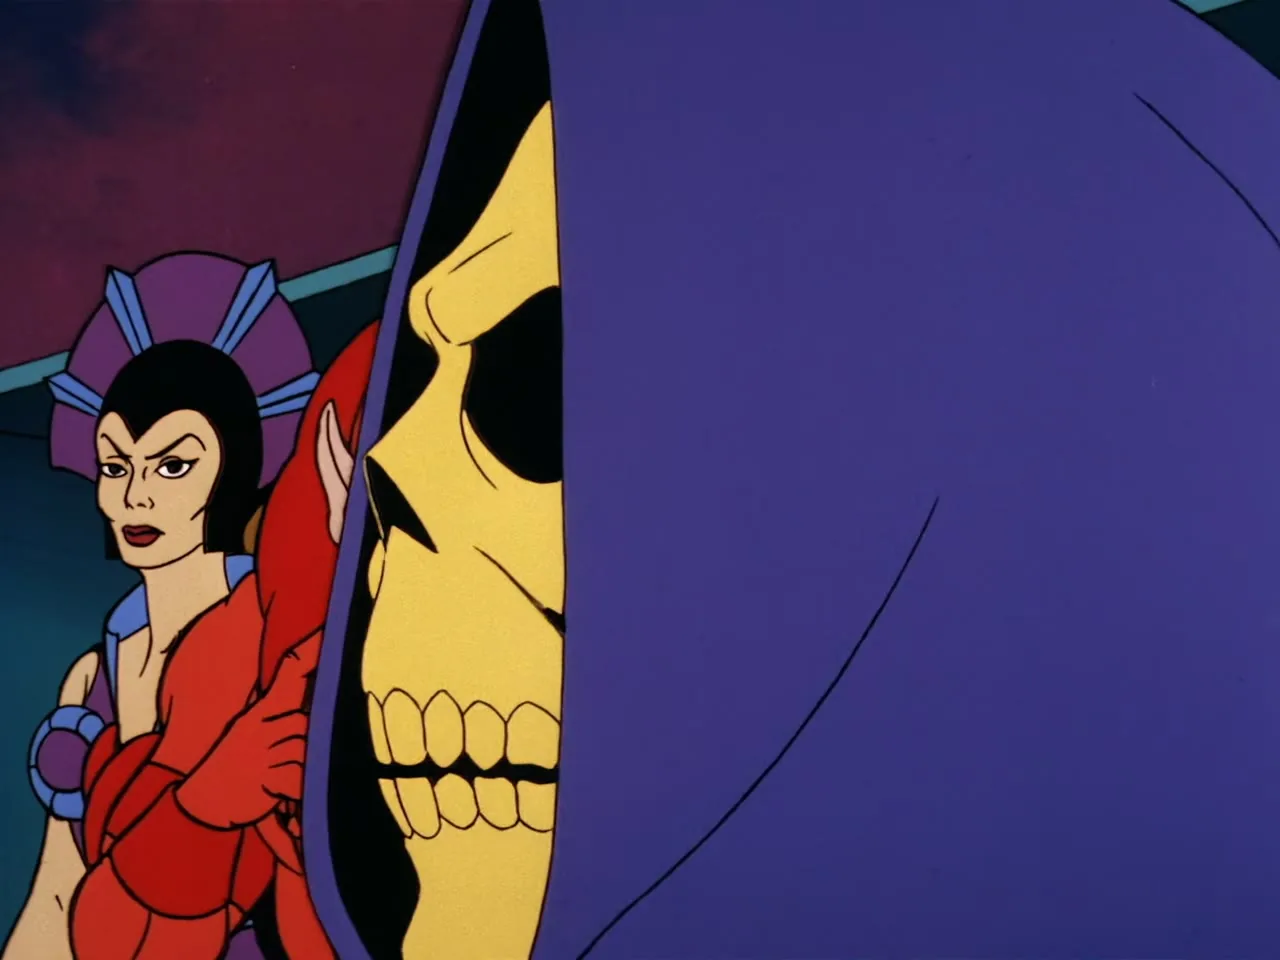
Close-up of Skeletor's skull in profile with Evil-Lyn visible behind him.
Skeletor, Beast Man, and Evil-Lyn stand together, all looking in the same direction.
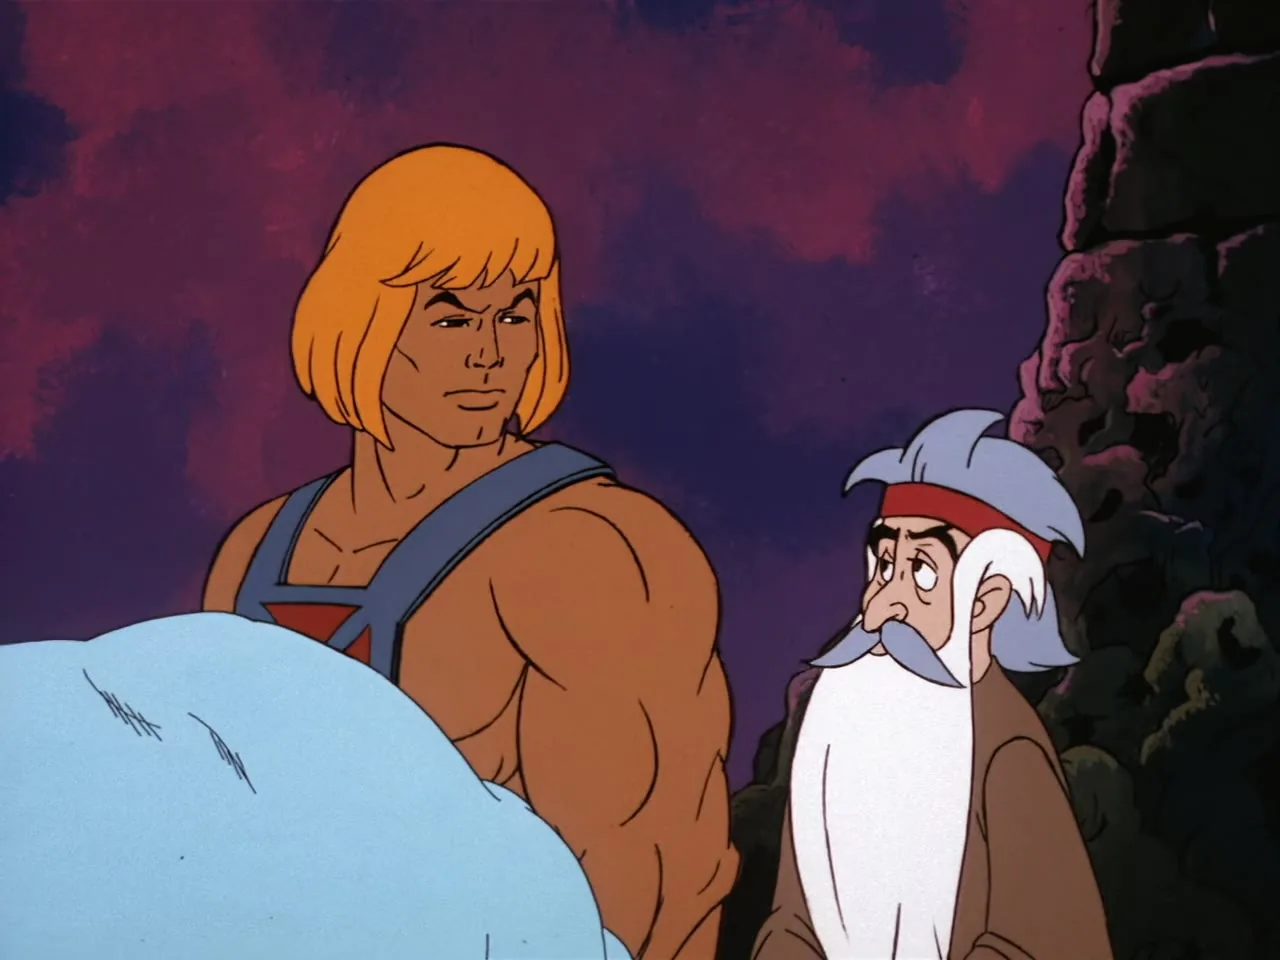
Close two-shot of He-Man and Zagraz.
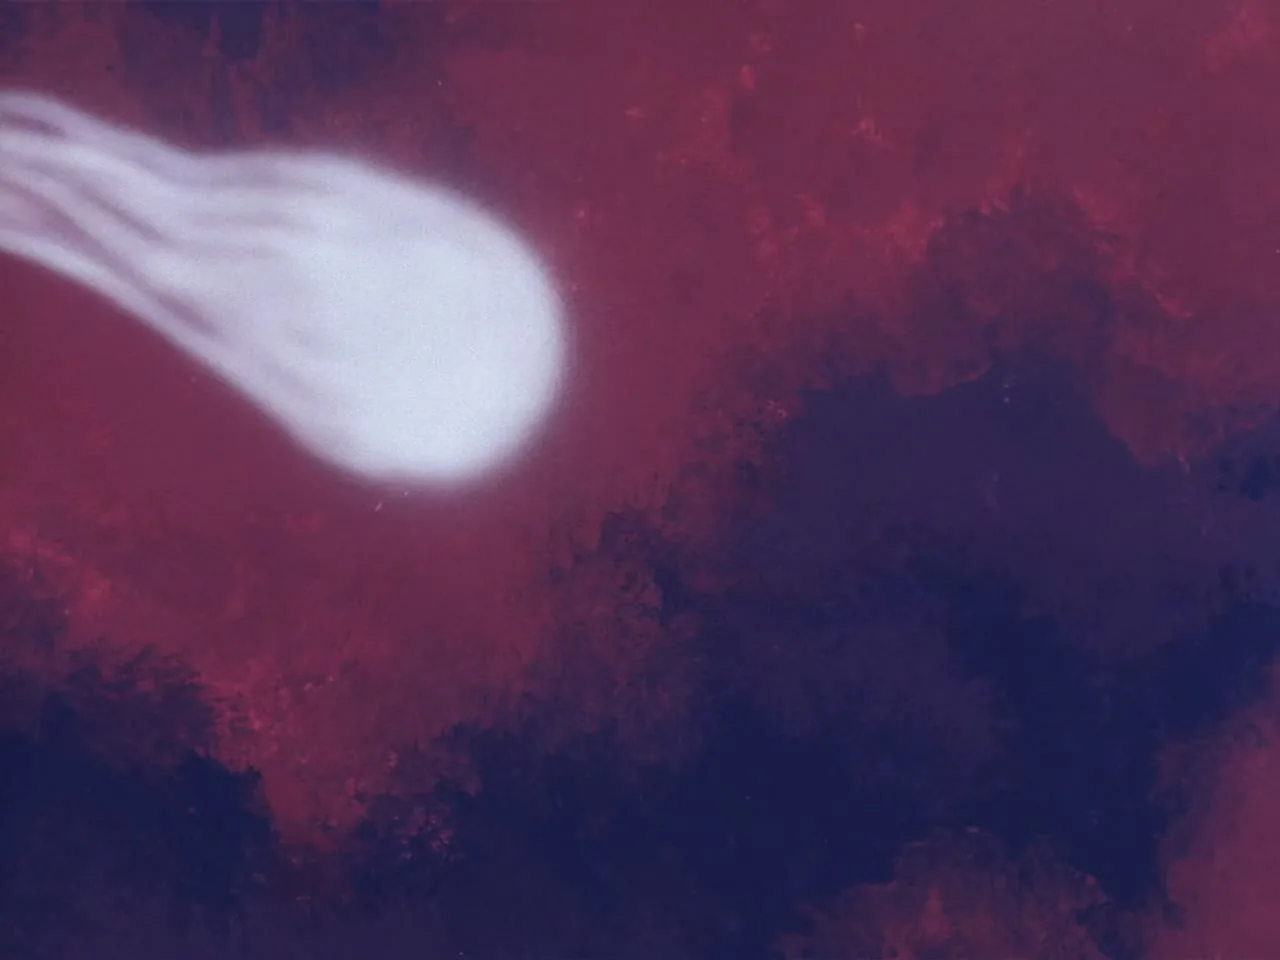
The Cosmic Comet streaks across a dark red sky.
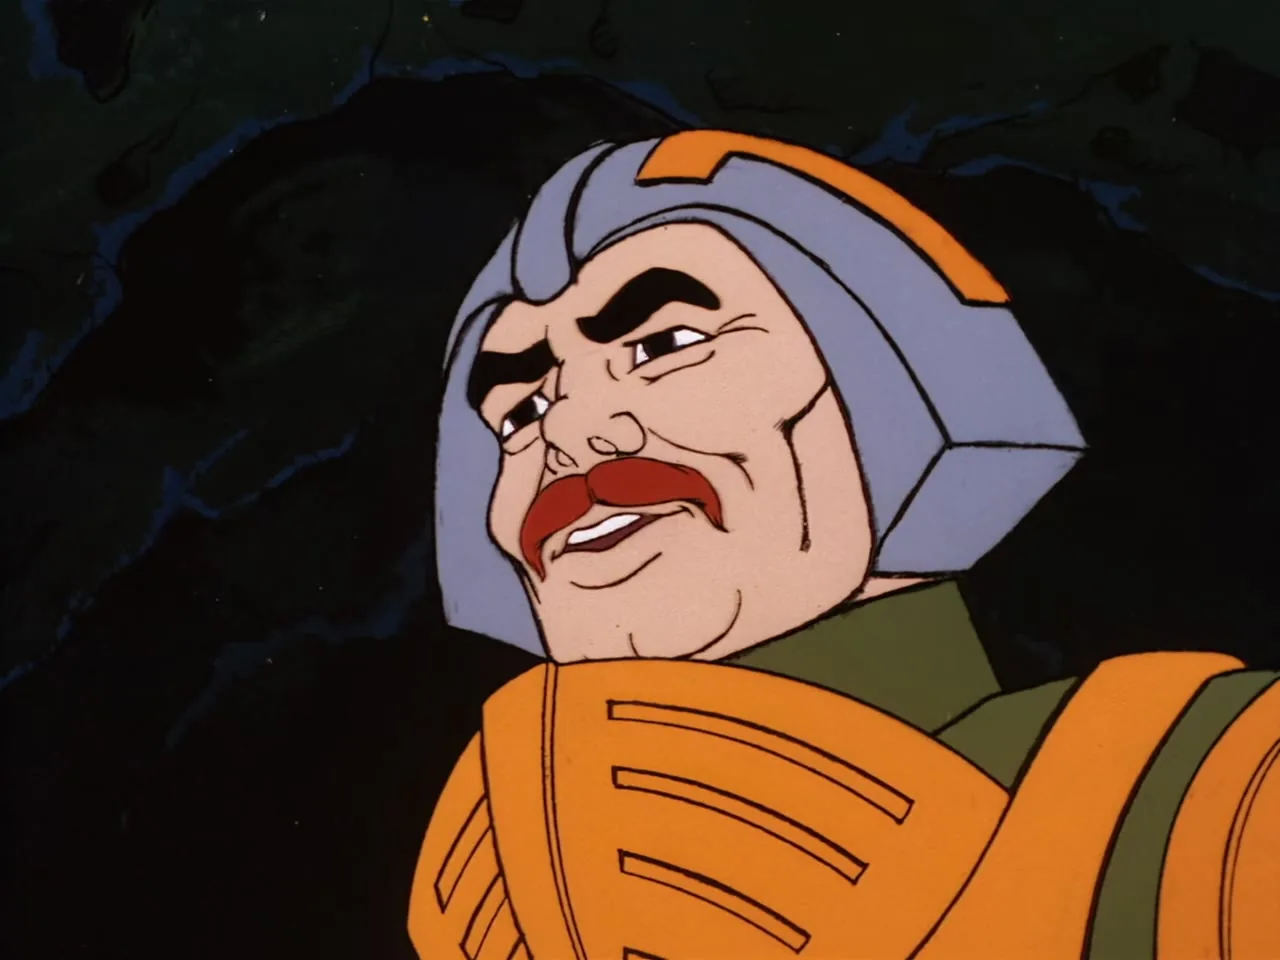
Close-up of Man-At-Arms looking to the side with a determined expression.
Close-up of He-Man's face with the Sorceress of Grayskull, Man-At-Arms, and Orko visible behind him.
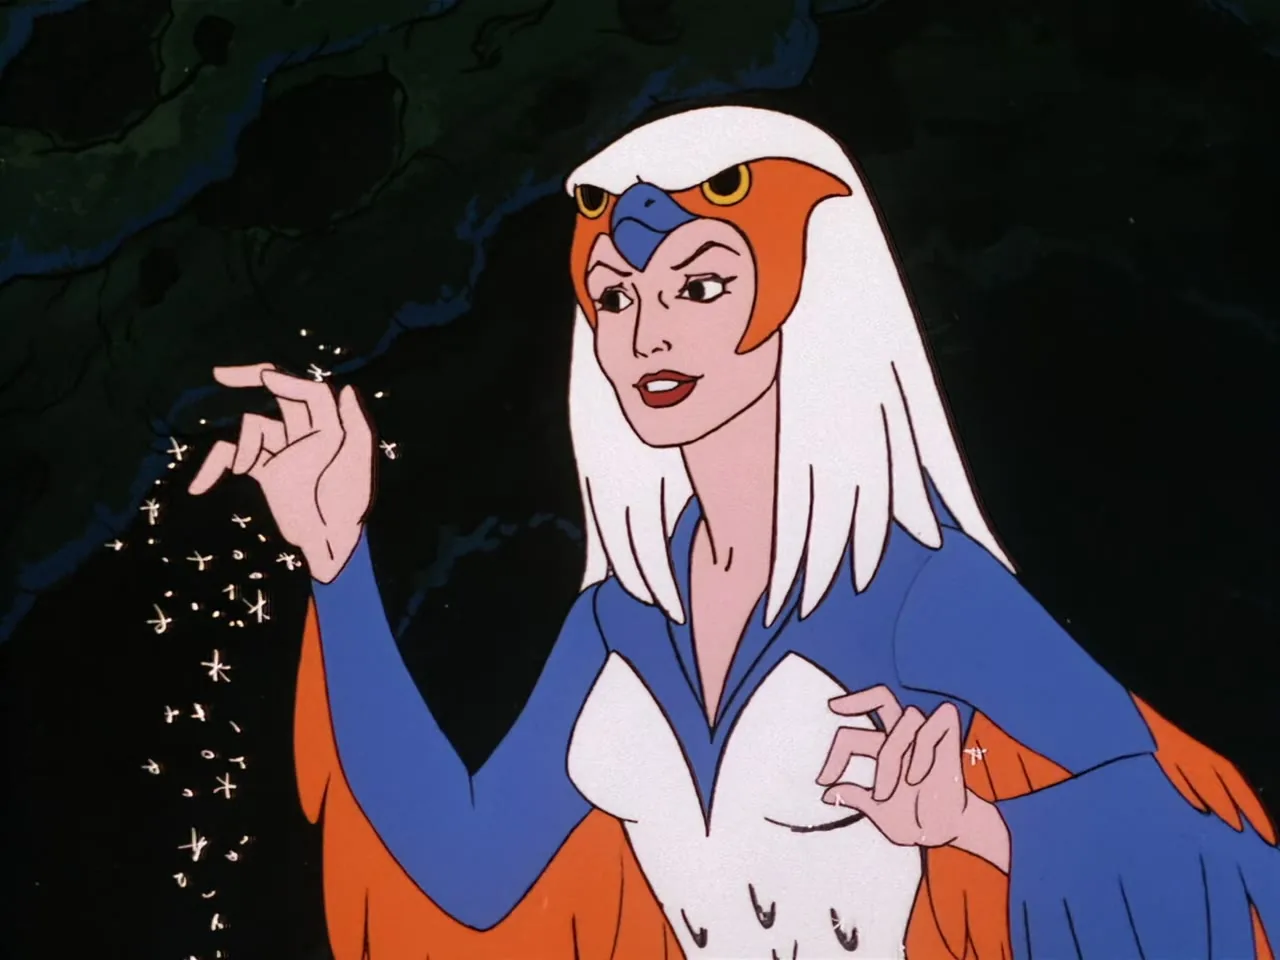
The Sorceress of Grayskull casts a spell, sparkling light falling from her raised hand.
A glowing white orb hangs low in a dark red, cloudy sky.
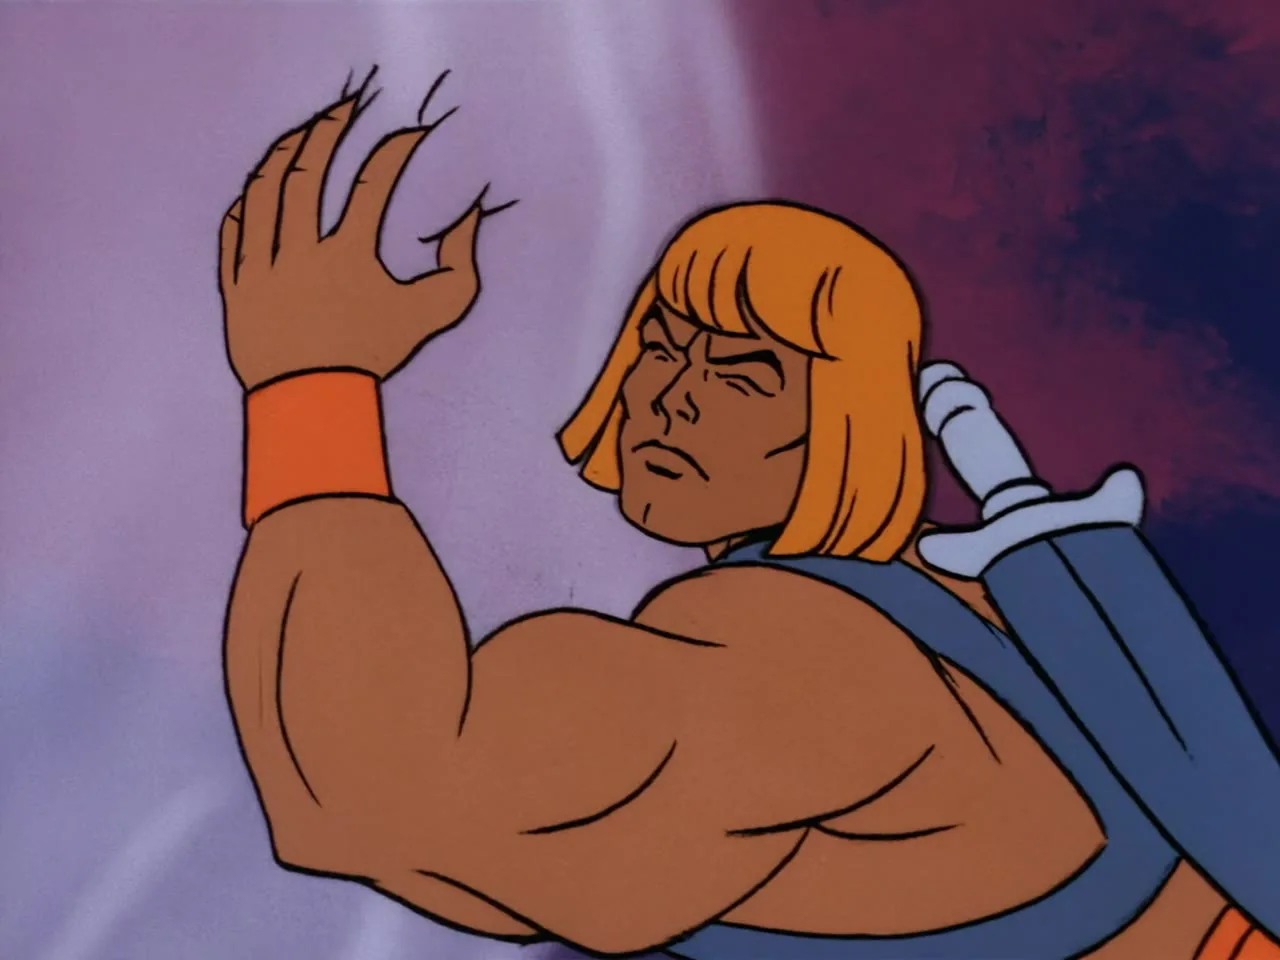
He-Man raises a hand to shield his eyes against a bright light.
Close-up of Teela's face against a dark cave backdrop.
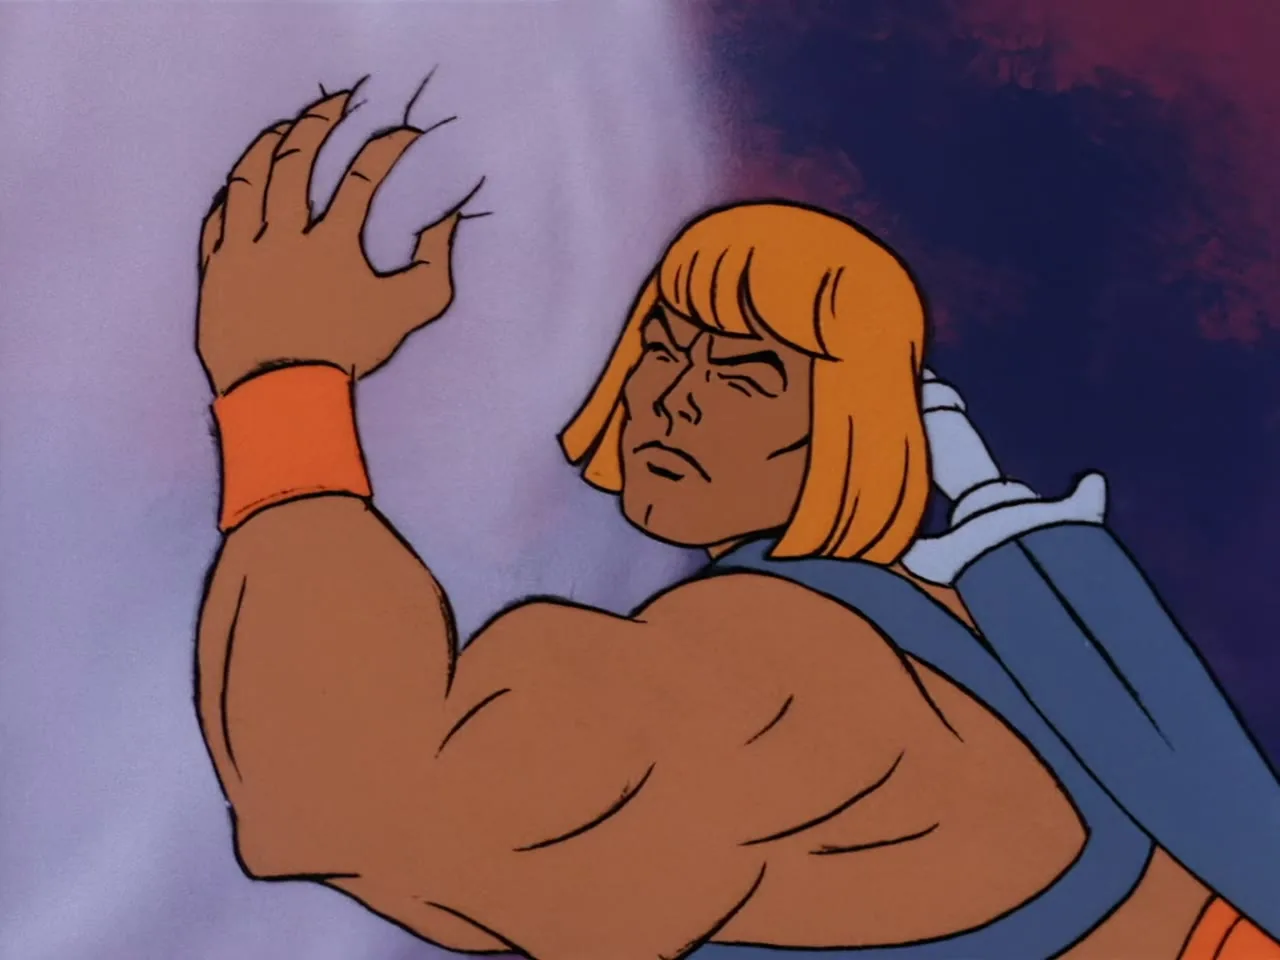
He-Man reaches a hand upward, bracing against a rock.
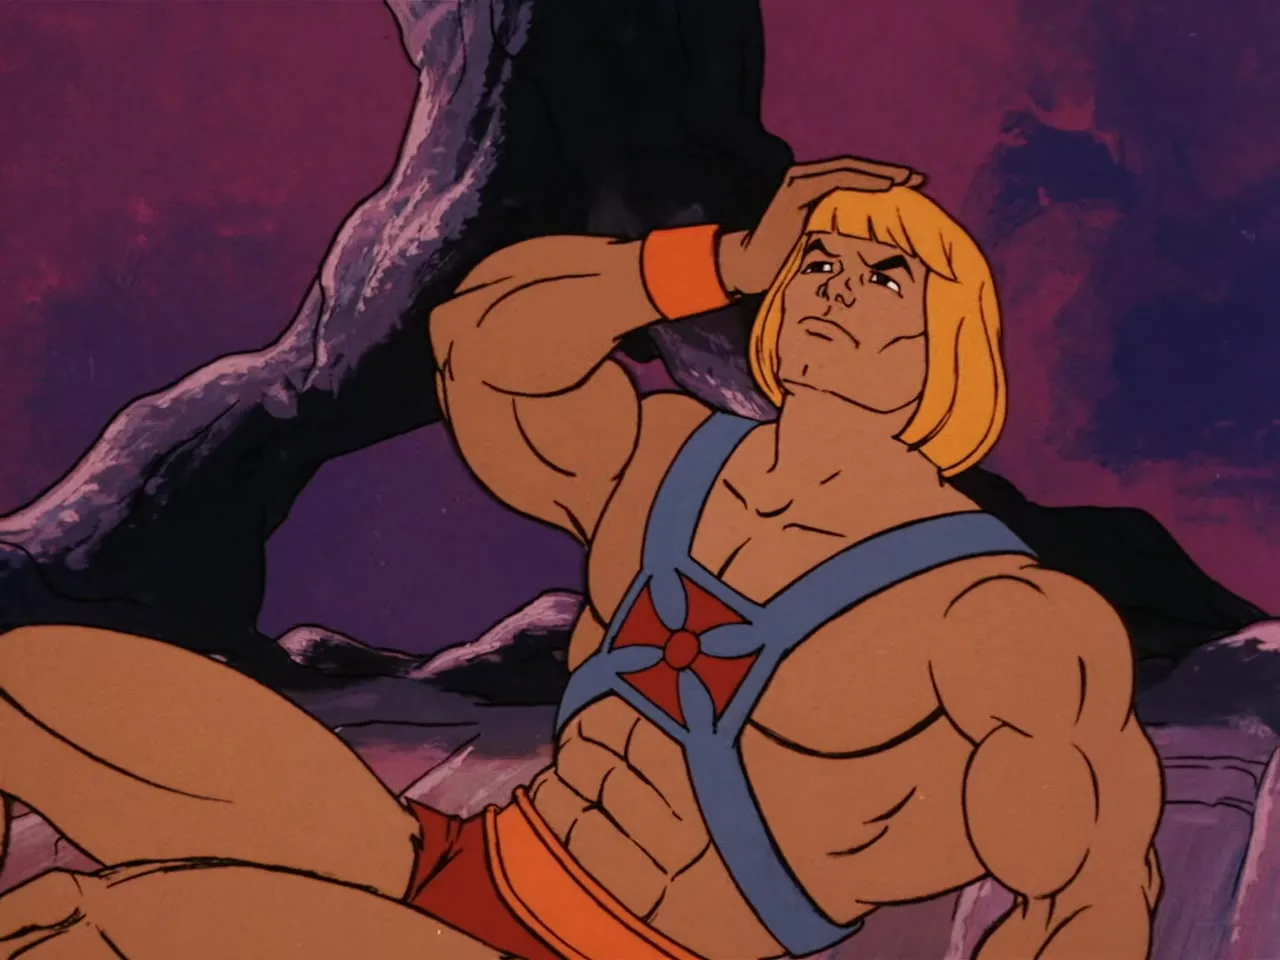
He-Man, seated, shields his eyes with one arm raised.
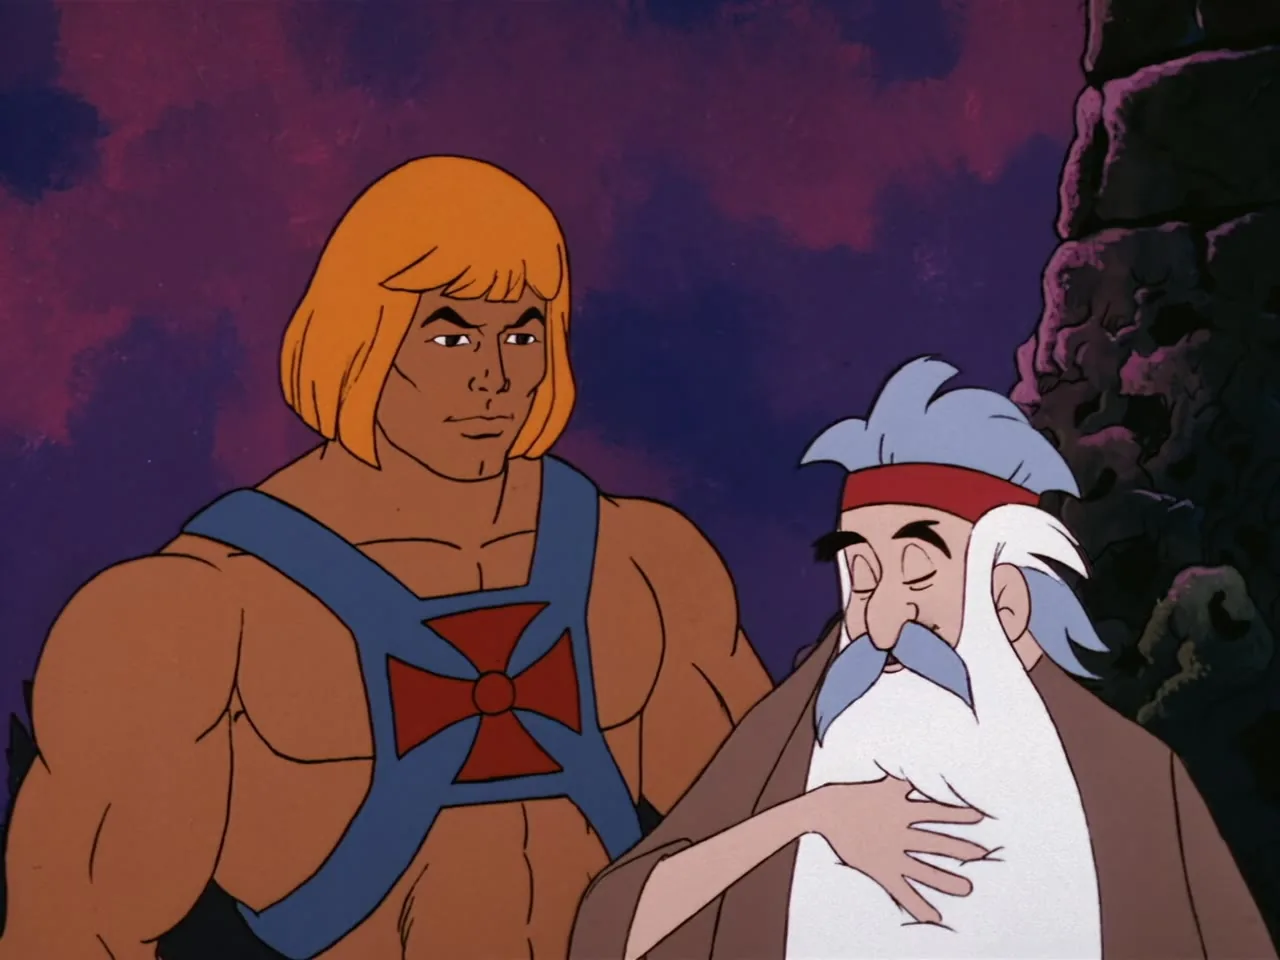
He-Man and Zagraz converse, Zagraz resting a hand on his own beard.
Skeletor, Beast Man, and Evil-Lyn look on together.
The same trio -- Skeletor, Beast Man, and Evil-Lyn -- in close-up.
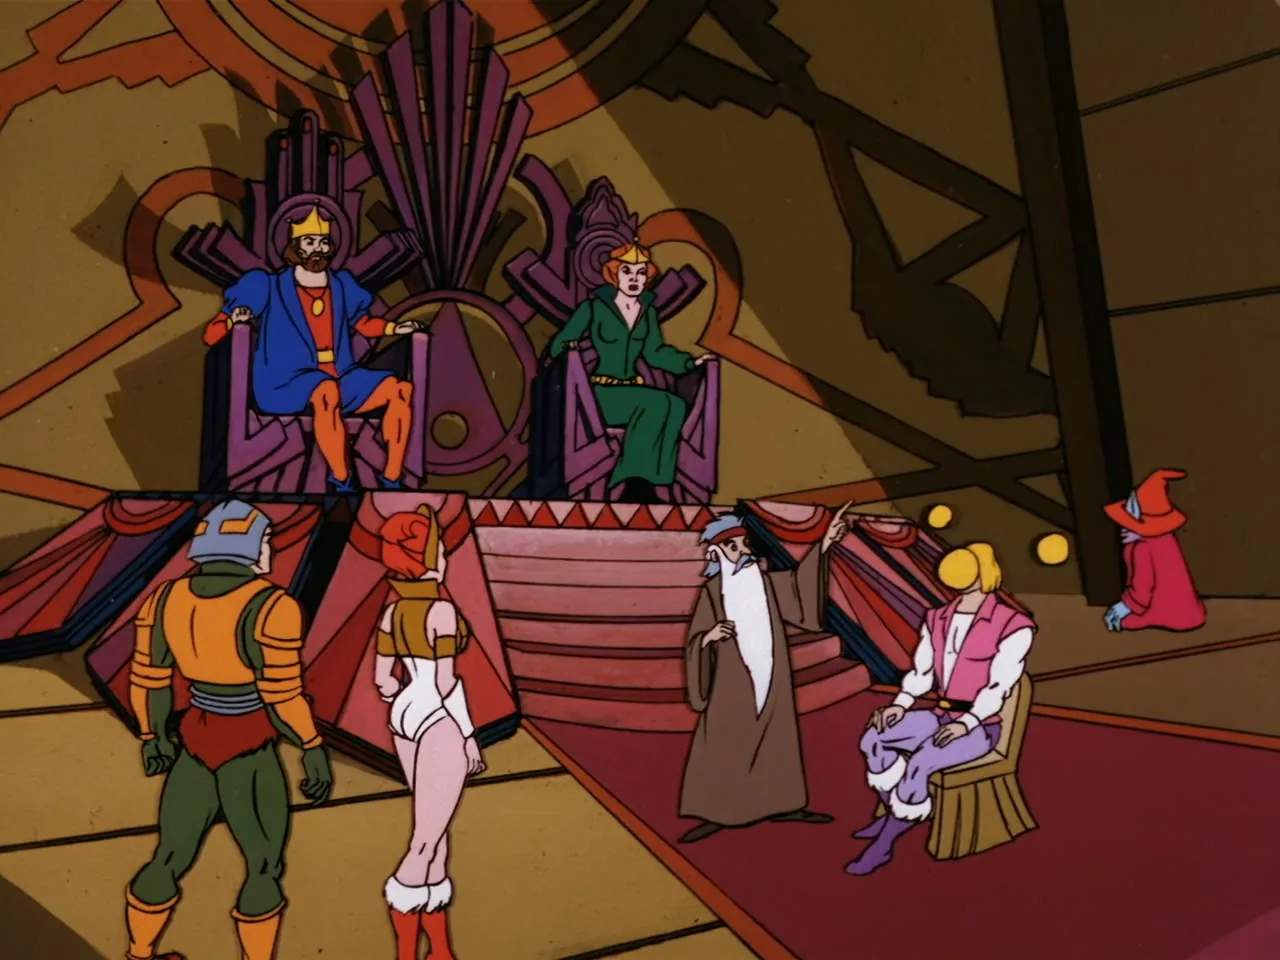
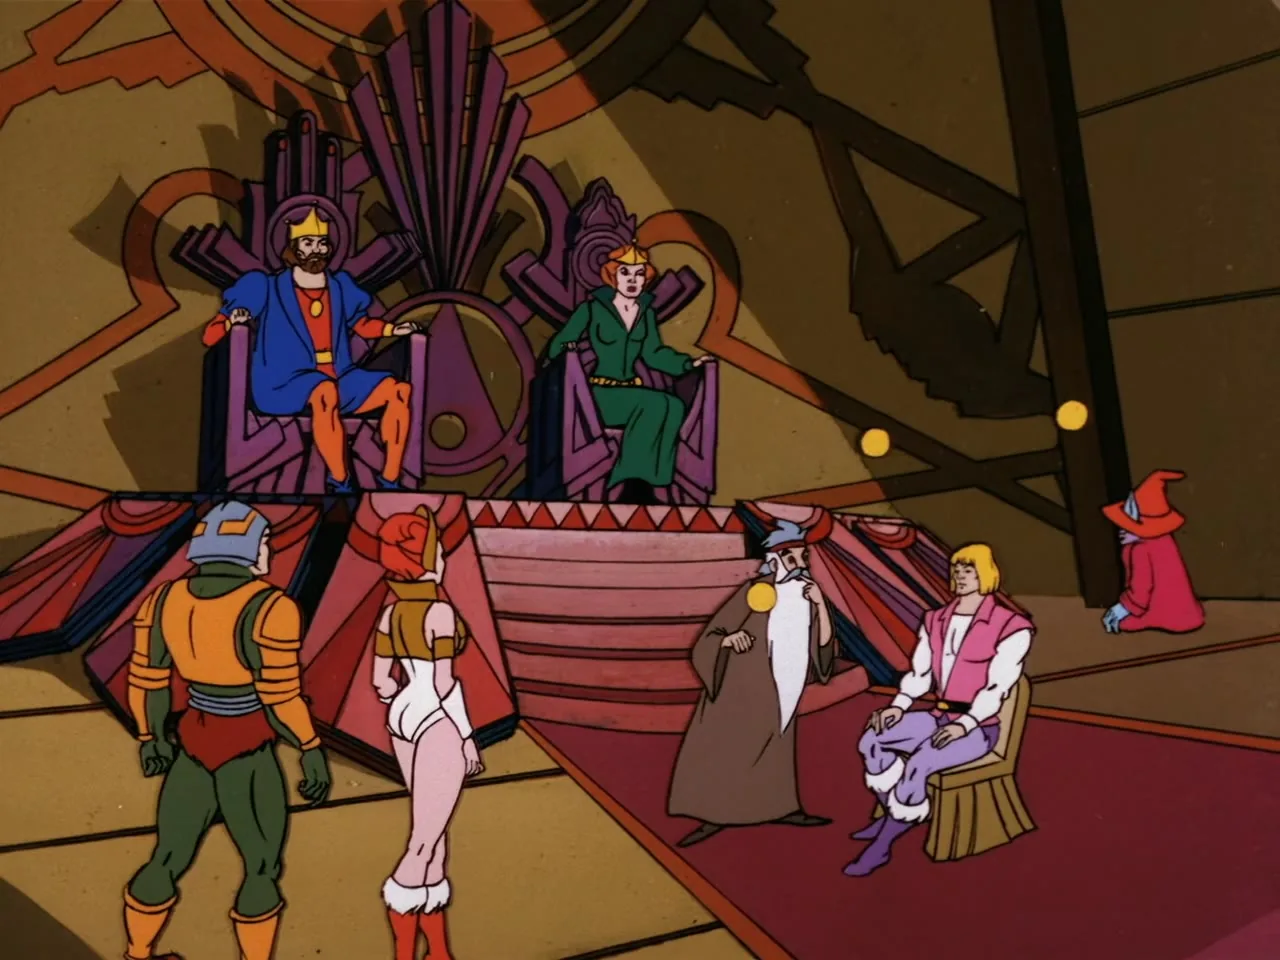
Wide shot of the Eternos throne room: Man-At-Arms, Teela, Zagraz, and Prince Adam stand or sit before King Randor and Queen Marlena on their thrones, with Orko in the corner.
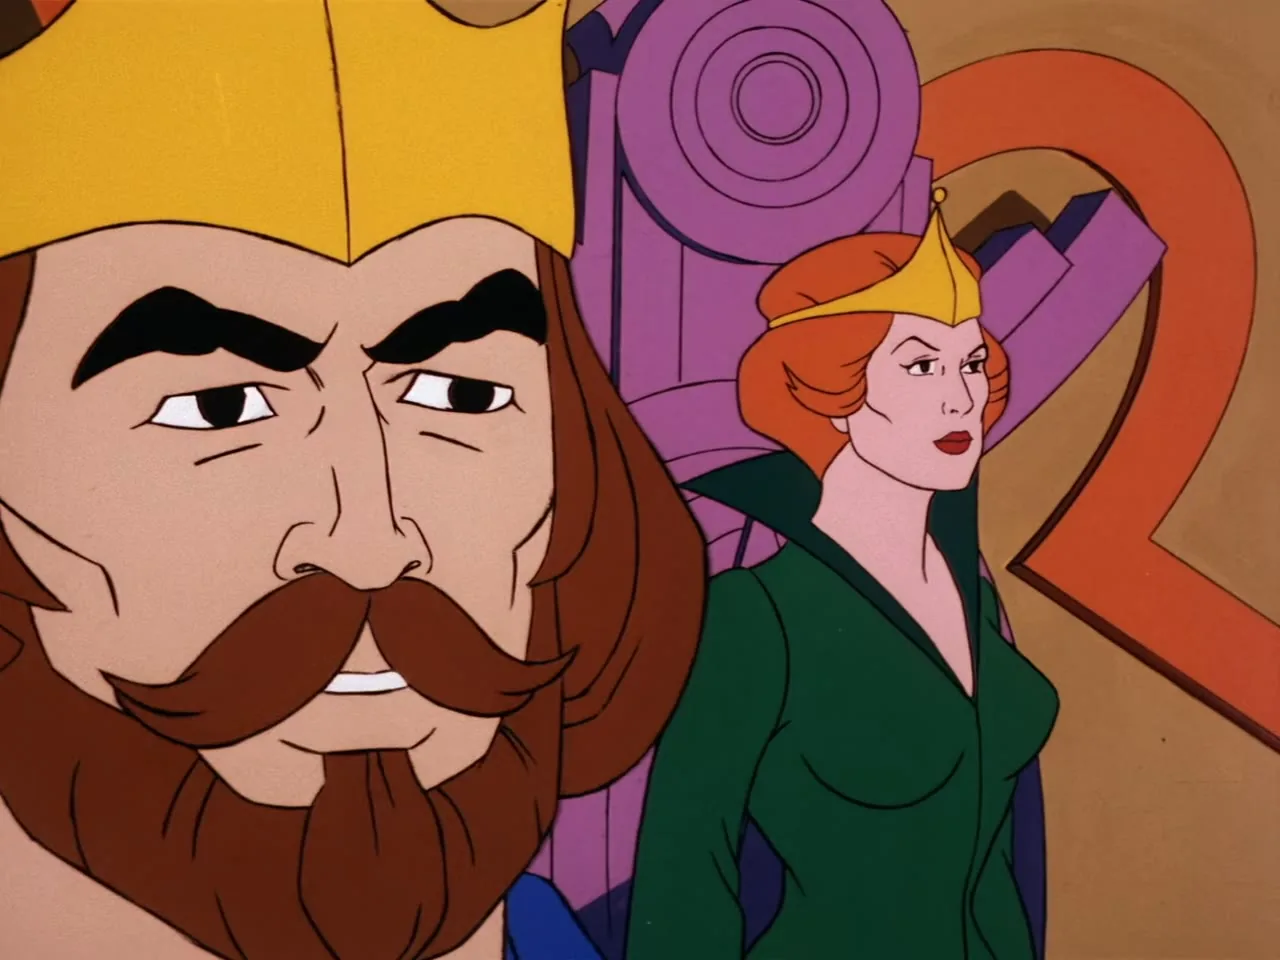
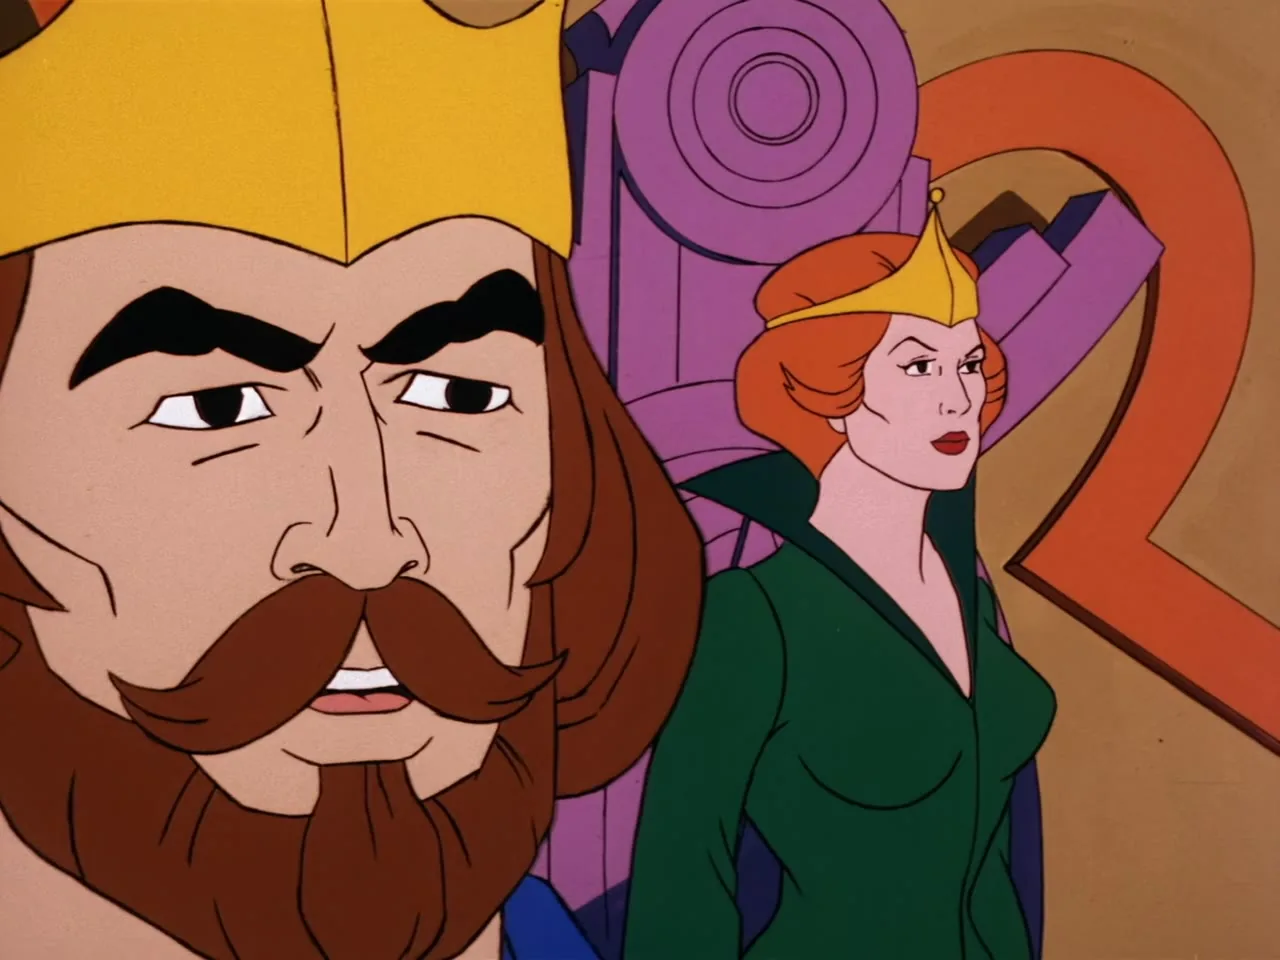
Close-up of King Randor's face with Queen Marlena behind him.
King Randor and Queen Marlena look to the side in a close view.
Another view of the same throne room gathering, with Orko visible in the corner.
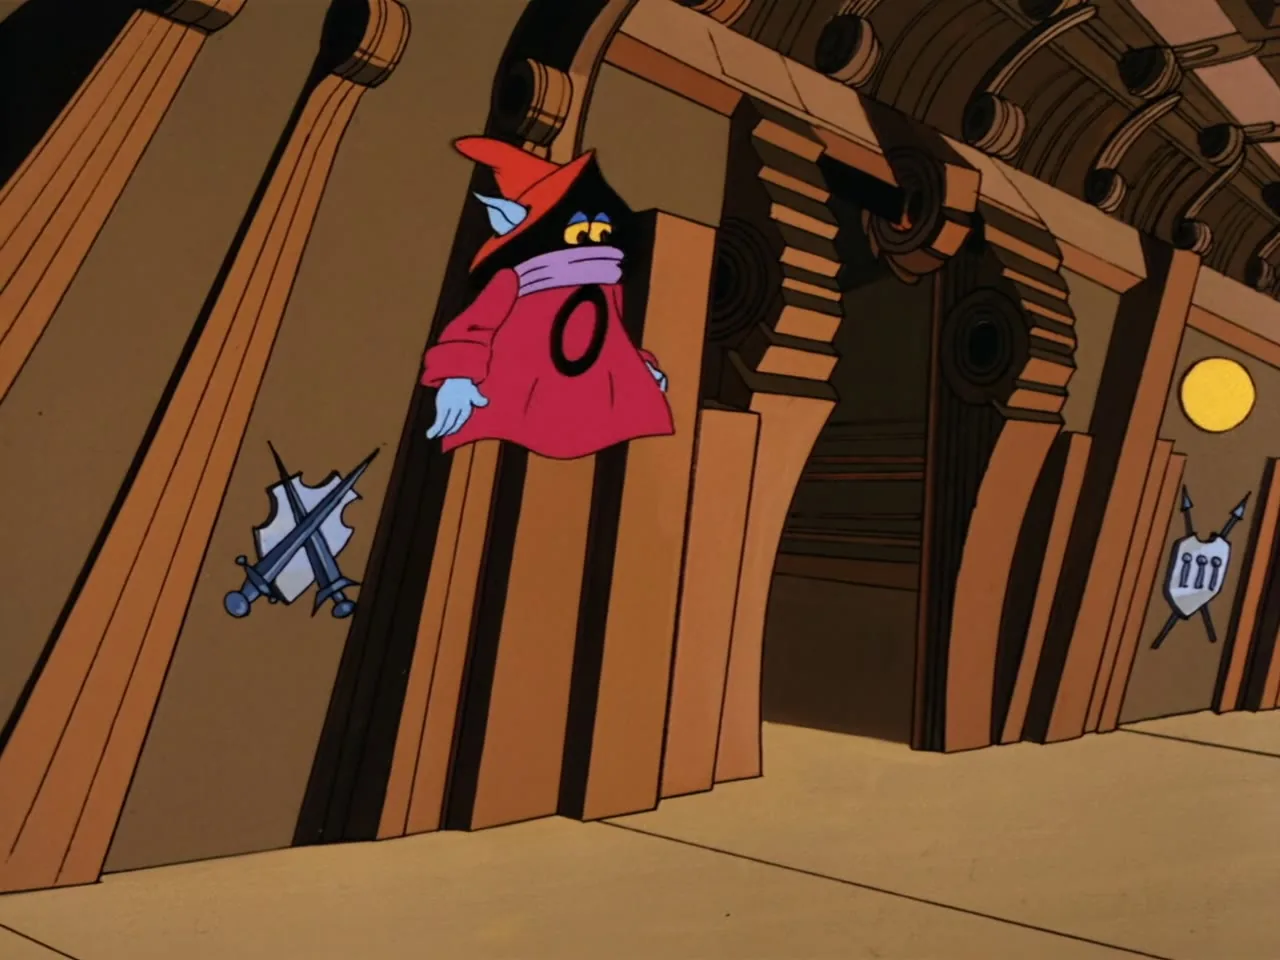
Orko floats in a wood-paneled corridor decorated with crossed swords and shields.
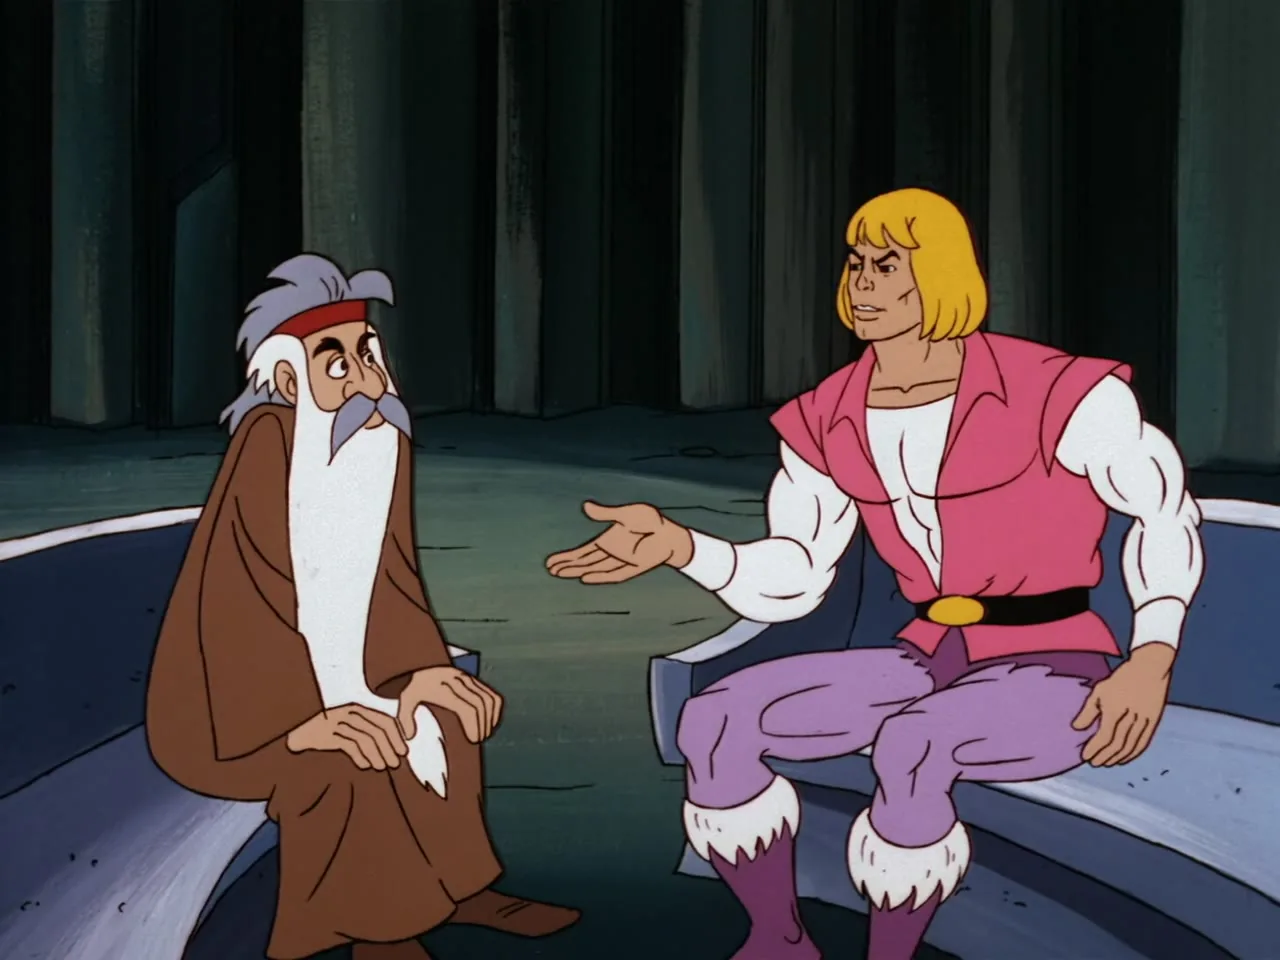
Zagraz and Prince Adam sit together in conversation, Prince Adam gesturing with one hand.

DISCUSSION

Join the conversation.

Comments below are mirrored on the heman.org forum. Sign in once, post anywhere.