FILMATION - 1983

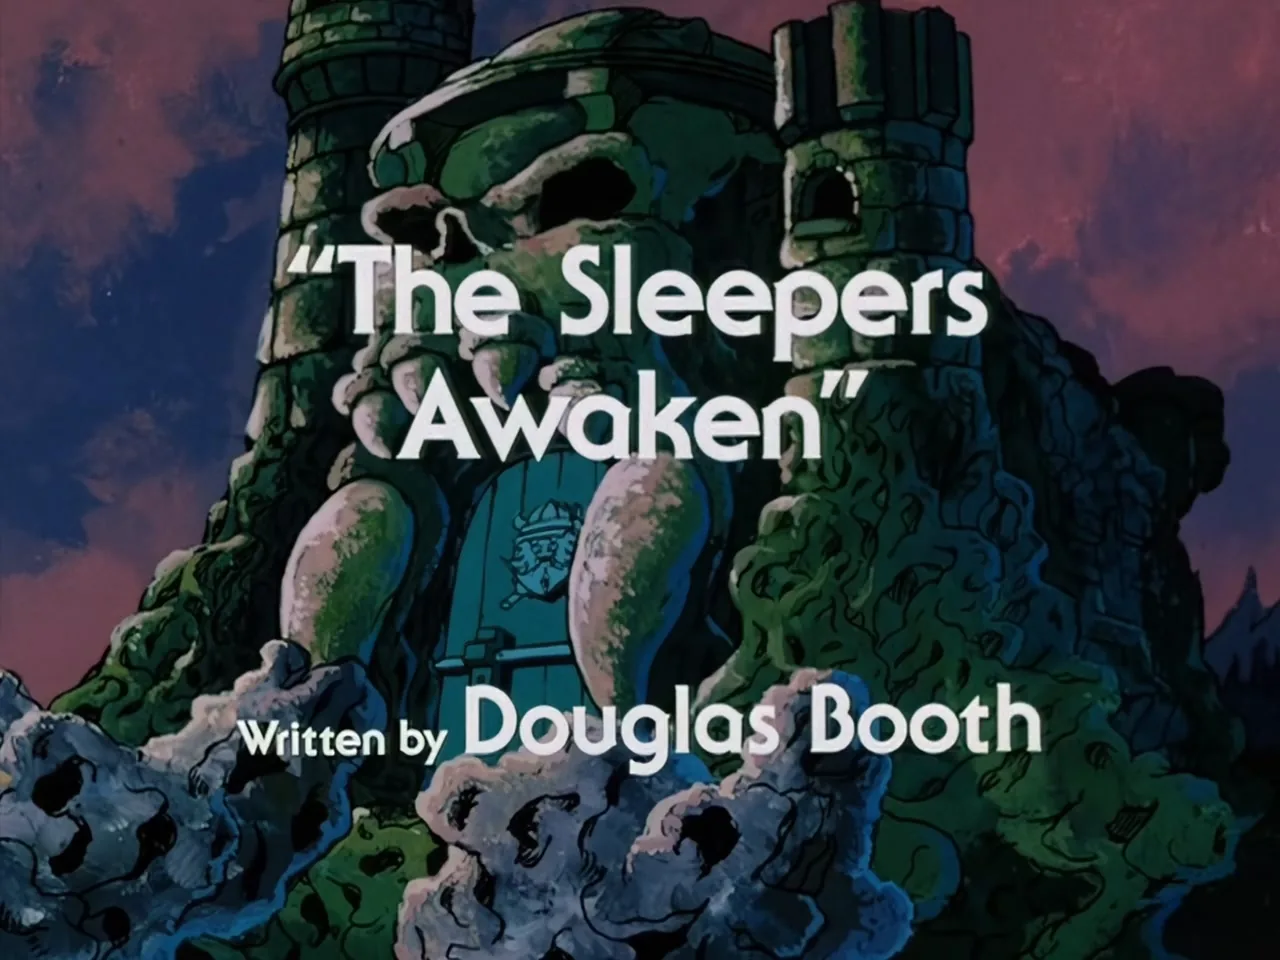
The Sleepers Awaken

Official Synopsis

The Sleepers Awaken synopsis still

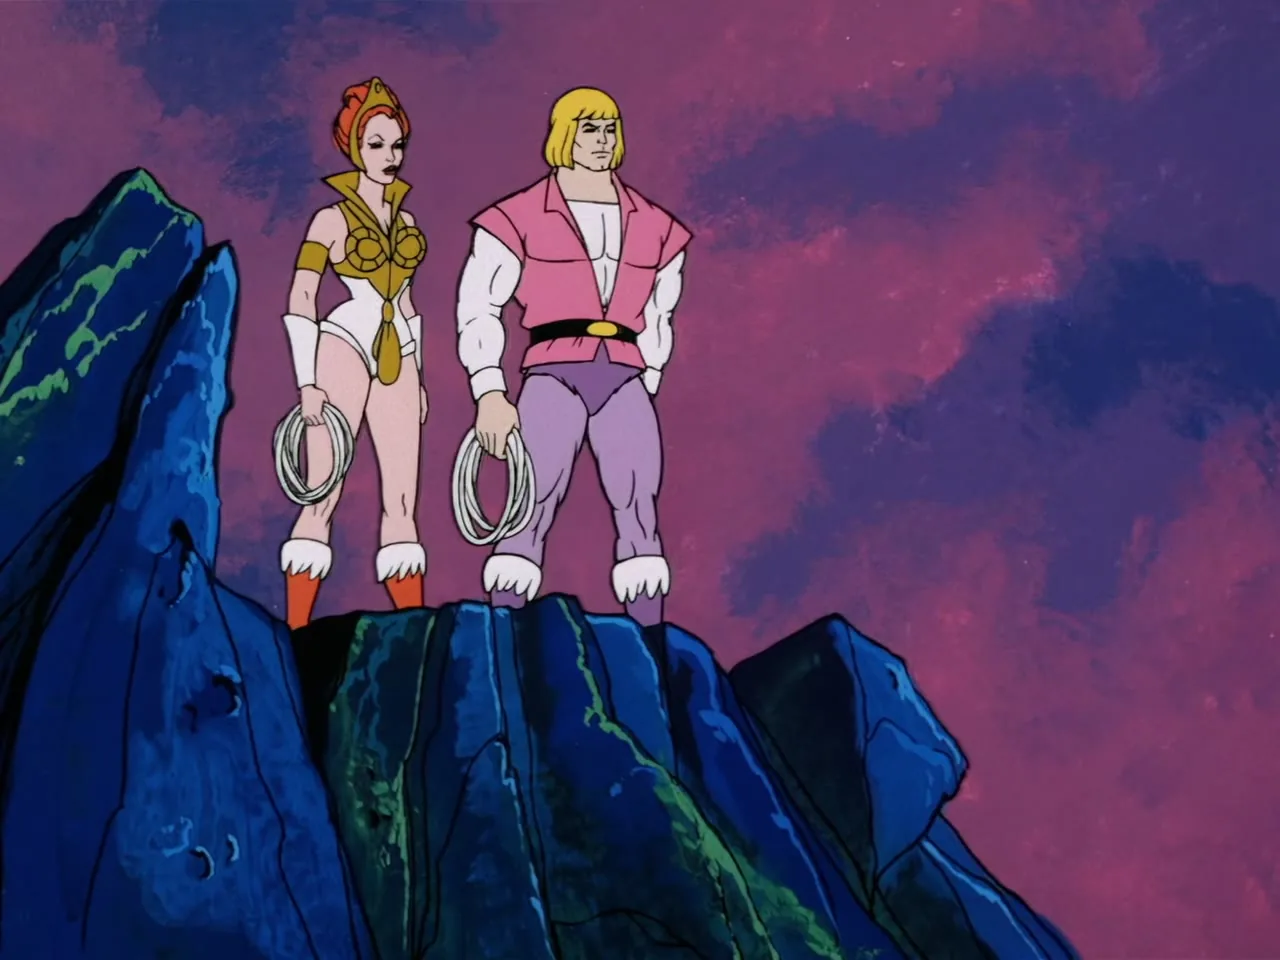
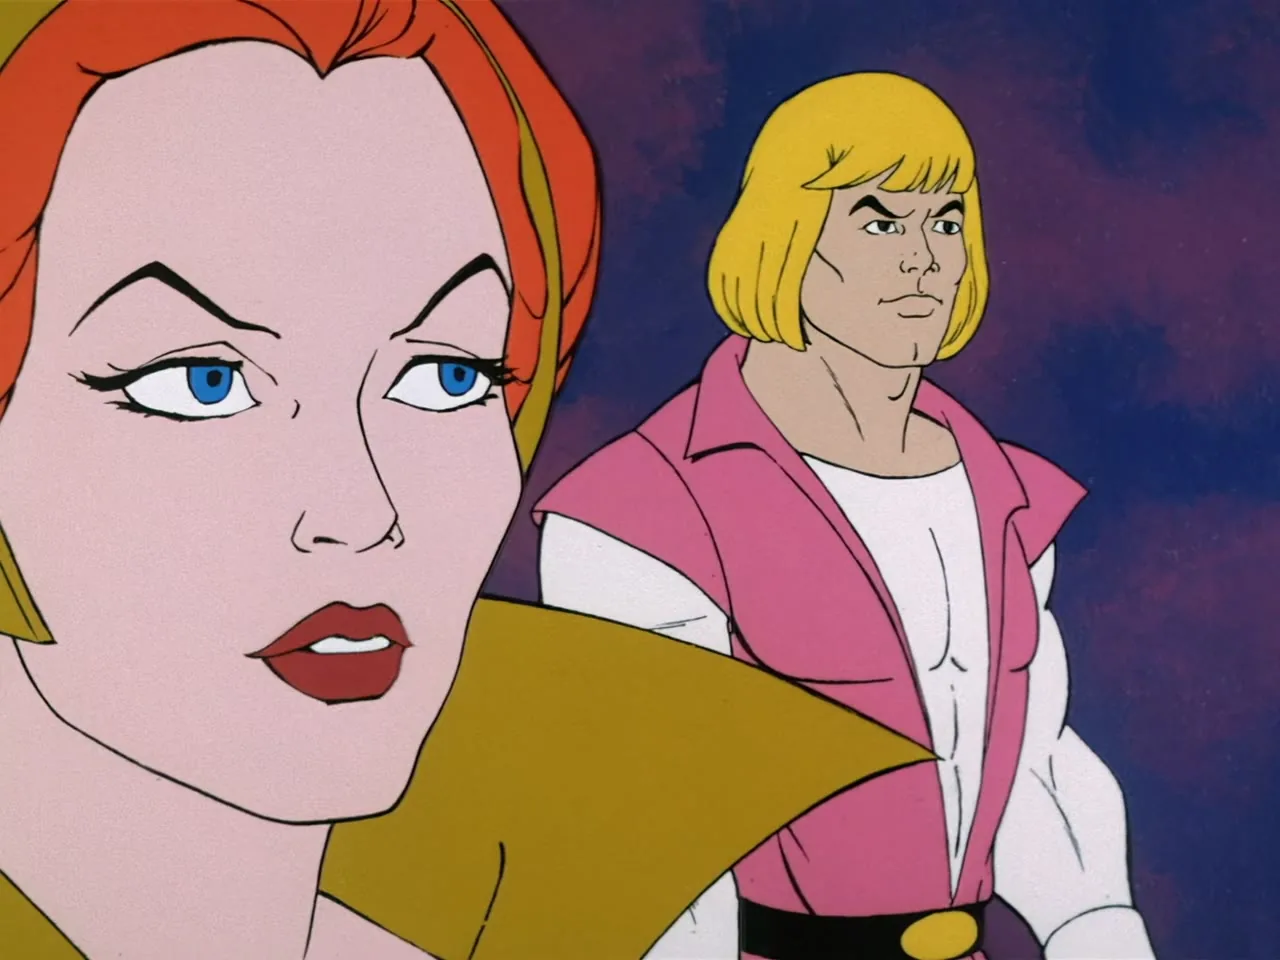
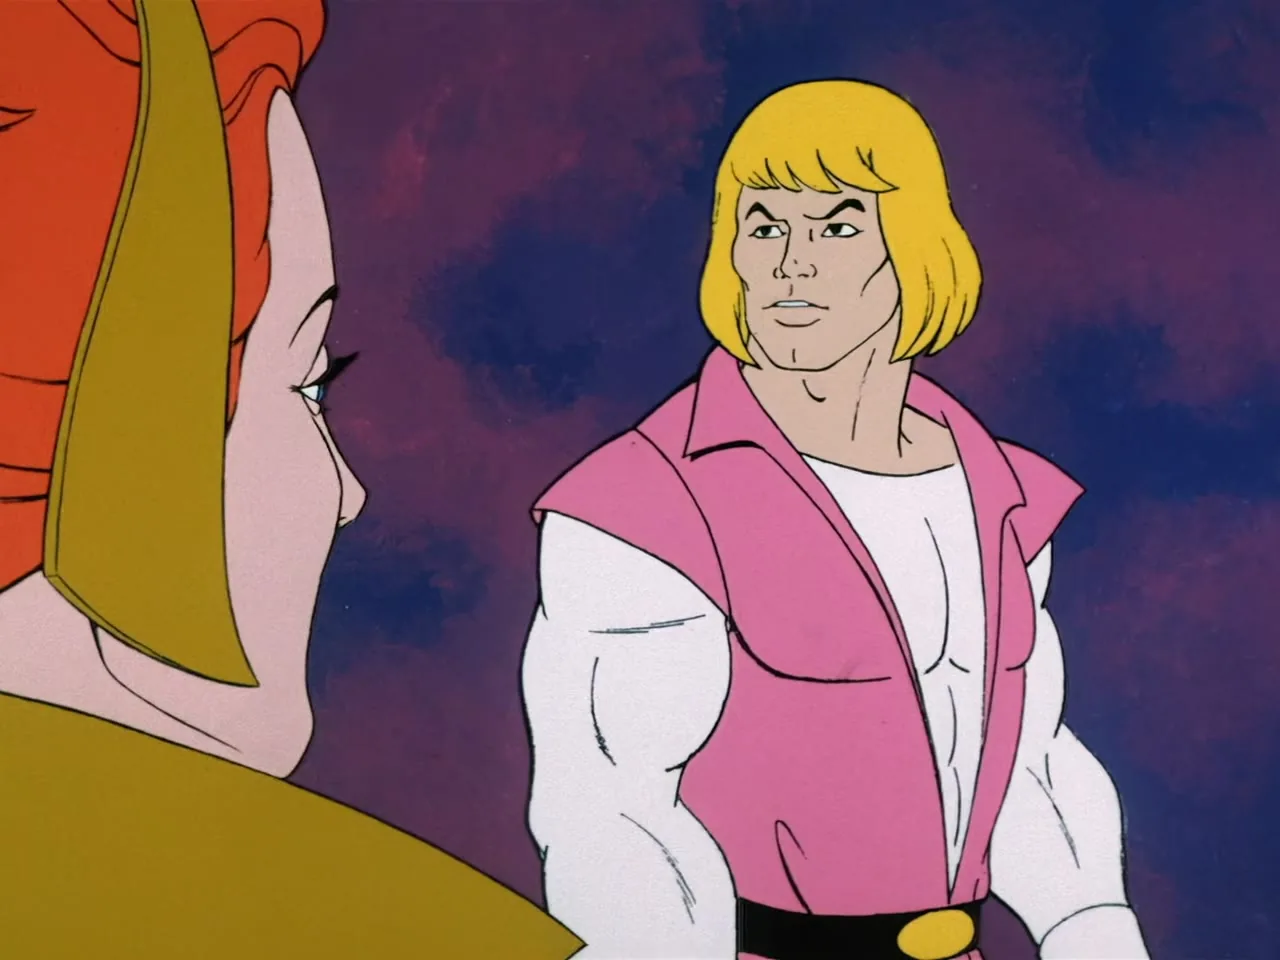
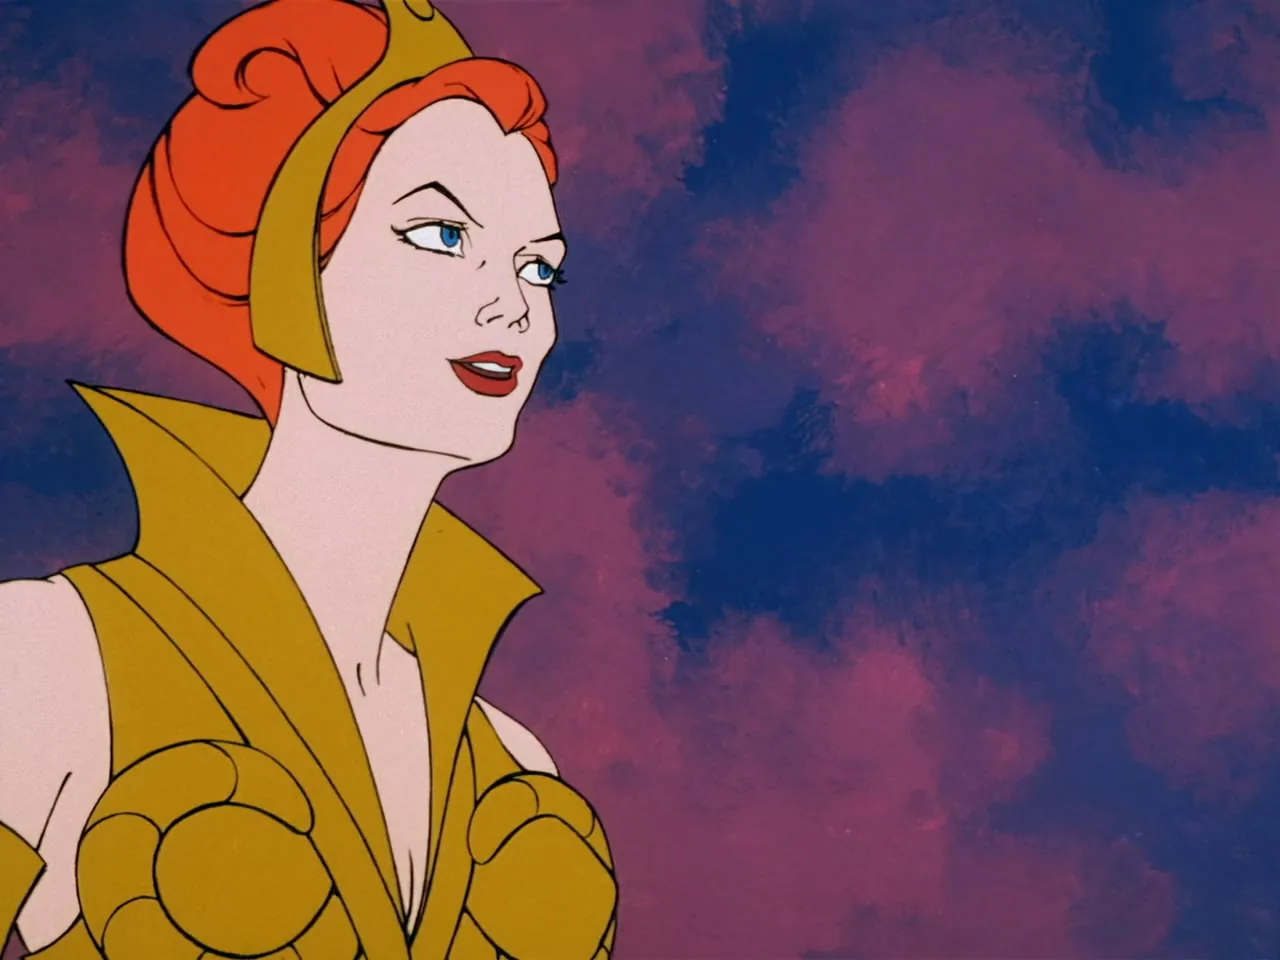
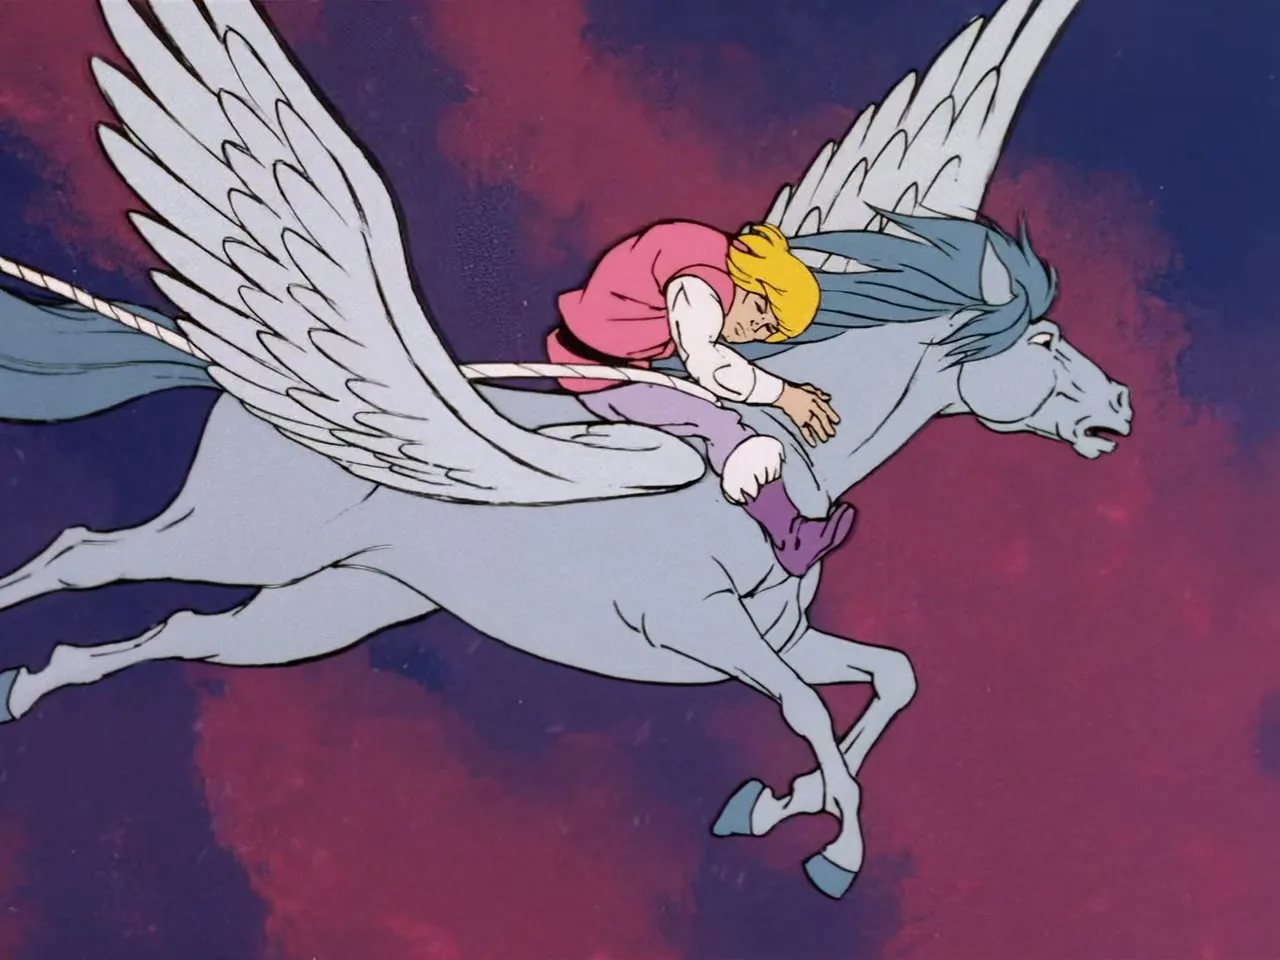
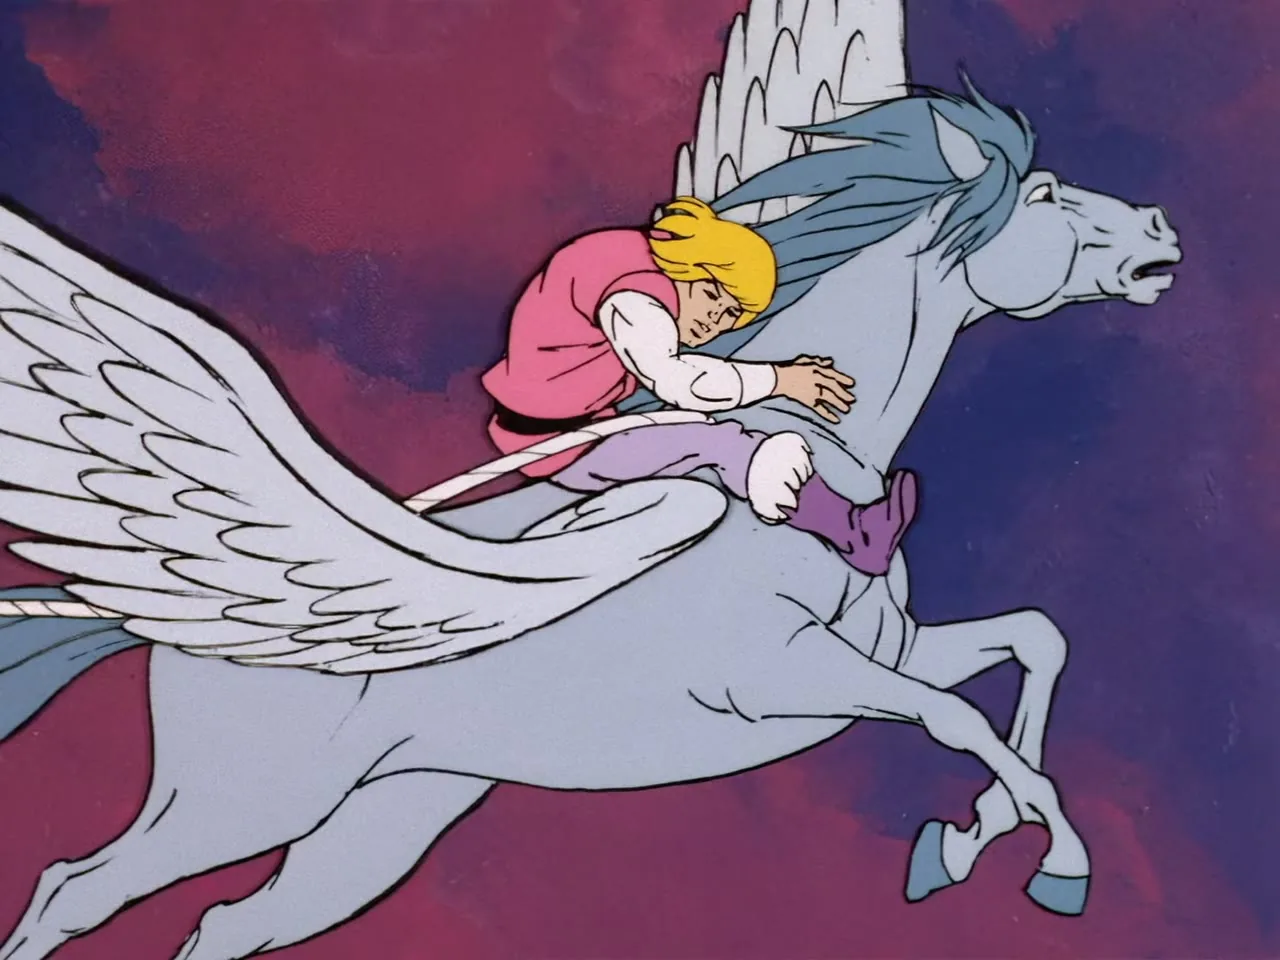
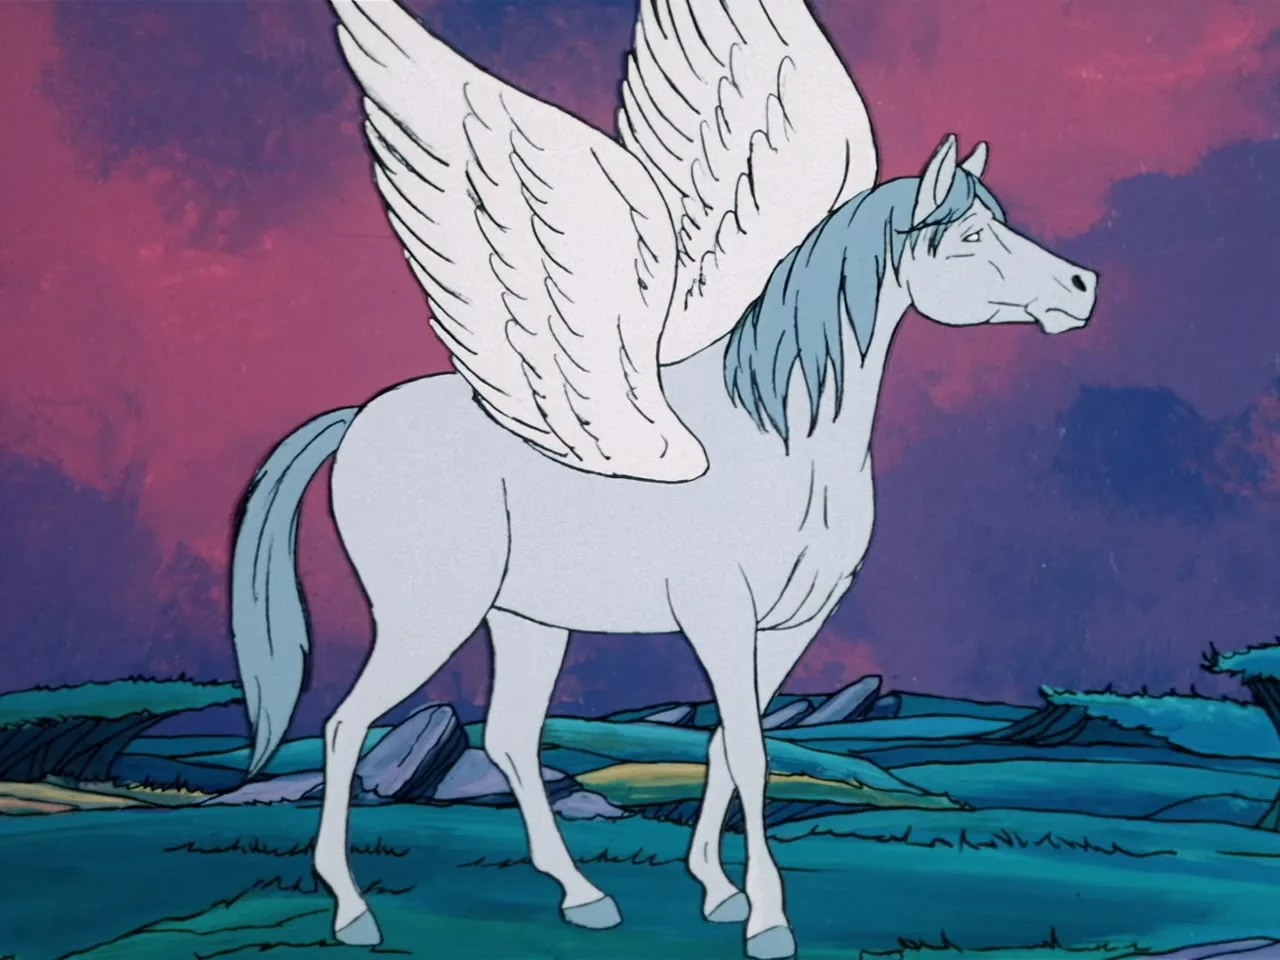
While leading Prince Adam on what she calls a wild horse roundup, Teela brings him to an ancient, overgrown castle and tells him the legend behind it: centuries ago its rulers, Lord Tyrin and Lady Valtira, drained the surrounding forest of its energy and fell into an enchanted sleep, one said to end right around now. Adam laughs off the idea that the story could be literally true, and moments later the two of them spot exactly what they came for, a pair of winged horses grazing nearby.

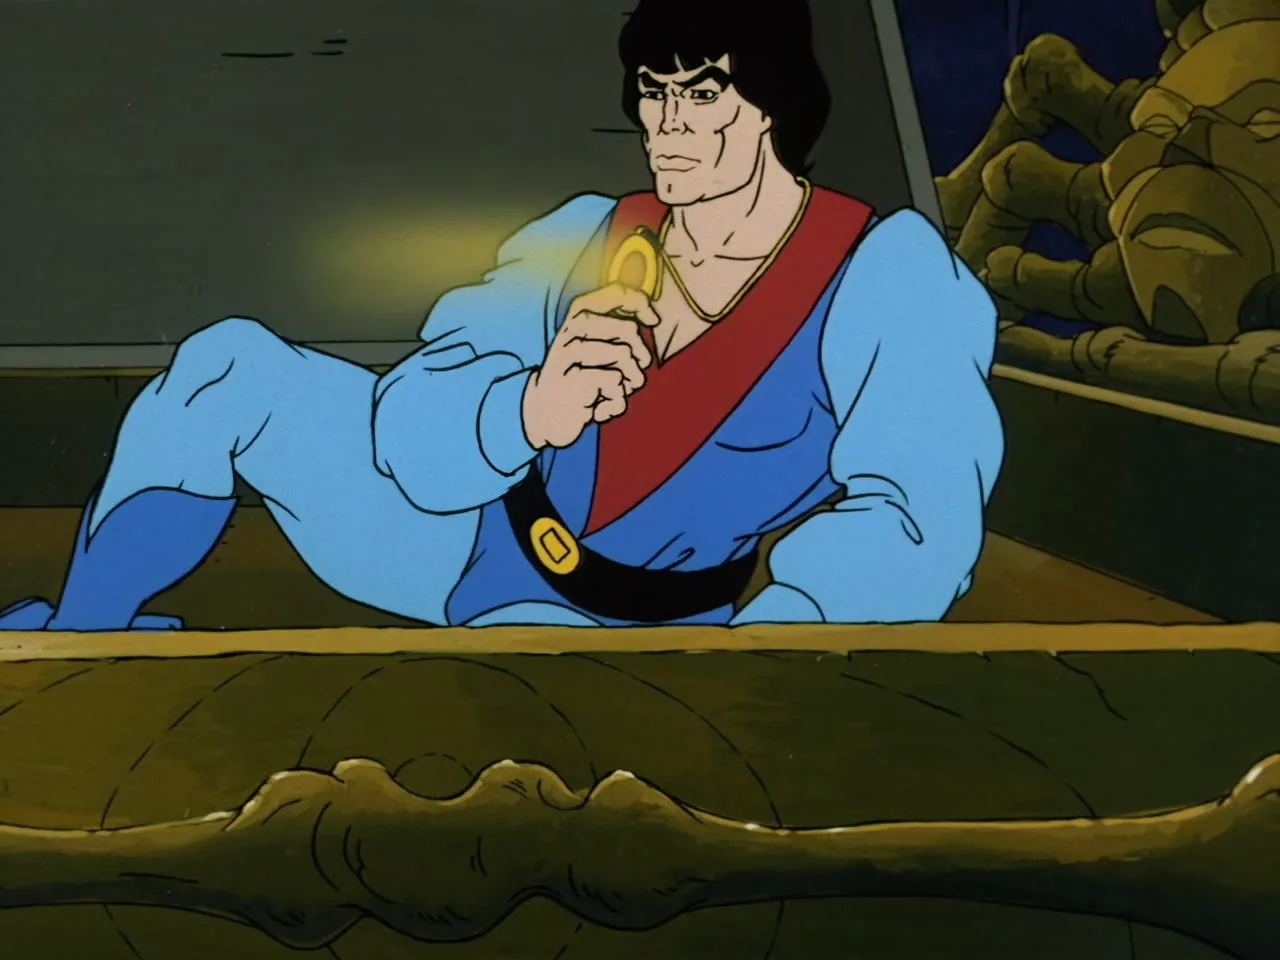
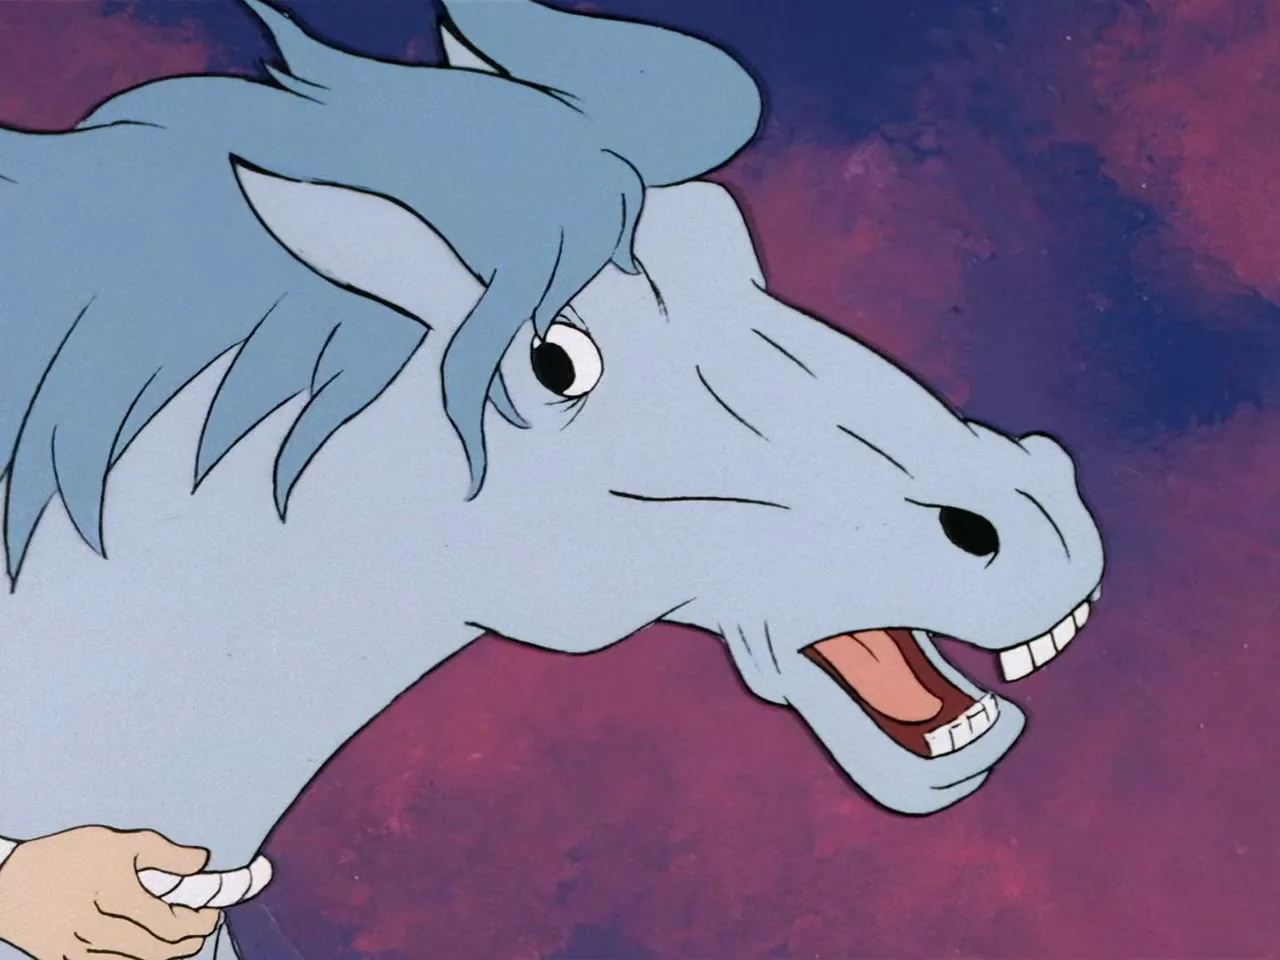
Unknown to them, Lord Tyrin has already woken and recognizes the horses as ones his wife always loved; he hopes their calls will finally stir Valtira from her own long sleep. Sure enough, both Valtira and her long-petrified pet Sago wake at the sound, setting the castle's two slumbering rulers back on a collision course with Adam, Teela, and the rest of Eternia.

Watch the Full Episode

The Sleepers Awaken Official upload, Masters of the Universe channel

Morals by He-Man closing message, original Filmation broadcast

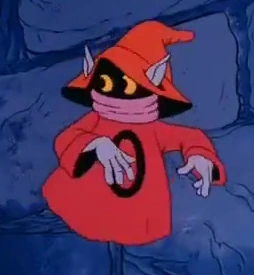
Orko: "Hi, today we met some people who had slept for over two hundred years. Well, we don't need that much sleep, but it is important to get enough sleep. So here's some things to remember: don't eat a lot before going to bed. A glass of milk or a piece of fruit makes a good bedtime snack. Try to go to bed at the same time every night and avoid any exercise or excitement before going to bed. Well, good night... Oh, good night Cringer." (Cringer is snoring)

Voice Cast

John Erwin as He-Man/Prince Adam

Linda Gary as Teela and Lady Valtira

Lou Scheimer (credited as Erik Gunden) as Orko (moral only)

George DiCenzo (uncredited) as Lord Tyrin

Memorable Quotes

"Sago trusts you, and so do I. And I'm starting to learn I'd rather have friends than slaves."

- Lady Valtira

heman.org Episode Review

"The Sleepers Awaken" spends its first act on the kind of gothic setup Filmation rarely allows itself, a castle with two coffins and a legend Teela only half believes. Douglas Booth's script refuses to rush it, letting Adam and Teela stumble into Lord Tyrin and Lady Valtira's story before either rises from centuries of sleep, and that patience pays off once the pair wake up wanting their old kingdom back exactly as they left it, slaves included.

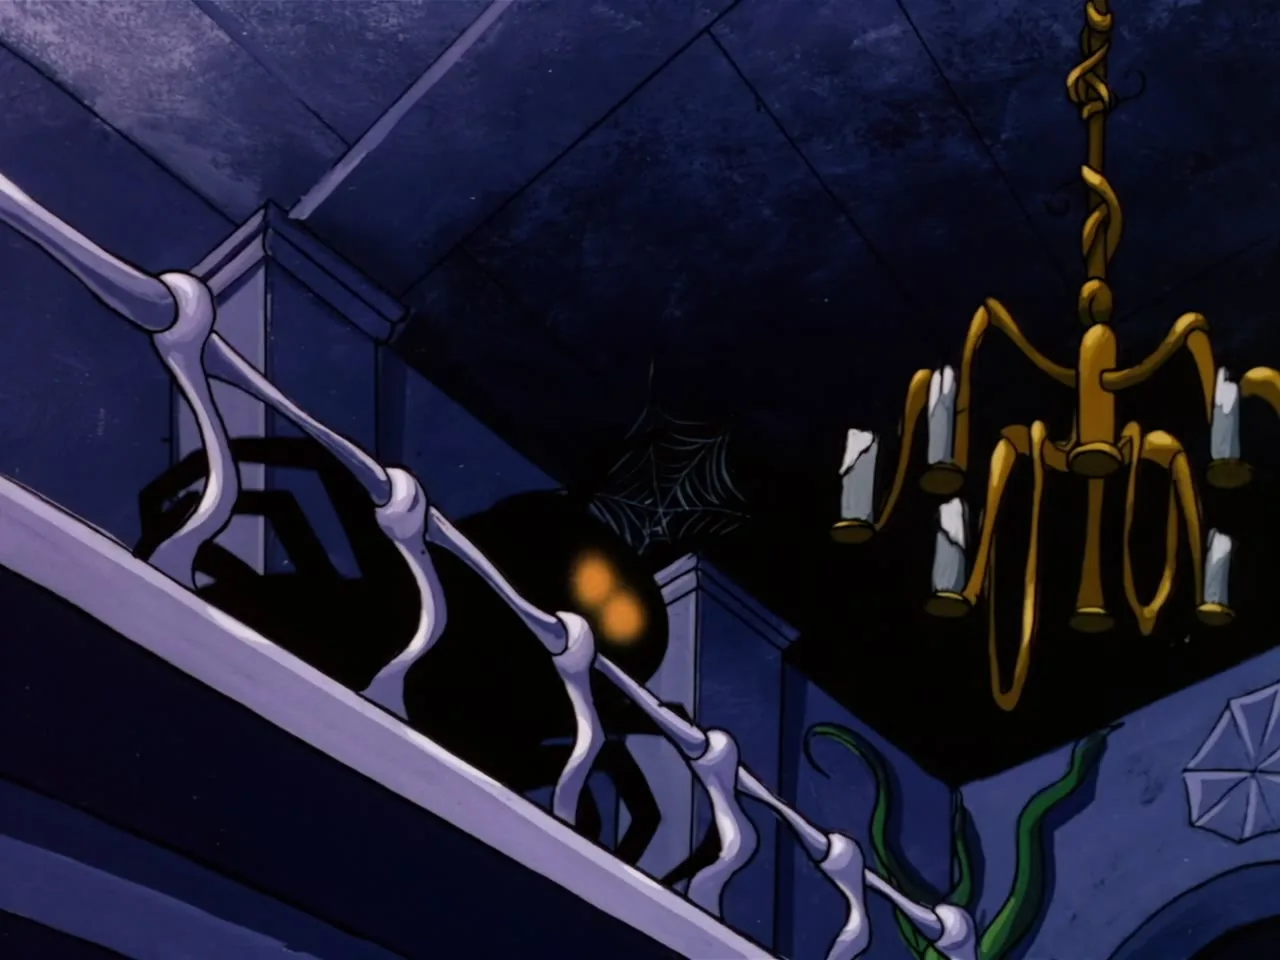
What the episode is actually about declares itself once Valtira starts draining trees for her youth and beauty: power here is explicitly a resource, taken from something else and spent on yourself, and the people around Tyrin and Valtira are just another resource to spend. Adam becomes her first conscript inside a few minutes of screen time, and it barely registers to her as wrong, because conscription is how she has always kept a kingdom. The episode never needs to state that outright. It shows Tyrin ordering his spider around with the same flat entitlement Valtira shows toward Adam, two people who have forgotten there is any other way to want something.

He-Man's answer to that isn't force. It's the smarter choice Booth makes here. When He-Man asks Valtira directly why she never tried to enslave him the way she enslaved Adam, her answer is the line the whole episode has been building toward: "Sago trusts you, and so do I. And I'm starting to learn I'd rather have friends than slaves." It's a strange thing for a villain to be allowed to say out loud and mean, and the show lets her mean it, a stronger move than giving He-Man a speech to deliver at her instead. The character does her own turning.

Sago does real work here too, more than a pet usually gets in this show. He's the one fixed point Valtira and Tyrin both reach for when the plot needs a gesture. Tyrin sics his spider on Sago out of jealousy rather than strategy, and Tyrin going back for him under the collapsing castle, after everything else that's happened, is the clearest evidence the episode gives that his and Valtira's affection for each other was never entirely buried under the amulets.

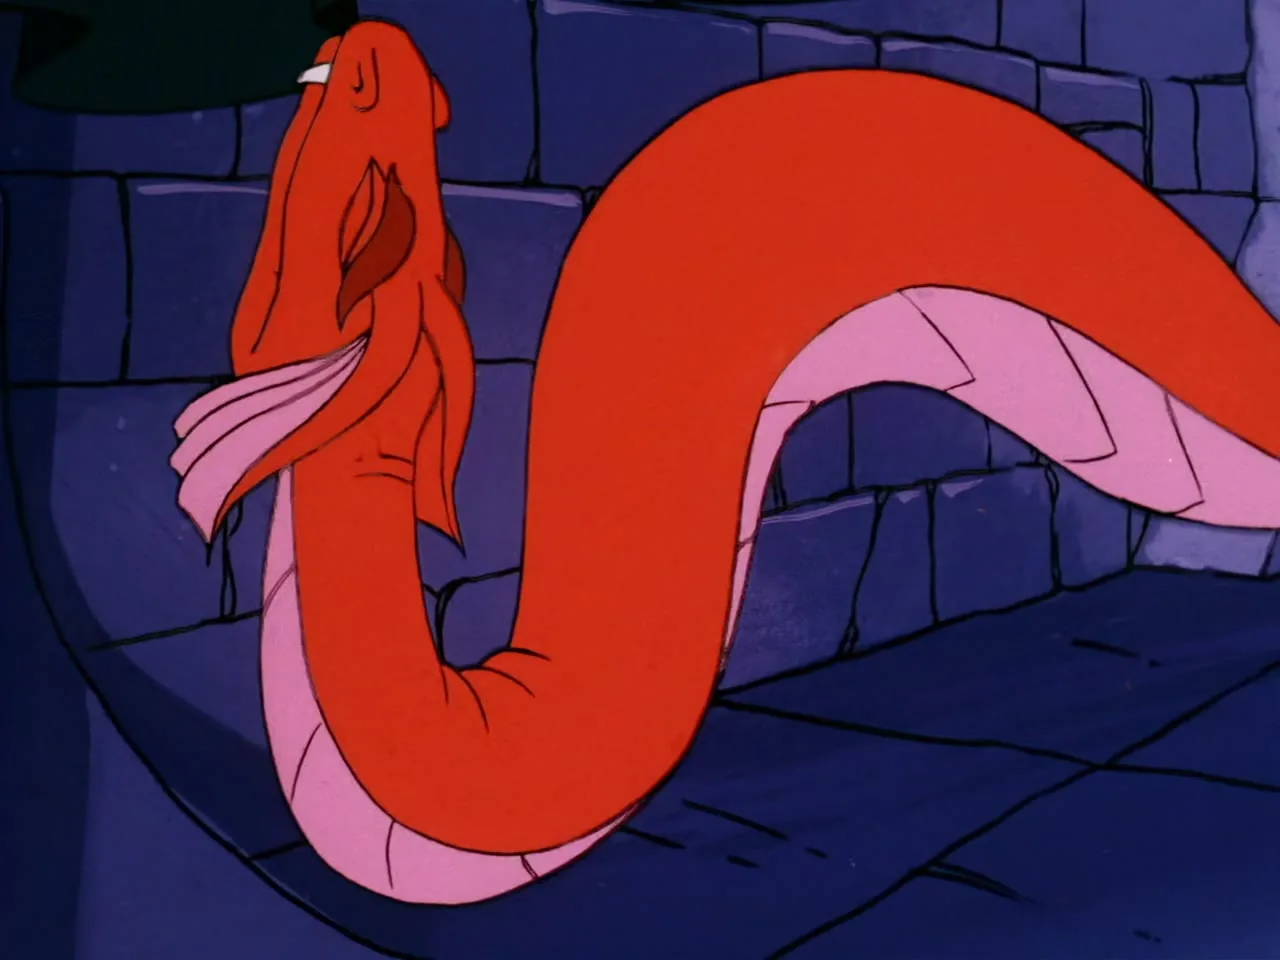
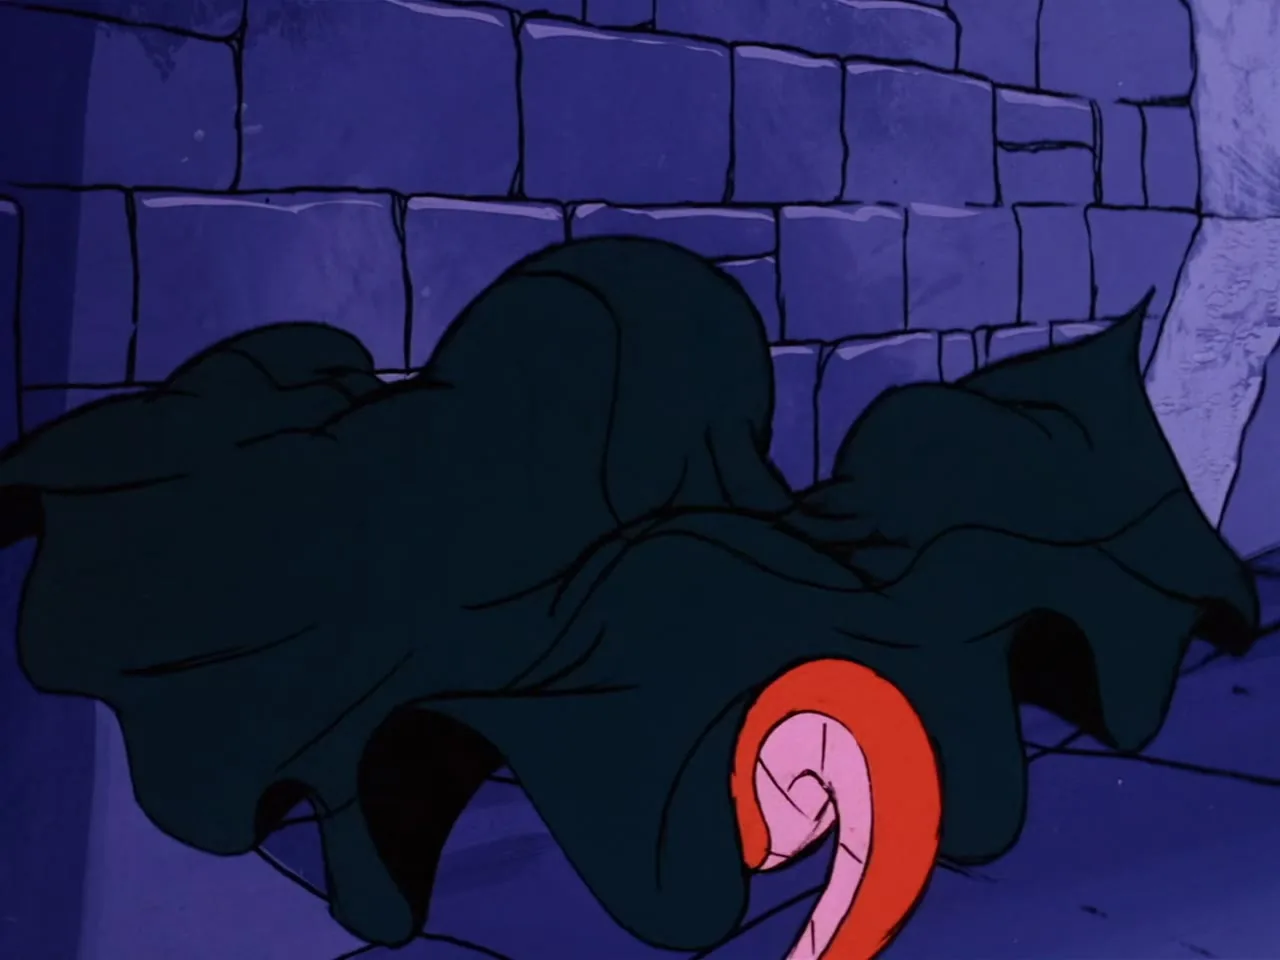
The giant snake sequence in the throne room is the episode's best piece of pure action. The animation gives the snake real scale against the hall, and He-Man tying it into a curtain rather than simply beating it down is the kind of specific, improvised solution this show does well when it bothers to. It's also, not coincidentally, the one fight scene that has nothing to do with the episode's actual conflict. That conflict is a domestic one, a husband and wife who have drifted into being tyrants, and no sword settles it. That mismatch is the episode's one real soft spot: once Tyrin and Valtira are reunited, the castle's collapse and the amulet-smashing resolution arrive fast, with the genuine reconciliation between them compressed into a scene or two after twenty minutes spent on misunderstanding.

Still, the ending earns its warmth. Tyrin and Valtira tear off the amulets themselves, restored to youth by the choice rather than by magic doing it to them, and Teela closes the episode promising to make a hero out of Adam "someday," a line that plays as a joke only because we already know the punchline. "The Sleepers Awaken" isn't trying to be one of the show's bigger adventures, but it is one of the more thoughtful ones about what power is actually for. Getting that right is harder for a Saturday morning cartoon than staging a sword fight.

Notes of Interest

  1. Behind the scenes: Script was approved March 25, 1983 and final script revision took place May 5, 1983. In the script, Lord Tyrin had more interactions with the large spider that does his bidding, treating it like an oafish sidekick. Originally, after He-Man ties the giant snake up in a tapestry, Sago was scripted to approach the sack and poke it.
  2. Continuity: The facial features of Lady Valtira would be used as the character model for the 'Gorgeous Woman' in The Return of Granamyr. The character design for Sago was reused as Batty in One for All. If one goes through the sequence in which He-Man picks Lady Valtira up from the ground frame by frame, He-Man appears to cup one of her breasts for a single frame. The animation of He-Man tying up the large snake in the tapestry would be reanimated in One for All to show He-Man fashioning a lasso from the Permavine.
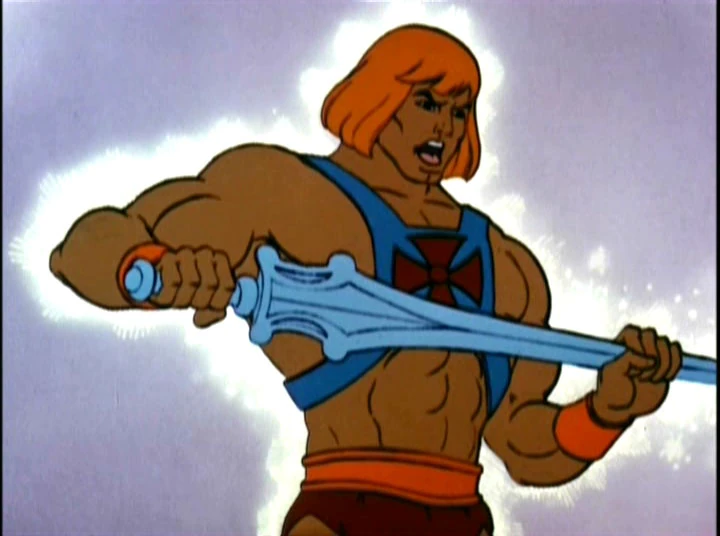
  3. More continuity: The shot of Teela holding He-Man's shoulder will be used again in The Problem with Power. A version in wich Teela is replaced by the Sorceress is seen in Origin of the Sorceress and yet another version in which Man-At-Arms takes the place of He-Man is seen in Orko's Return. The shot of He-Man picking up the Sword of Power would be used again, but with Adam replacing He-Man, in One for All.
  4. Animation errors and goofs: When Valtira awakens from her 200 year sleep, her bare legs are colored red like her dress. Near the end, Lady Valtira is not wearing her amulet moments before she takes it off and destroys it.
  5. Adam and Teela discover an ancient castle whose rulers, Lord Tyrin and Lady Valtira, wake from a two-hundred-year sleep determined to rule as they once did, through fear and the forest's stolen life force, until He-Man gives them something worth staying awake for.
Cast Appearances

Full roster →

Episode screenshots

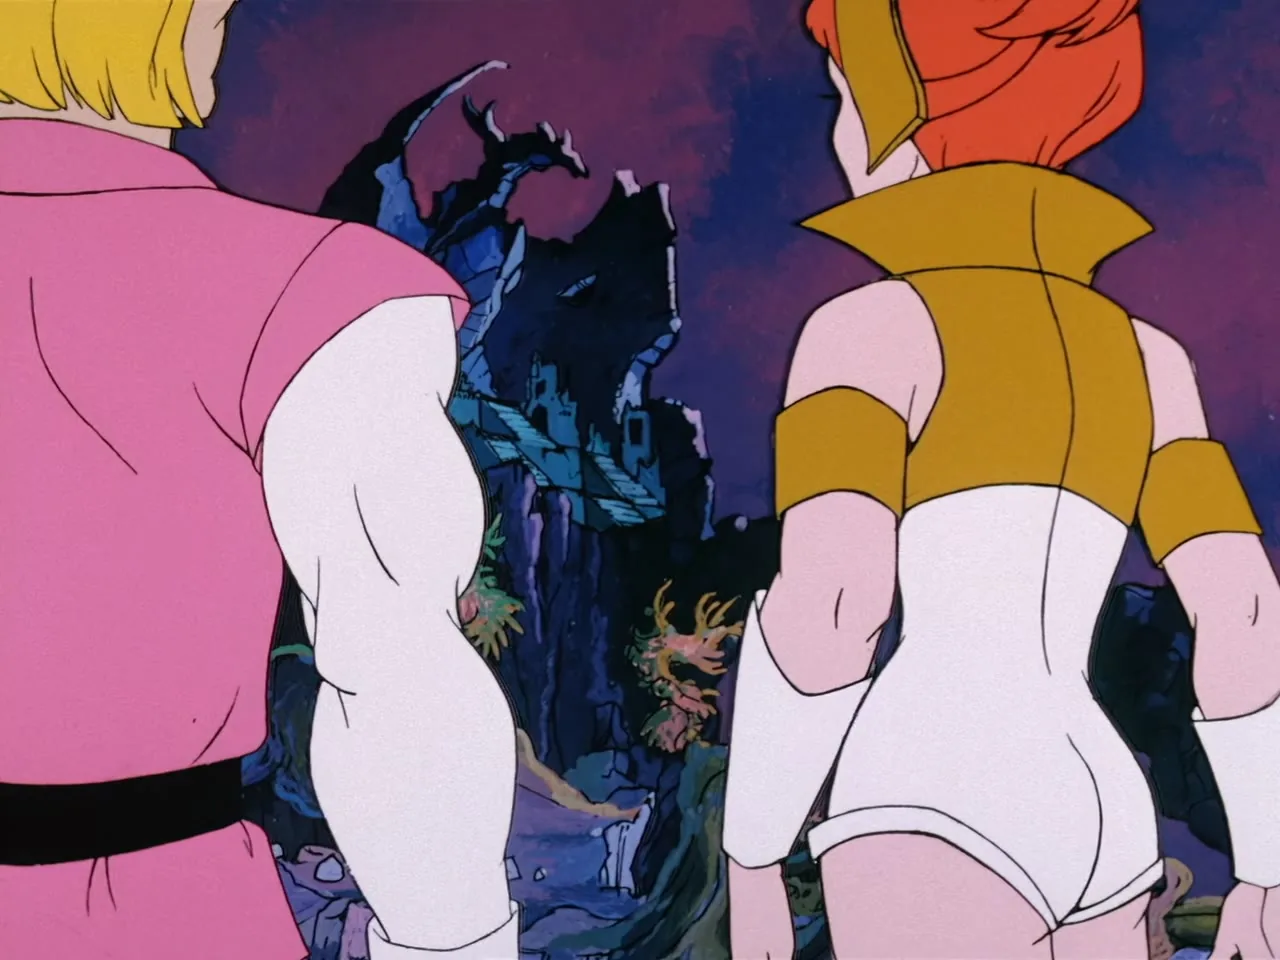
Prince Adam and Teela stand with their backs turned, facing the ruined castle.
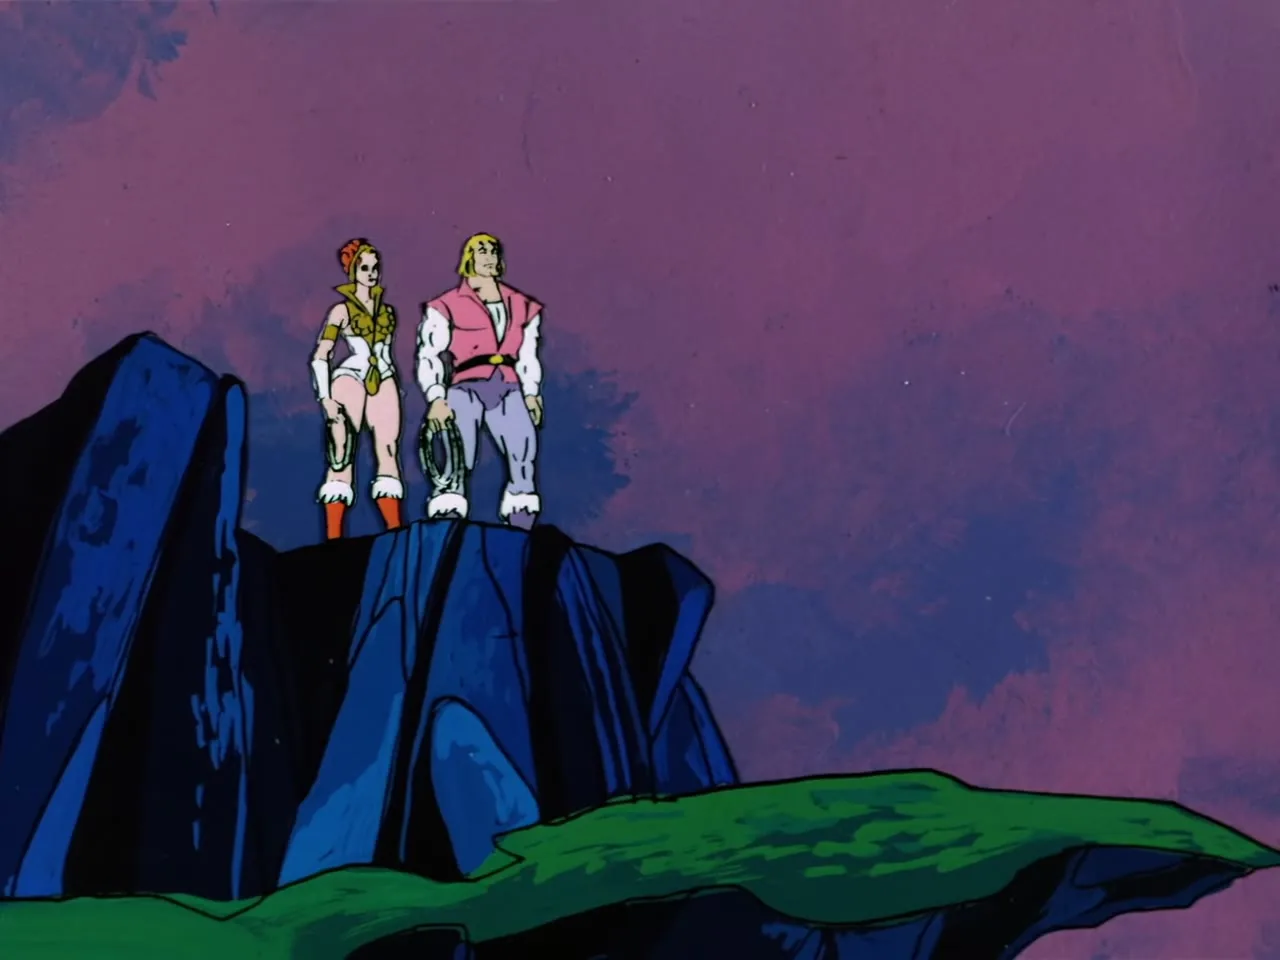
Prince Adam and Teela stand on a rocky outcrop holding coiled lassos.
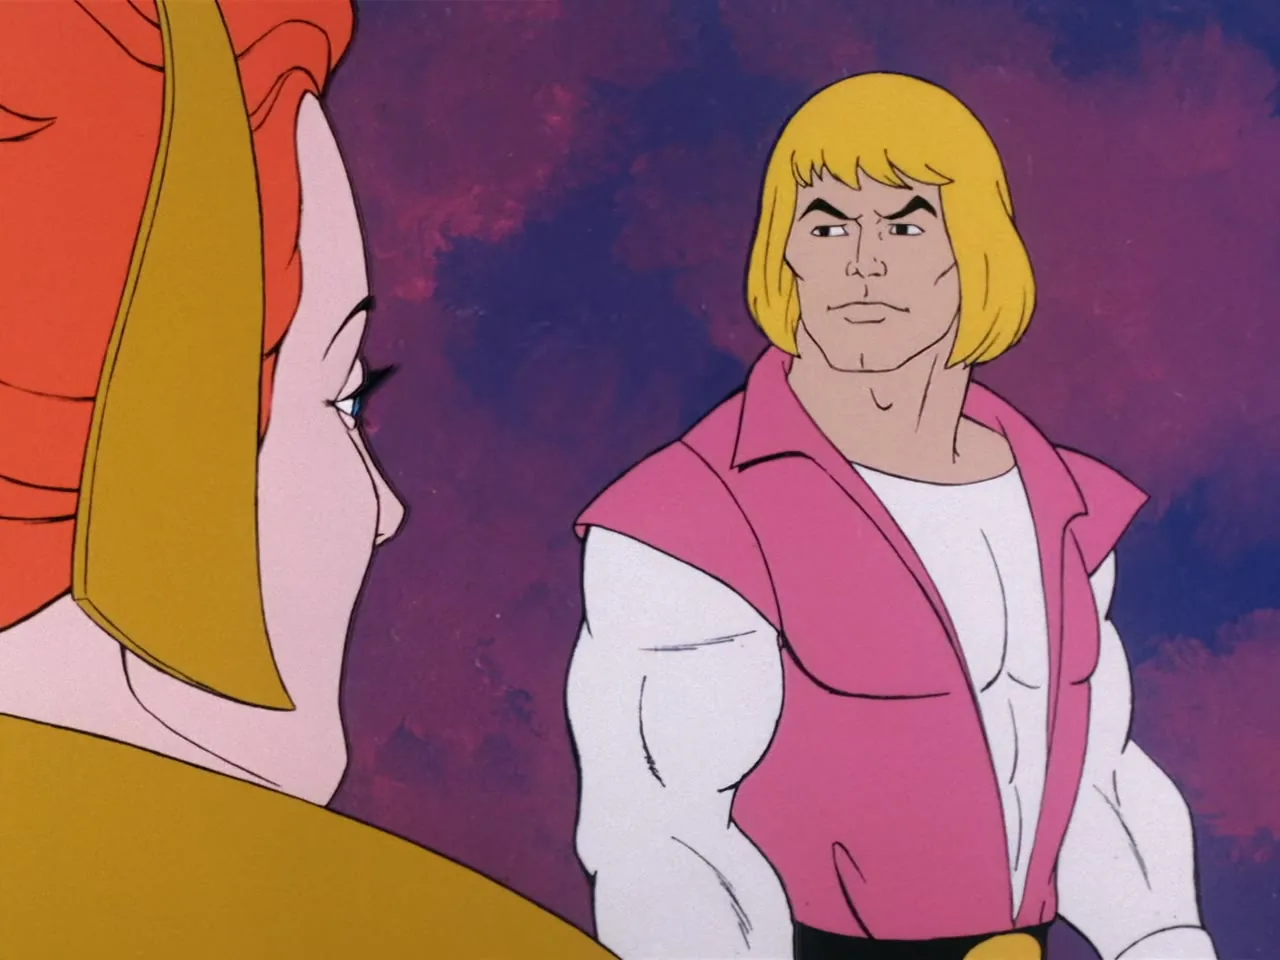
Prince Adam looks on while Teela speaks in the foreground.
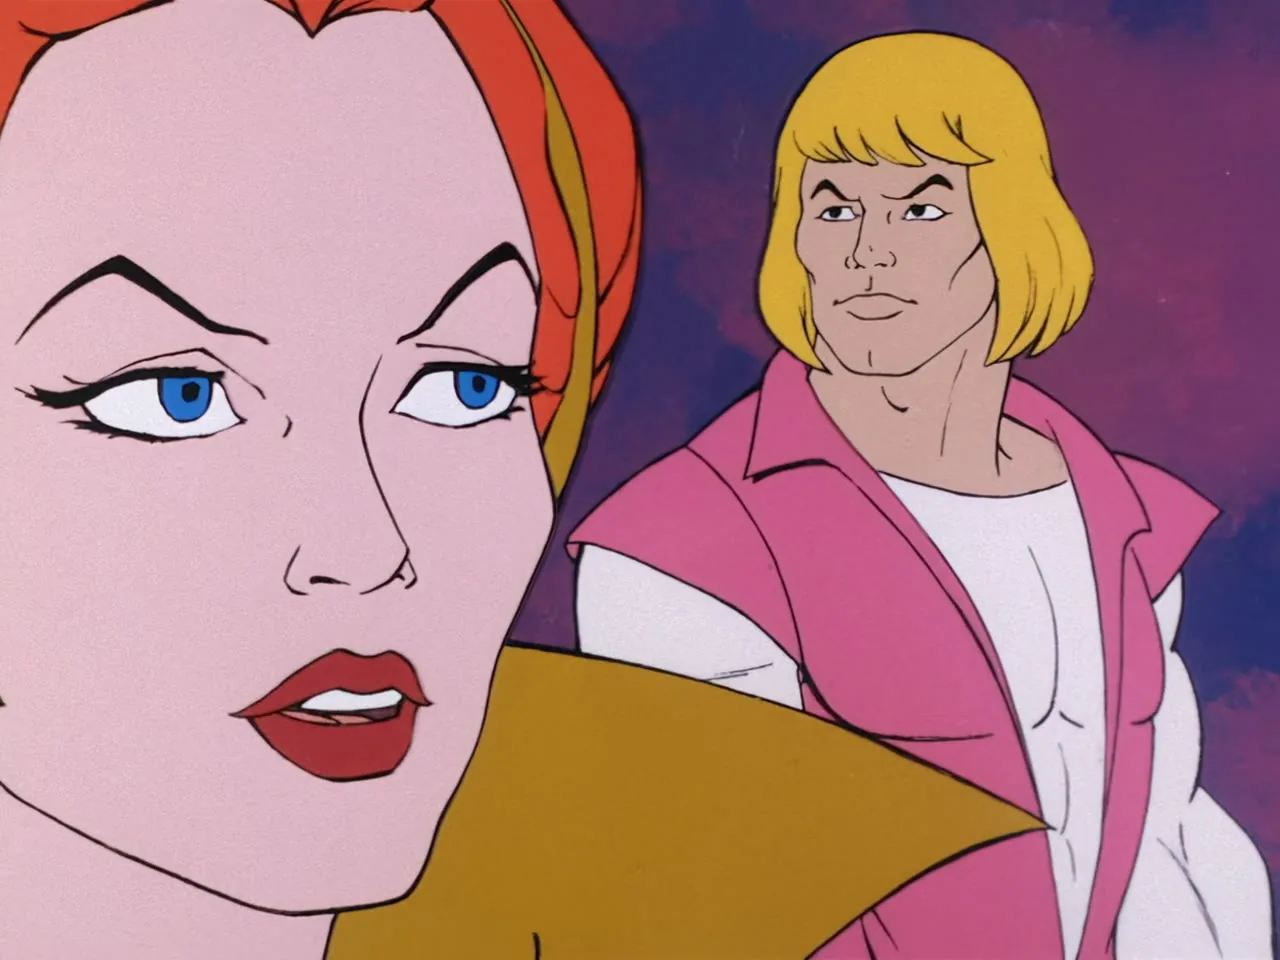
Teela looks aside in the foreground while Prince Adam stands behind her.
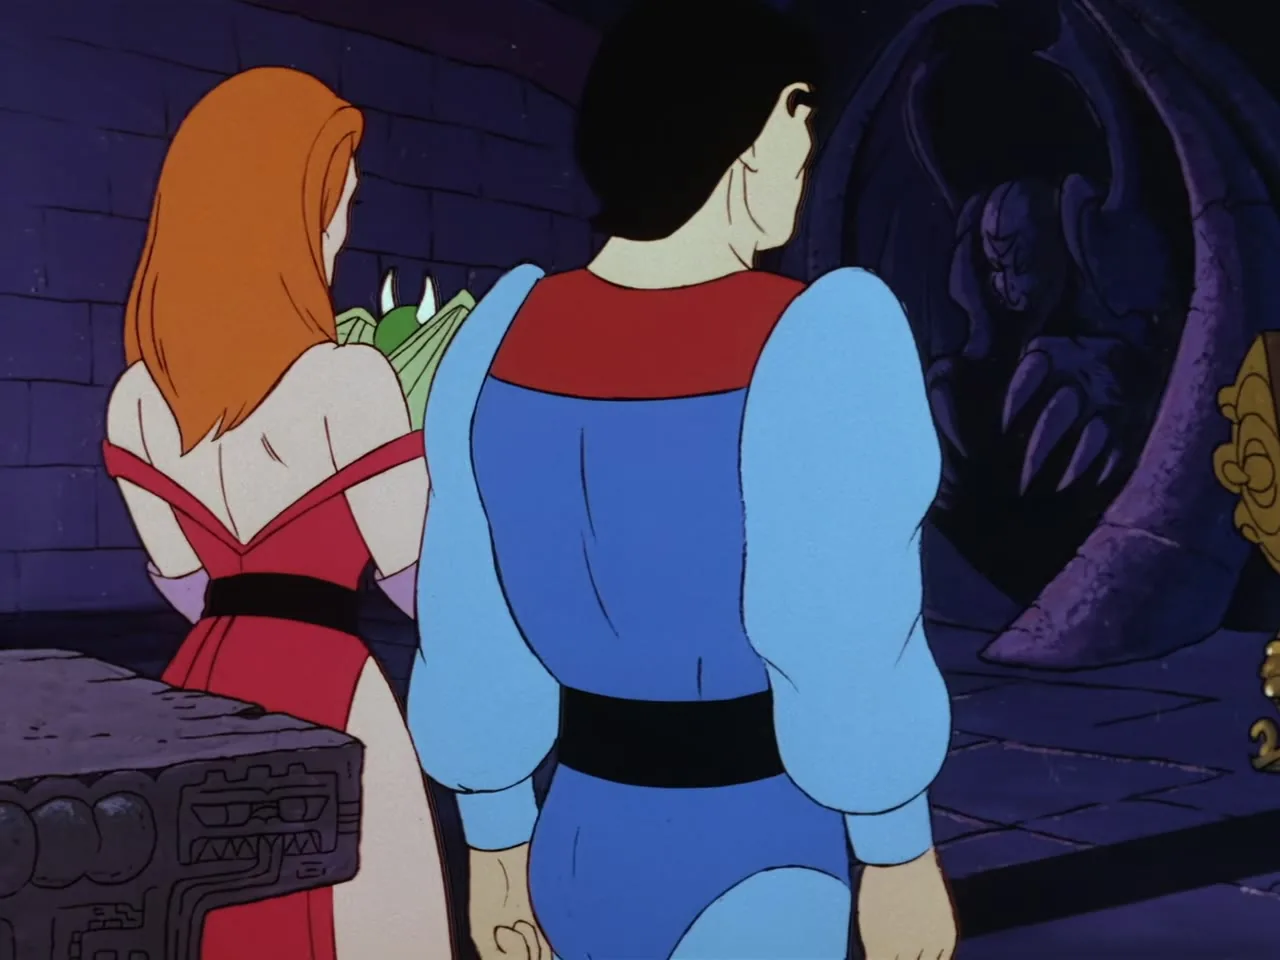
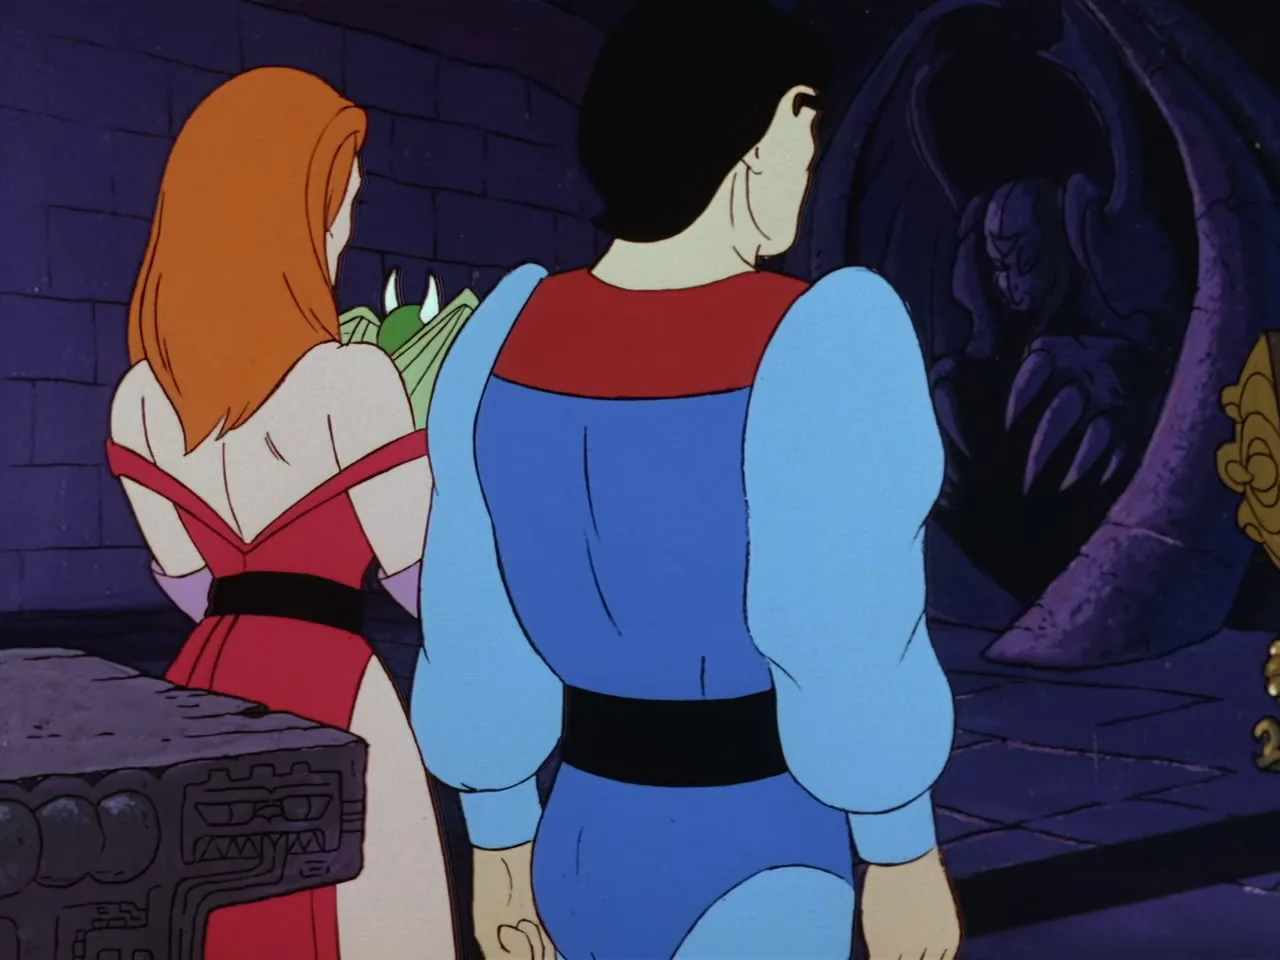
Lord Tyrin and Lady Valtira stand with their backs turned, with Sago behind them.
Lord Tyrin and Lady Valtira stand together with their backs turned beside a coffin.
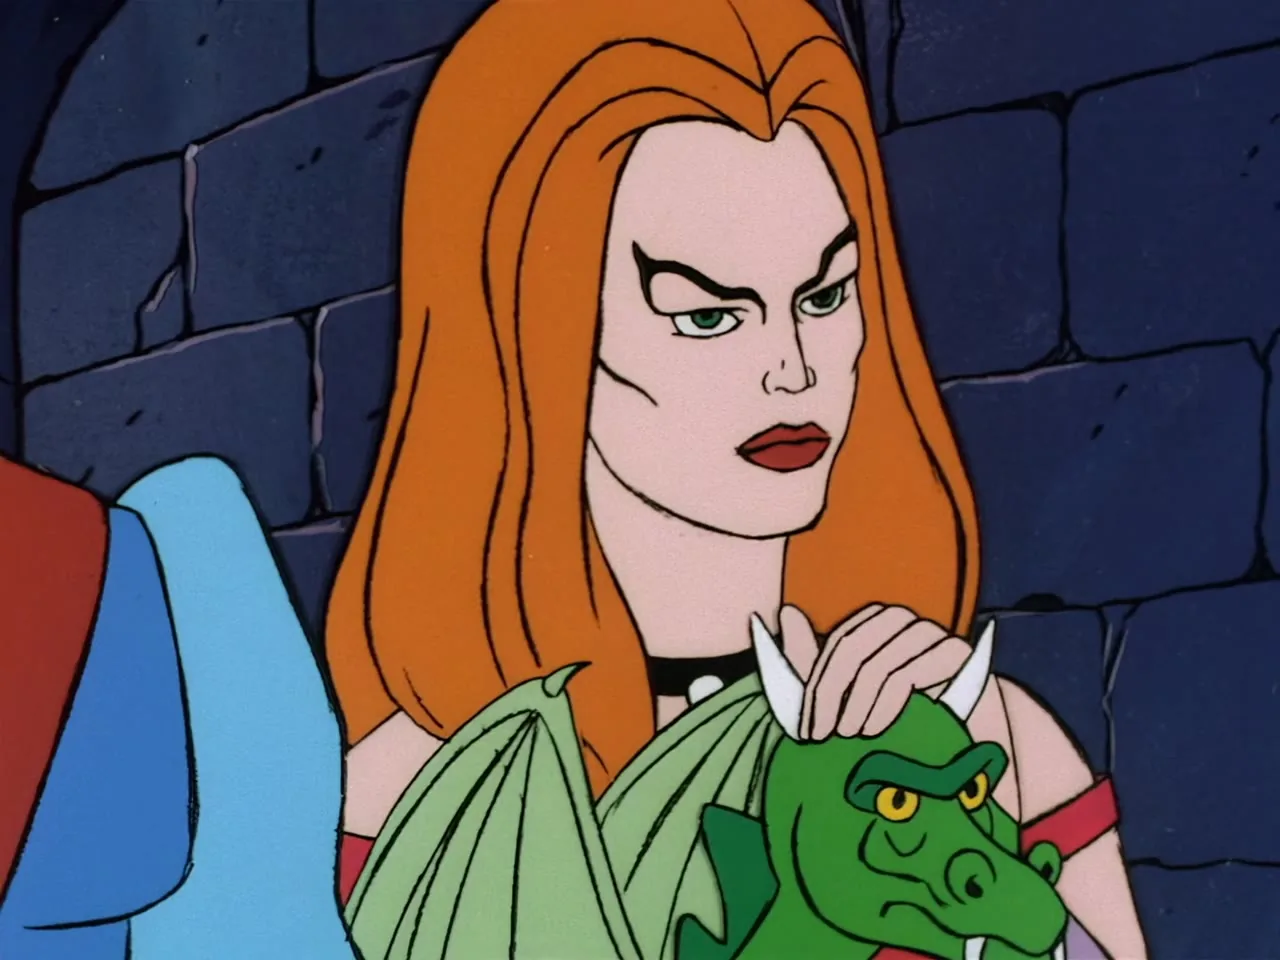
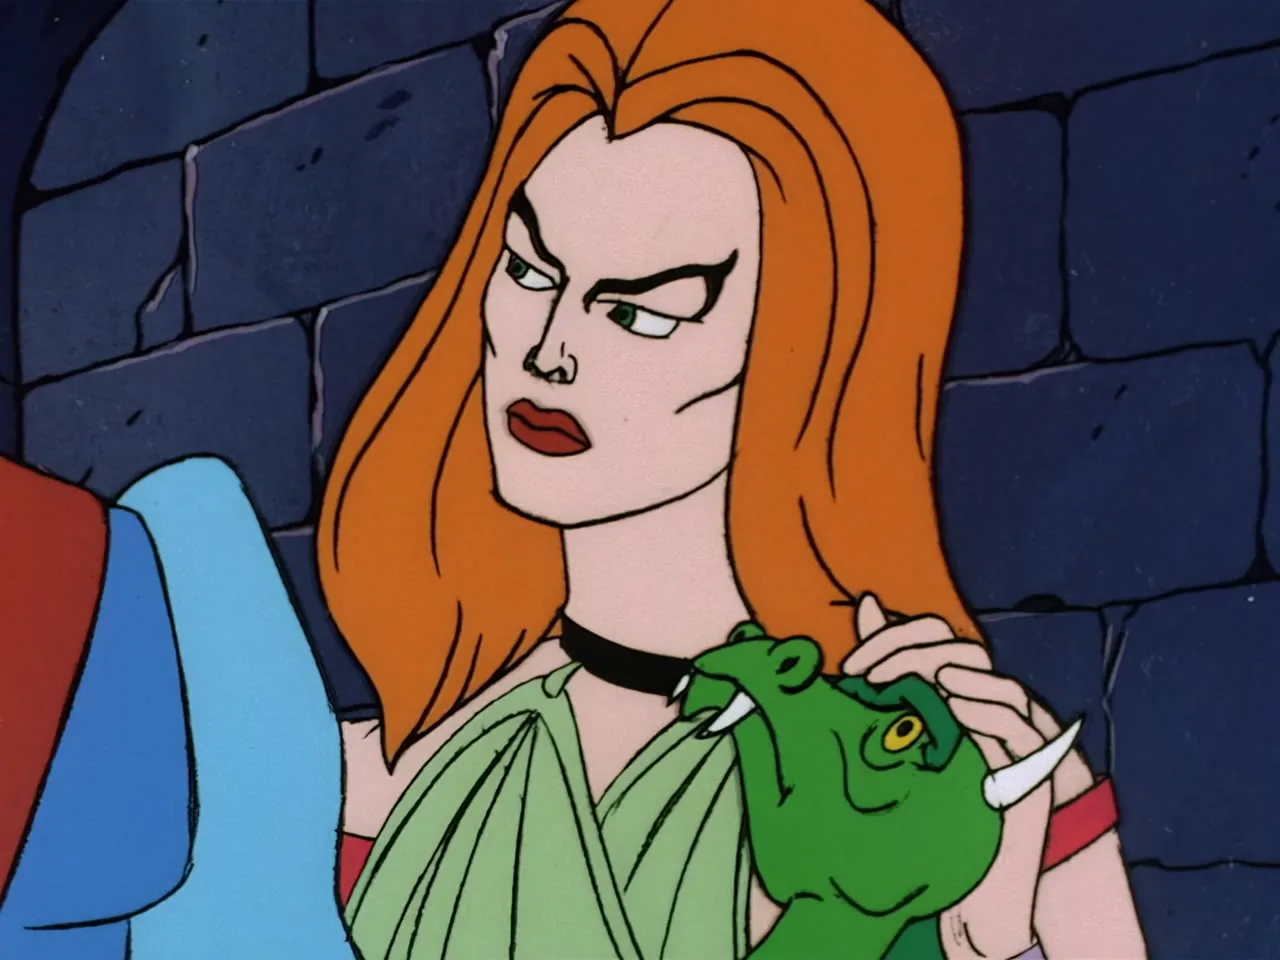
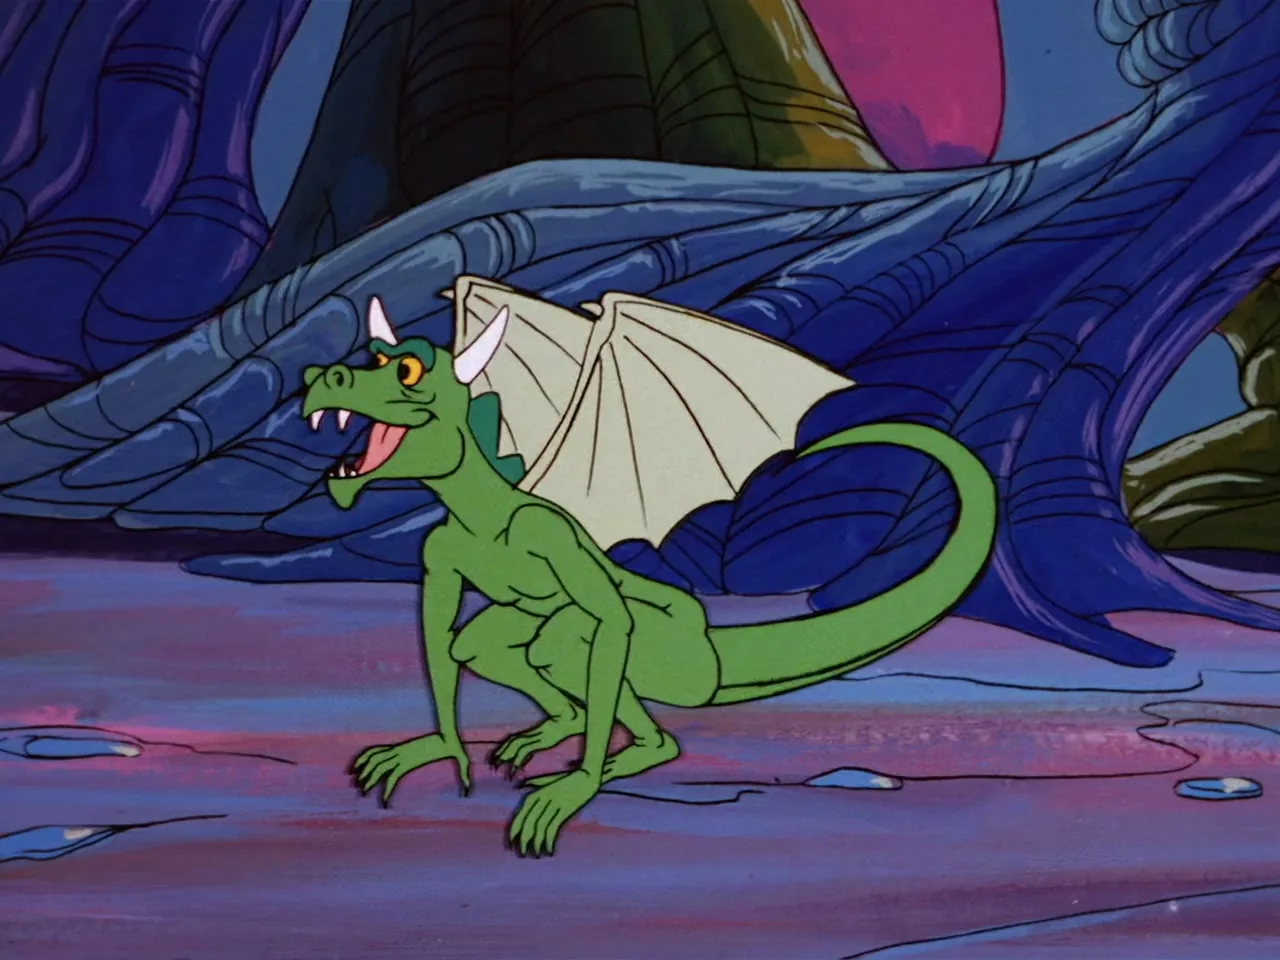
Lady Valtira strokes the small green dragon Sago.
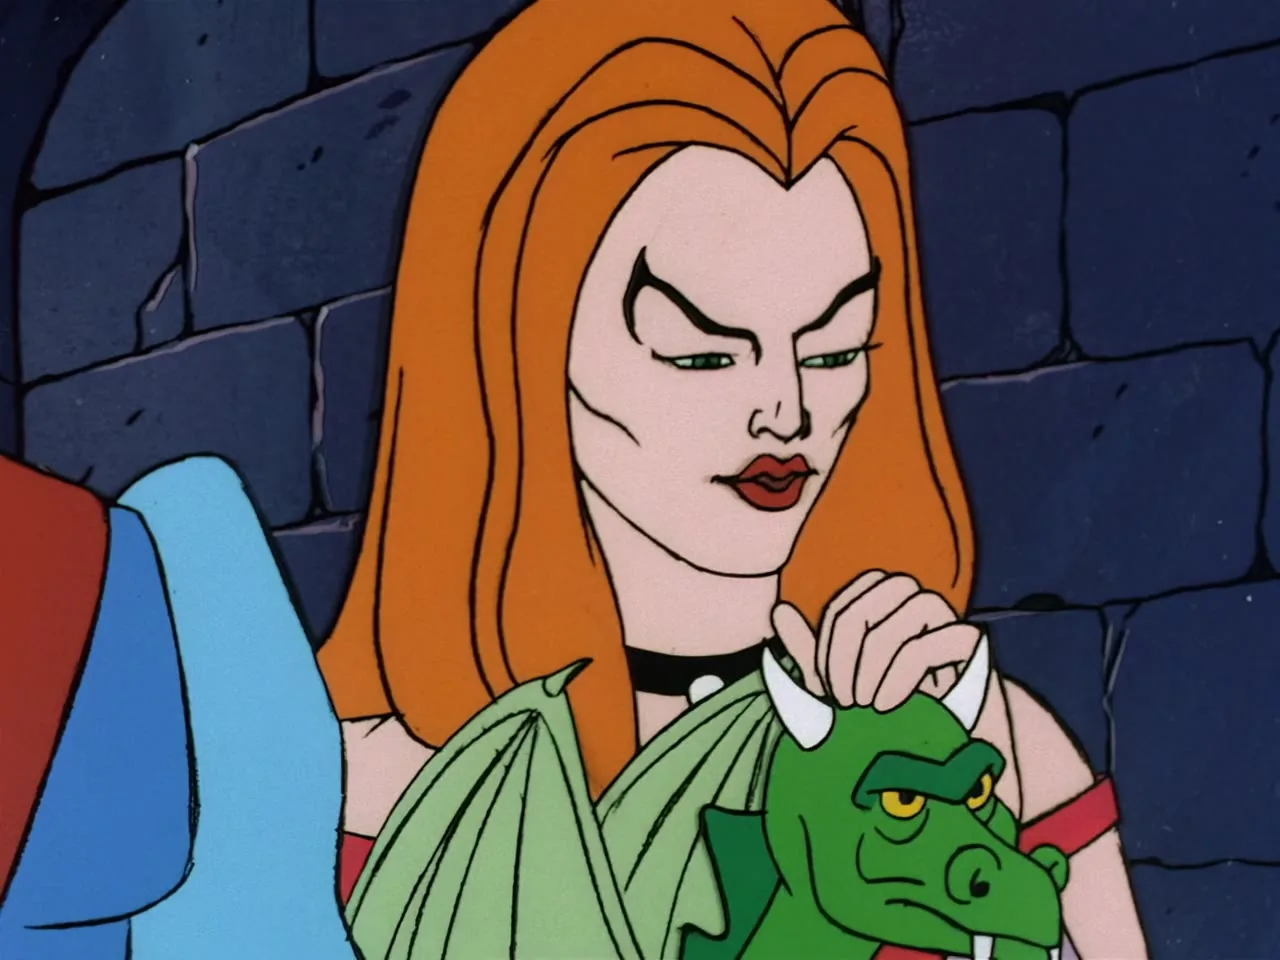
Lady Valtira pets Sago while looking down.
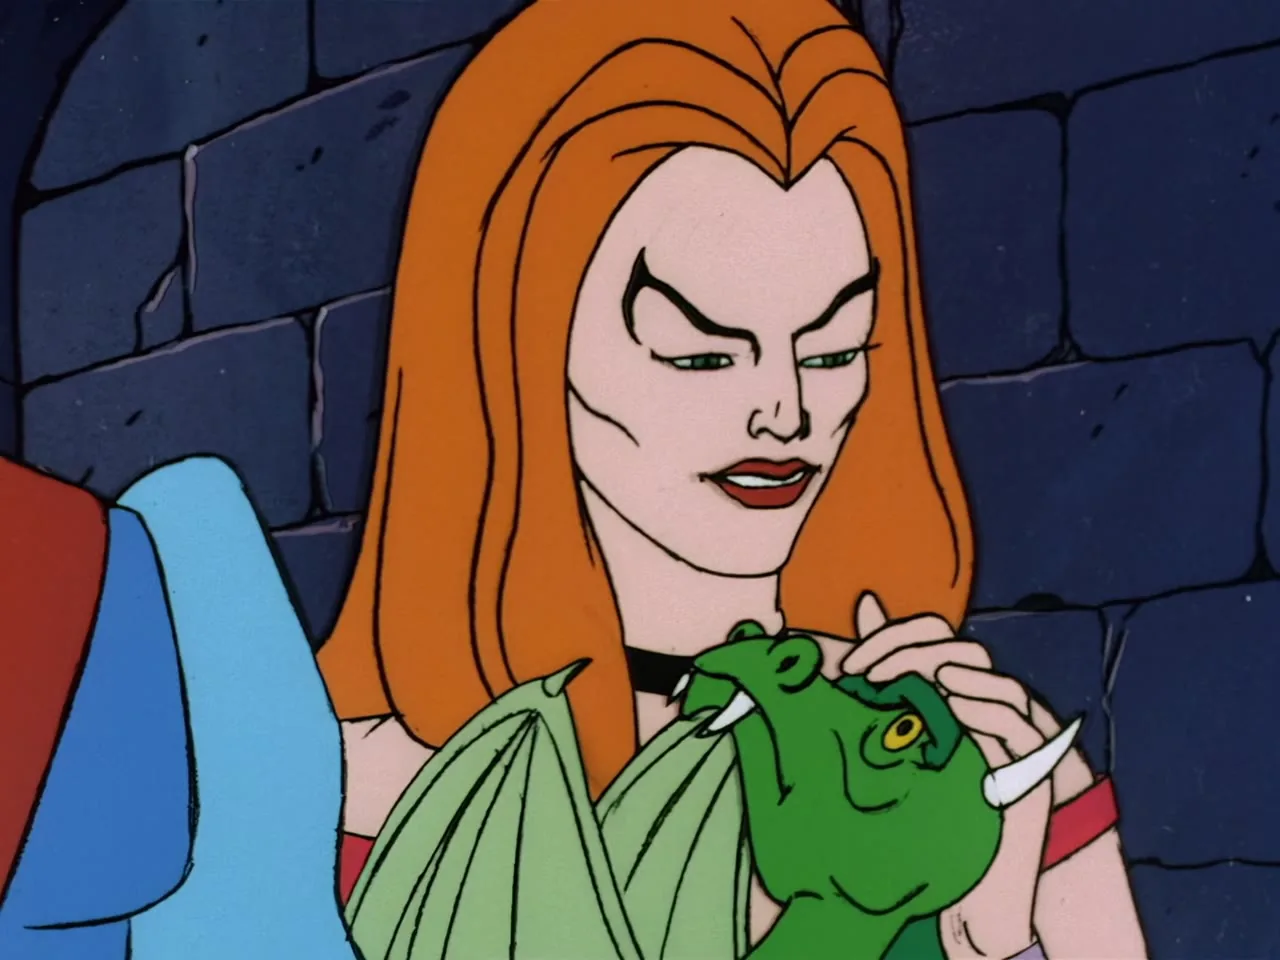
Lady Valtira smiles as she pets Sago.
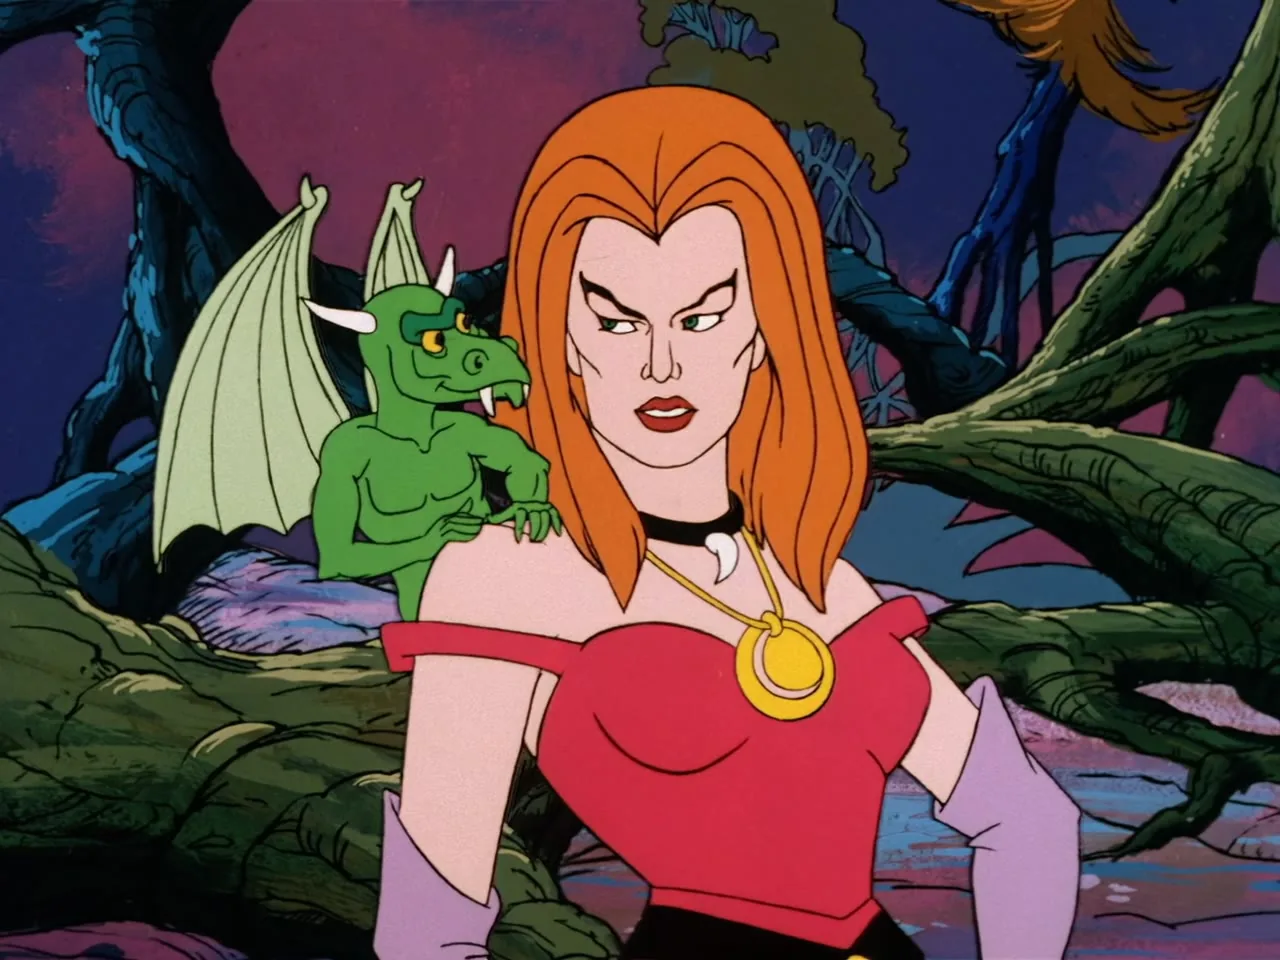
Lady Valtira glances sideways with Sago on her arm.
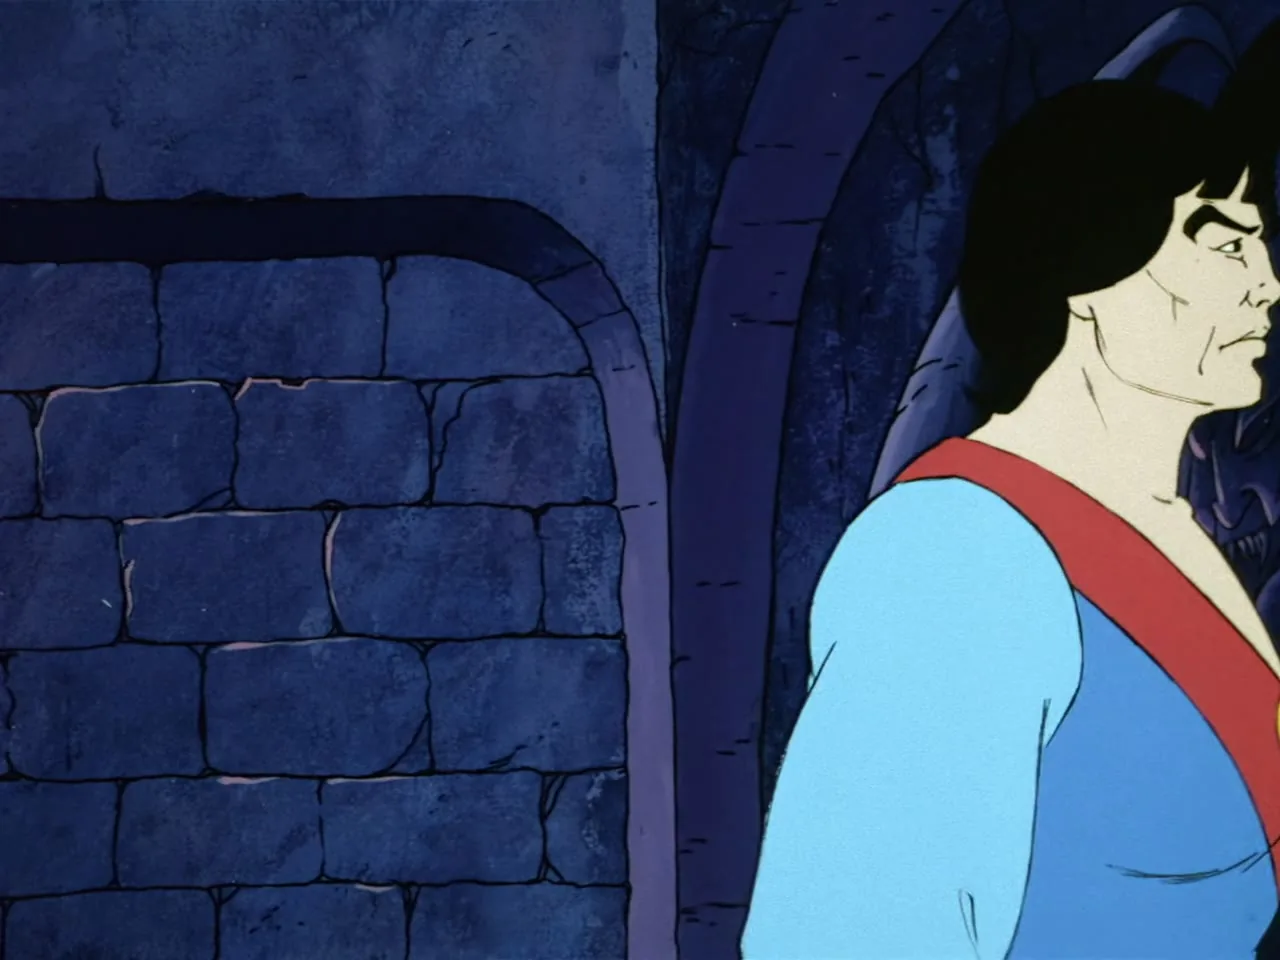
Lord Tyrin stands in profile against a stone wall.
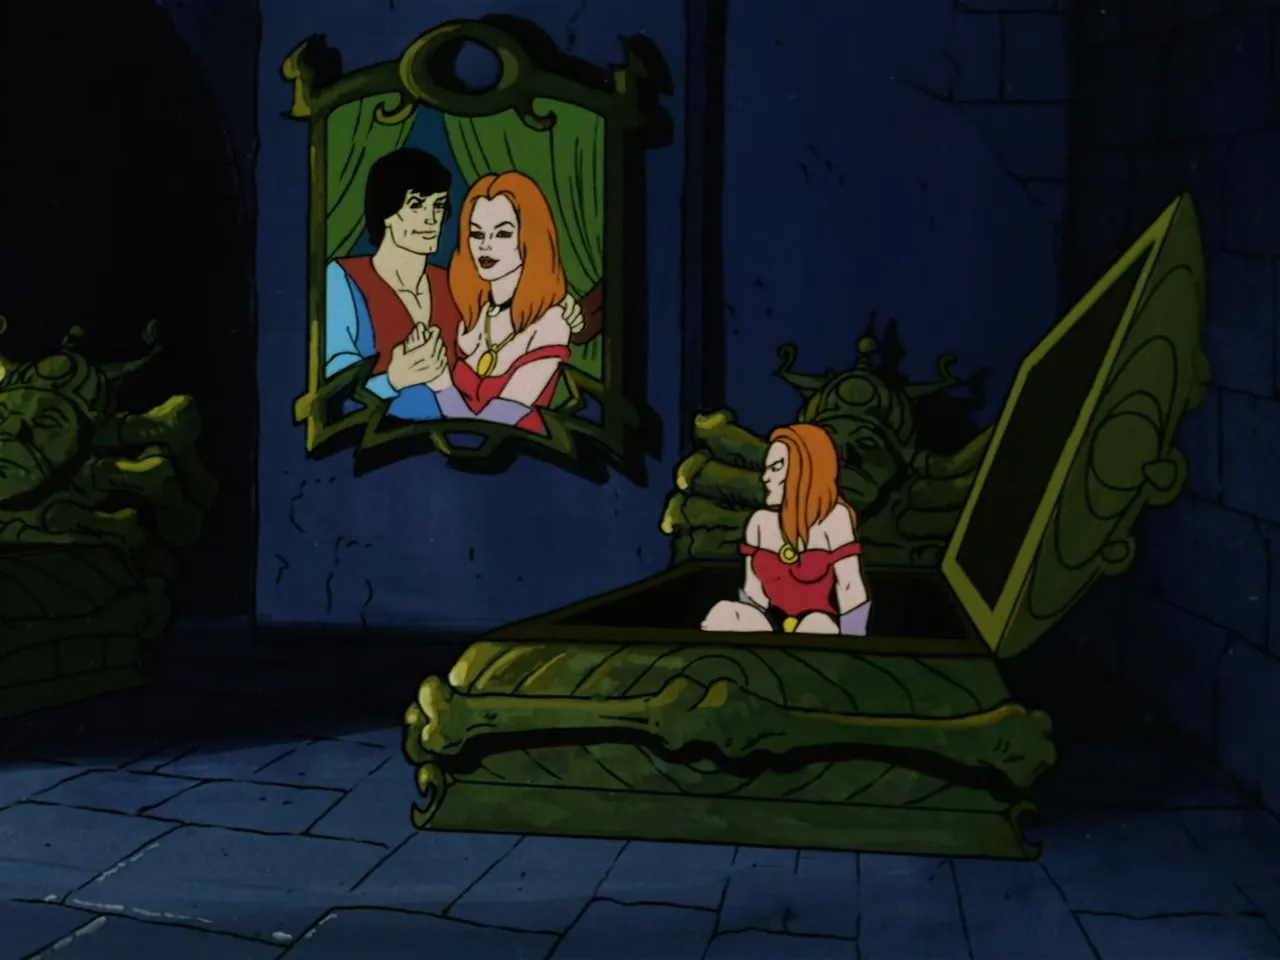
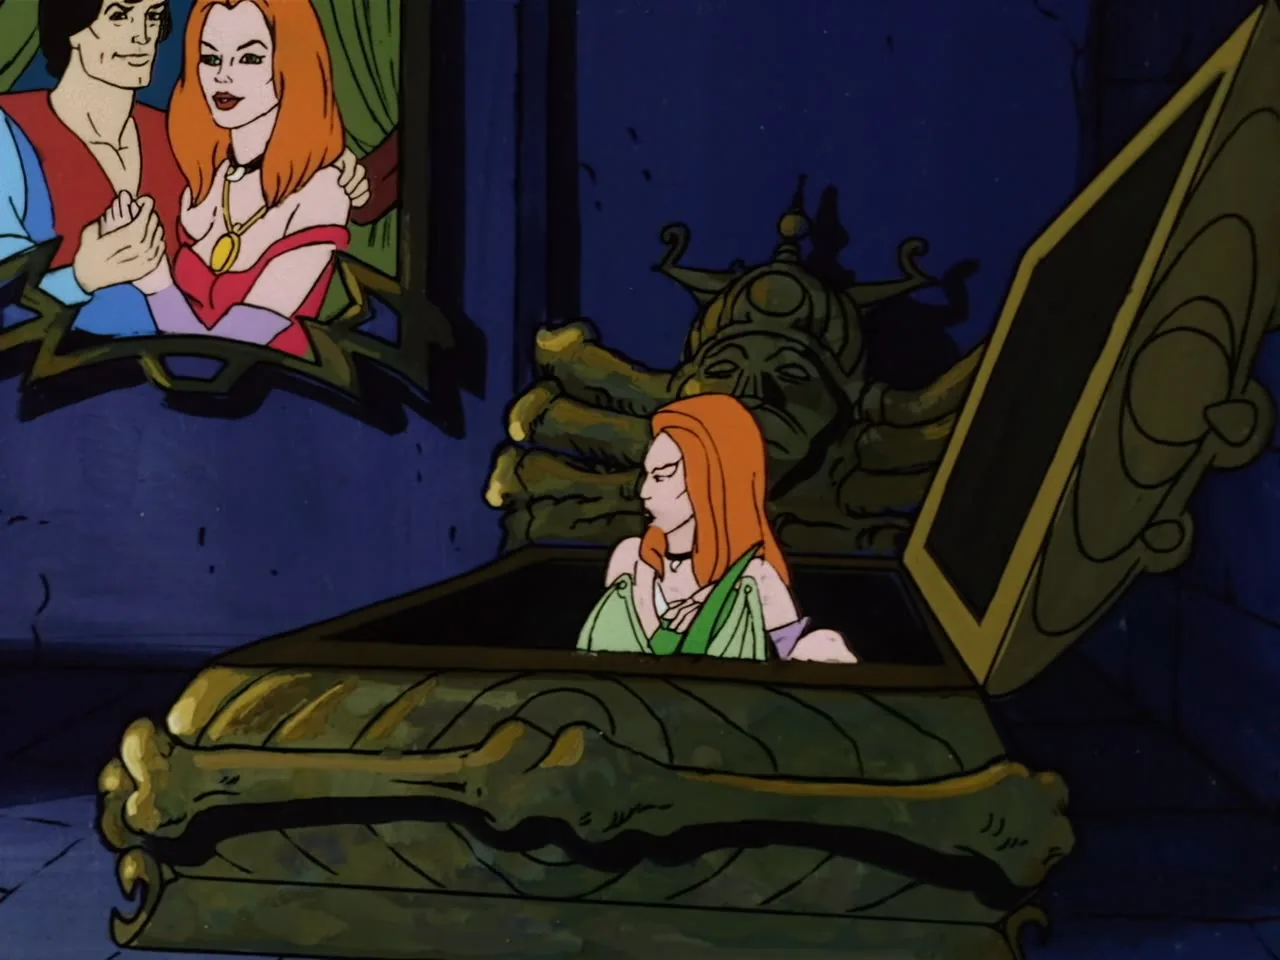
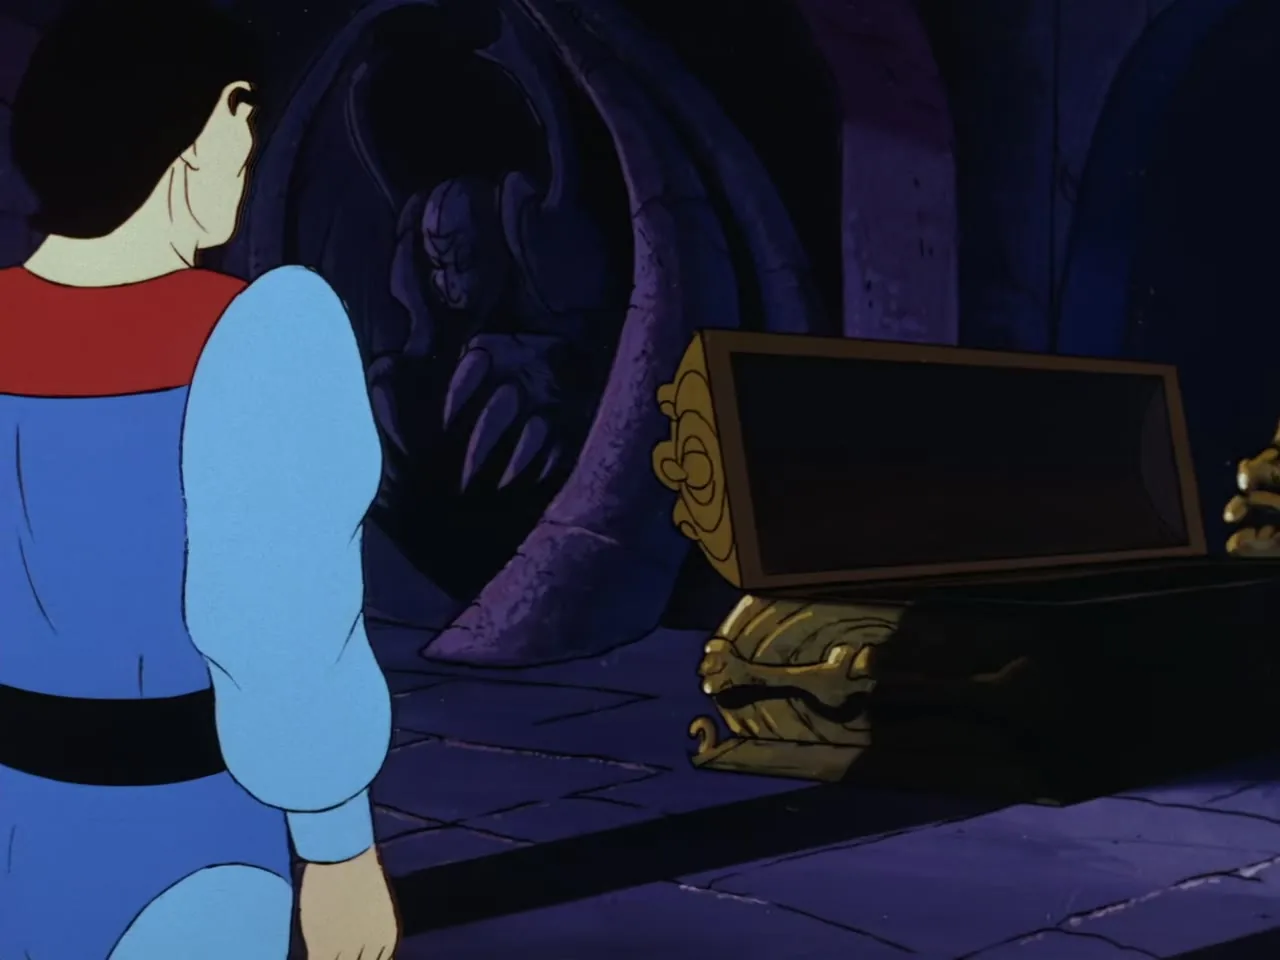
Lady Valtira sits up in her open coffin beneath a portrait of the couple.
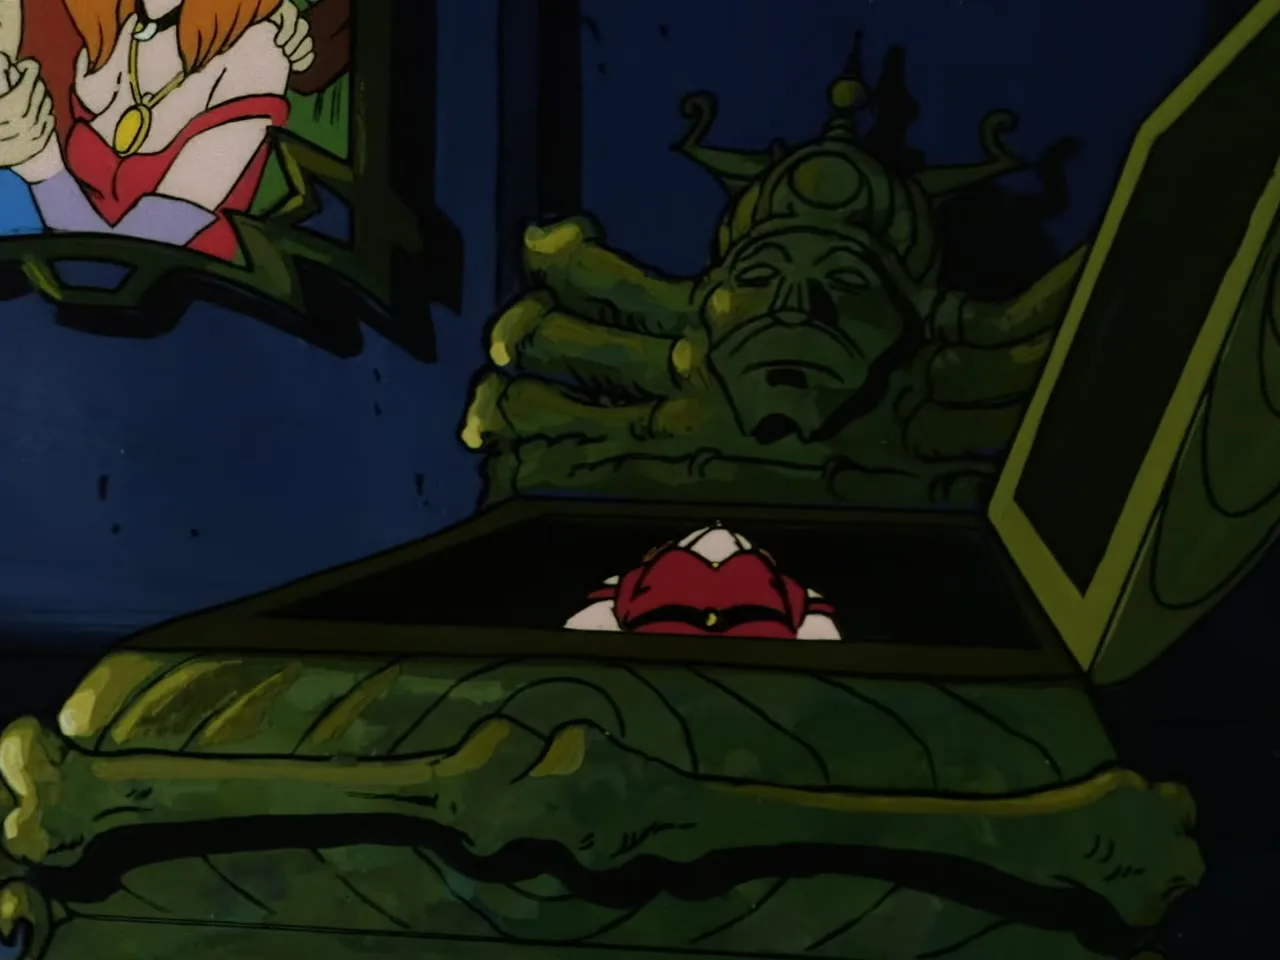
Lady Valtira's face rises just above the rim of the open coffin.
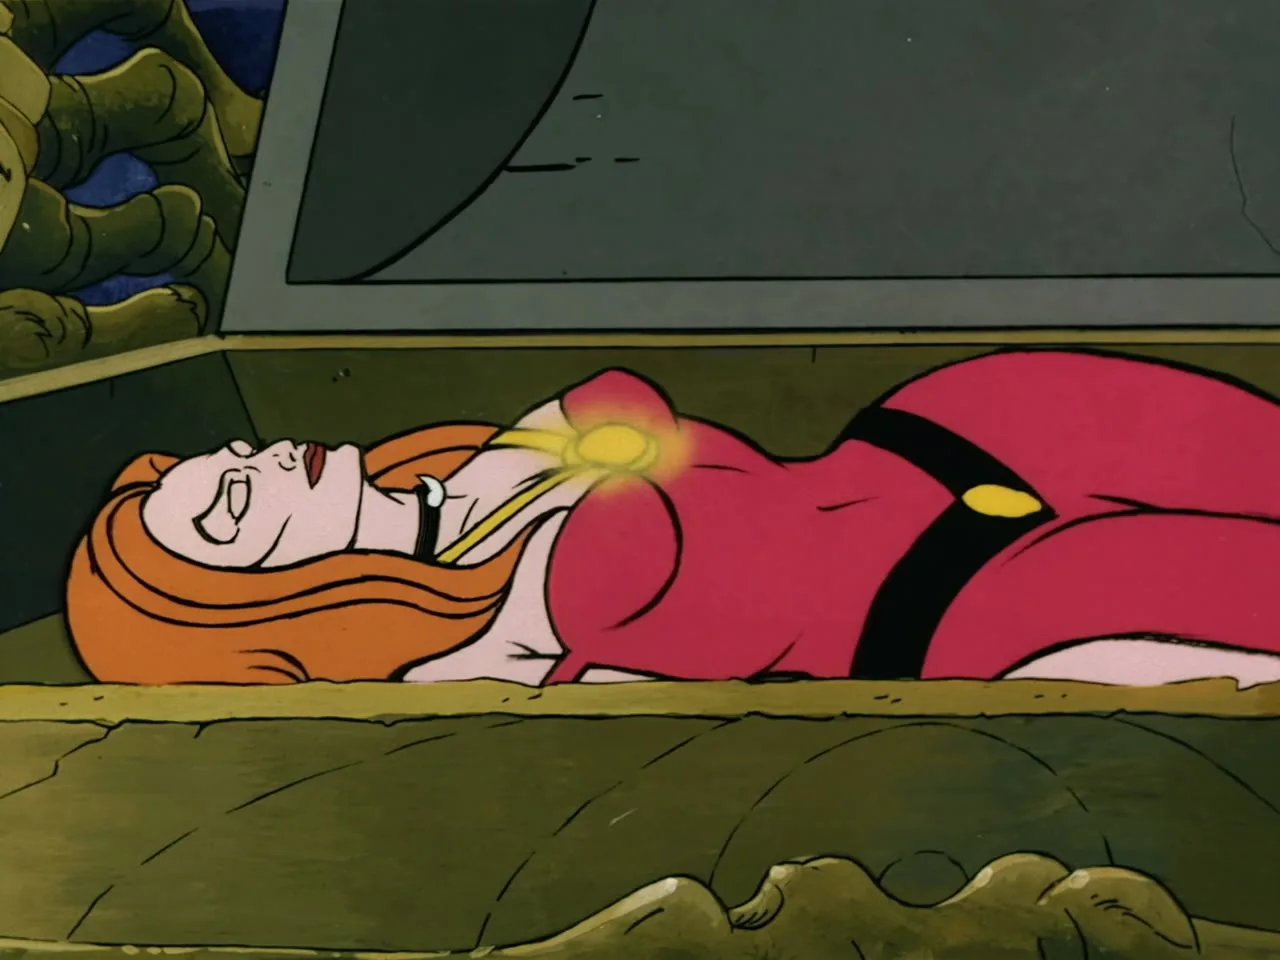
Lady Valtira lies in her coffin as a gem on her forehead glows.
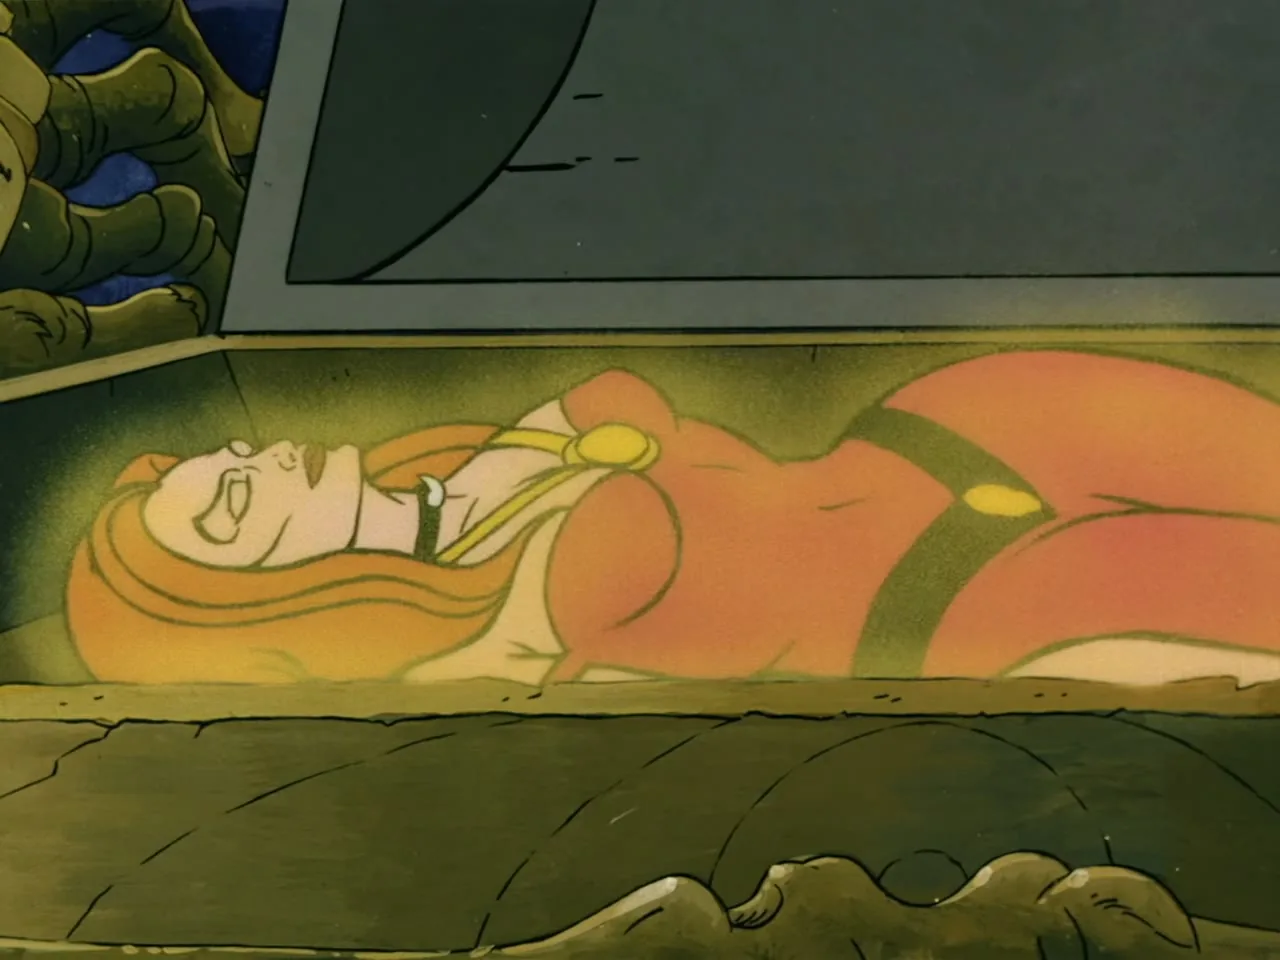
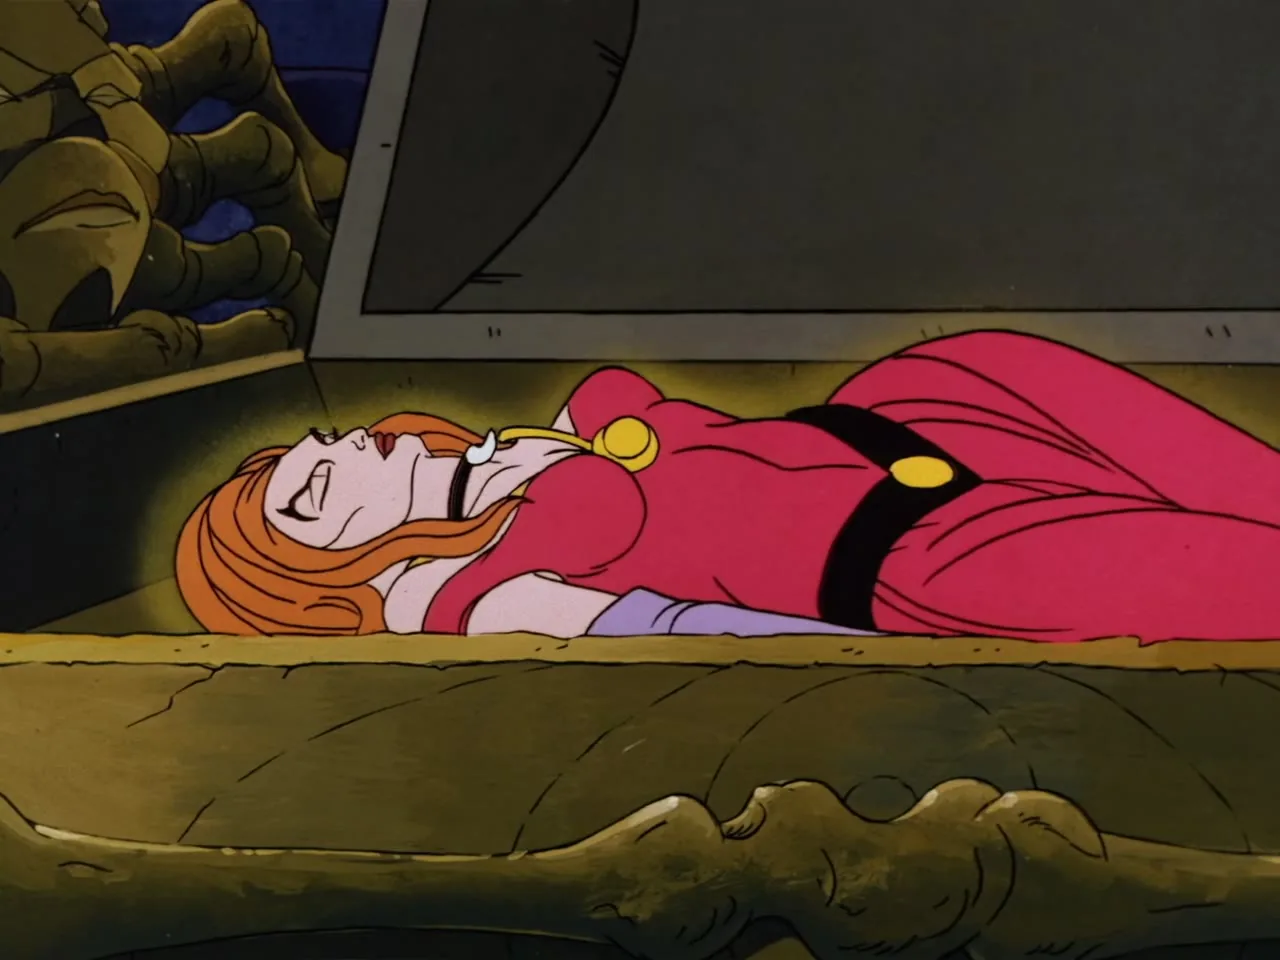
Lady Valtira lies in her coffin bathed in a yellow glow.
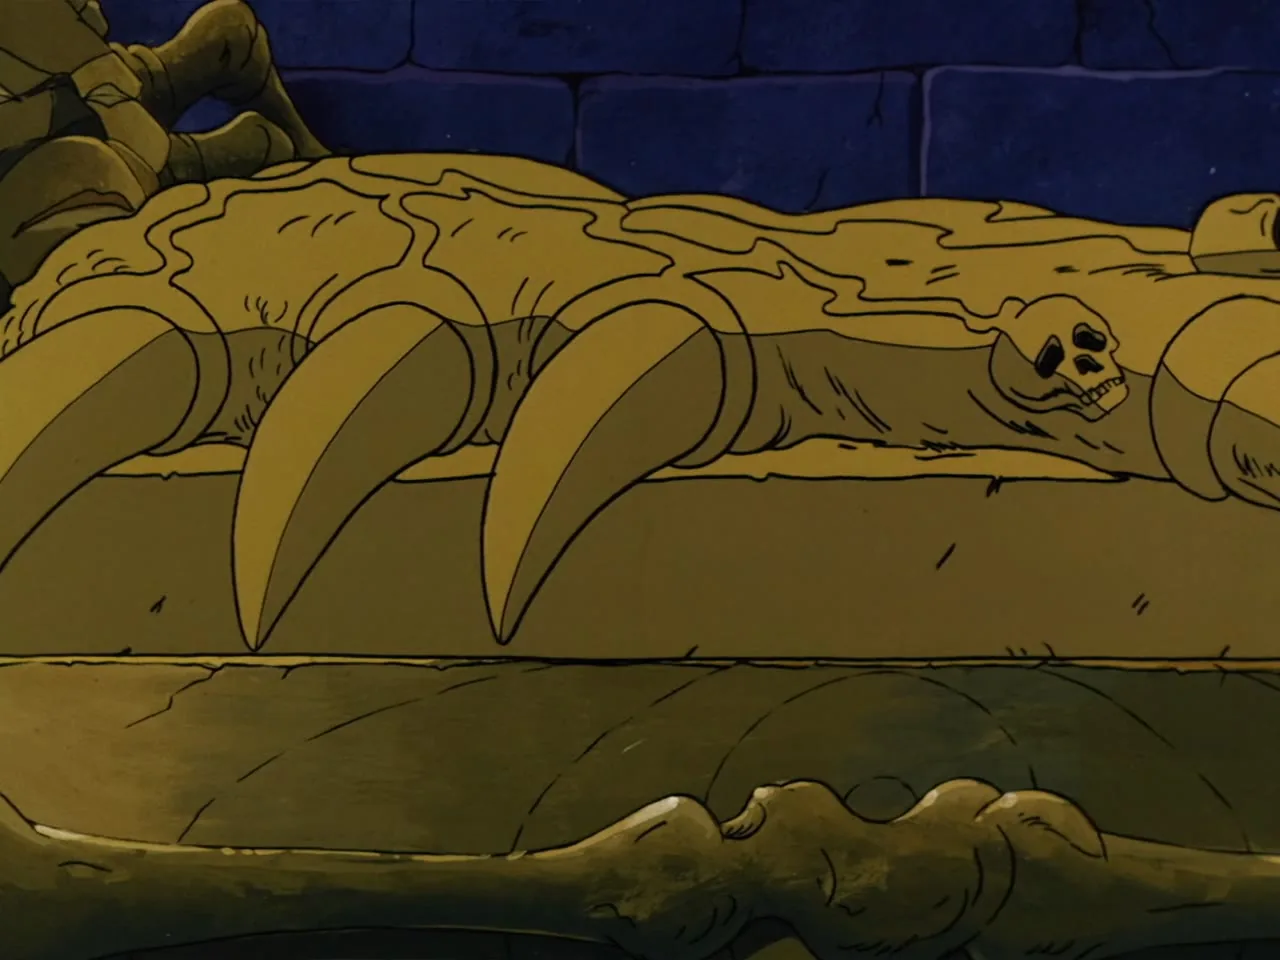
Carved claw feet and a skull decorate the side of a stone coffin.
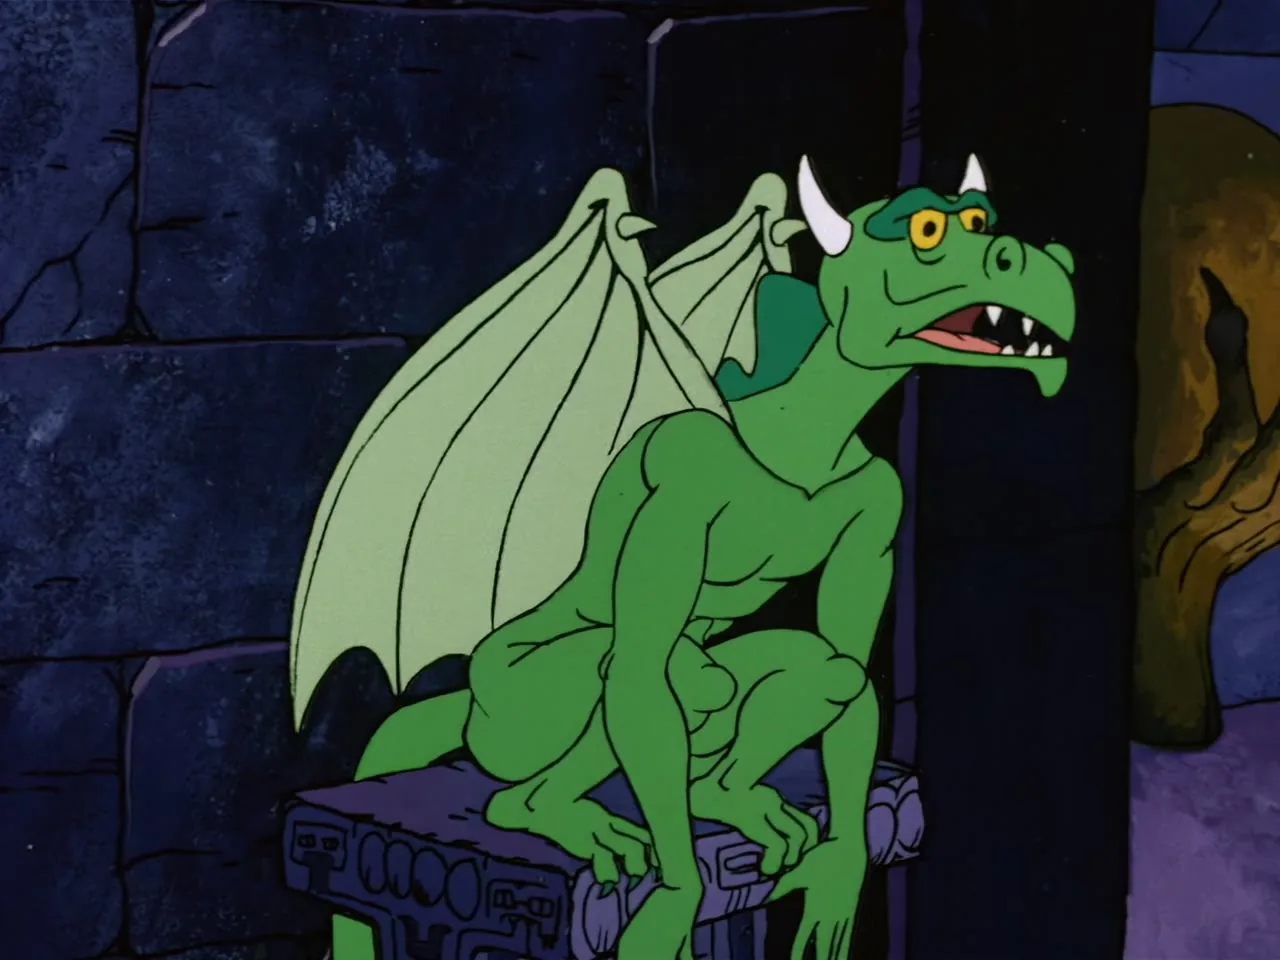
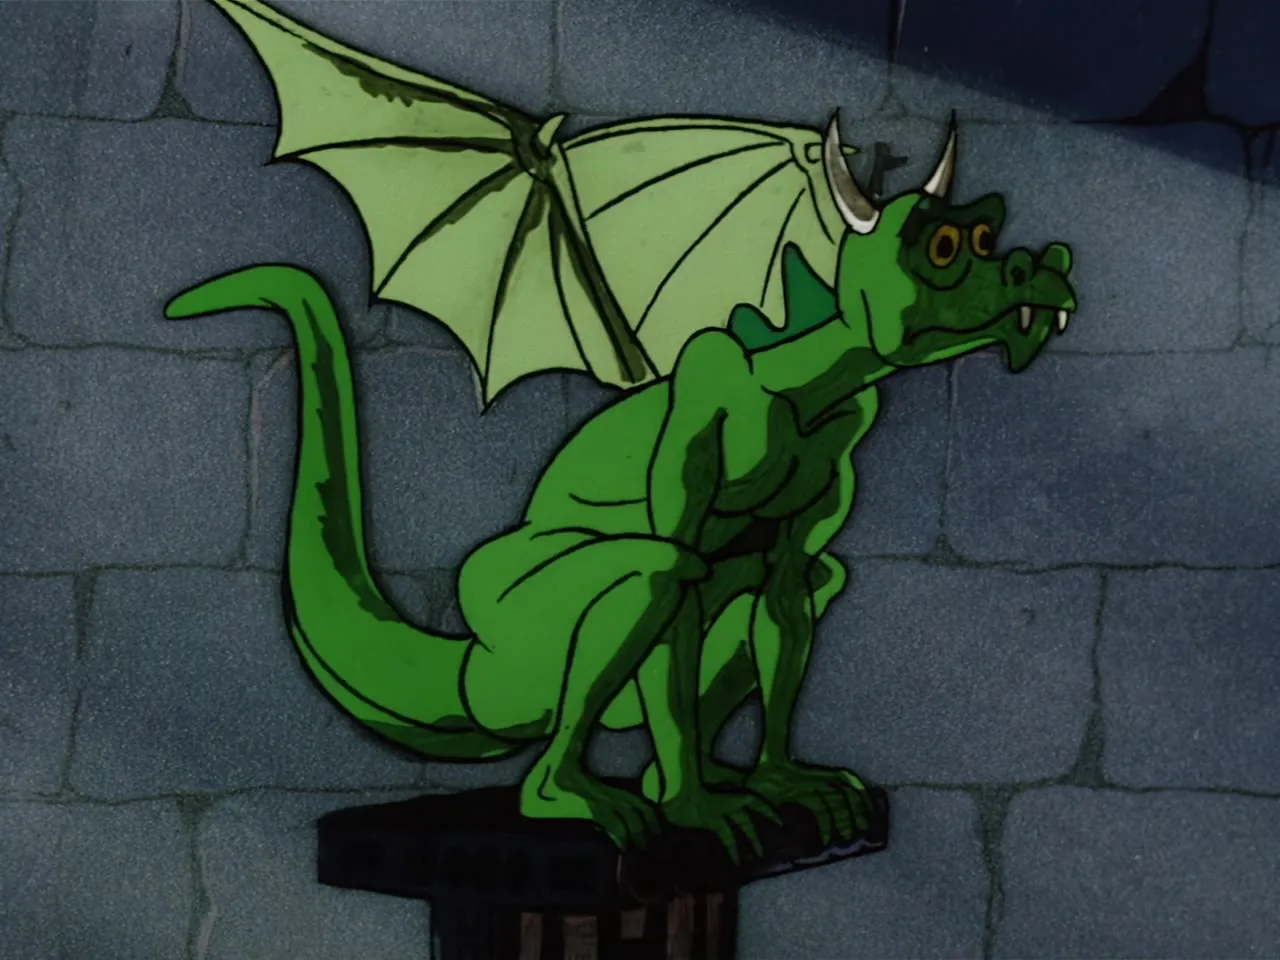
Sago the green dragon perches on a stone pedestal.
Lord Tyrin sits up in his coffin holding a glowing gold gem.
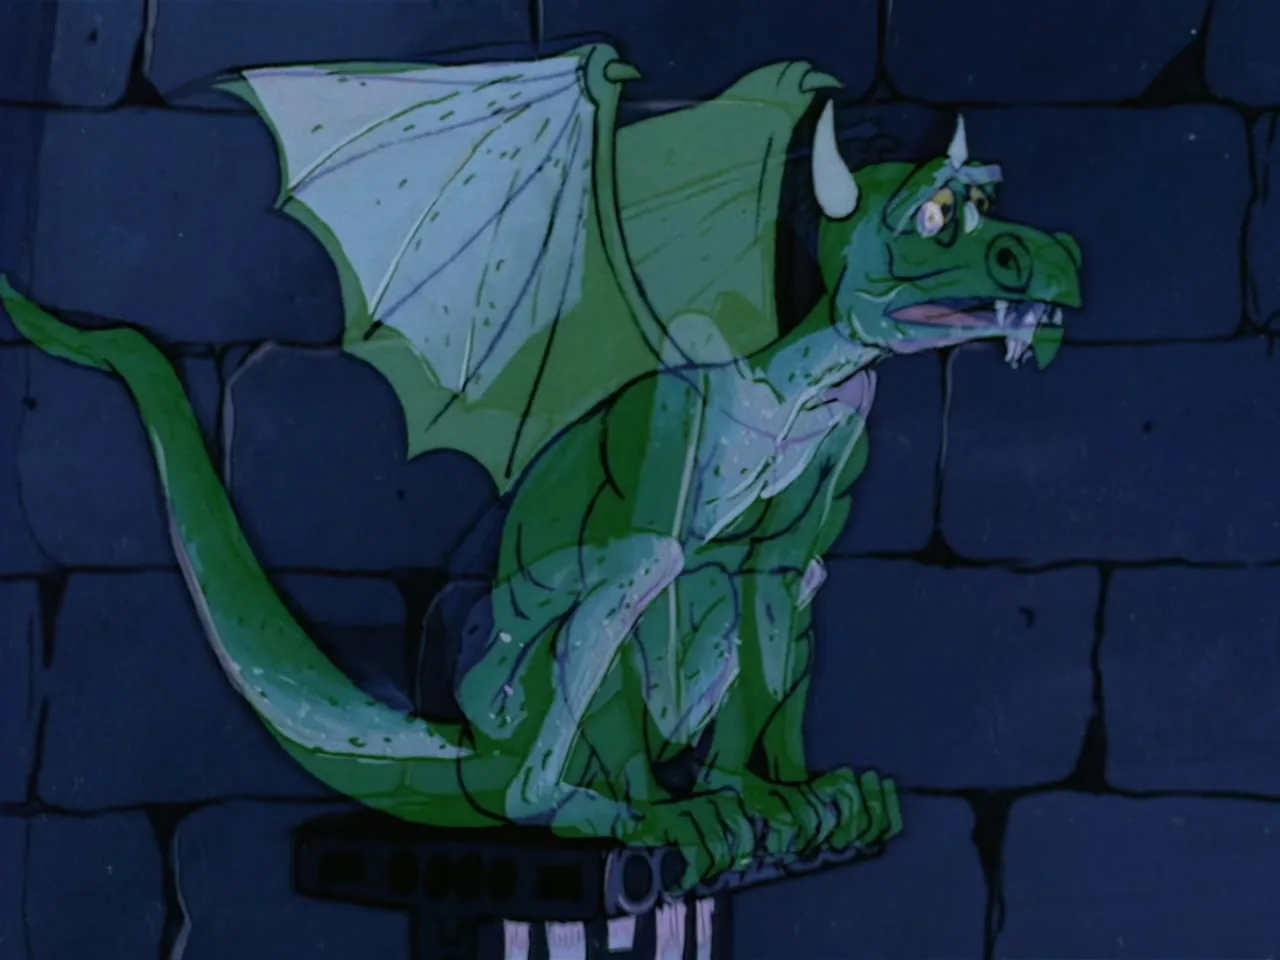
Sago crouches on a pedestal, partly transparent.
A purple twilight sky with clouds fills the frame.
Prince Adam and Teela stand small on a rocky outcrop.
Teela looks aside in the foreground while Prince Adam stands beside her.
Prince Adam stands beside Teela, who is turned away at the left.
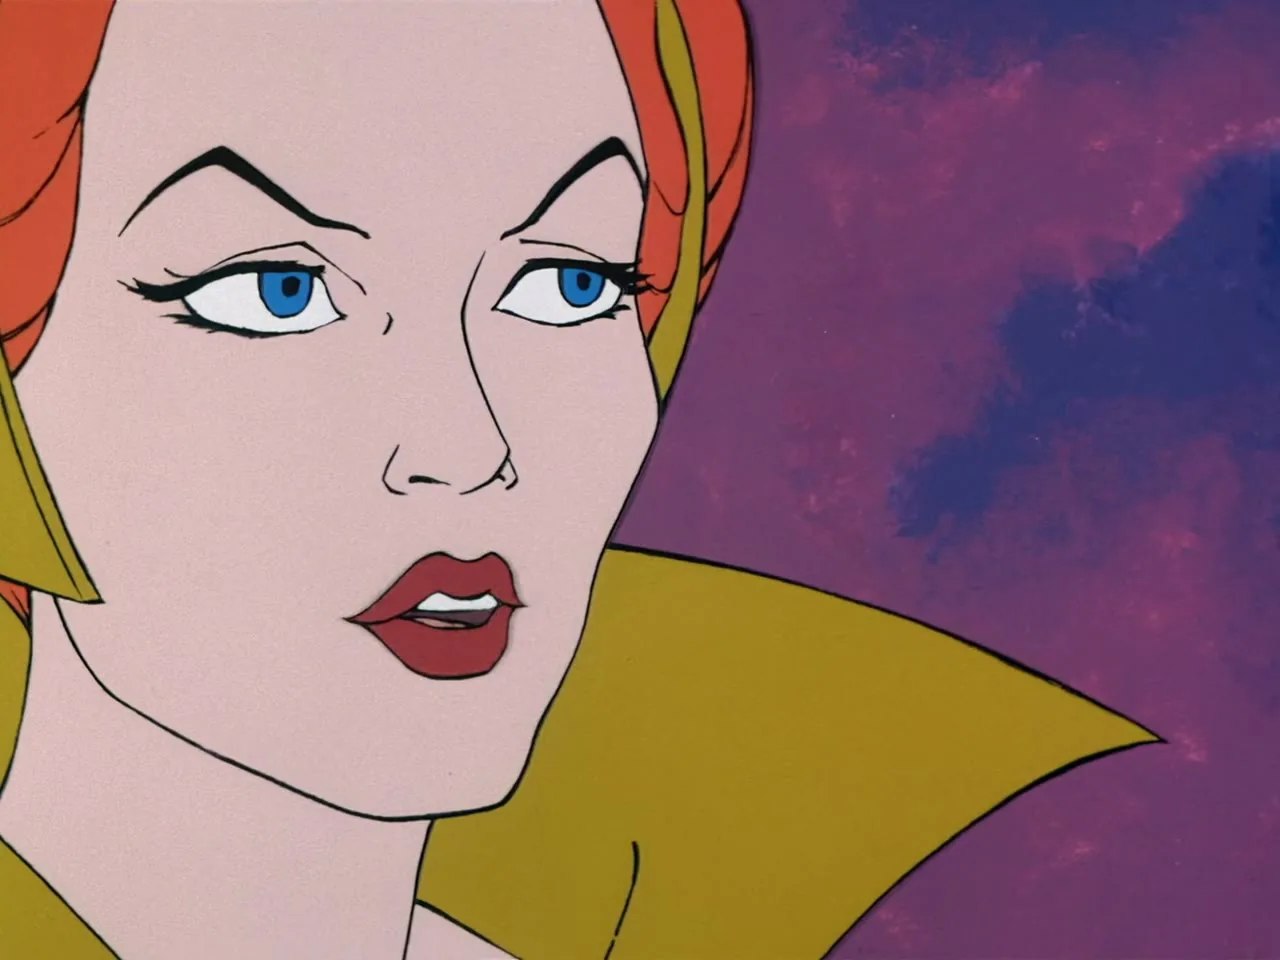
Teela looks ahead with wide blue eyes.
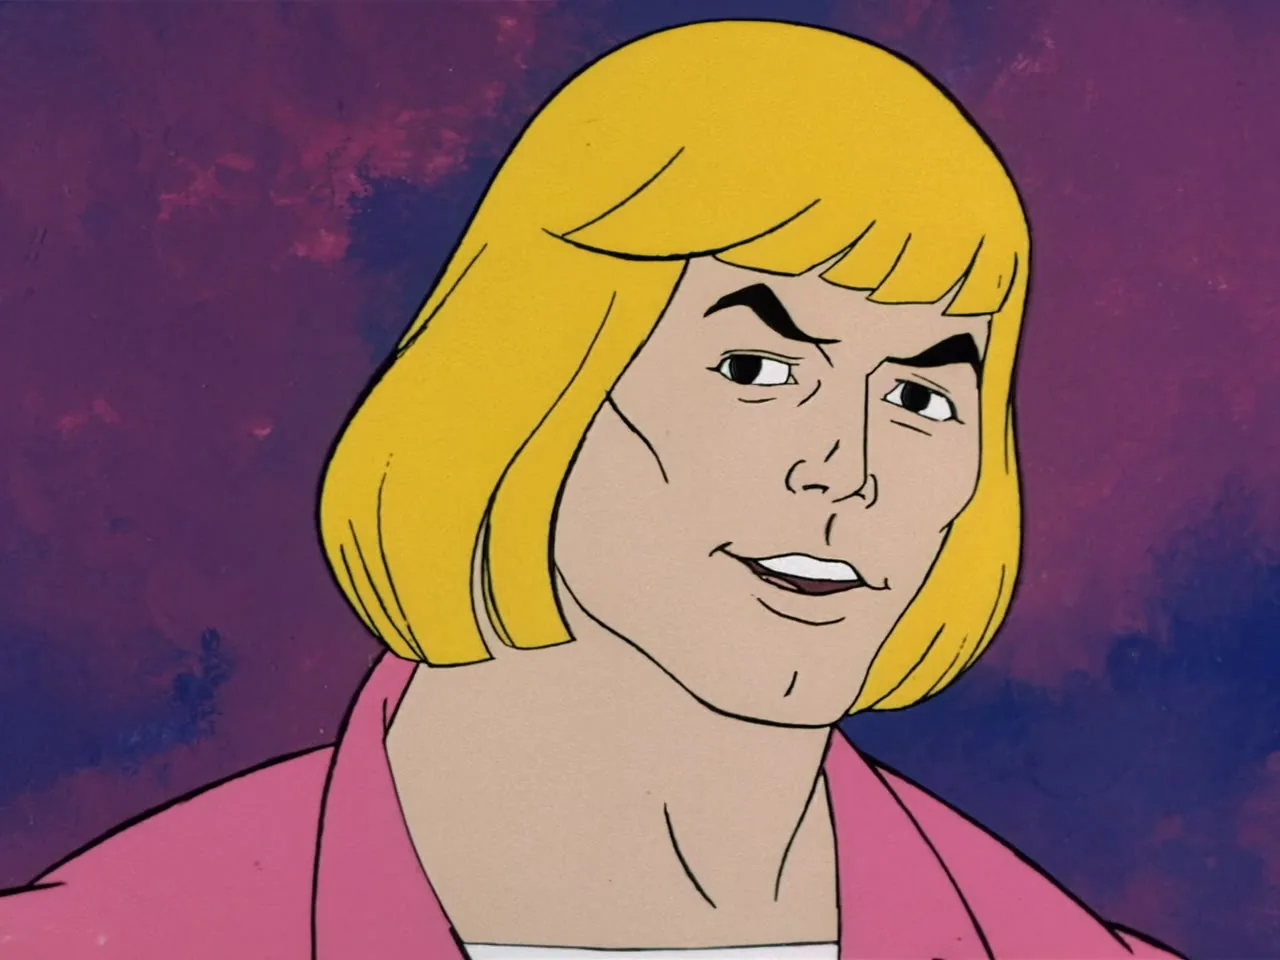
Prince Adam smiles with a sideways glance.
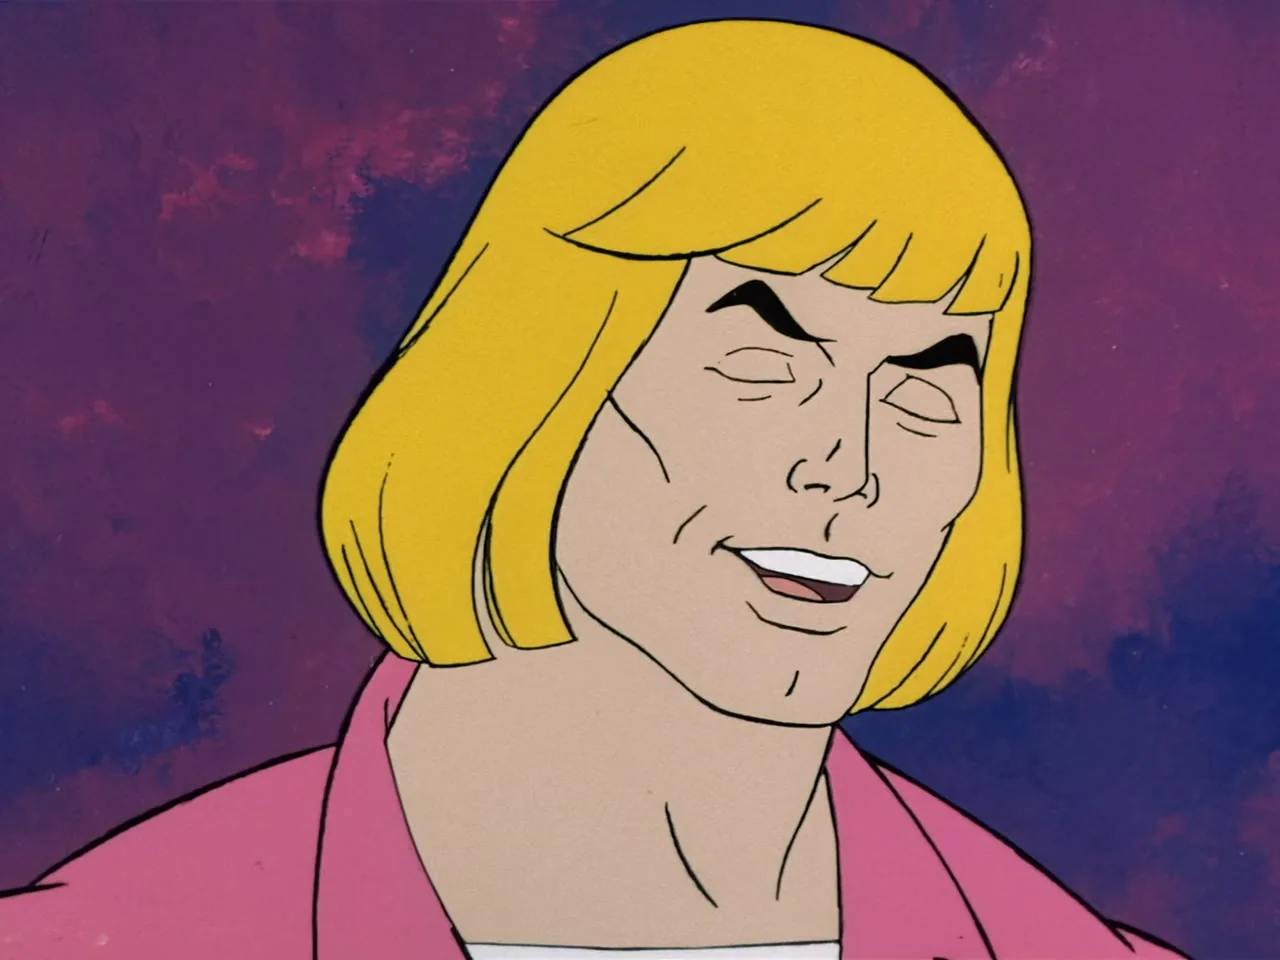
Prince Adam grins with his eyes half closed.
Blue rocks and green moss cover a dark hillside.
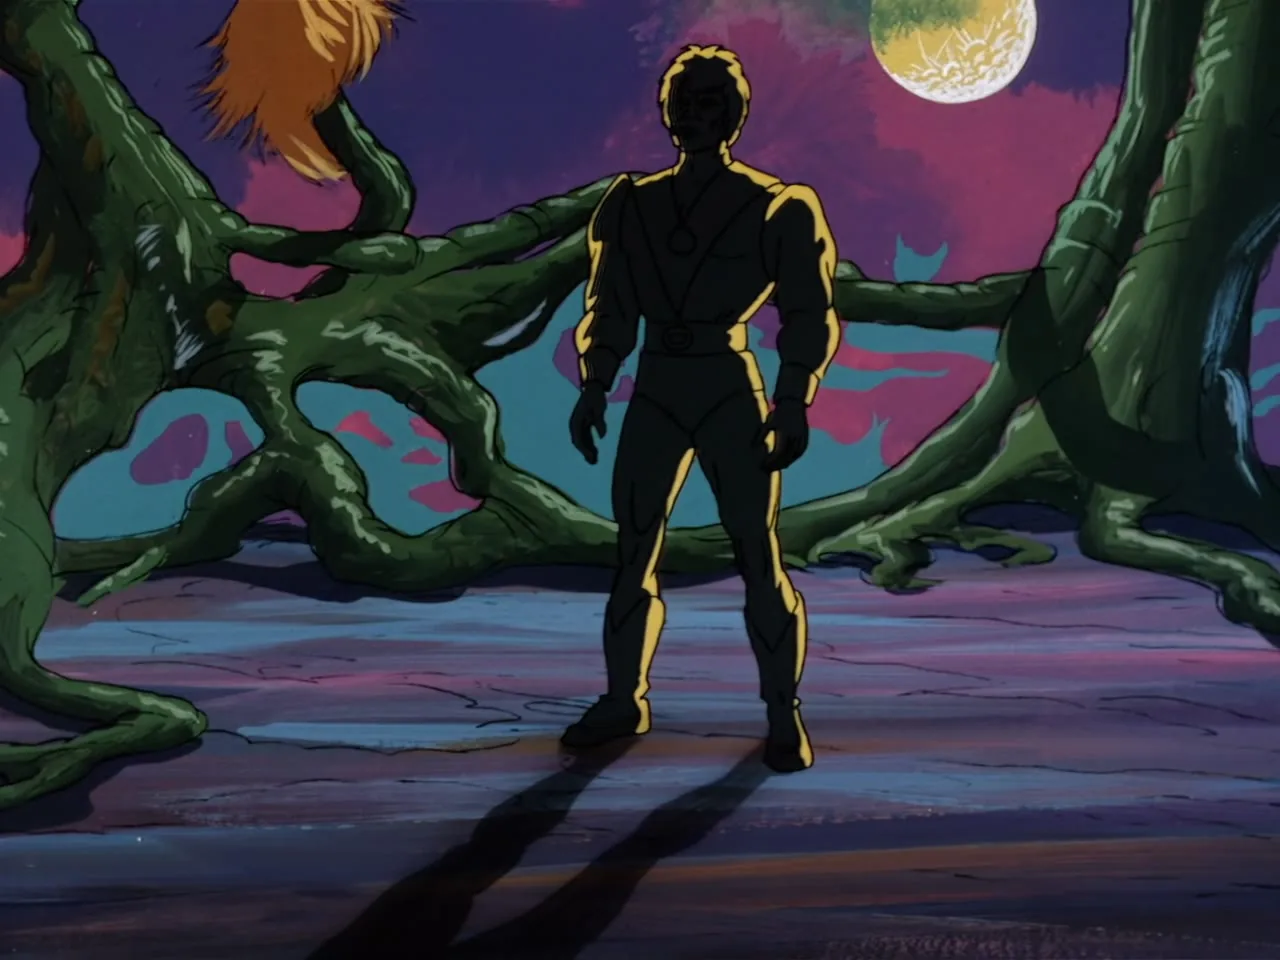
A silhouetted figure stands among twisted tree roots under a pale moon.
A full yellow moon hangs in a pink and purple sky.
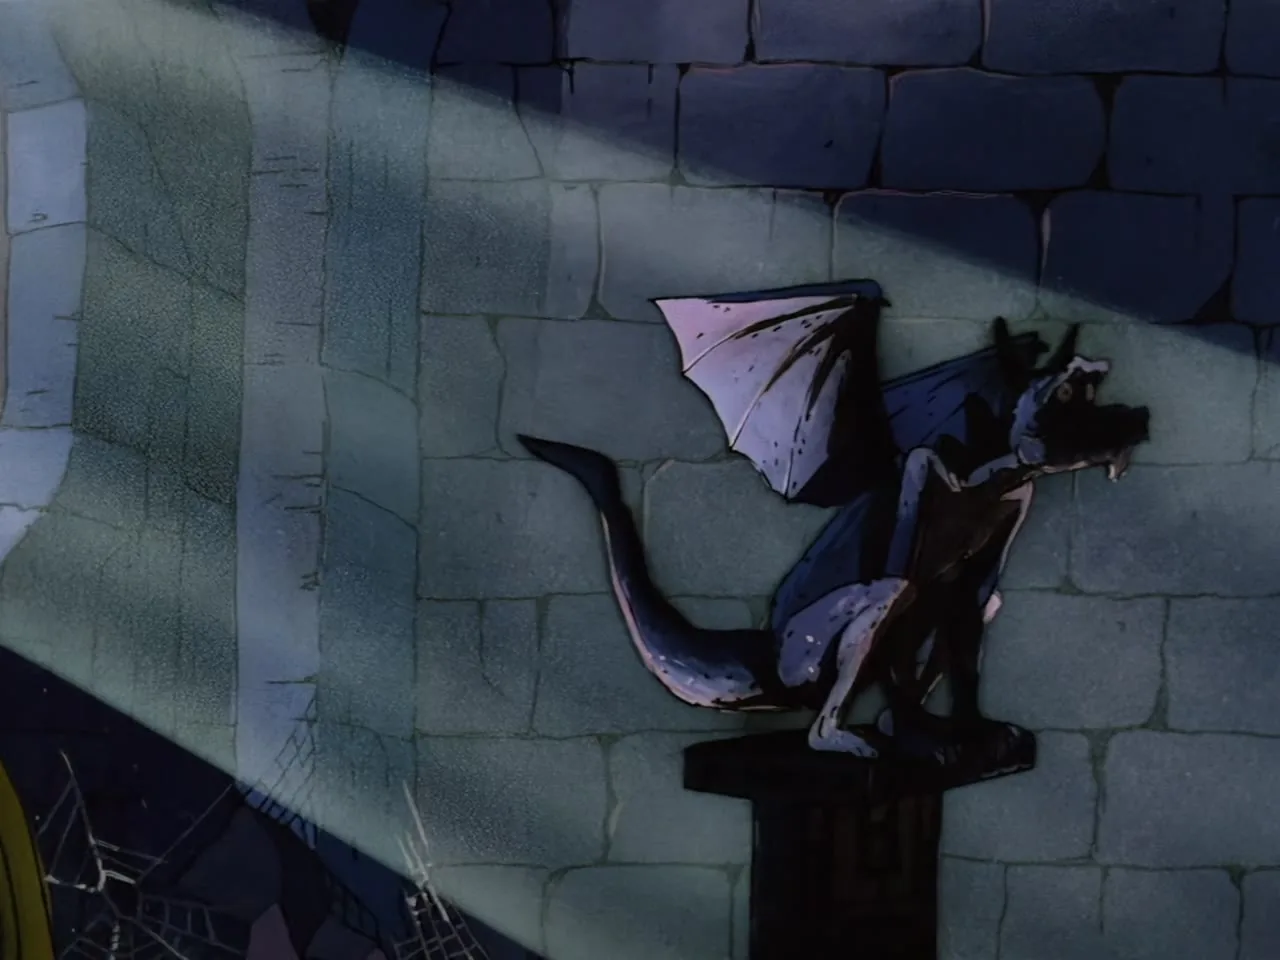
Sago perches on a pedestal in a beam of light.
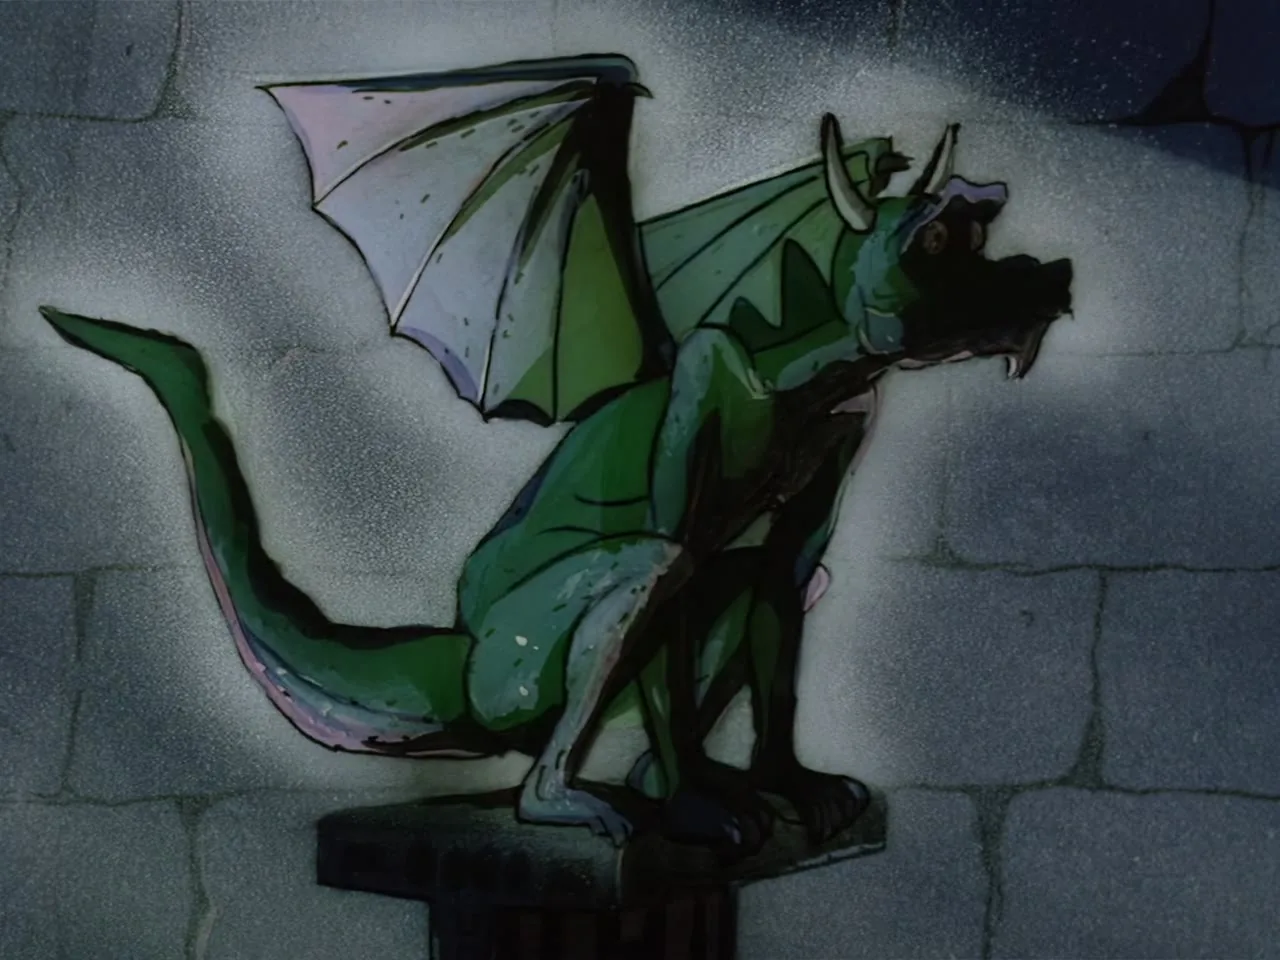
Sago the green dragon crouches on a pedestal against a stone wall.
Sago sits on a pedestal with his wings spread.
Carved claw feet and a skull decorate a stone coffin.
Lady Valtira lies in her coffin with a faint yellow glow around her.
Lady Valtira sits up in her coffin with a stern look.
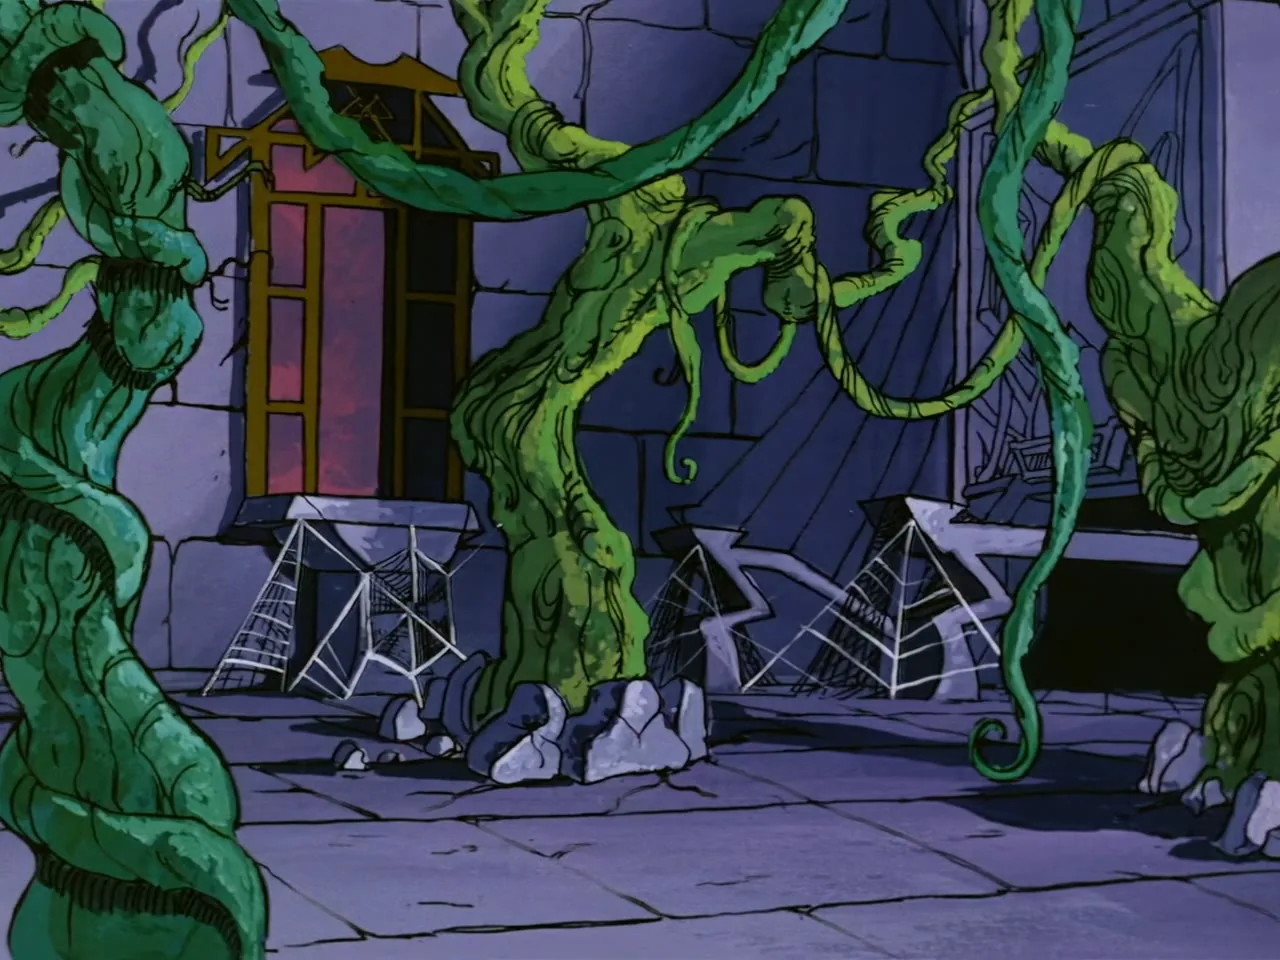
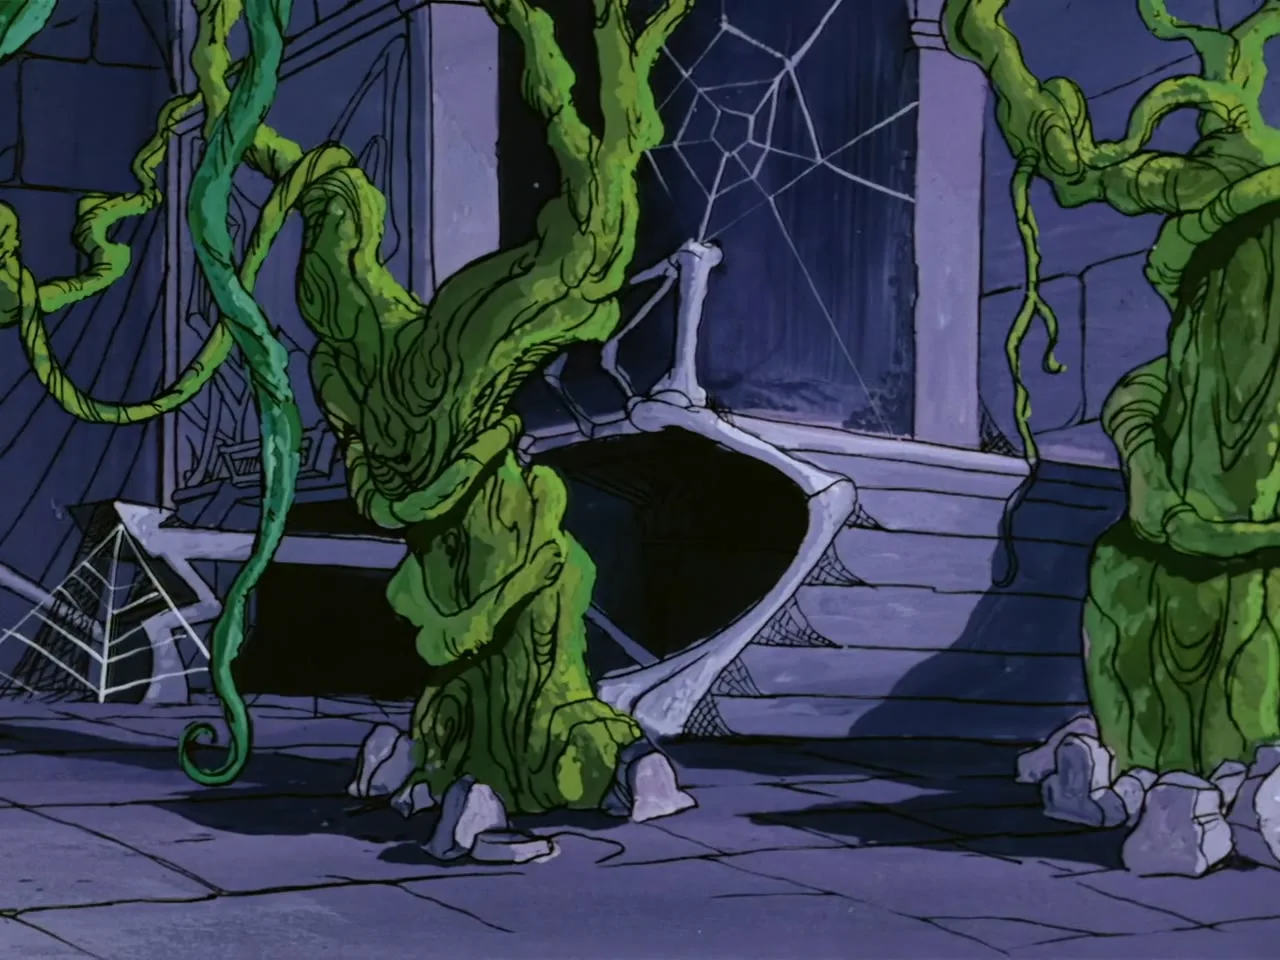
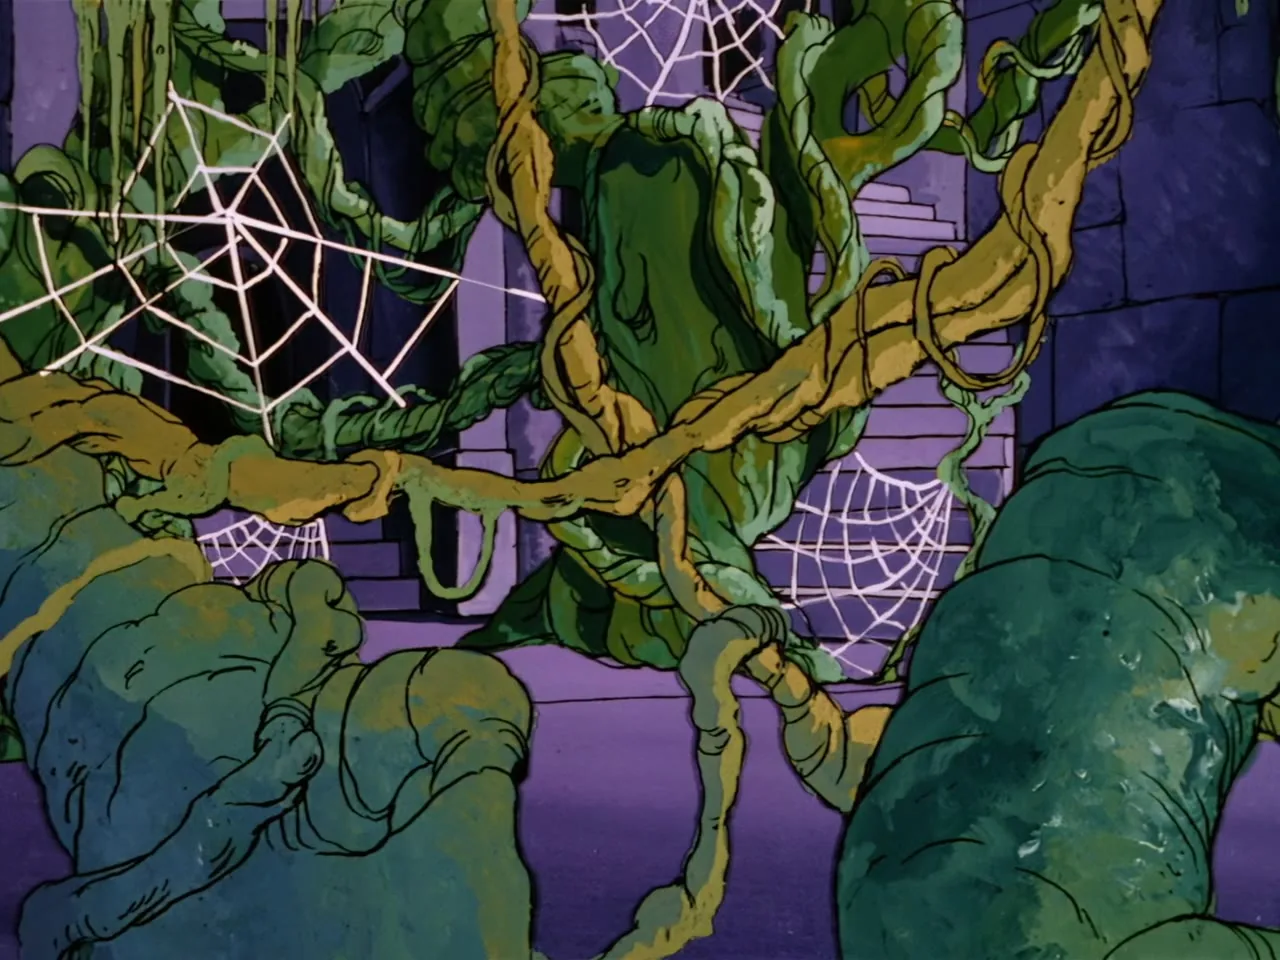
Thick green vines and cobwebs cover a stone hall.
Vines and a cobweb frame a stone staircase in the castle hall.
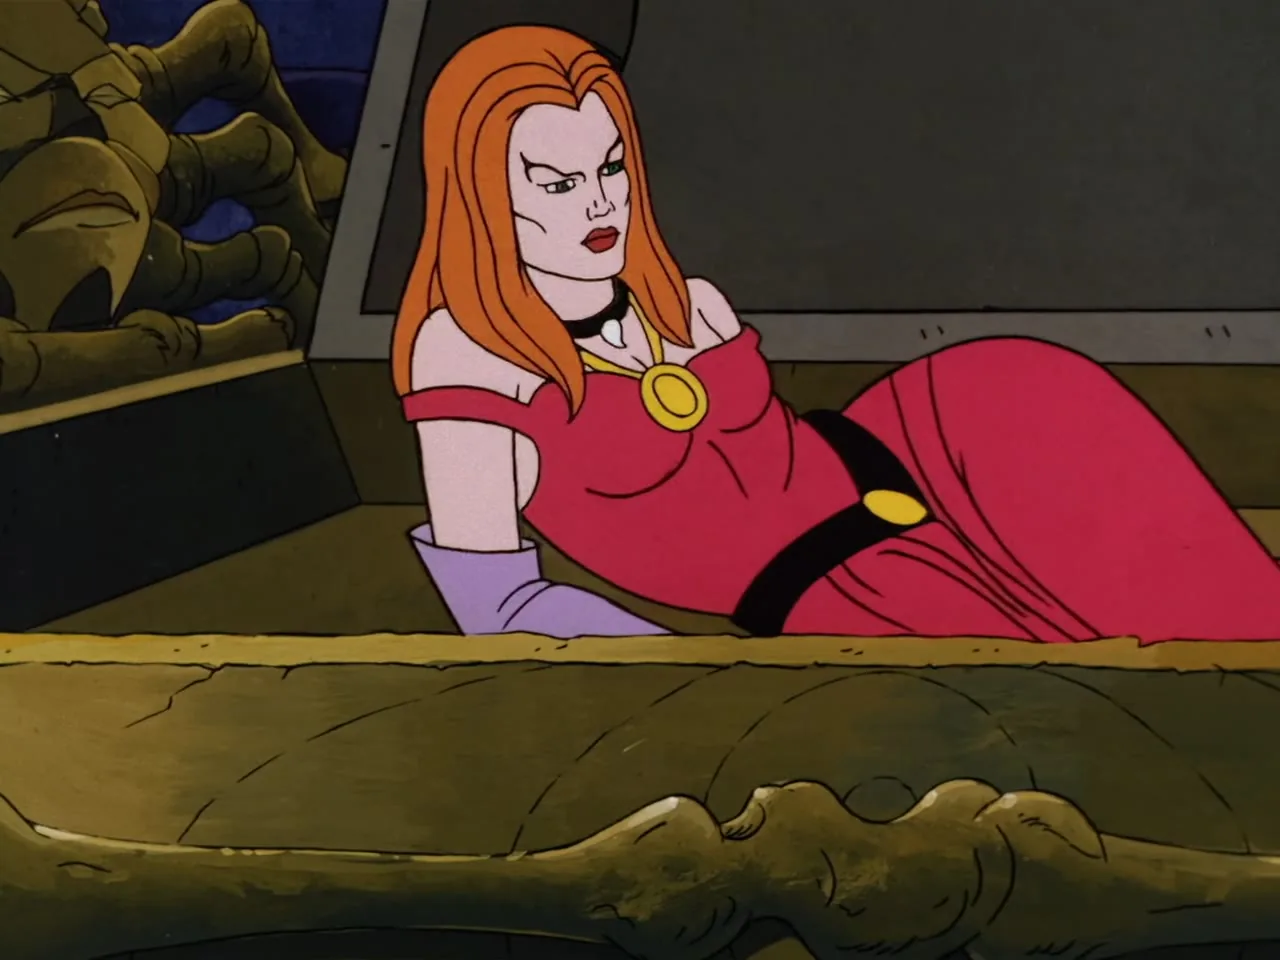
Lady Valtira sits in her open coffin below the portrait of the couple.
The He-Man logo spins in space as the mid-episode bumper.
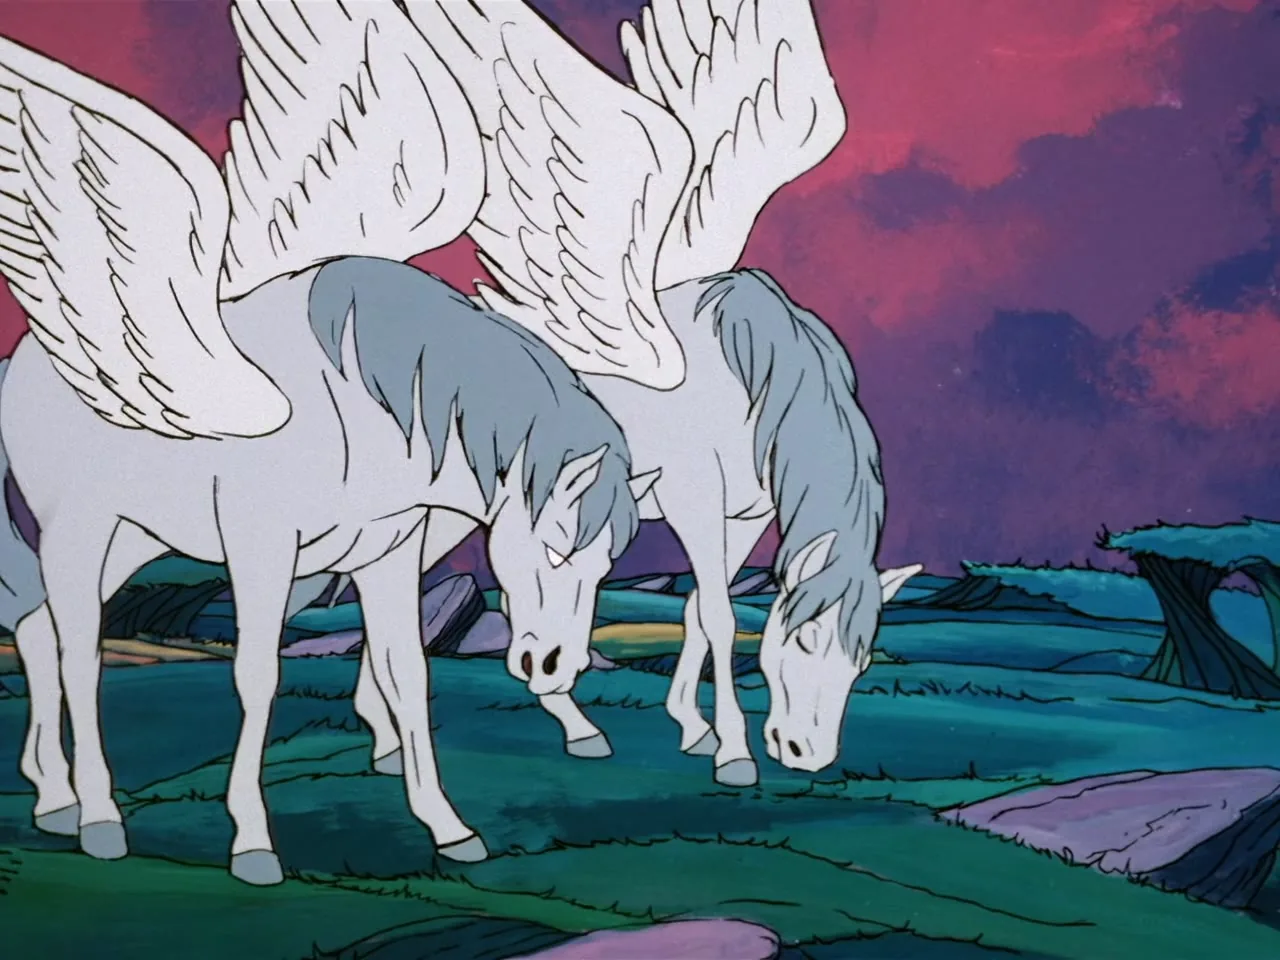
Two white winged horses graze in a green field.
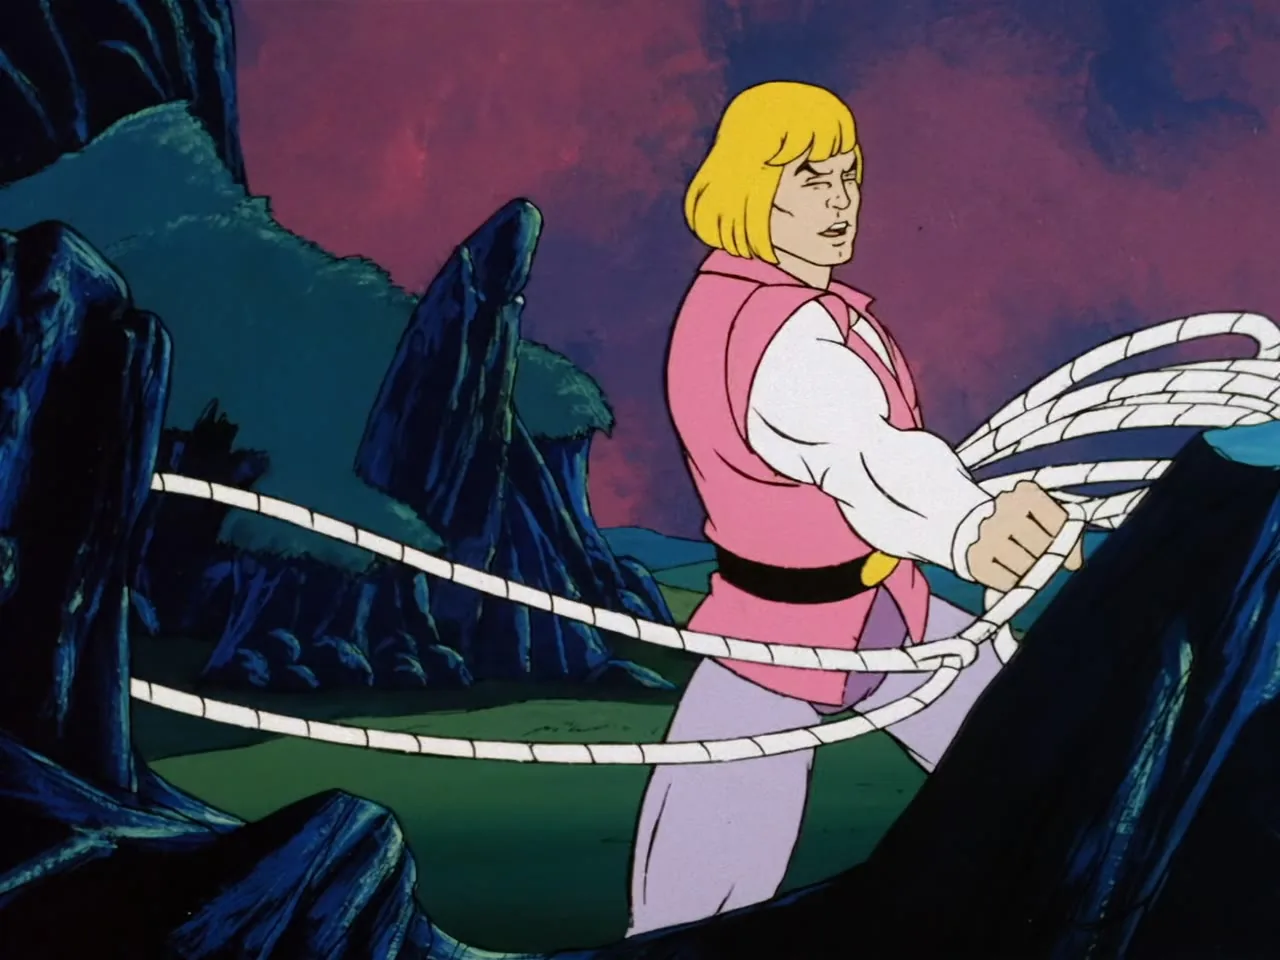
Prince Adam swings a lasso beside a blue rock.
A taut rope crosses a winged horse's wing.
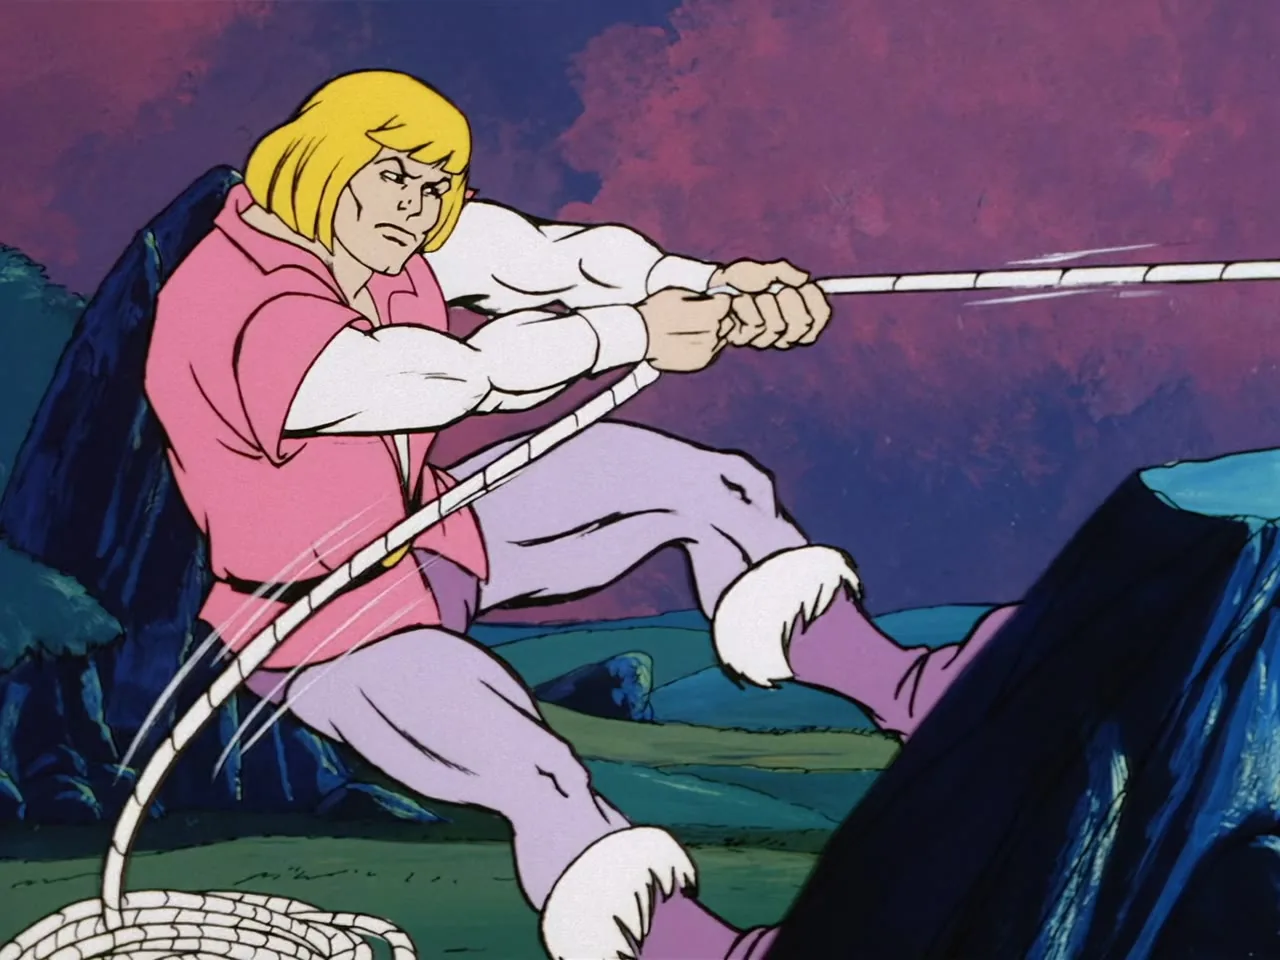
Prince Adam braces his feet and pulls hard on the lasso.
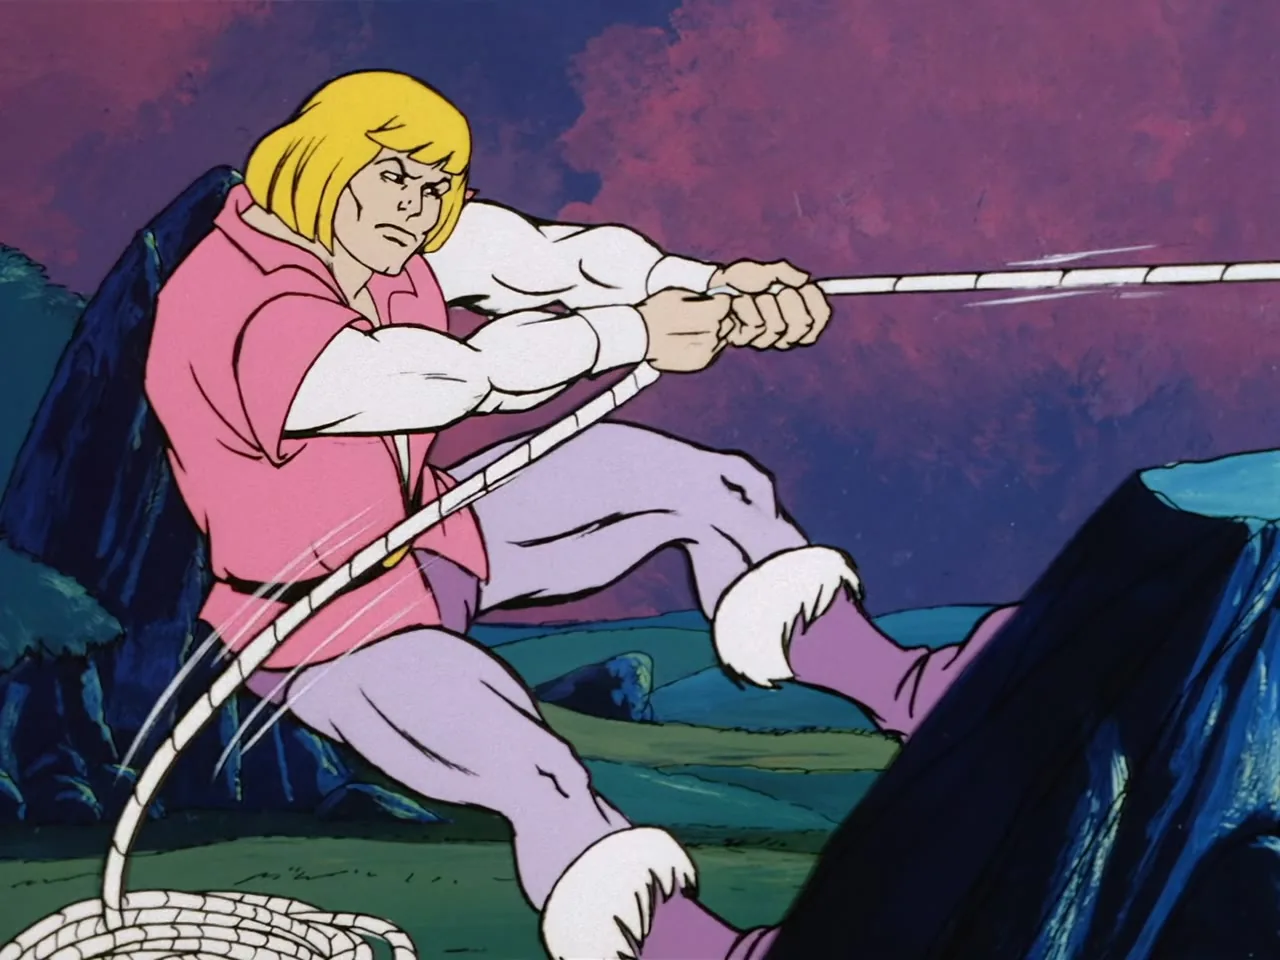
Prince Adam hauls on the lasso rope with a determined face.
A taut lasso rope stretches across an empty green landscape.
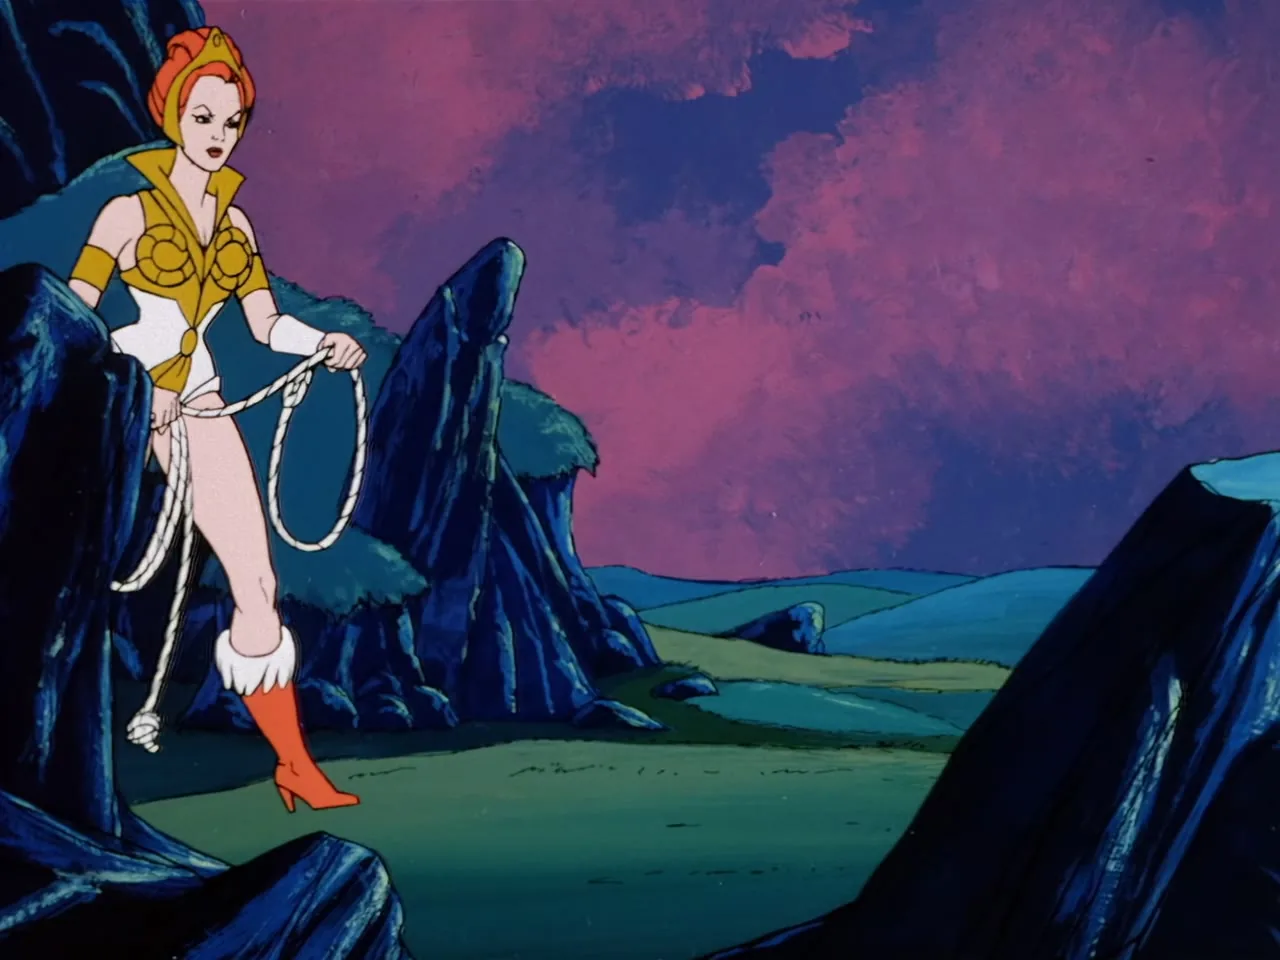
Teela walks along the rocks holding a coiled lasso.
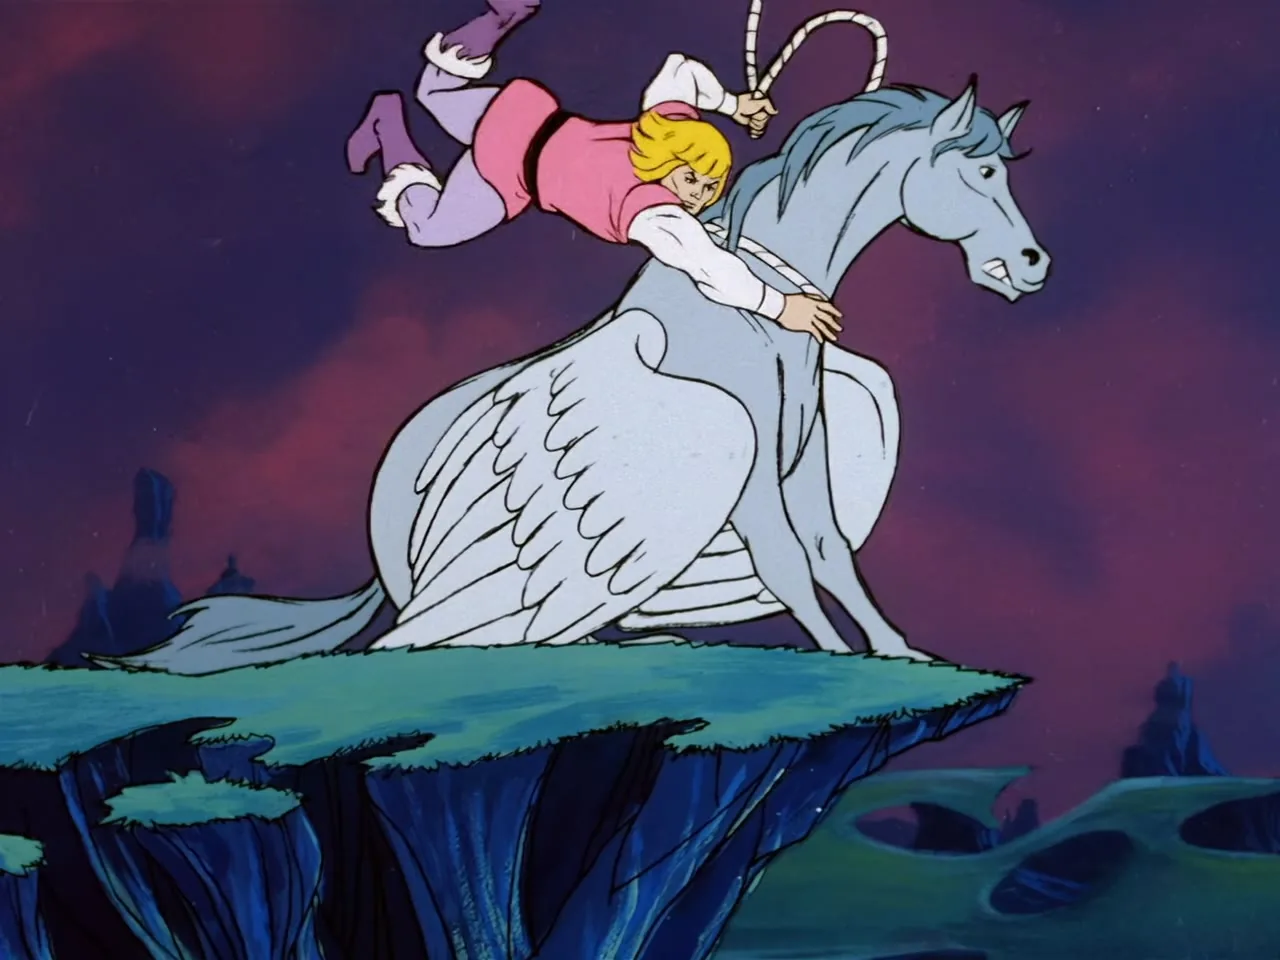
Prince Adam clings to a winged horse as it leaps from a ledge.
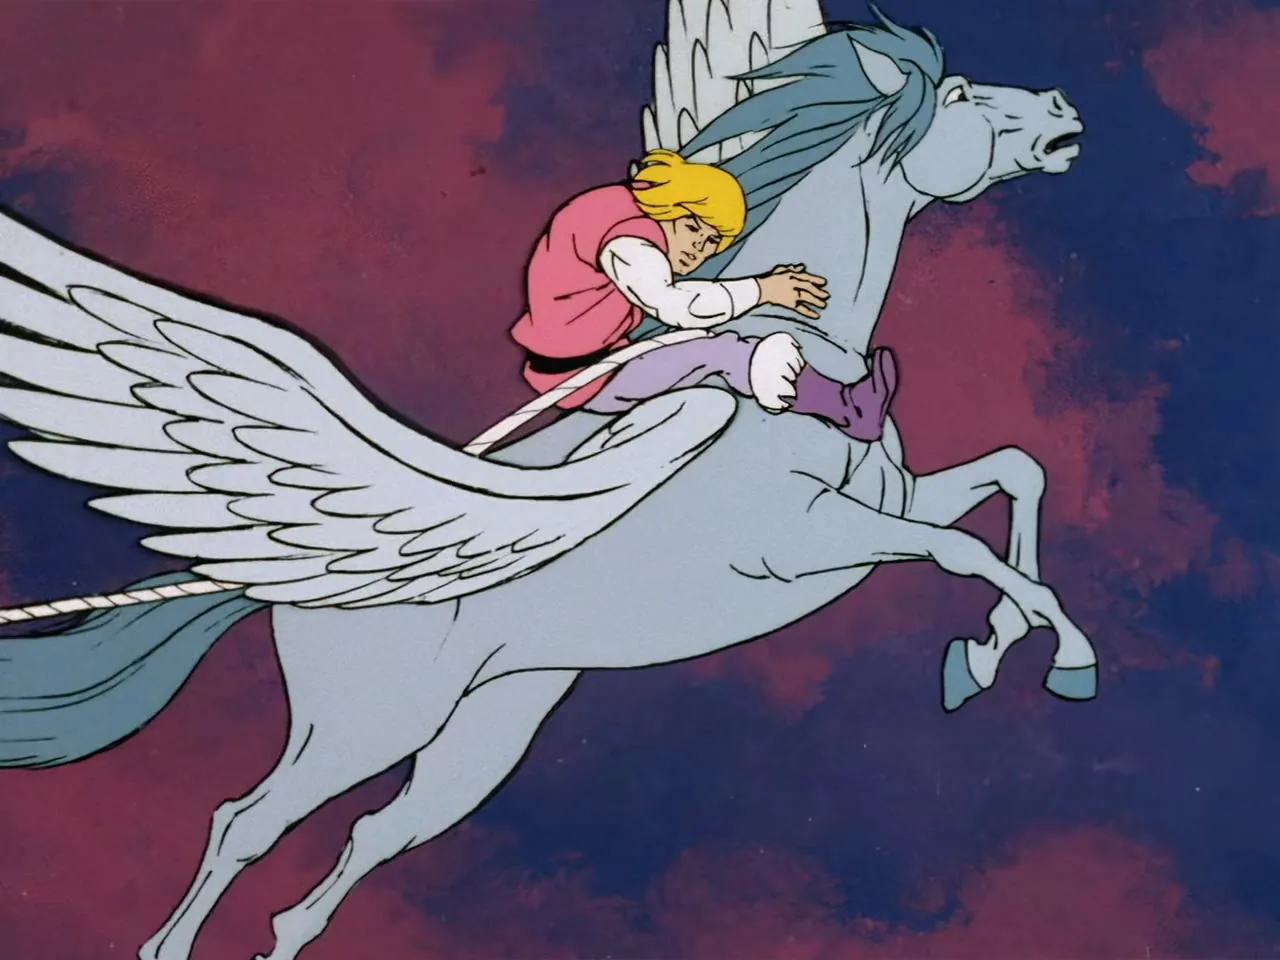
Prince Adam clings to the neck of a flying winged horse.
Teela looks up and to the side against a cloudy sky.
Prince Adam rides the winged horse through the air with a rope trailing.
Prince Adam holds on tight as the winged horse gallops through the sky.
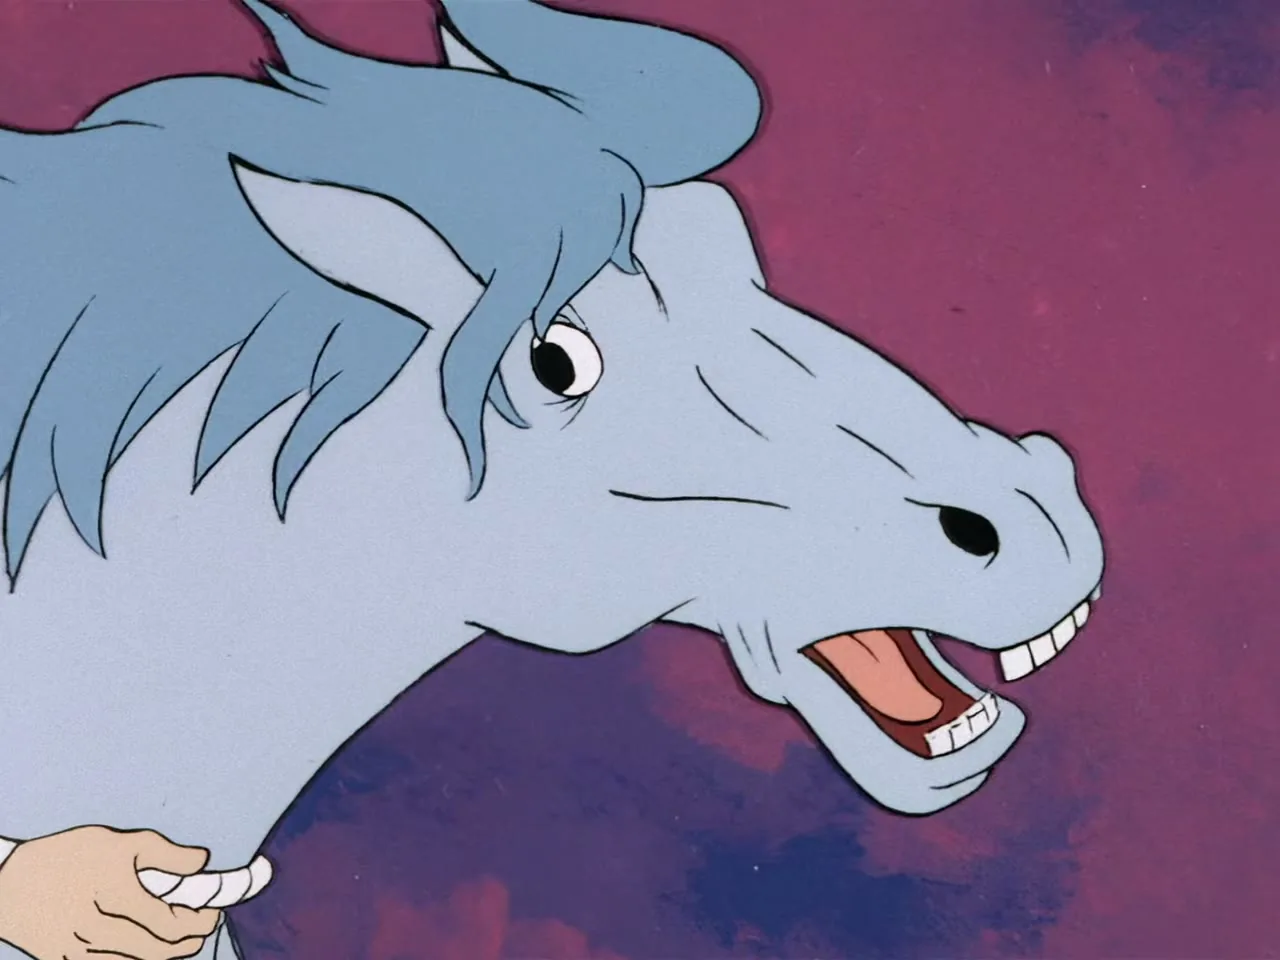
A winged horse tosses its head with its mouth open as a hand grips it.
A winged horse bares its teeth while a hand holds on near its chin.
A winged horse stands on grass with its wings raised.
A taut rope streaks across the purple sky.
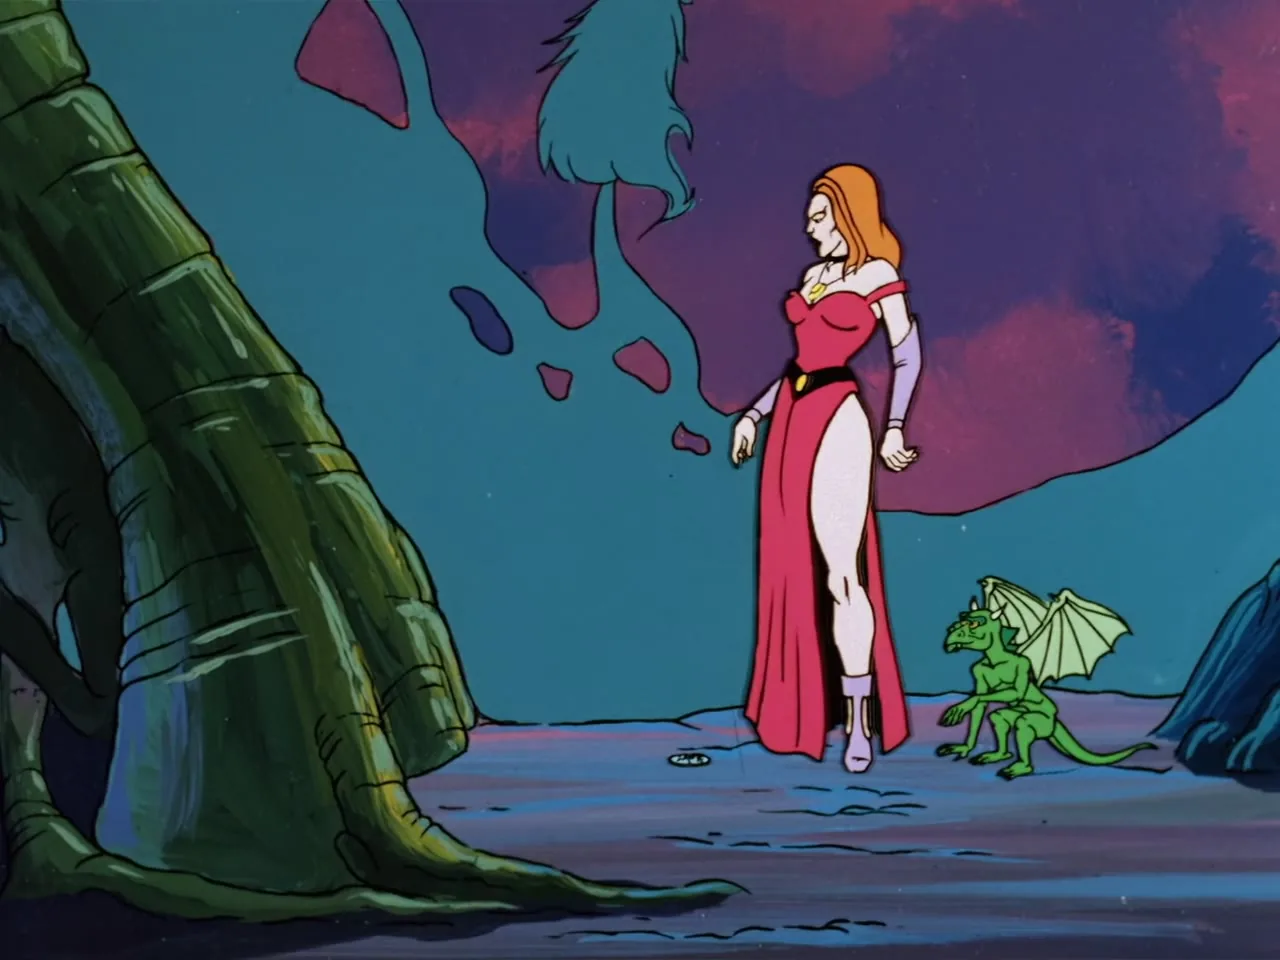
Lady Valtira stands in the forest with Sago crouched beside her.
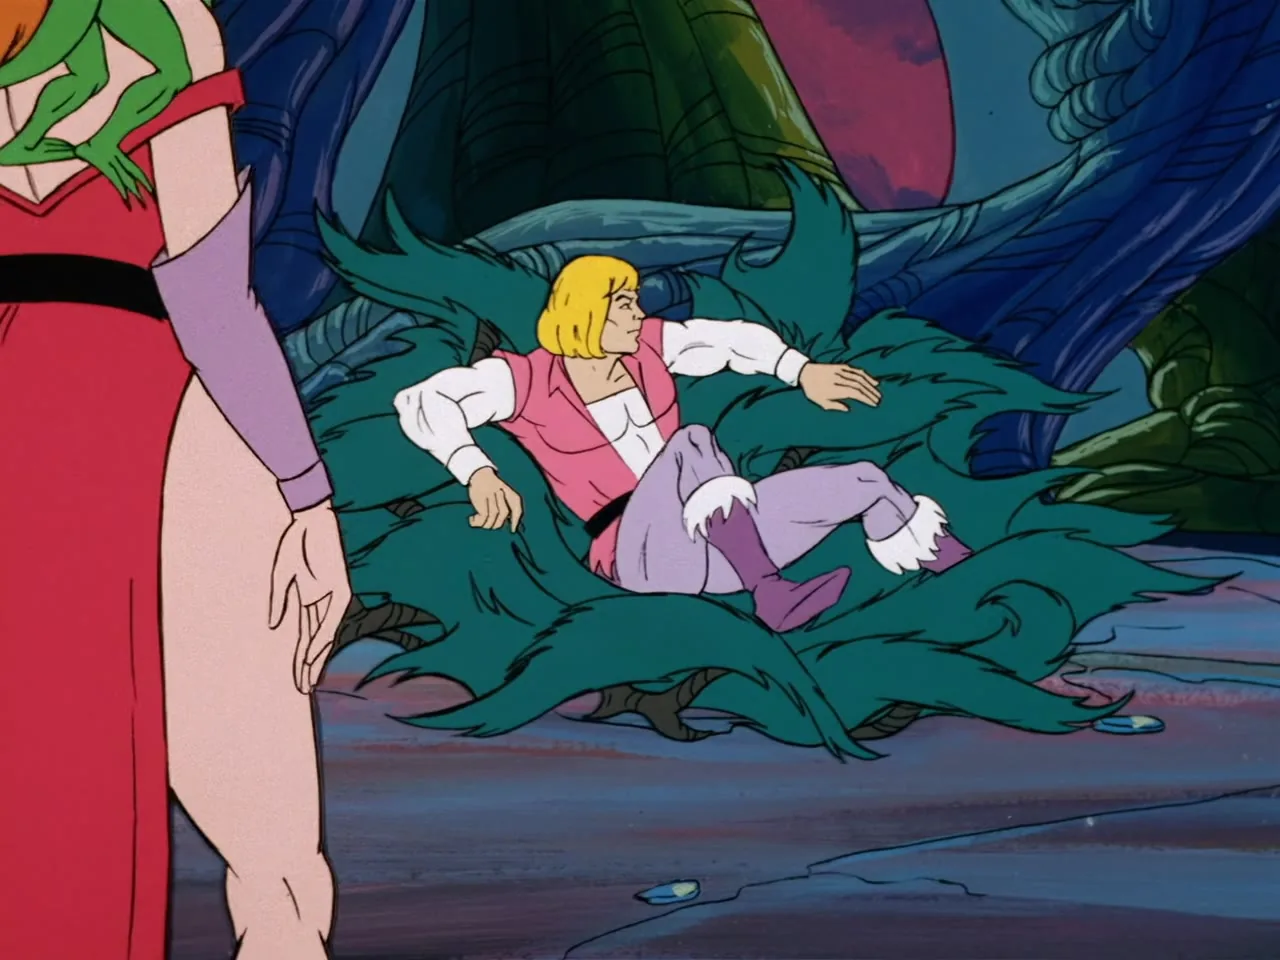
Prince Adam sprawls on a thicket as Lady Valtira stands at left with Sago.
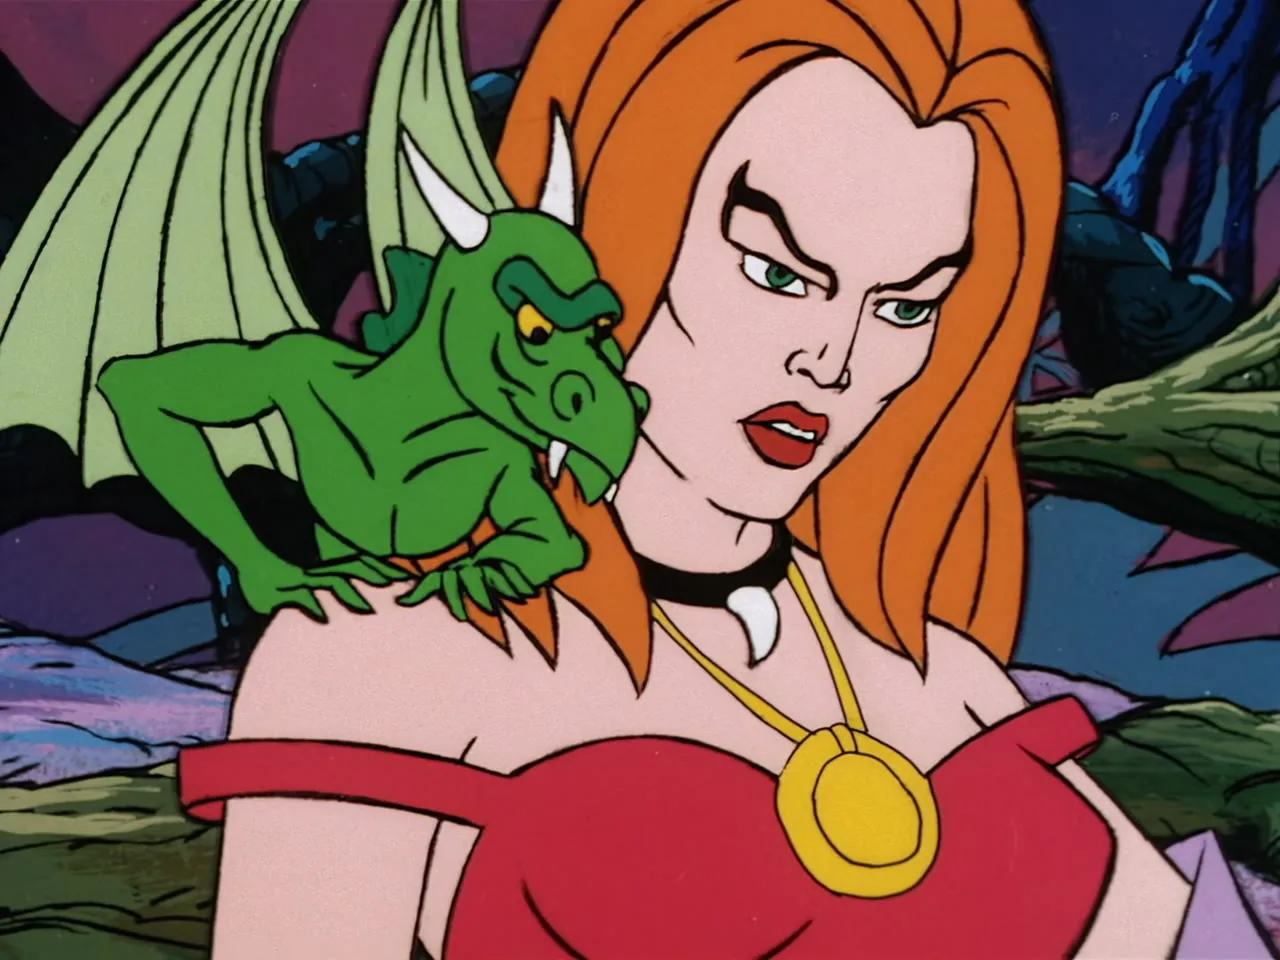
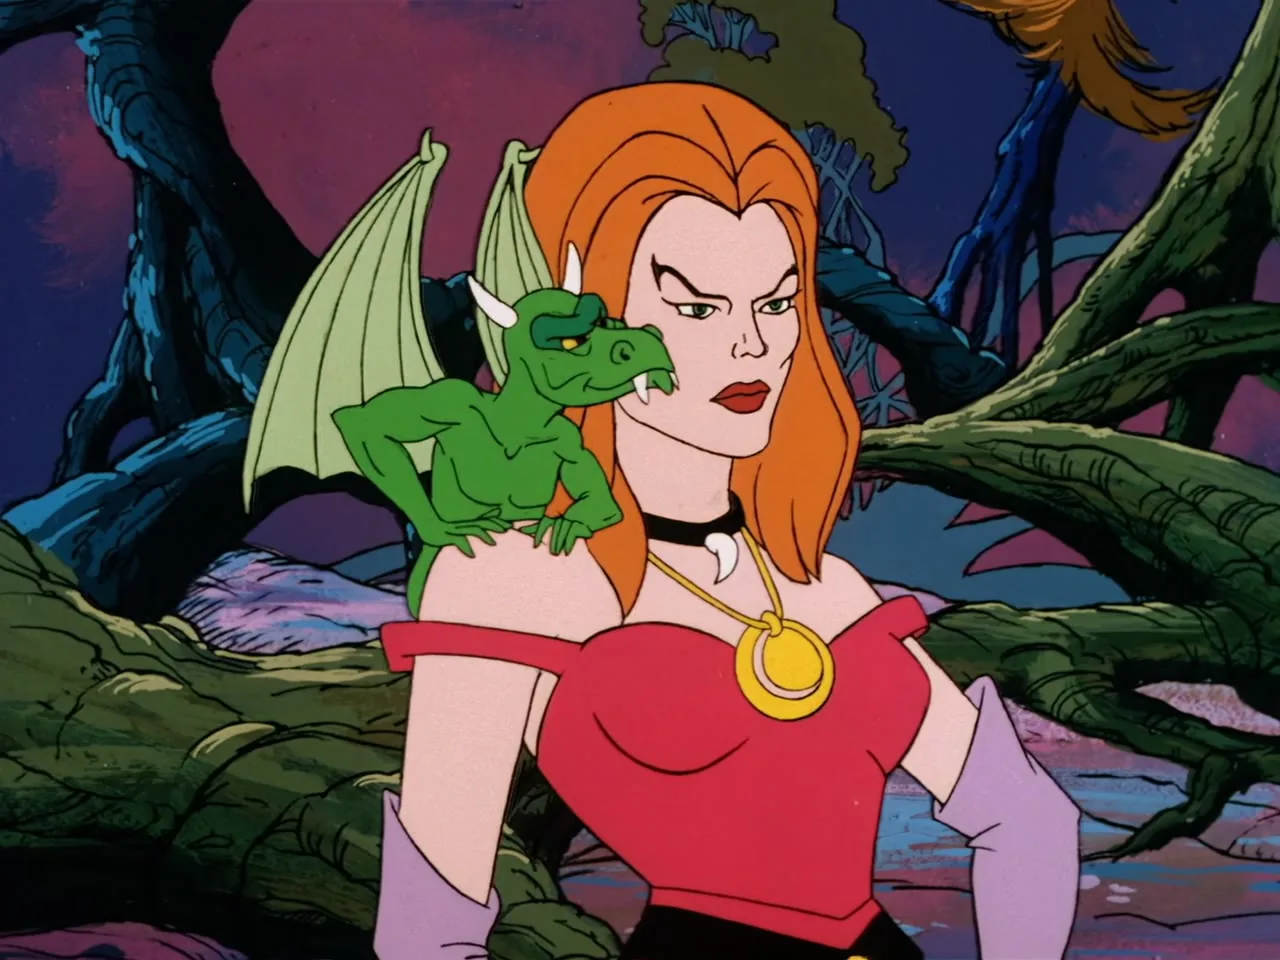
Lady Valtira scowls with Sago perched on her shoulder.
Prince Adam stands in the thicket beside Lady Valtira.
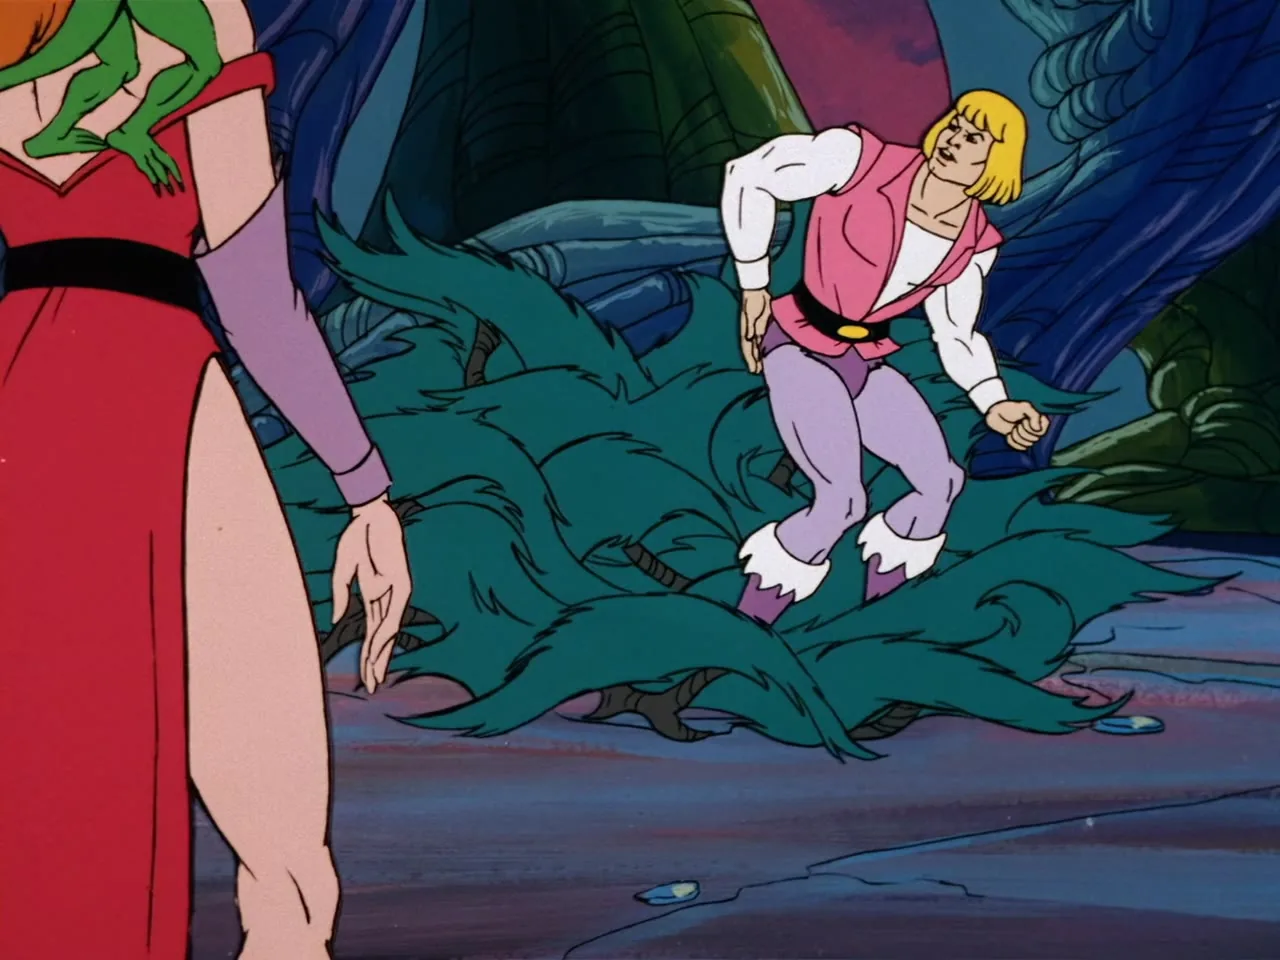
Prince Adam steps through the thicket while Lady Valtira stands at left.
Lady Valtira frowns with Sago behind her shoulder.
Lady Valtira glares with Sago on her shoulder.
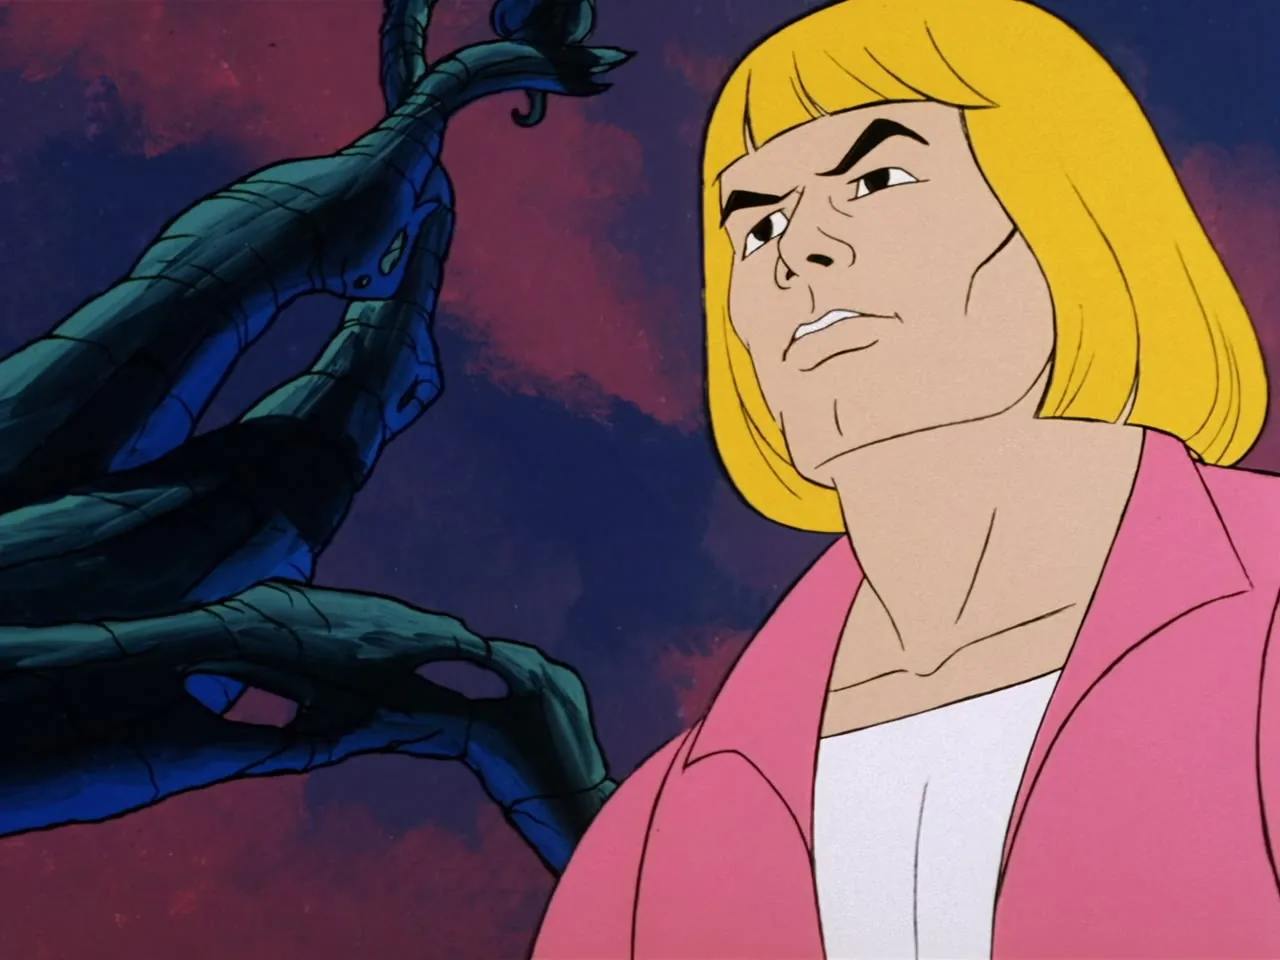
Prince Adam looks up with a frown.
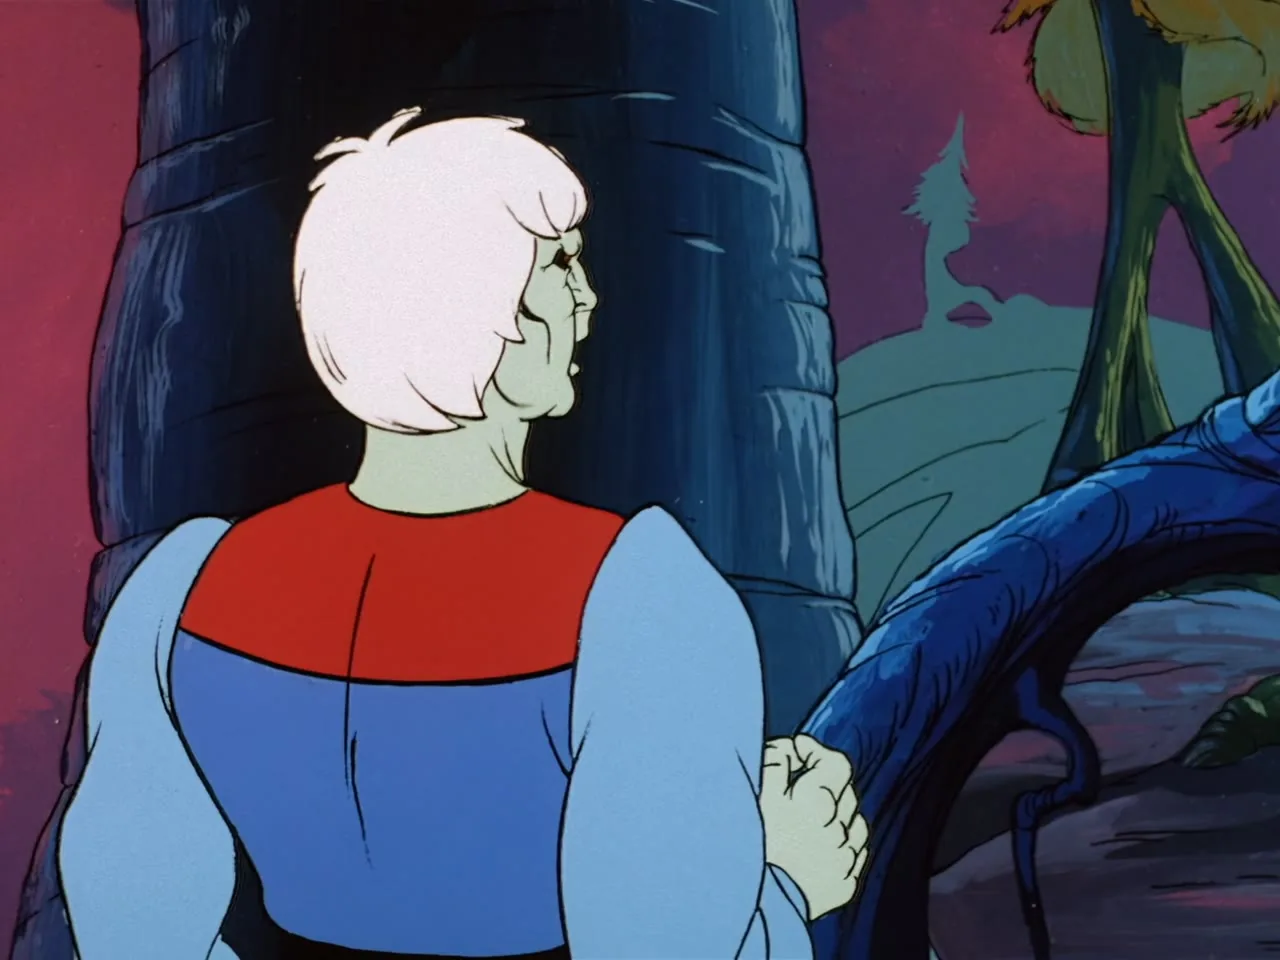
A clenched fist and blue sleeve sit beside twisted blue tree roots.
Lord Tyrin stands with his back turned beside a dark tree trunk.
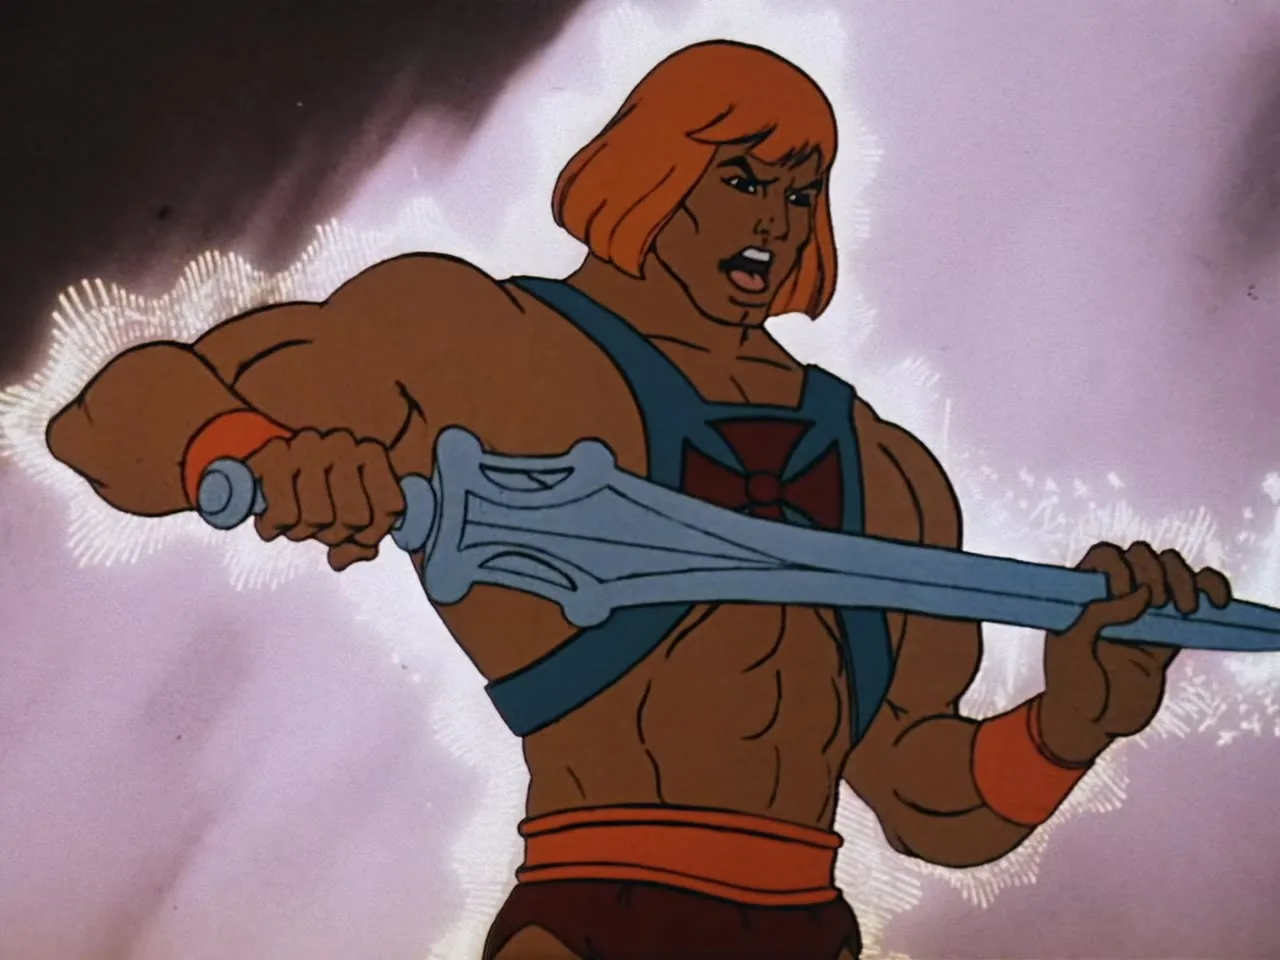
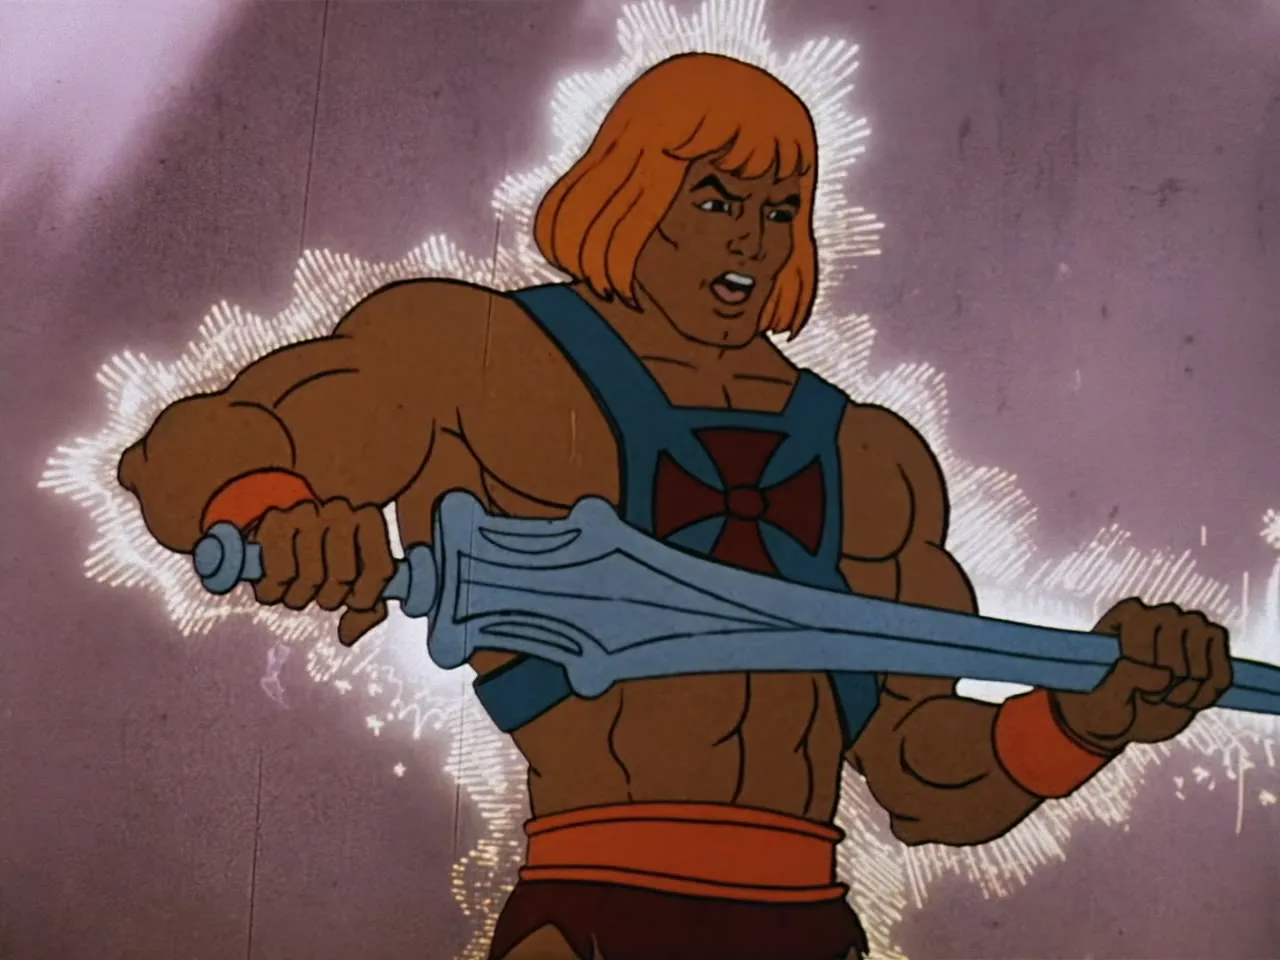
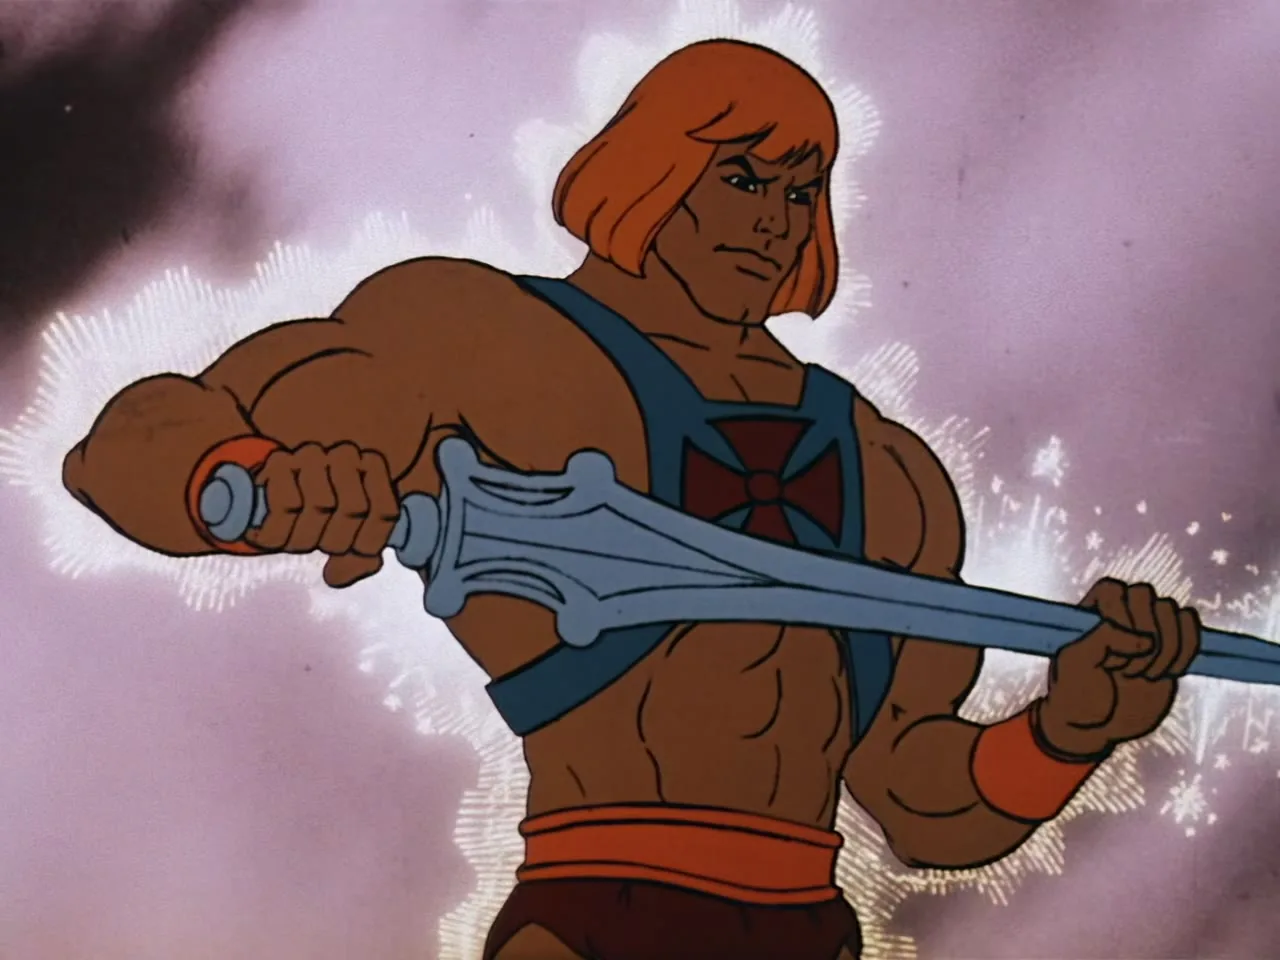
He-Man holds his Power Sword across his body in a white glow.
He-Man grips the Power Sword as sparks crackle around him.
He-Man lowers his Power Sword with a stern look.
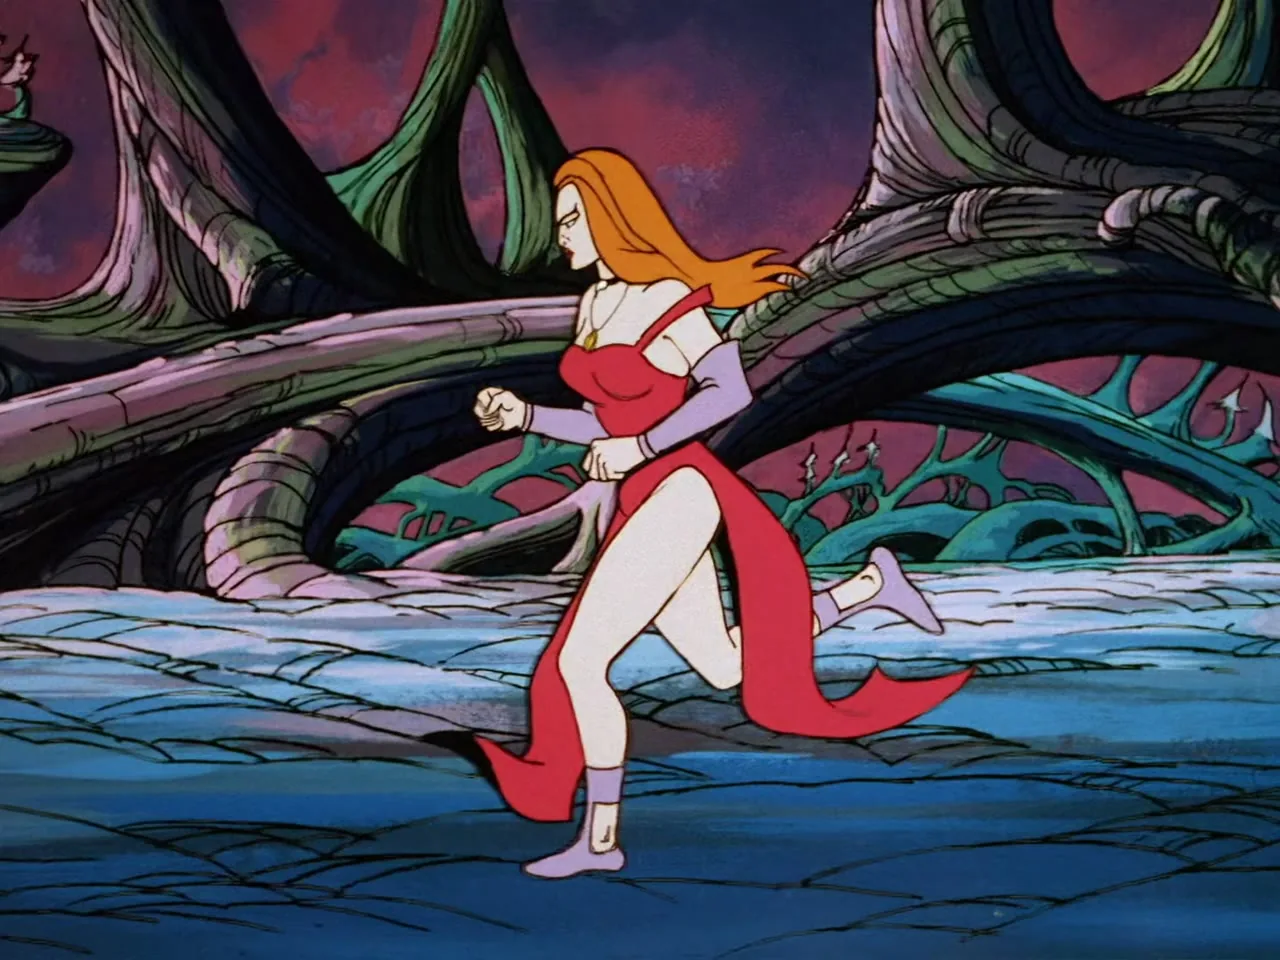
Lady Valtira runs through the twisted forest in her red dress.
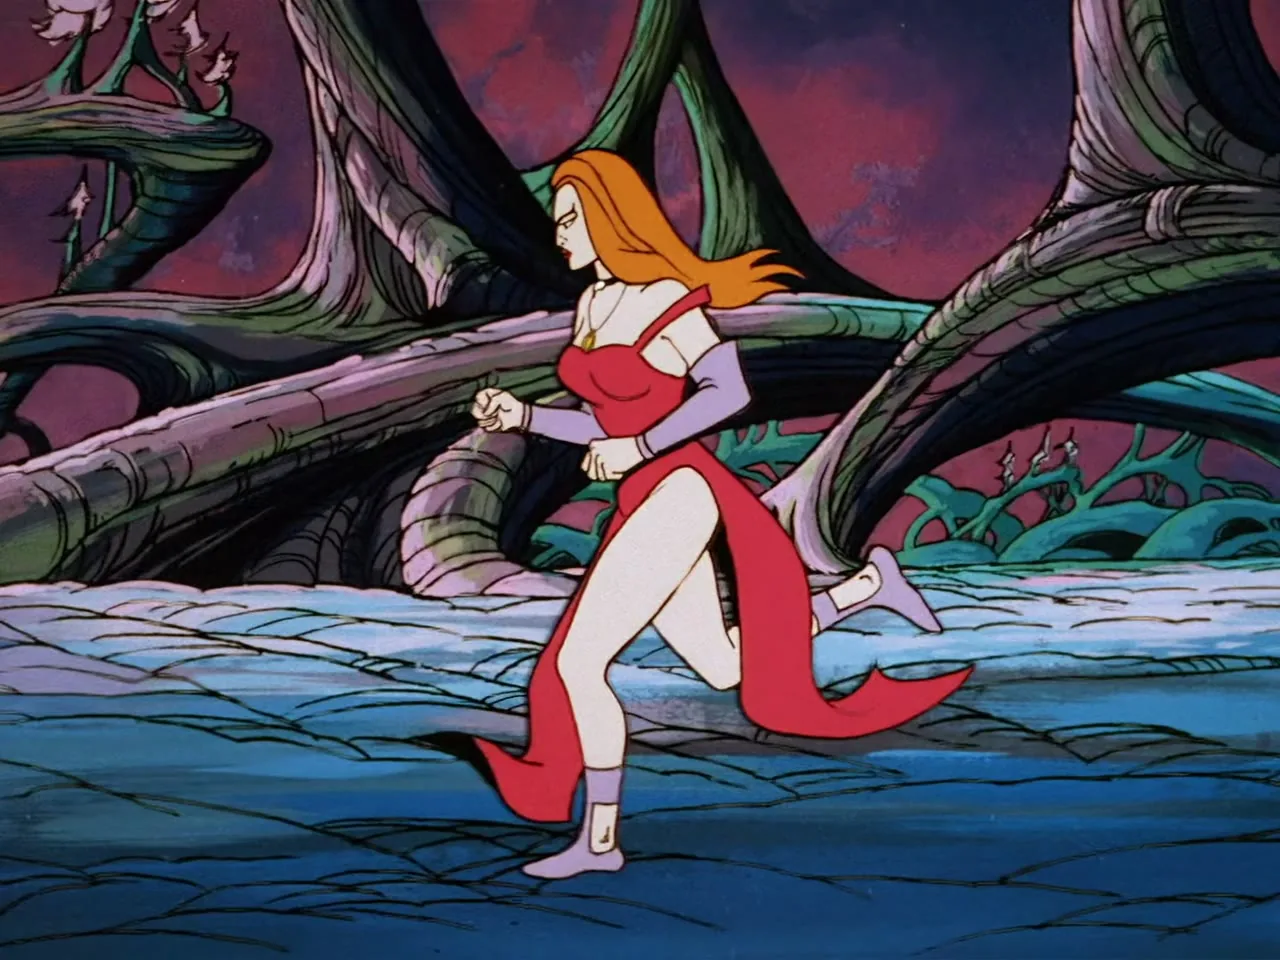
Lady Valtira runs past twisted roots in her red dress.
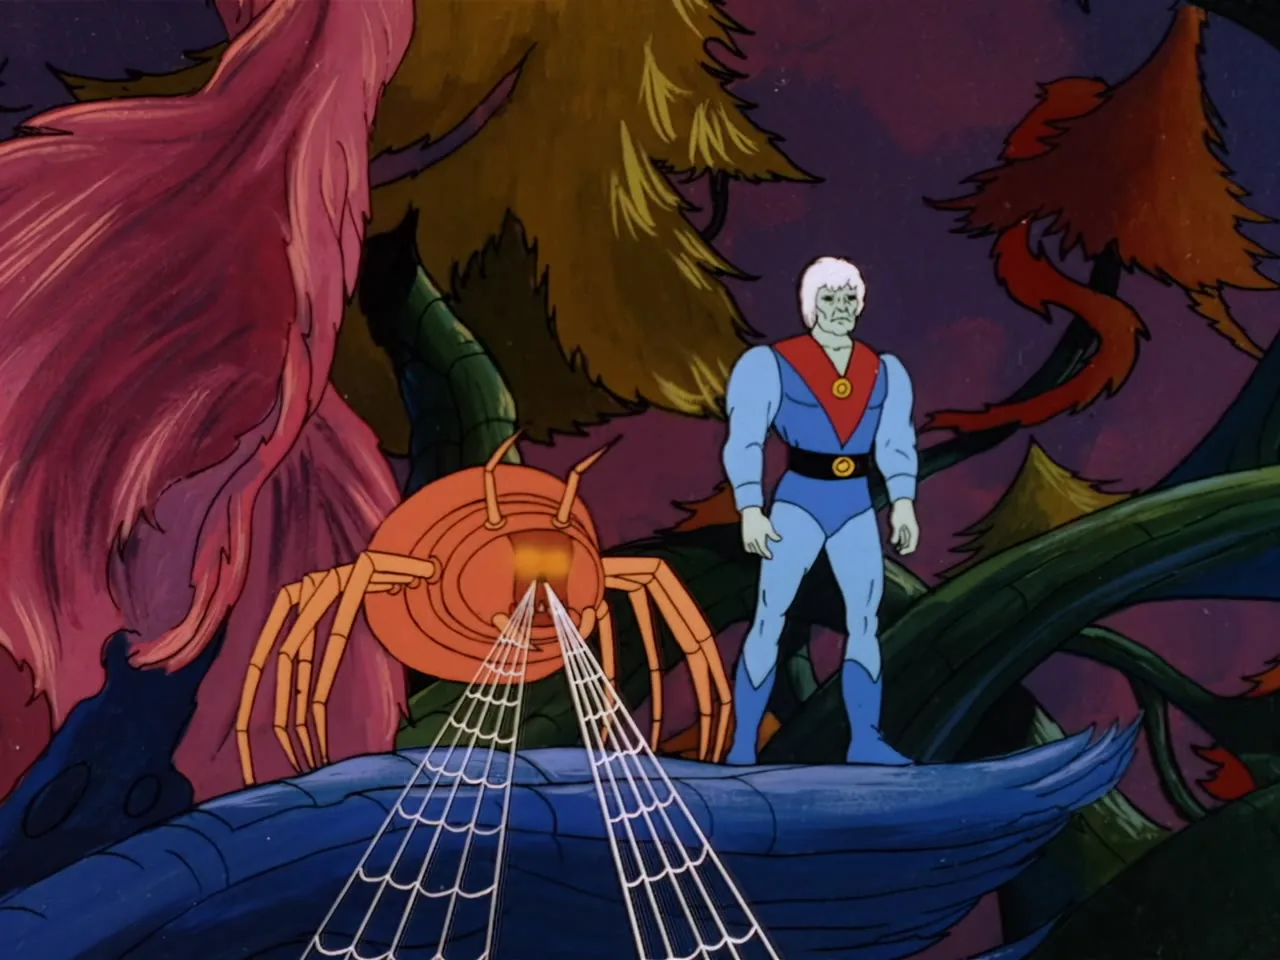
Lord Tyrin stands beside his orange spider as it shoots webs.
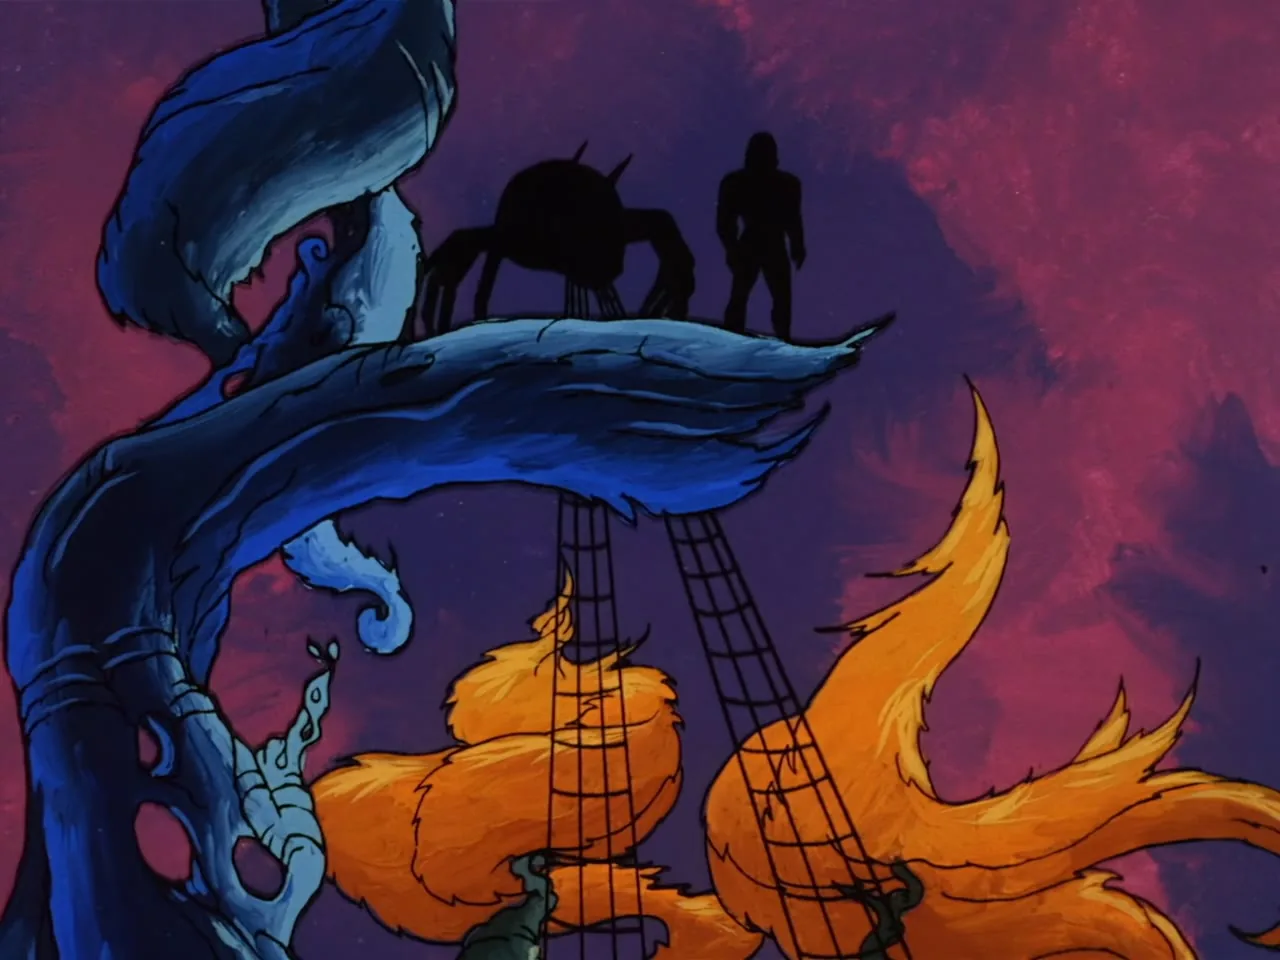
A spider and a figure stand in silhouette above orange foliage.
A spider and a figure stand in silhouette on a tree above orange foliage.
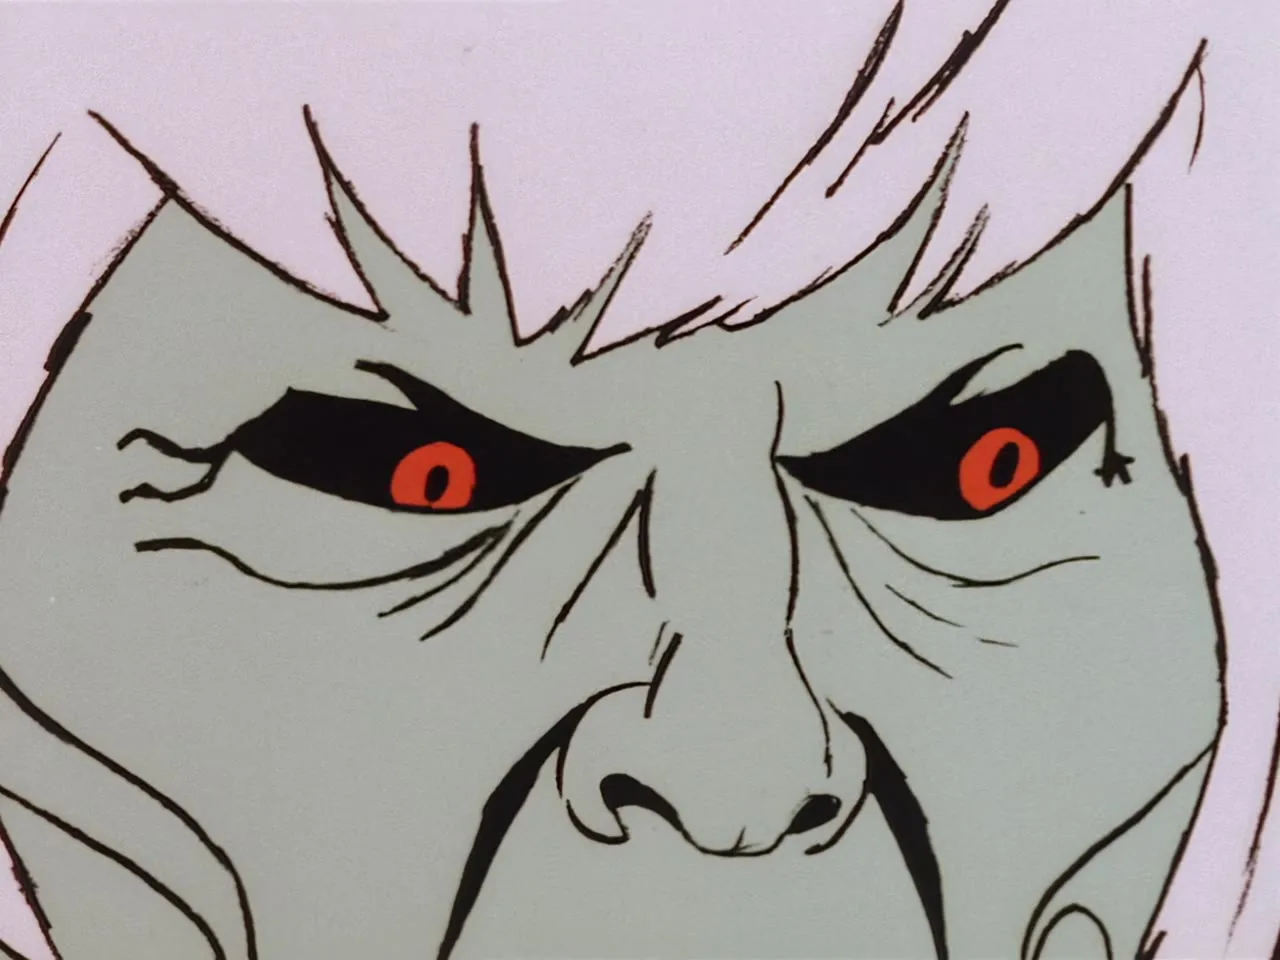
Lord Tyrin's angry face with glowing red eyes fills the frame.
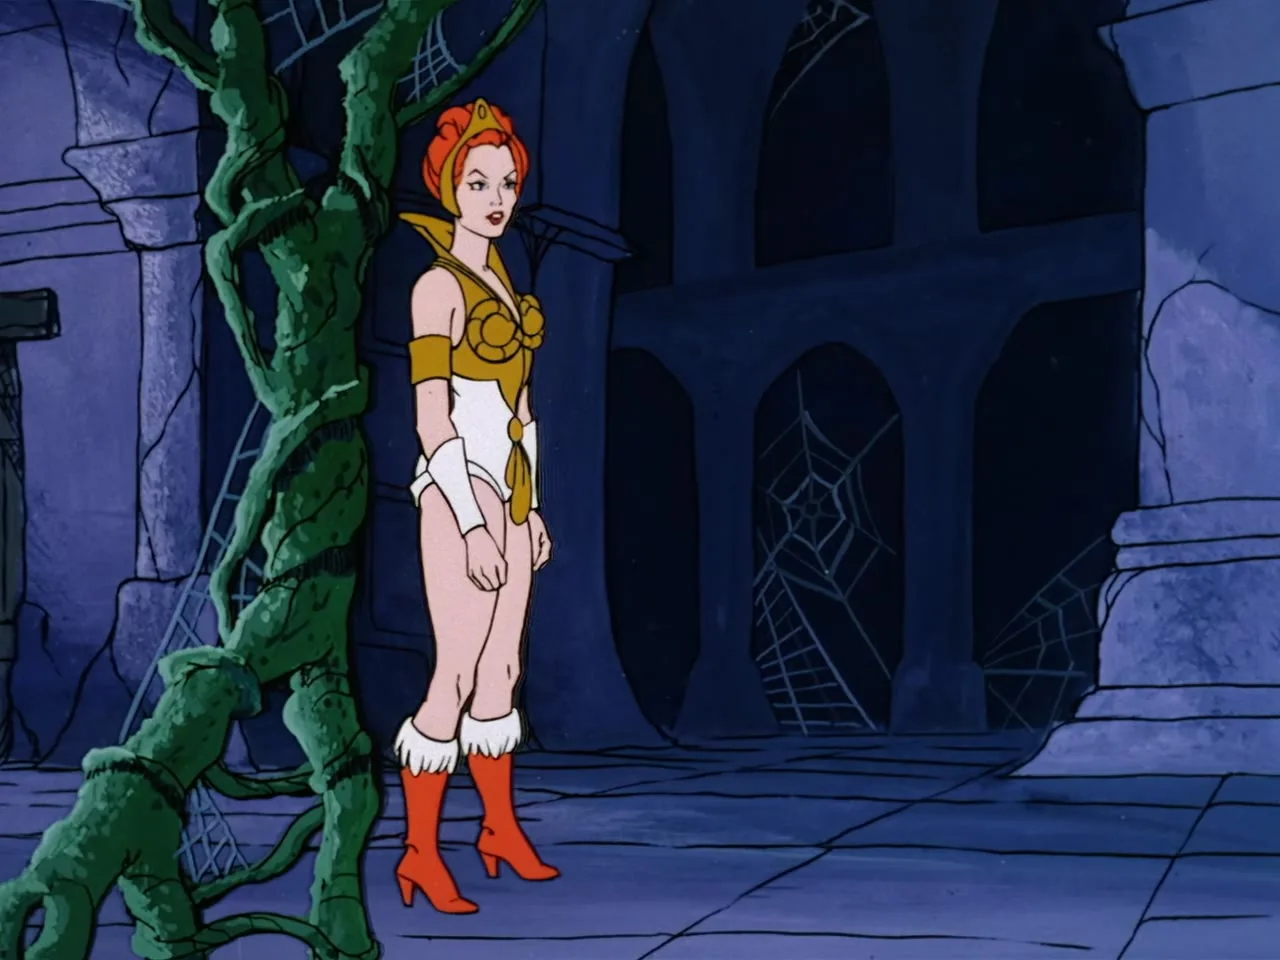
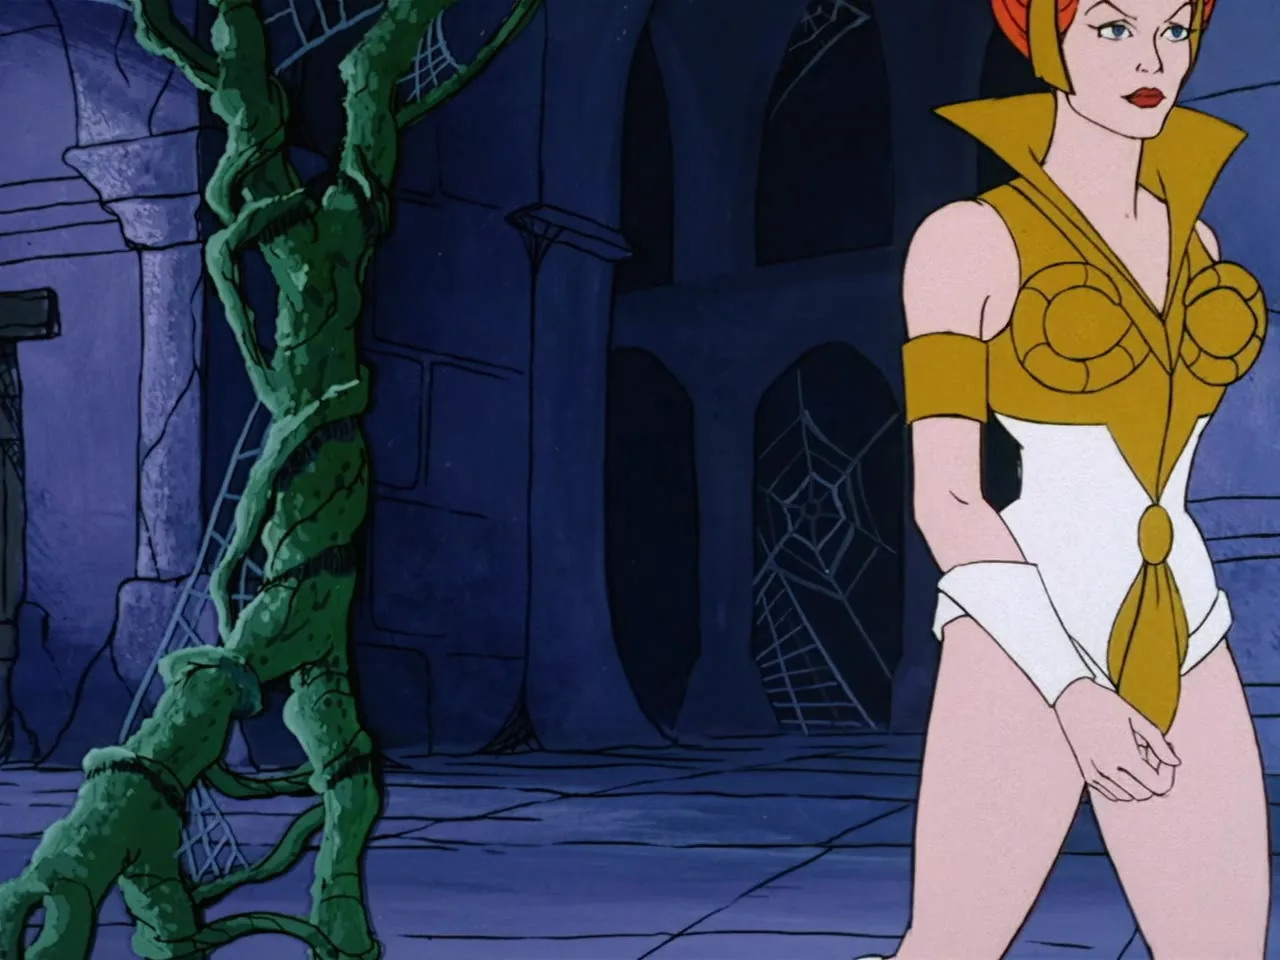
Teela stands in a vine-covered castle hall.
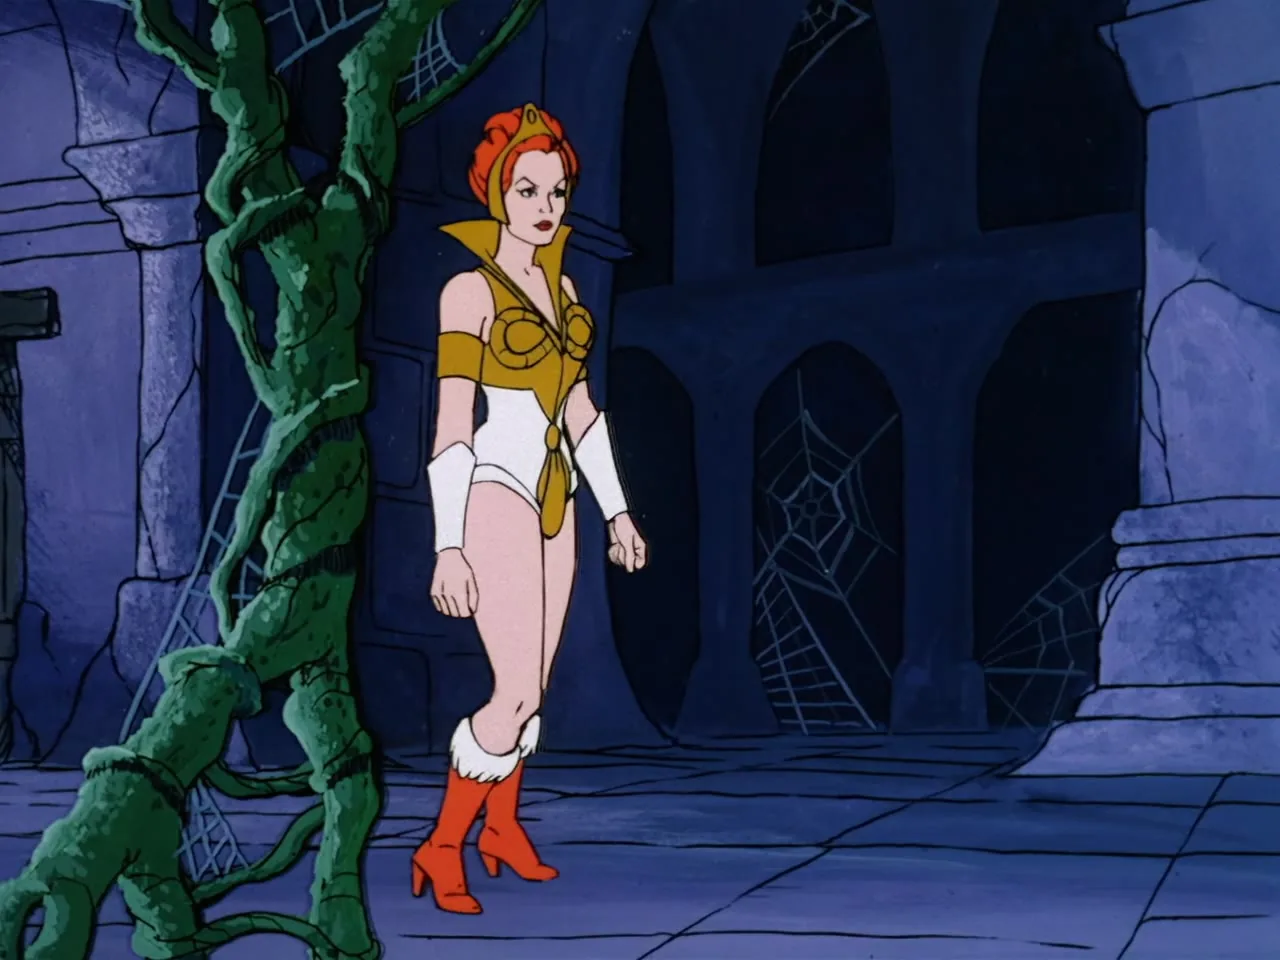
Teela walks through the vine-covered castle hall.
Teela walks past the camera with her hands clasped.
A wooden door sits at the bottom of a stone stair.
A silhouetted figure stands in a dark stone archway.
Thick vines and cobwebs fill a stone hall.
Dripping vines and cobwebs crowd the castle hall.
Vines and cobwebs hang in the stone hall.
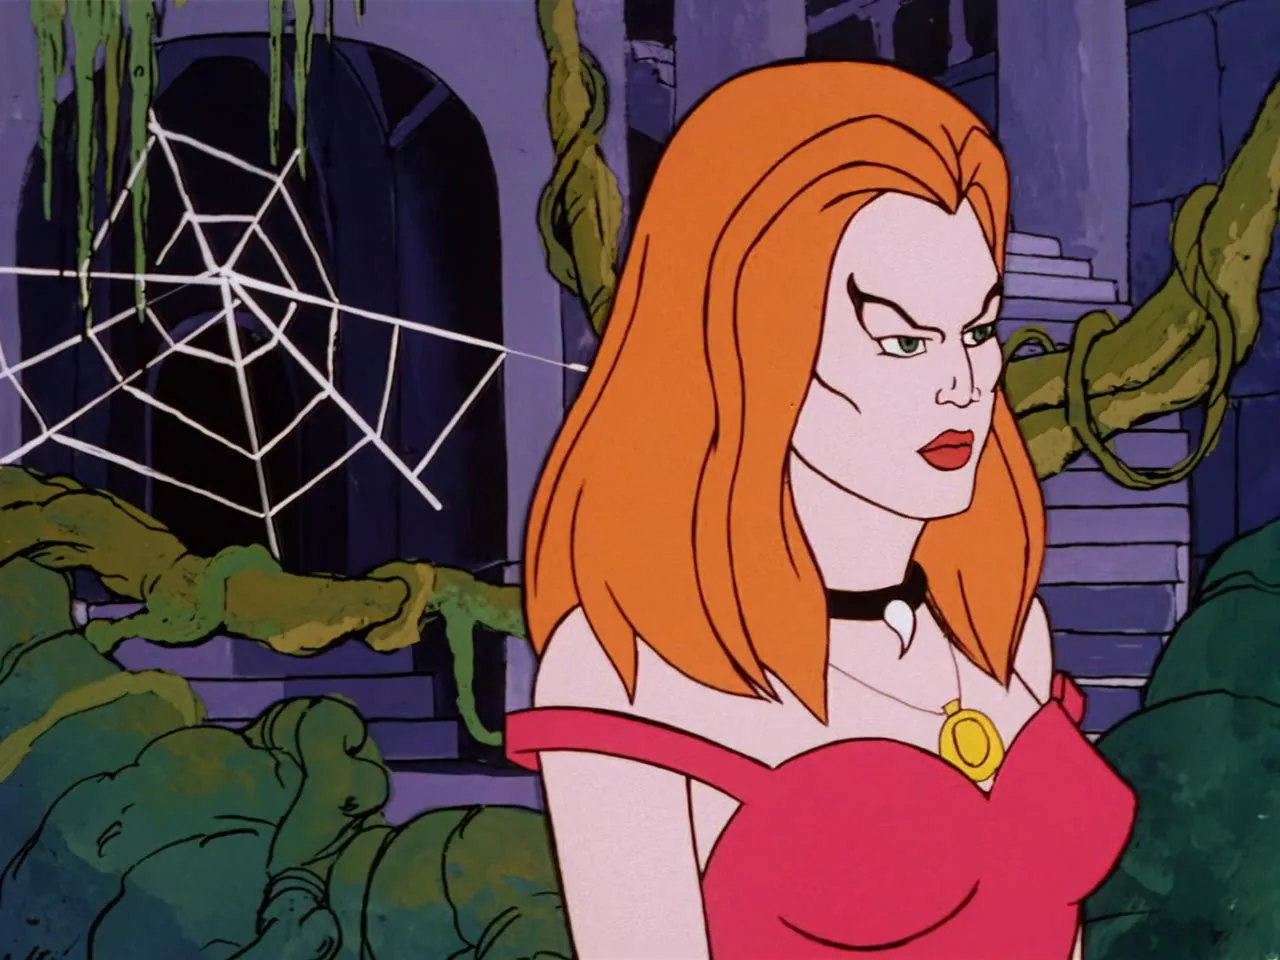
Lady Valtira scowls beside a cobweb in the castle hall.
A thick green vine fills the frame.
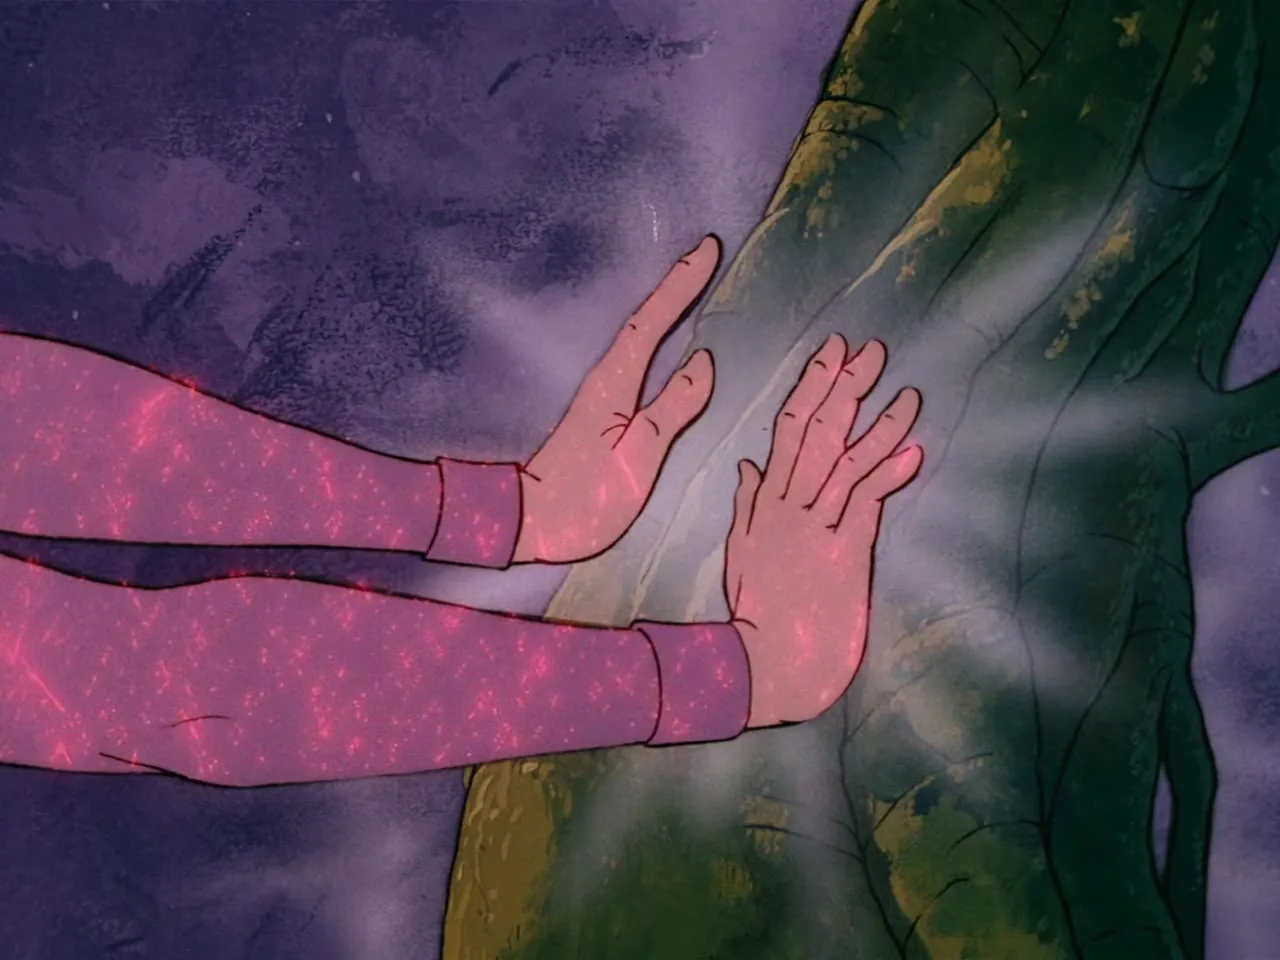
Two hands in sparkling sleeves press against a vine in a burst of light.
Green vines and cobwebs fill the castle hall.
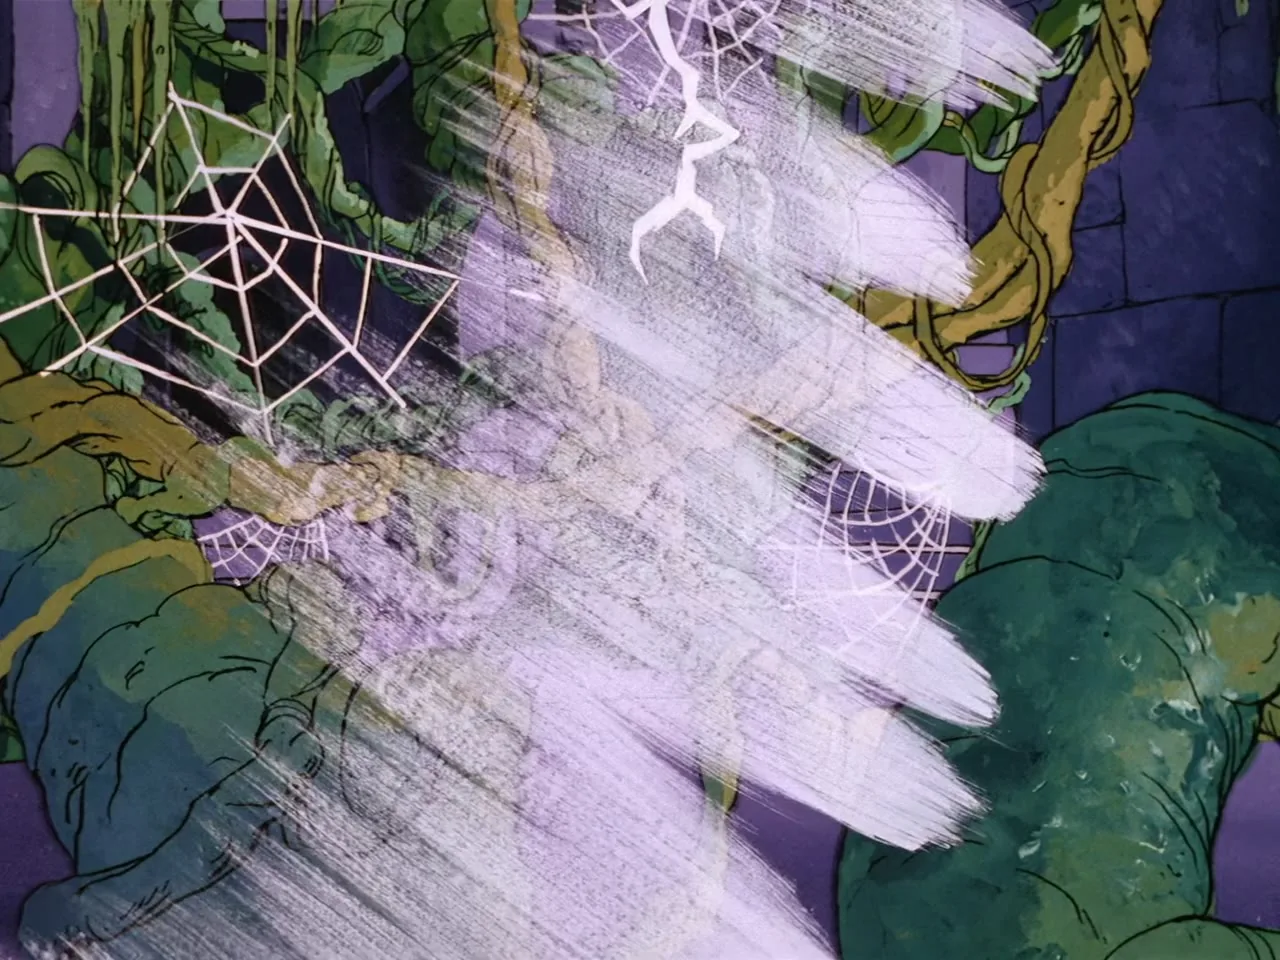
White streaks of light sweep across the vines and cobwebs.
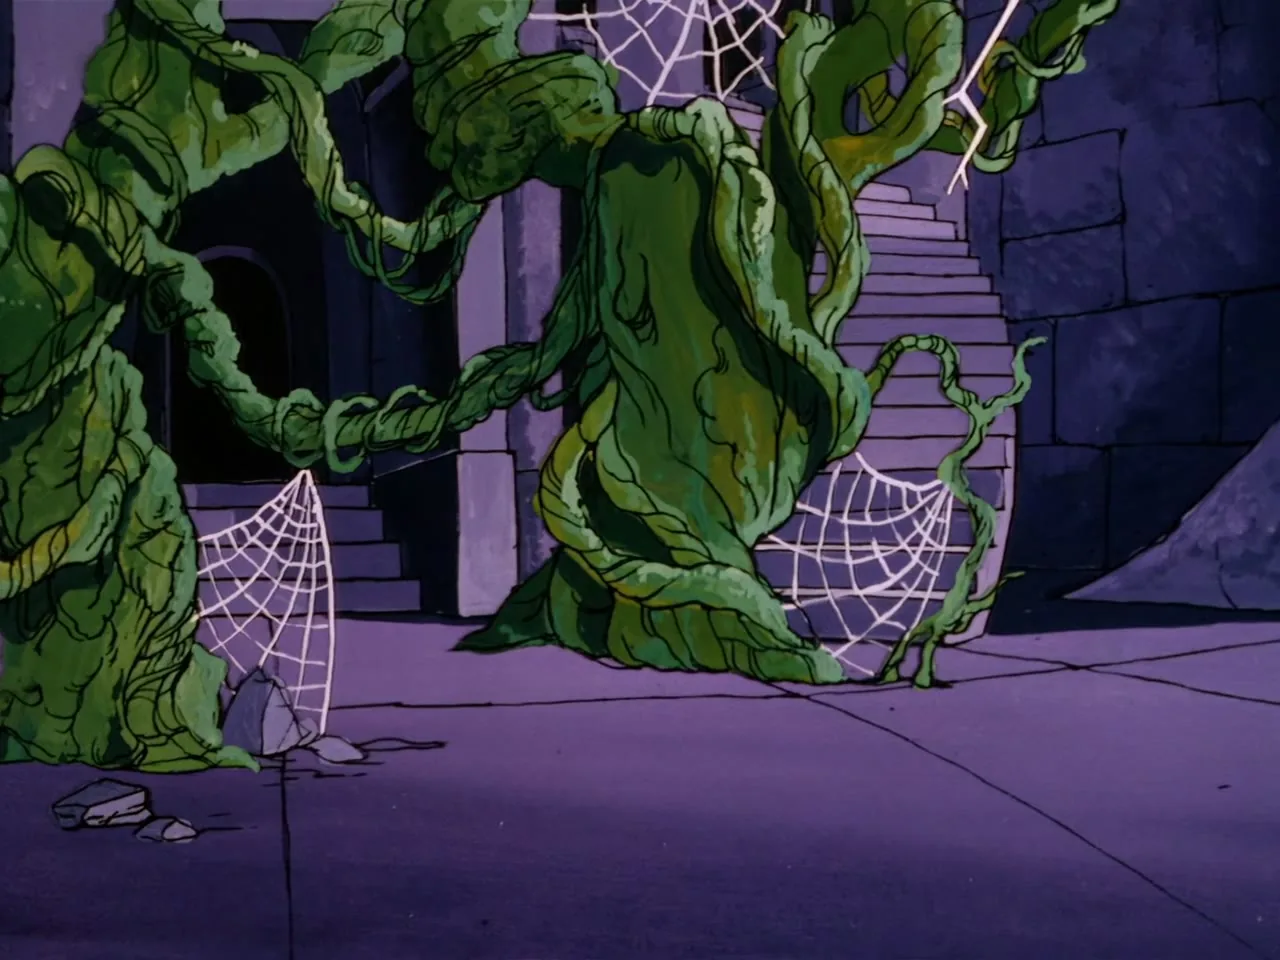
Twisted vines and a cobweb stand in the empty stone hall.
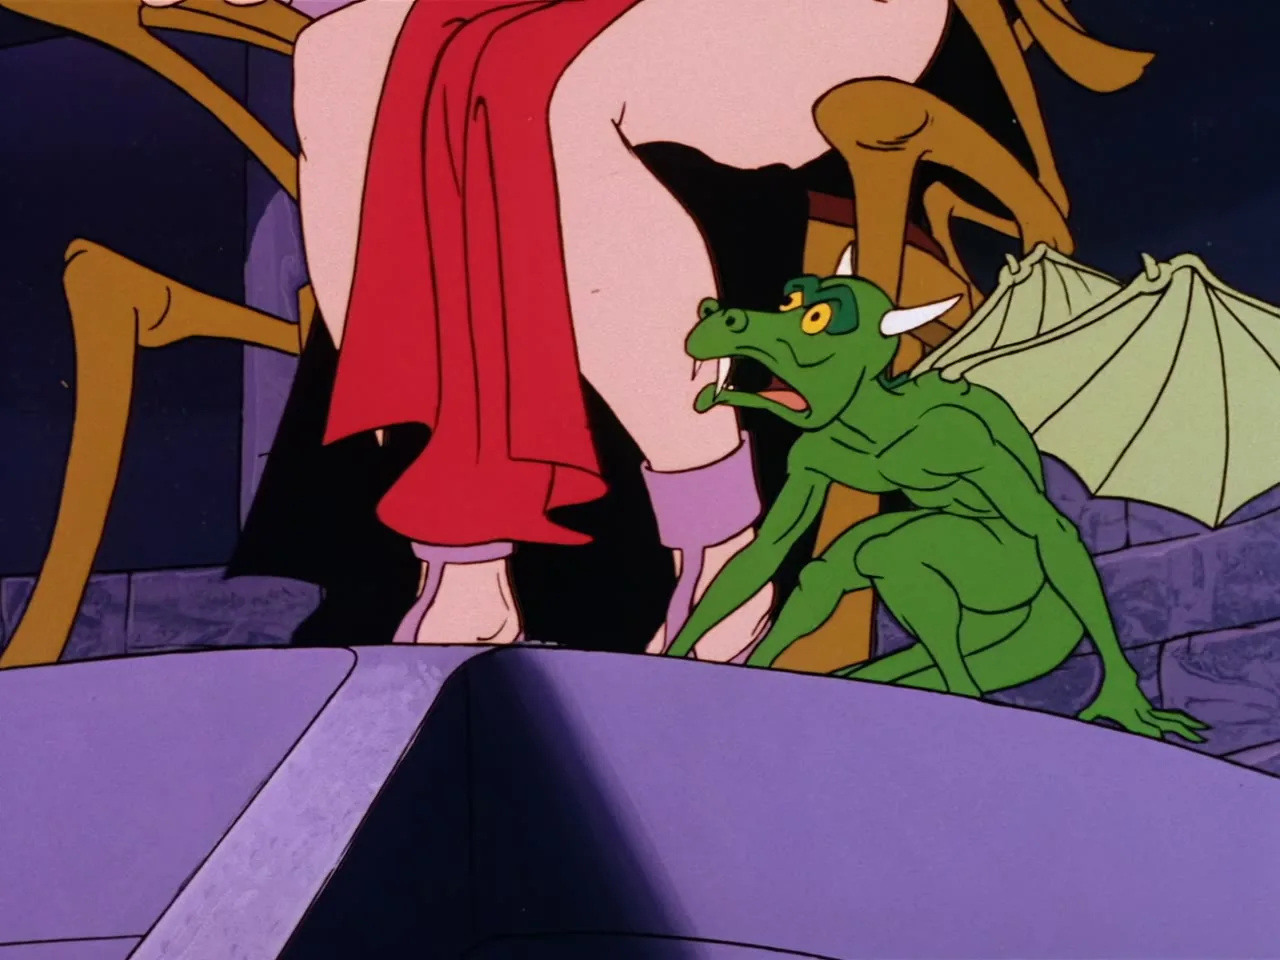
Sago crouches on a ledge beside Lady Valtira and a giant spider's legs.
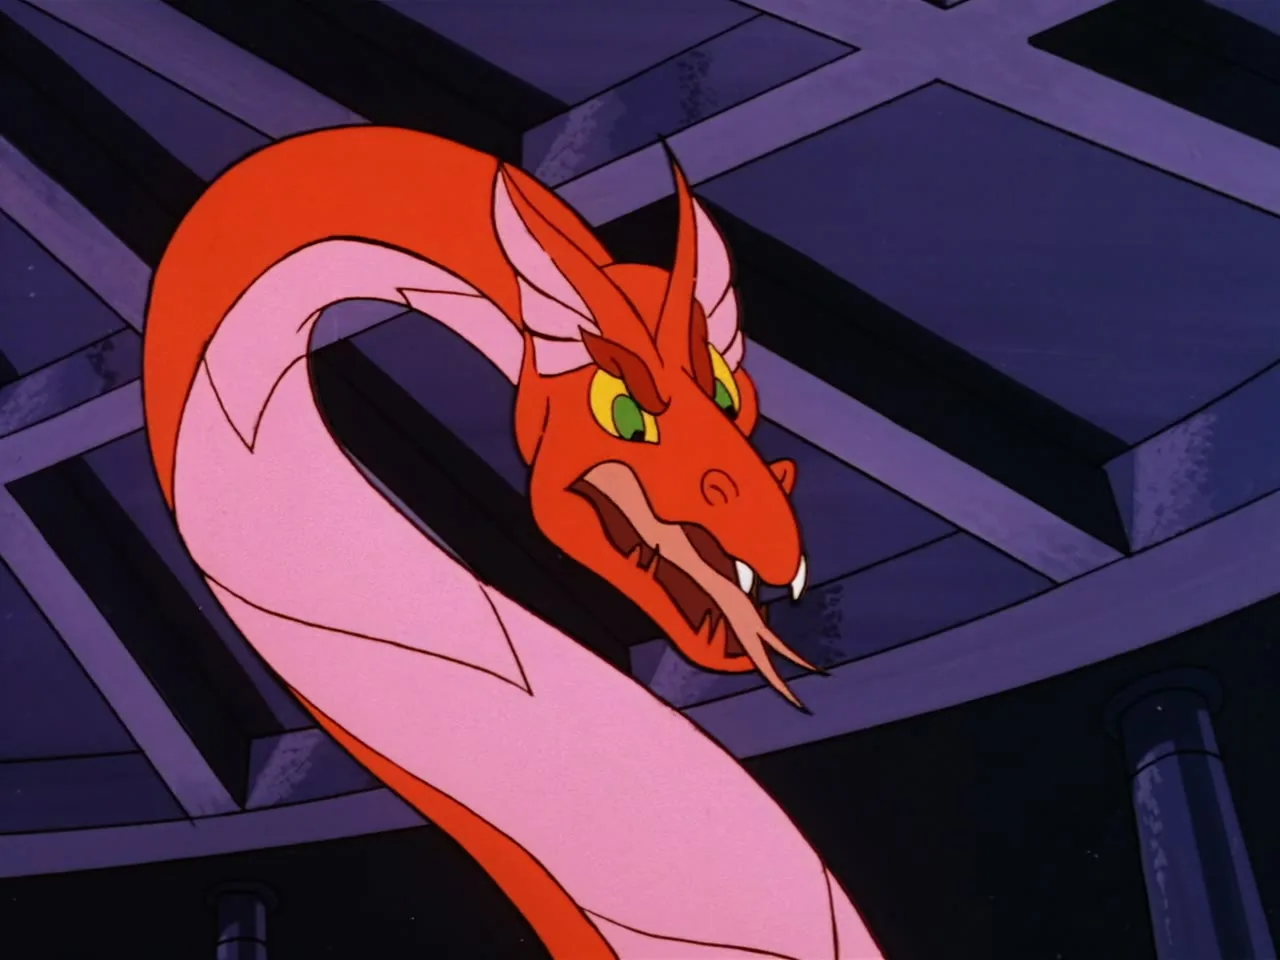
A red serpent with a pink belly rears its head in a stone hall.
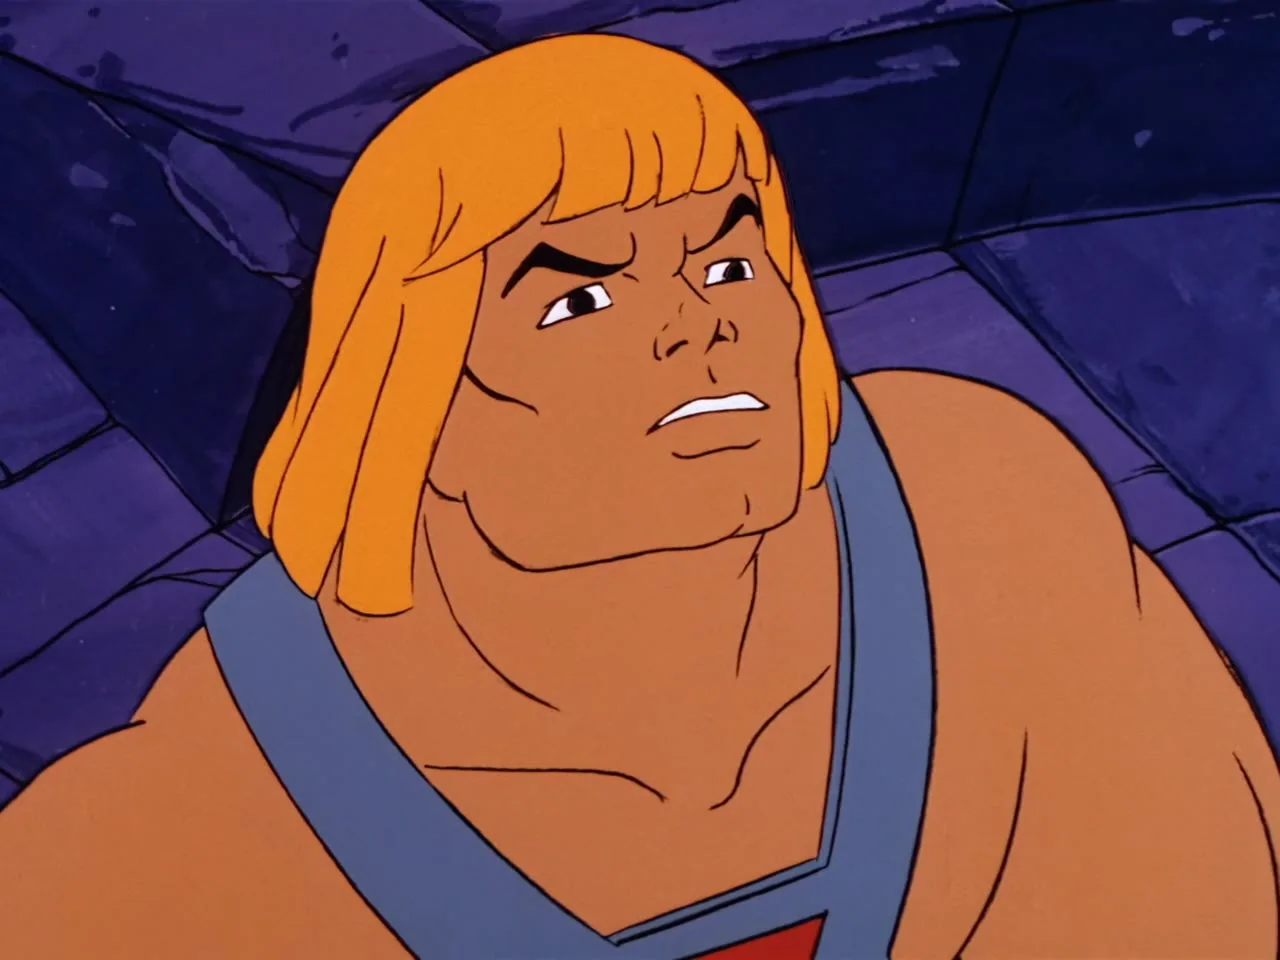
He-Man looks up with a worried frown.
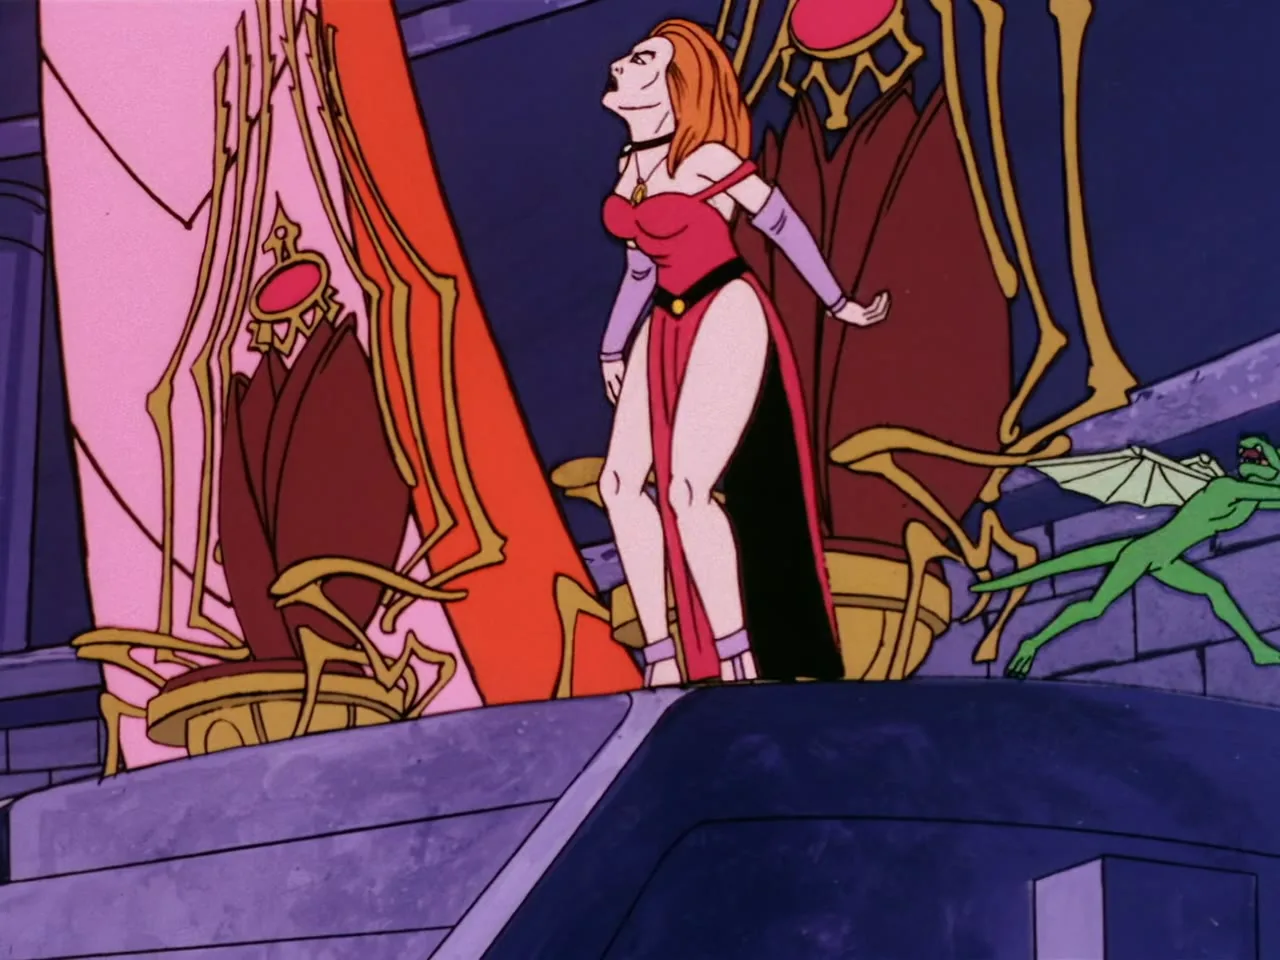
Lady Valtira stands before a red throne while Sago scurries at the right.
The red serpent's coils loom over the broken throne.
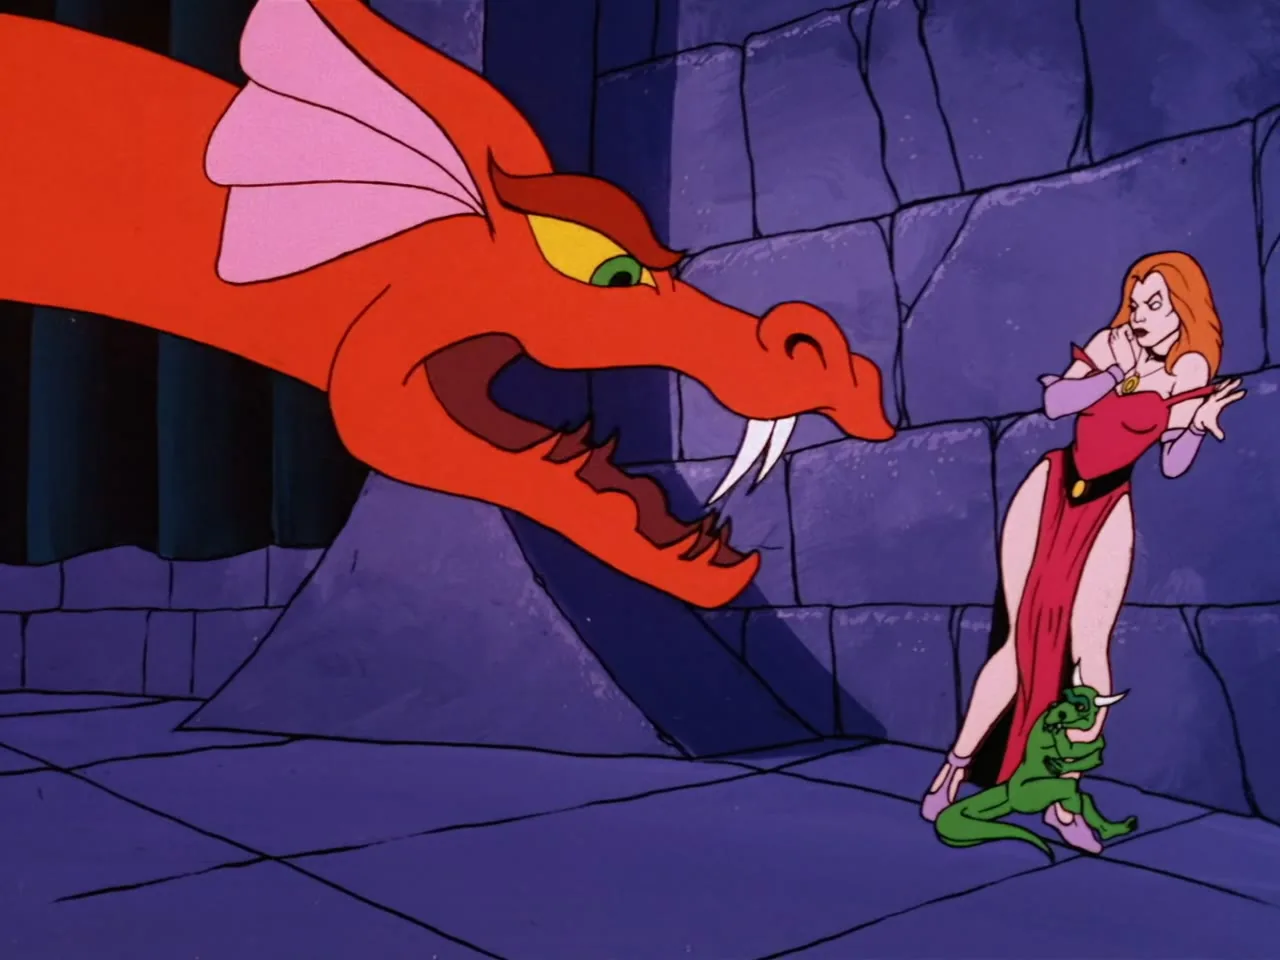
The red serpent lunges at Lady Valtira as Sago clings to her leg.
An empty stone hall with columns and a stone floor.
A stone wall and a dark curtain edge fill the empty hall.
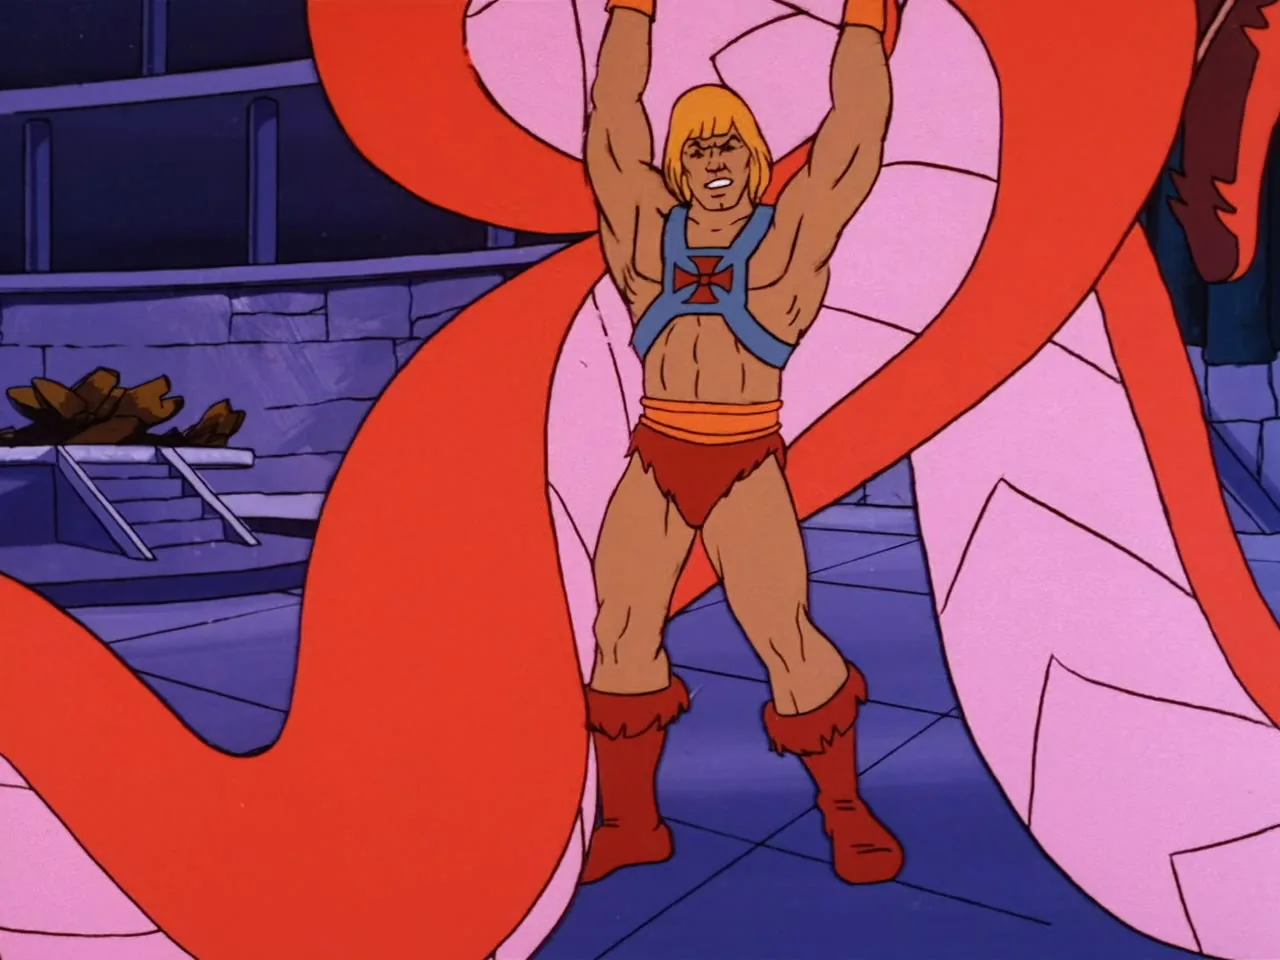
He-Man stands with arms raised inside the red serpent's coils.
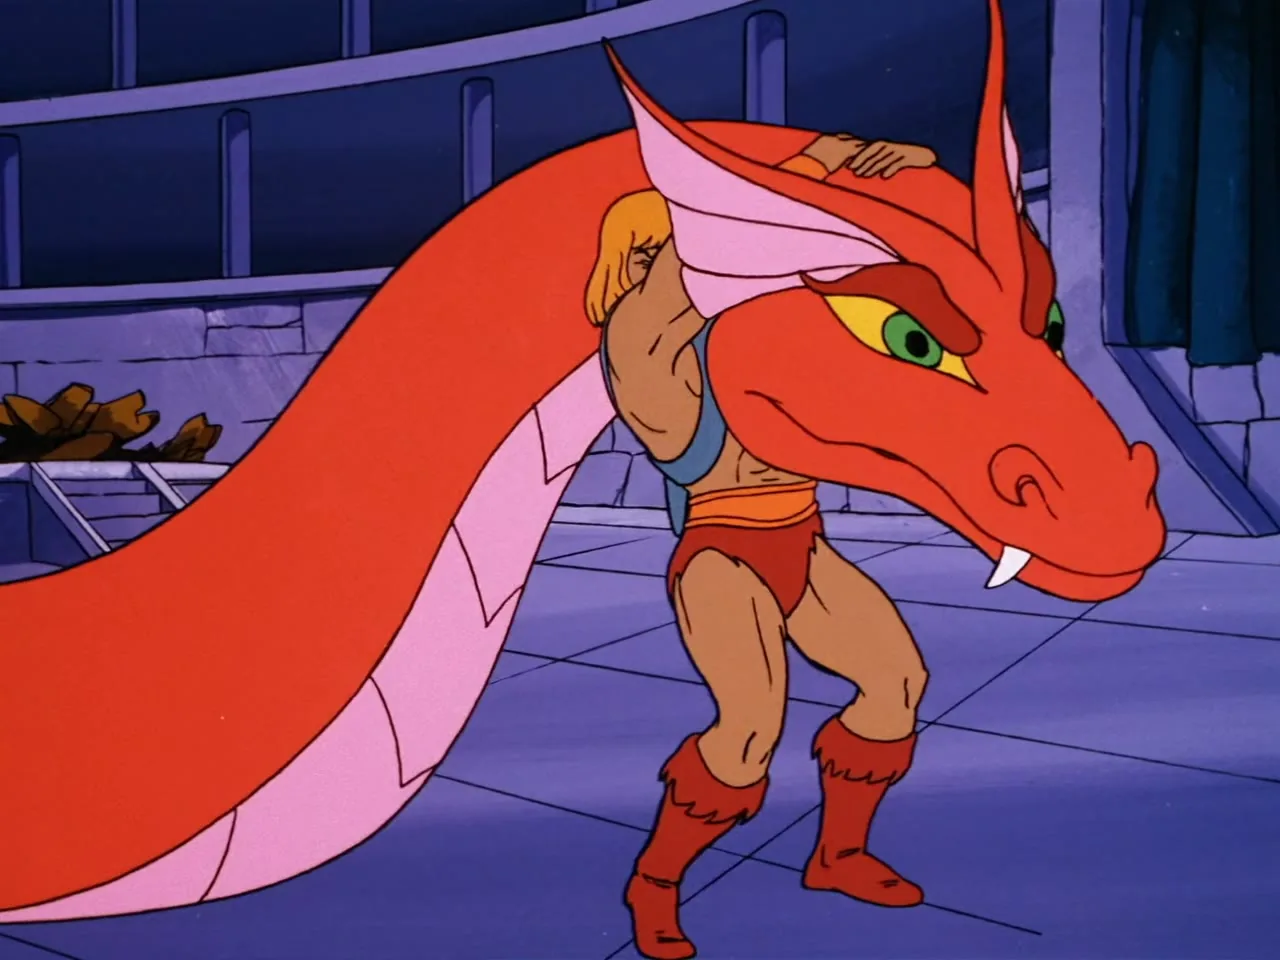
The red serpent's head rears beside He-Man, who hunches in its coils.
The red serpent coils upward with its pink belly showing.
He-Man looks up with a determined face.
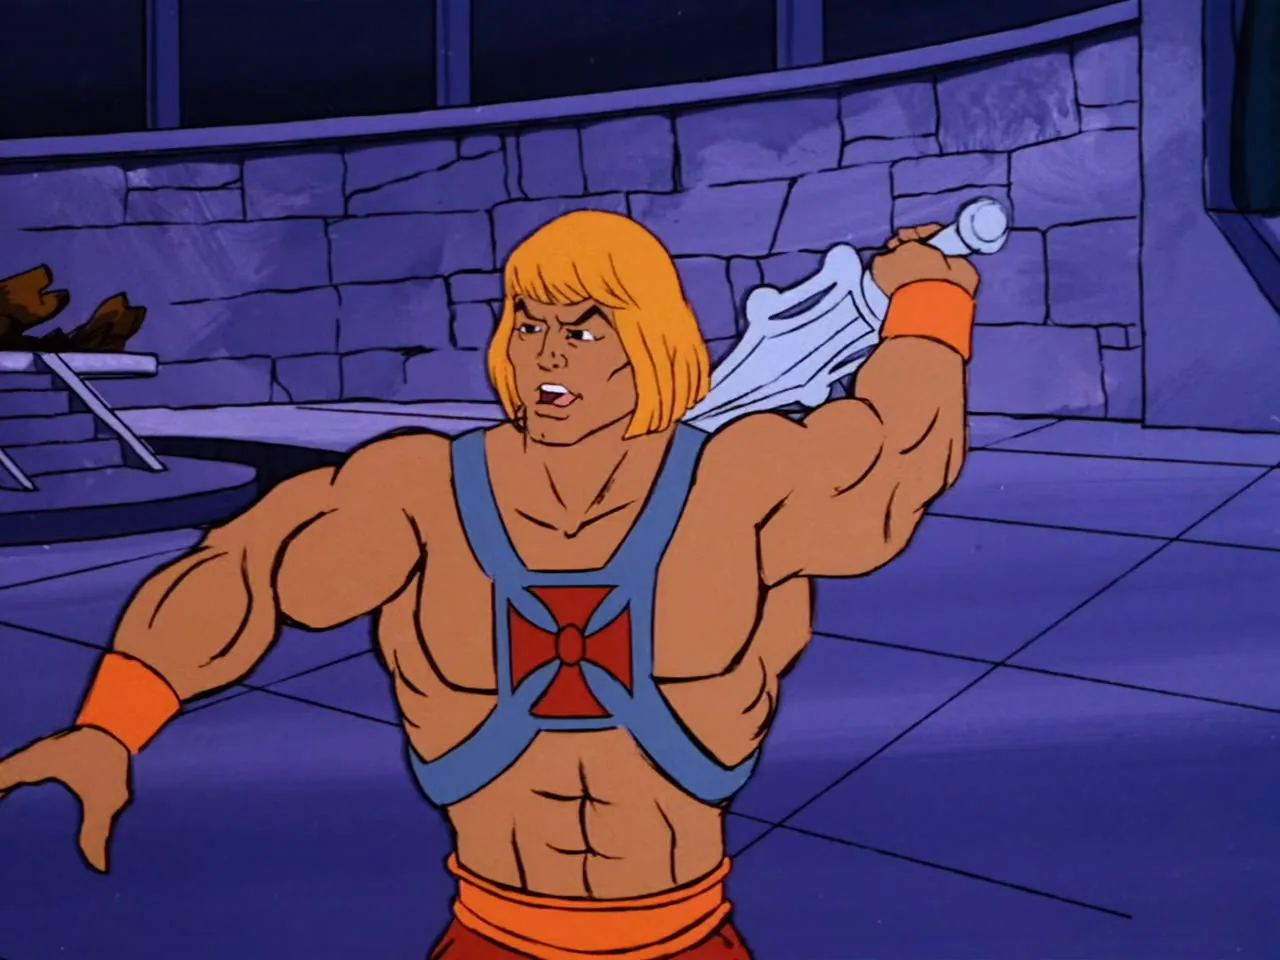
He-Man raises his Power Sword over his shoulder.
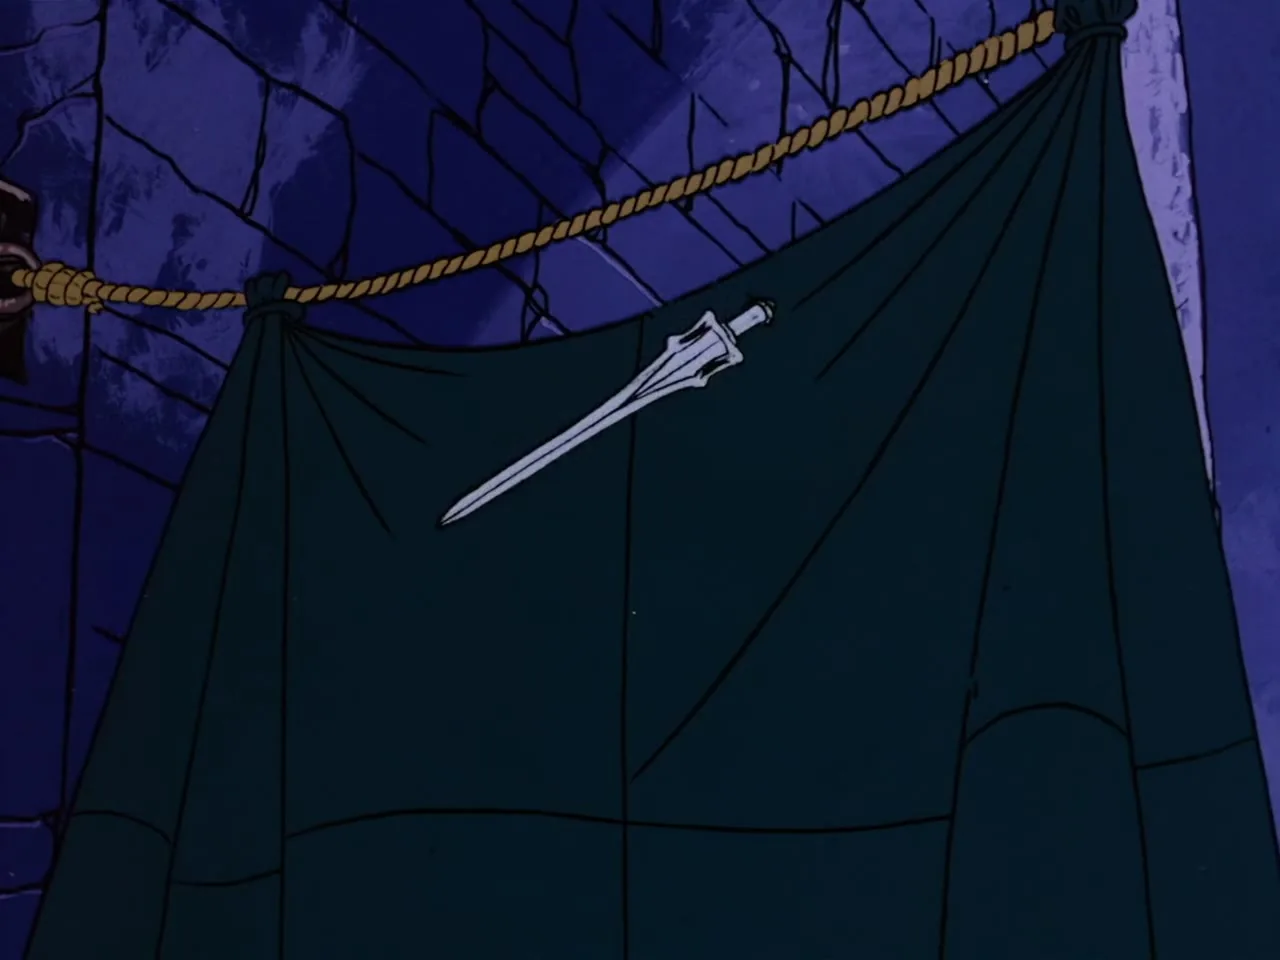
A dark curtain hangs from a rope with a sword pinned to it.
A dark curtain bundles over the serpent, its pink tail curling out.
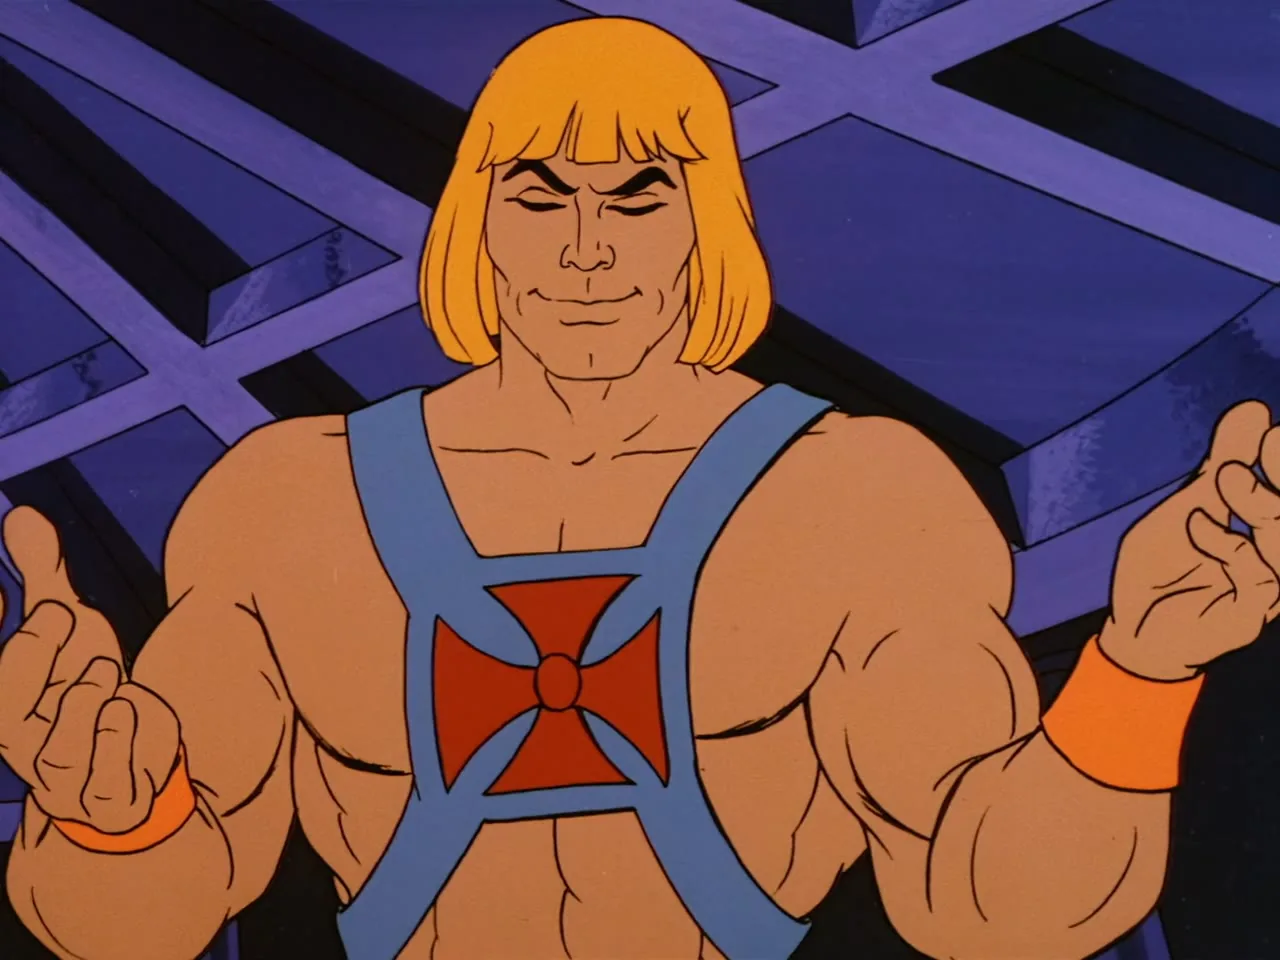
He-Man opens his hands with a smile.
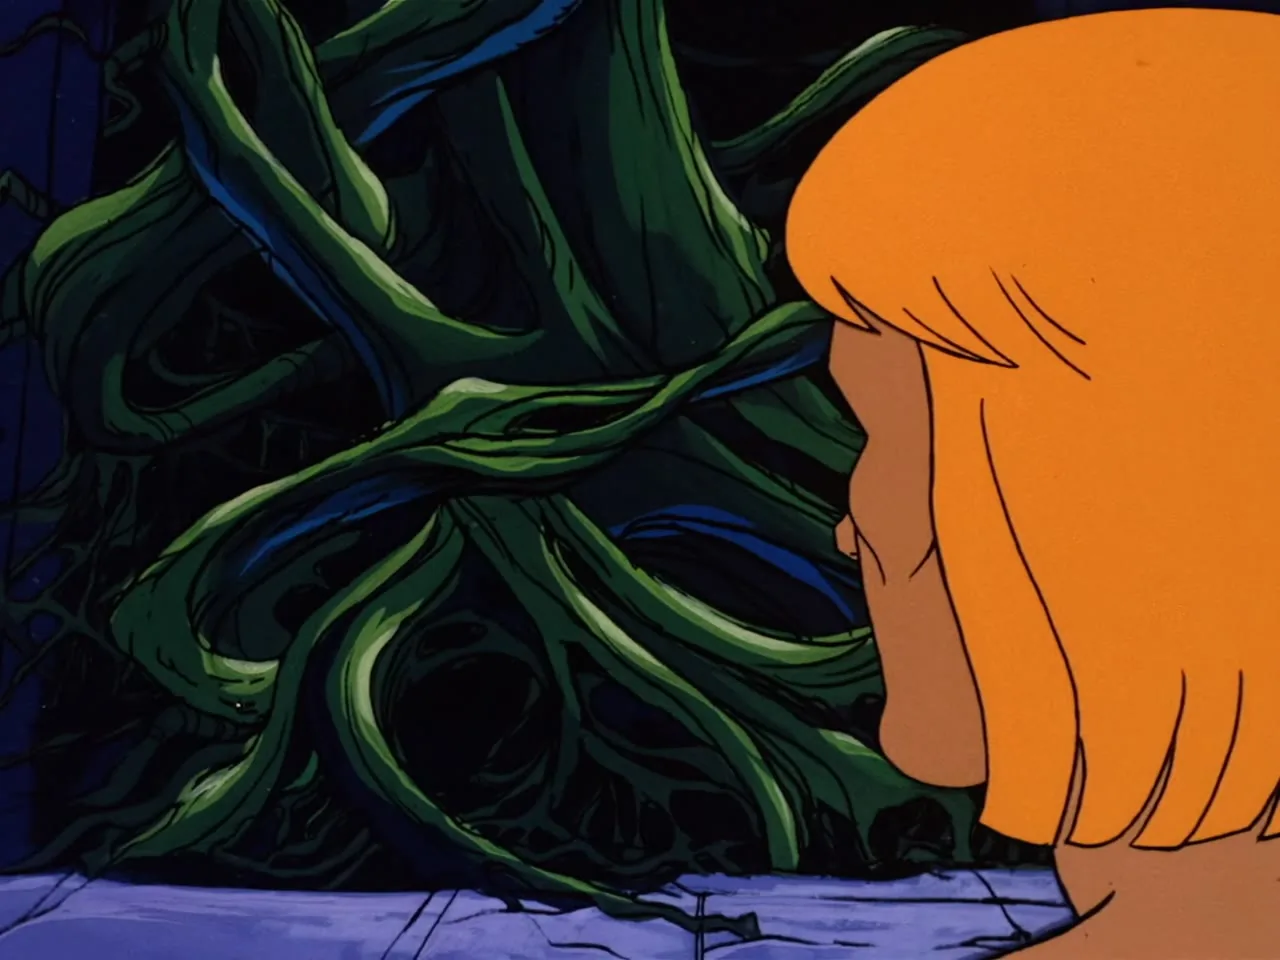
He-Man faces a mass of dark twisted vines.
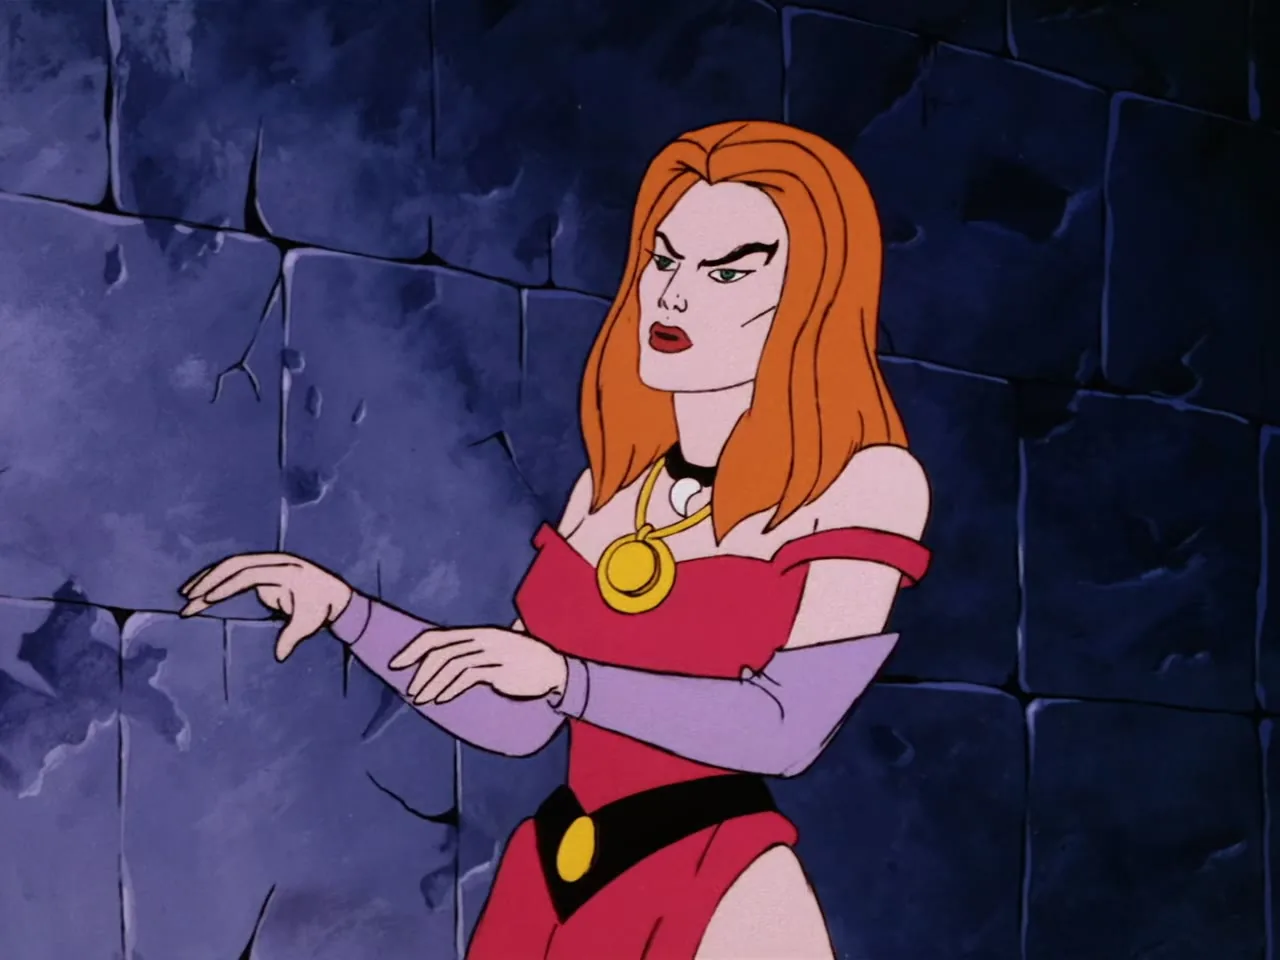
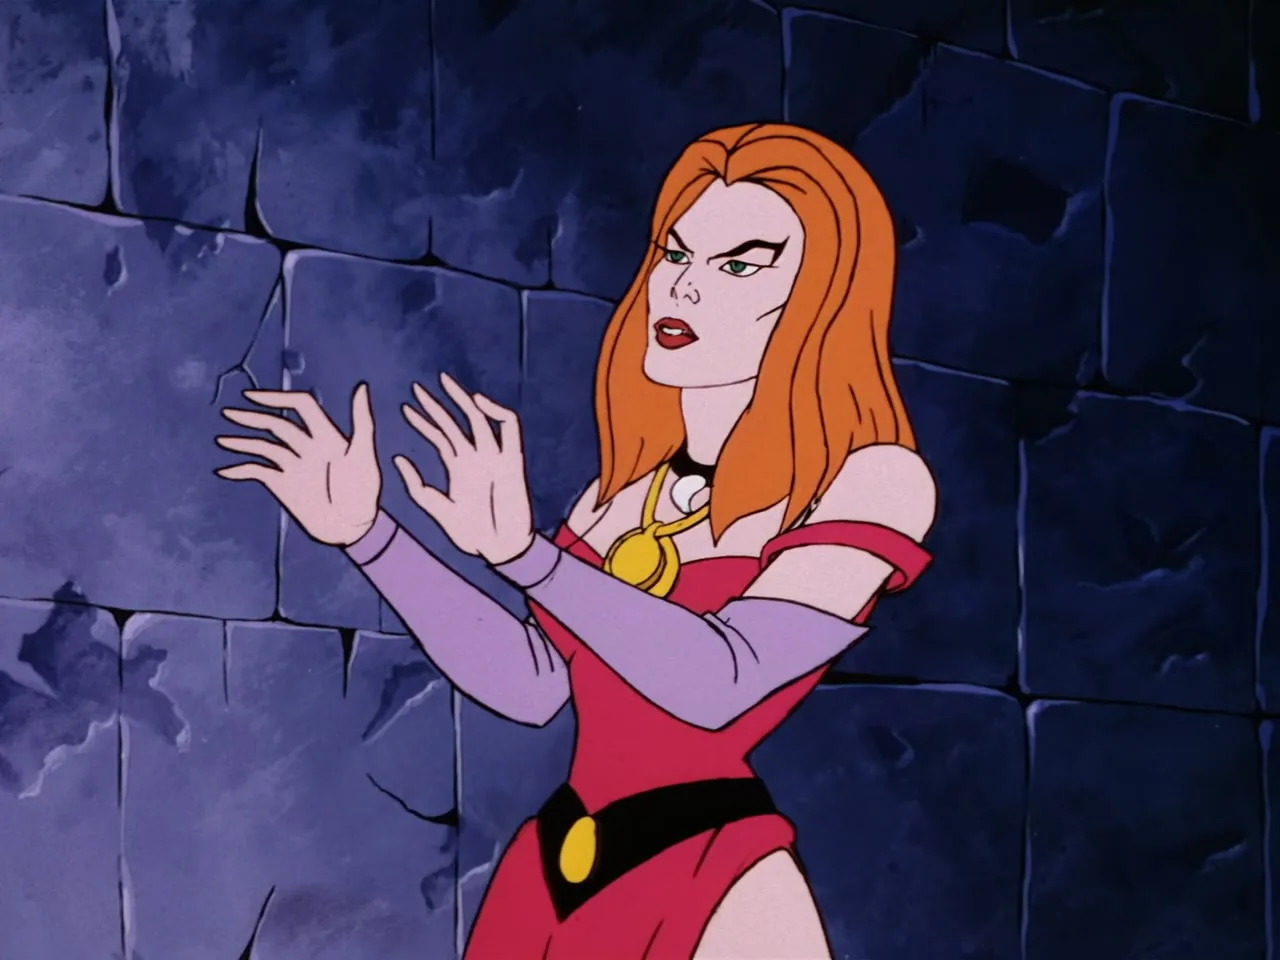
Lady Valtira gestures with her hands raised before a stone wall.
Lady Valtira holds up both hands before a stone wall.
Dark twisted vines fill the frame.
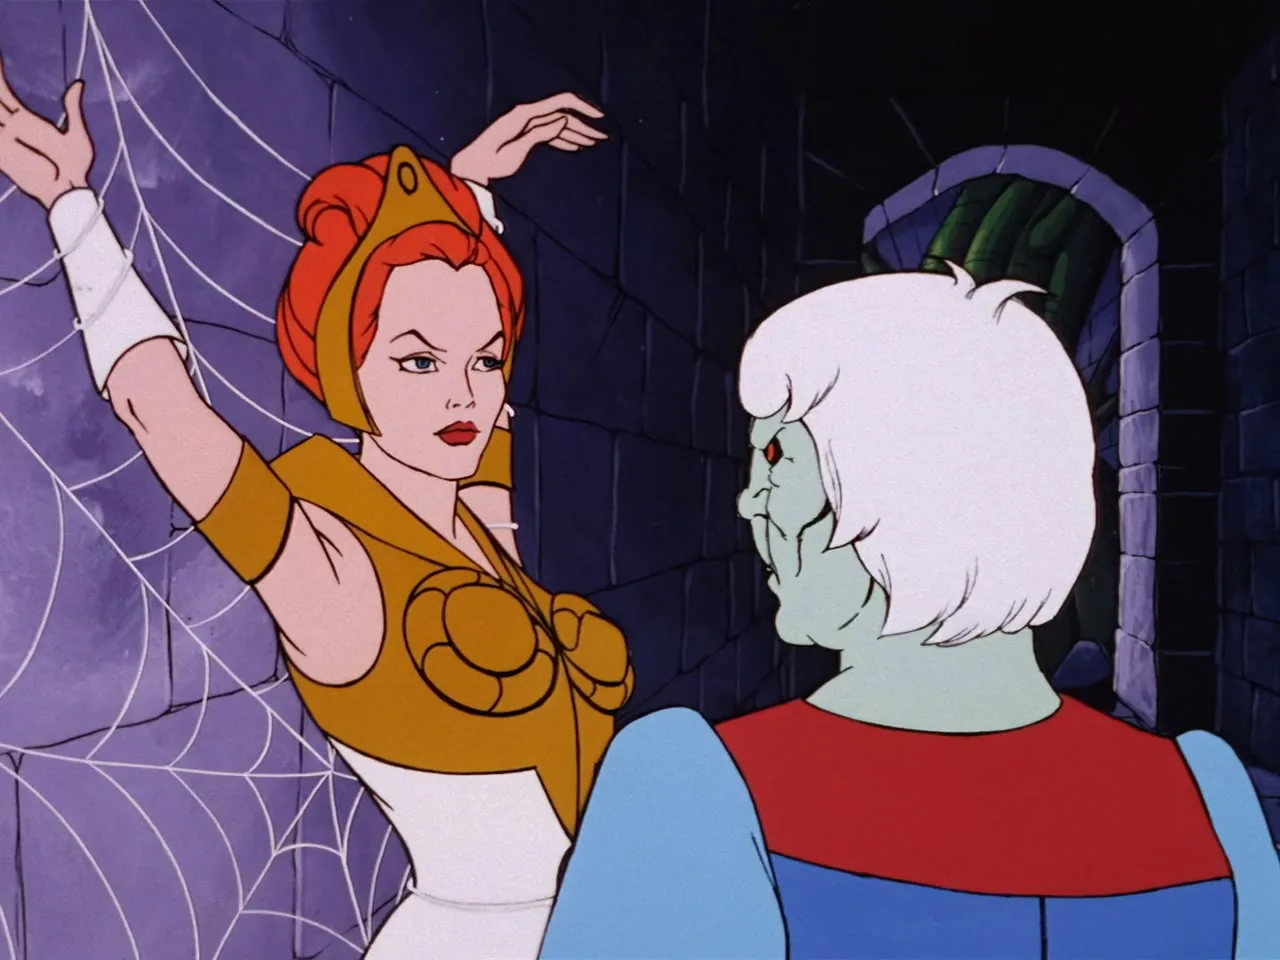
Teela raises her arm against a cobweb while Lord Tyrin stands beside her.
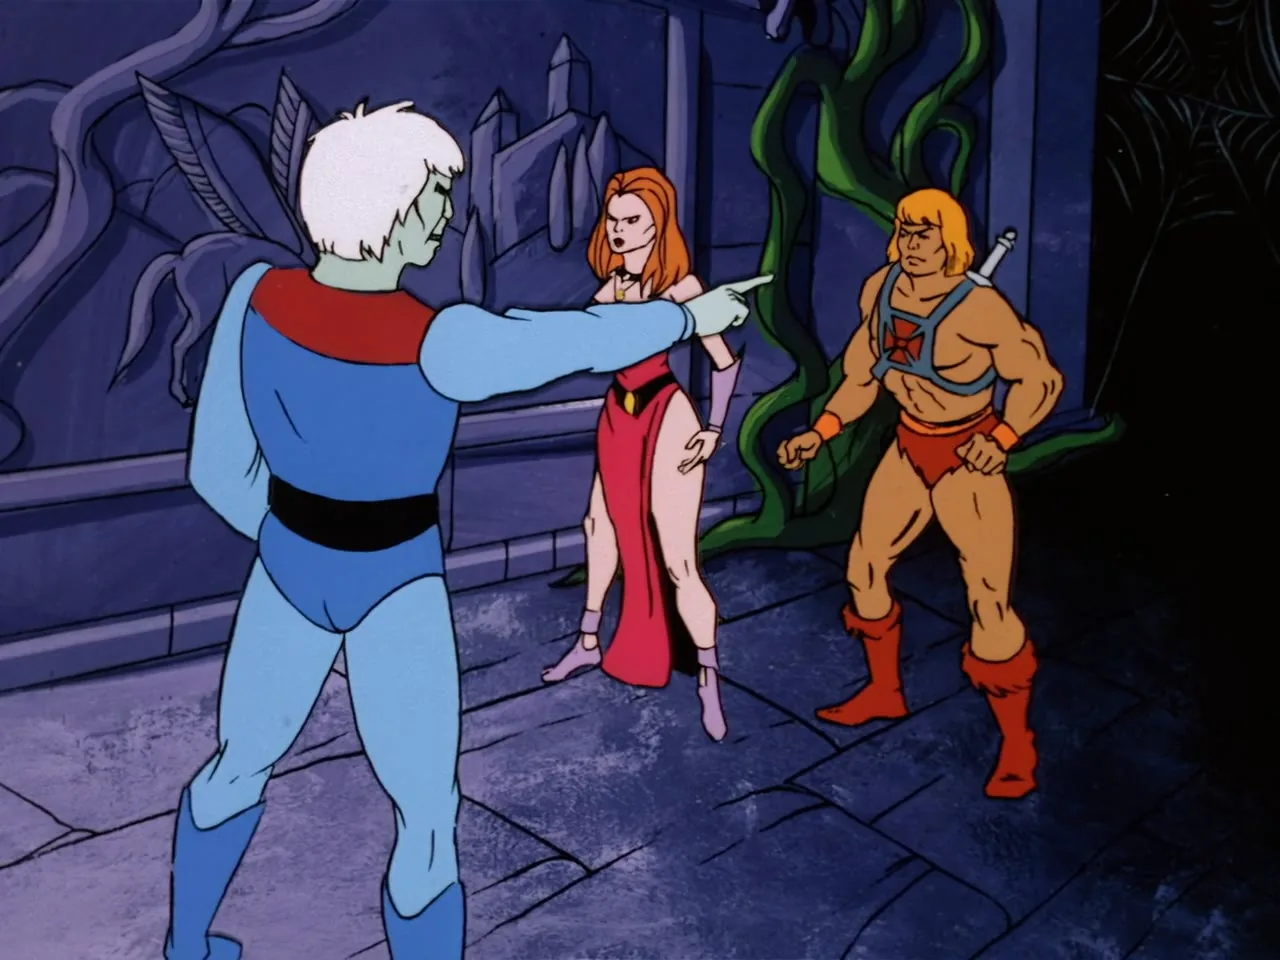
Lord Tyrin points at Lady Valtira and He-Man in the vine-covered hall.
A chandelier hangs above a dark staircase with an orange glow.
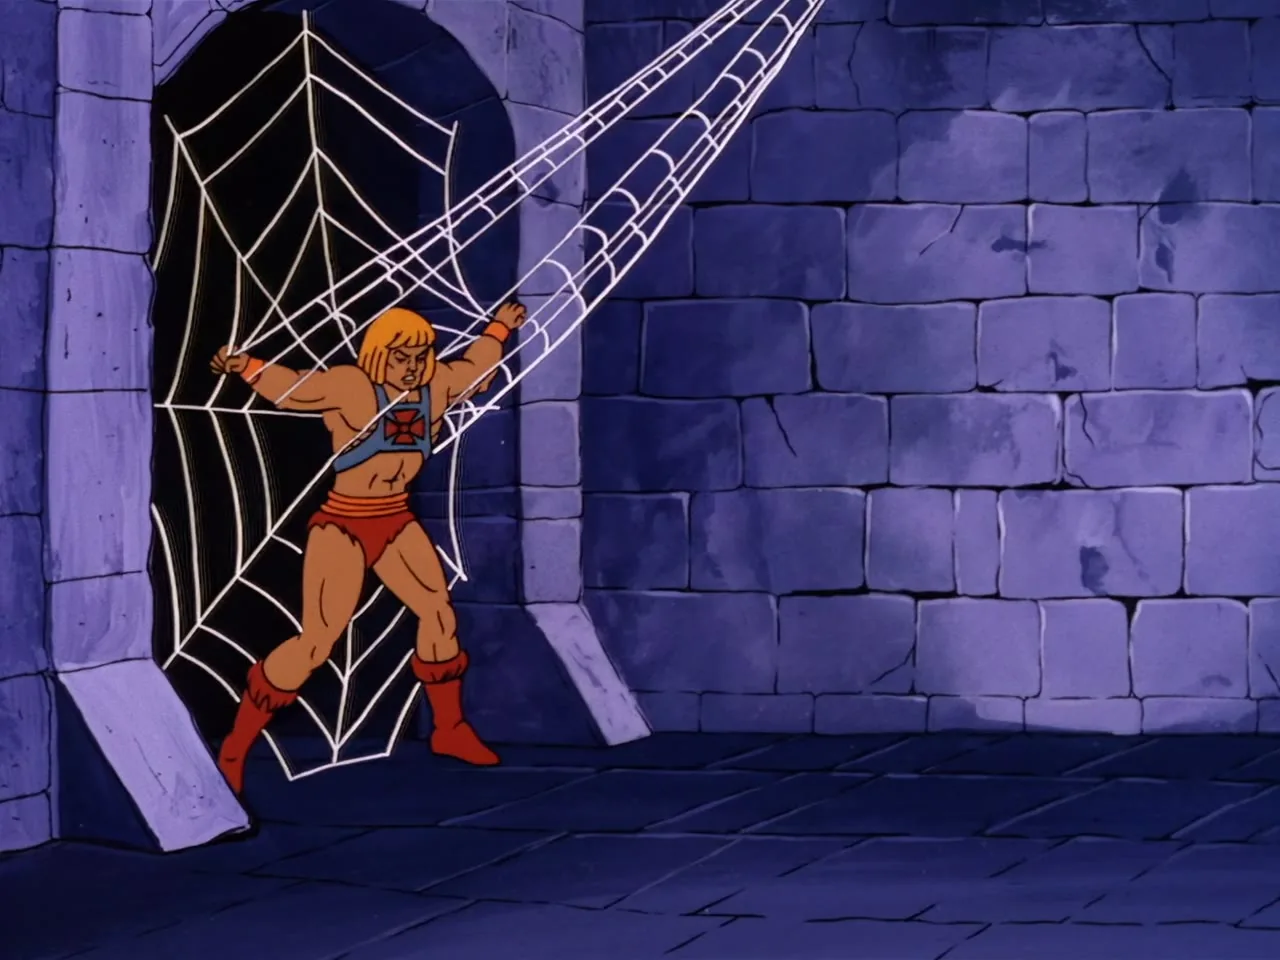
He-Man hangs trapped in a large spider web in an archway.
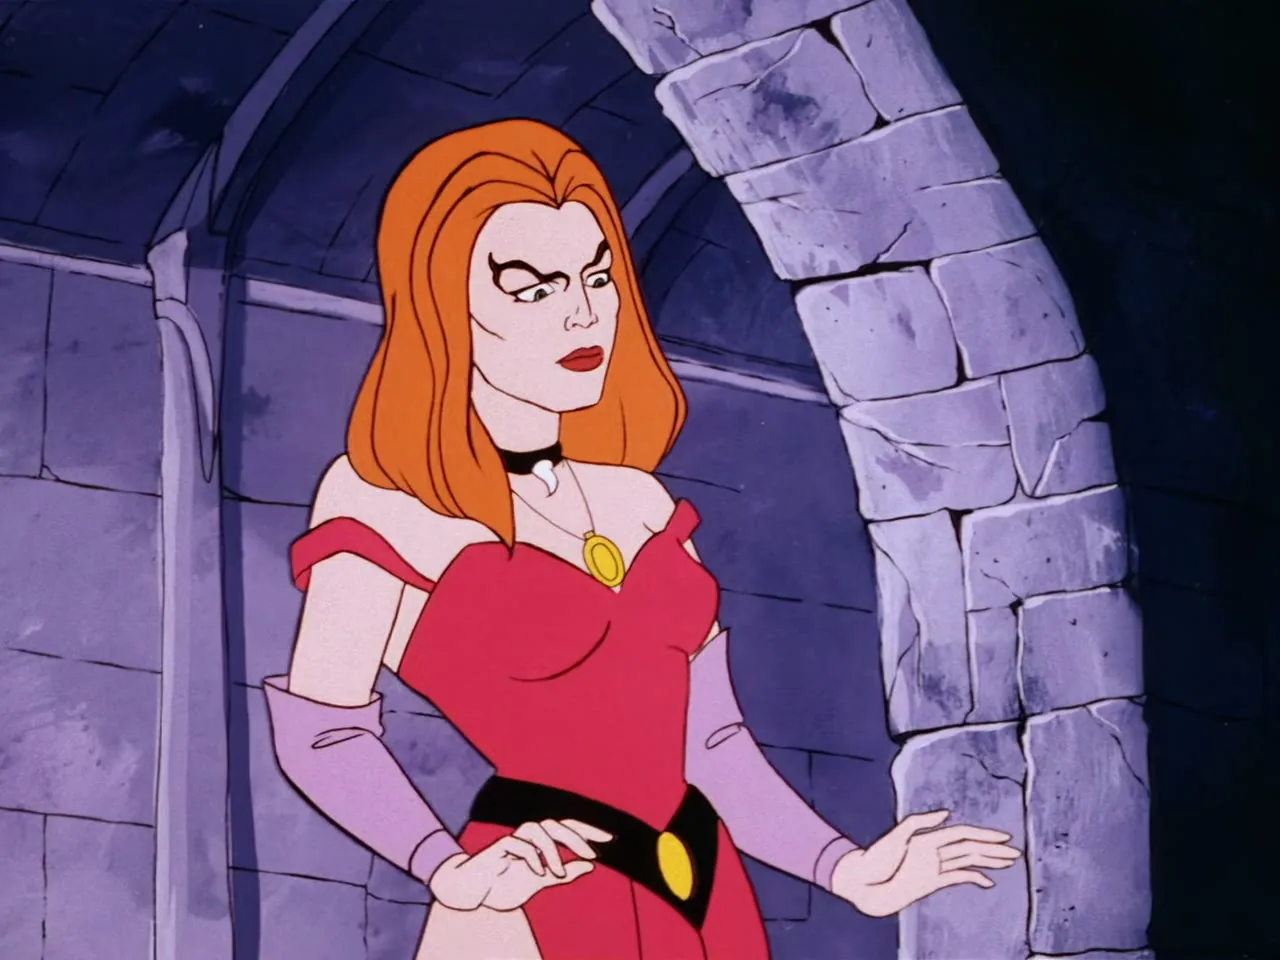
Lady Valtira stands in a stone archway looking aside.
Dark twisted vines fill the frame.
Sago crouches on blue rocks with his mouth open.
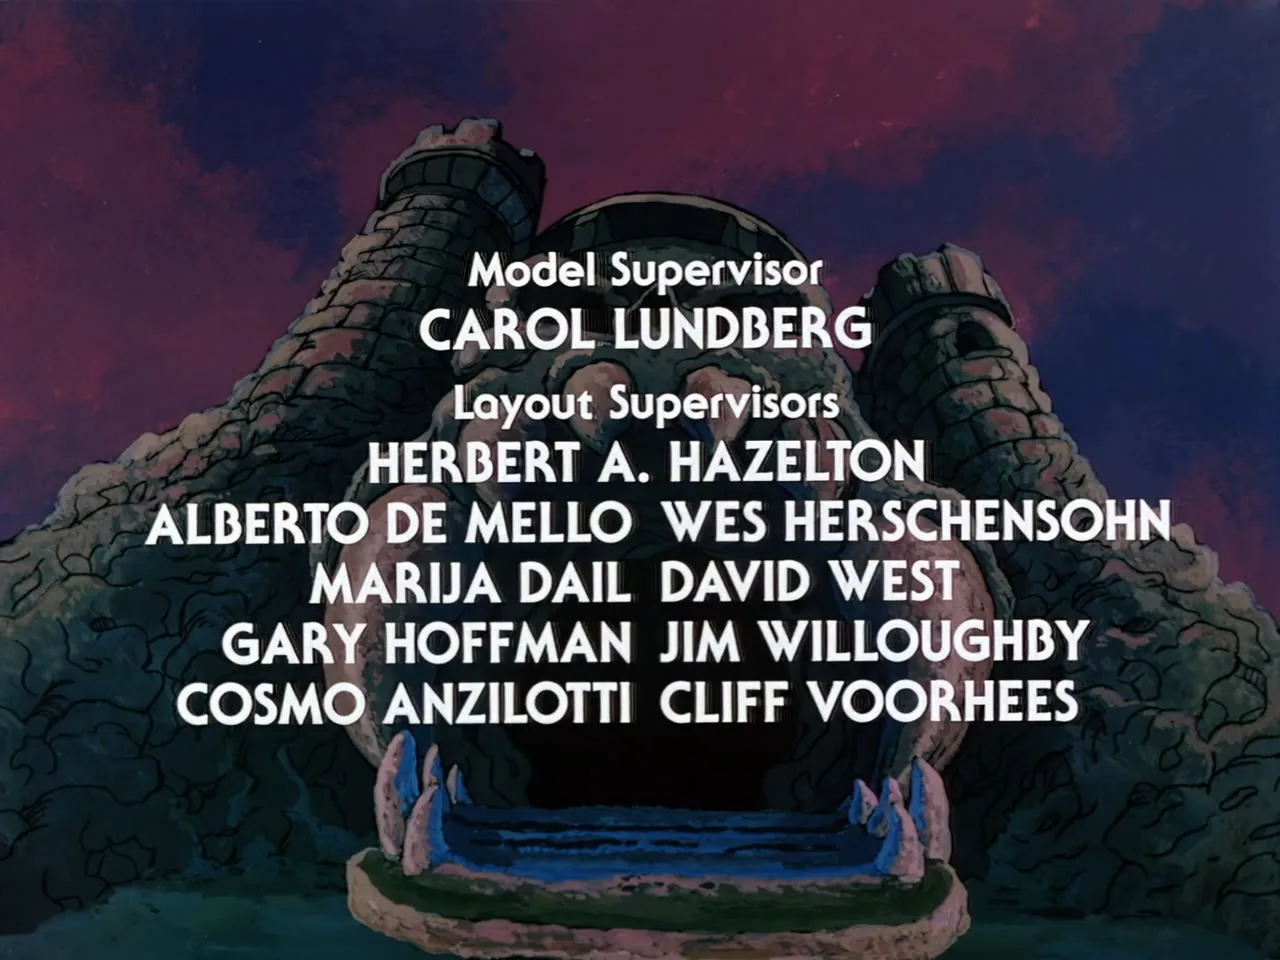
Model supervisor and layout supervisor credits appear over Castle Grayskull.
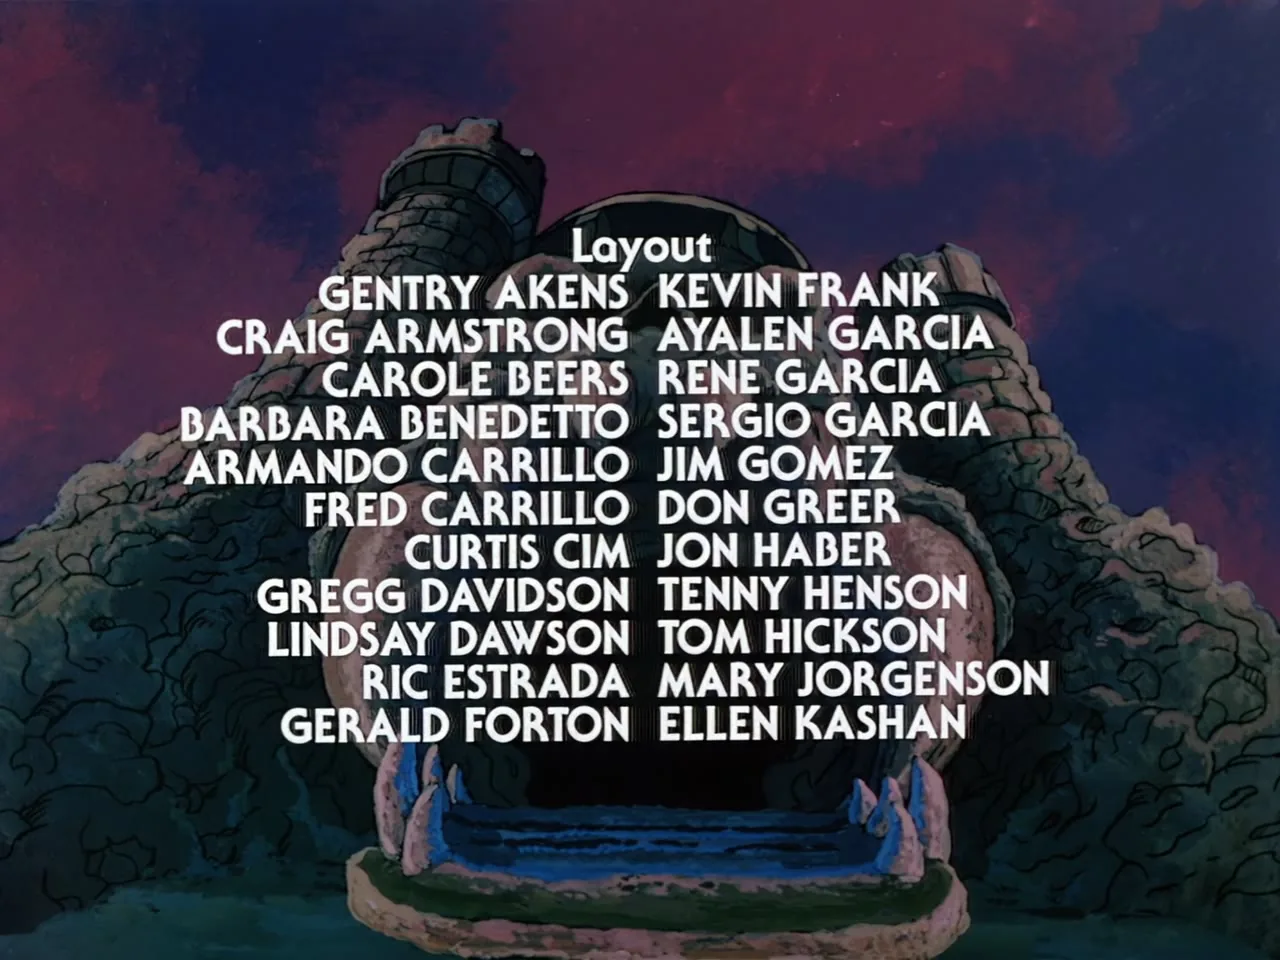
Layout artist credits appear over Castle Grayskull.
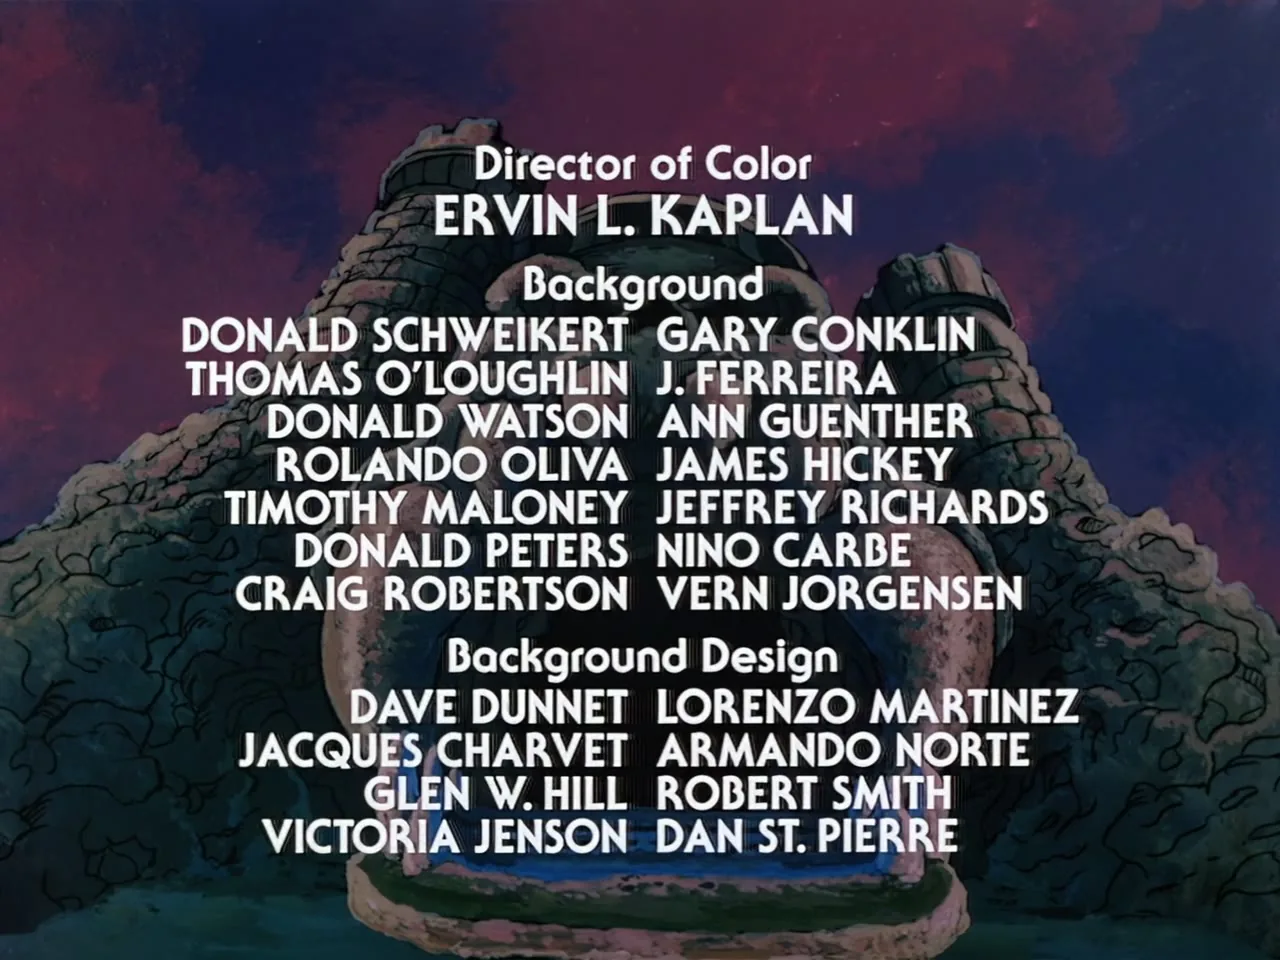
Director of color and background credits appear over Castle Grayskull.

DISCUSSION

Join the conversation.

Comments below are mirrored on the heman.org forum. Sign in once, post anywhere.